
Make a DIY Smart Home Assistant with Hass.io for Raspberry Pi
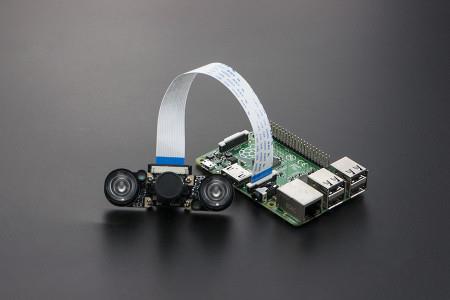
The Raspberry Pi is one of the top single-board computer (SBC) devices available. Though there’s a bevy of Raspberry Pi competitors, the Raspberry Pi is nonetheless arguably more popular than competing boards such as the Odroid XU4. Among the most popular Raspberry Pi project ideas are retro gaming consoles with Lakka, RetroPie, and Recalbox, a low-powered home theater PC (HTPC), and media server. Because of its small footprint and modest power consumption, the Raspberry Pi is well-suited as a smart home hub. Learn about Hass.io Raspberry Pi smart home software for making a do-it-yourself (DIY) smart home assistant device.
Hass.io: What is Home Assistant?
Home Assistant is an excellent piece of software which boasts smart home control and smart home automation features. It’s available as a standalone Raspberry Pi image as Hass.io, a Raspbian-based Hassbian. As the name suggests, Hassbian is a Raspberry Pi image with Home Assistant-baked in. Alternatively, you may install Home Assistant manually on a Raspbian image. For even more options, Home Assistant may be installed in CentOS and Red Hat Enterprise Linux (RHEL), Fedora, Armbian, Arch Linux, Docker, FreeNAS, and a slew of other options.
The software itself is an open-source platform for controlling and automating smart home devices. It’s compatible with tons of services such as Nest, Samsung SmartThings, and Philips Hue. Home Assistant itself doesn’t actually control devices; it’s simply a master hub for aggregating various smart home services into one device. Since it’s on-premises, Home Assistant passes no data through cloud services. It’s also incredibly intuitive and inexpensive to set up.
Reasons to use Home Assistant:
- Free to use
- Inexpensive to get started
- Smart home automation and control
Hass.io Raspberry Pi Installation
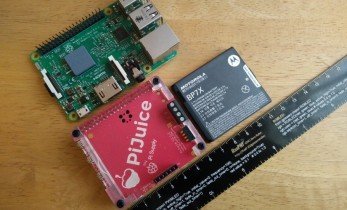
For a Hass.io Raspberry Pi set-up, you’ll need a Raspberry Pi board, micro SD card, power supply, and Home Assistant platform. Therefore, getting started with Hass.io is incredibly affordable.
What you’ll need for a Home Assistant Raspberry Pi project:
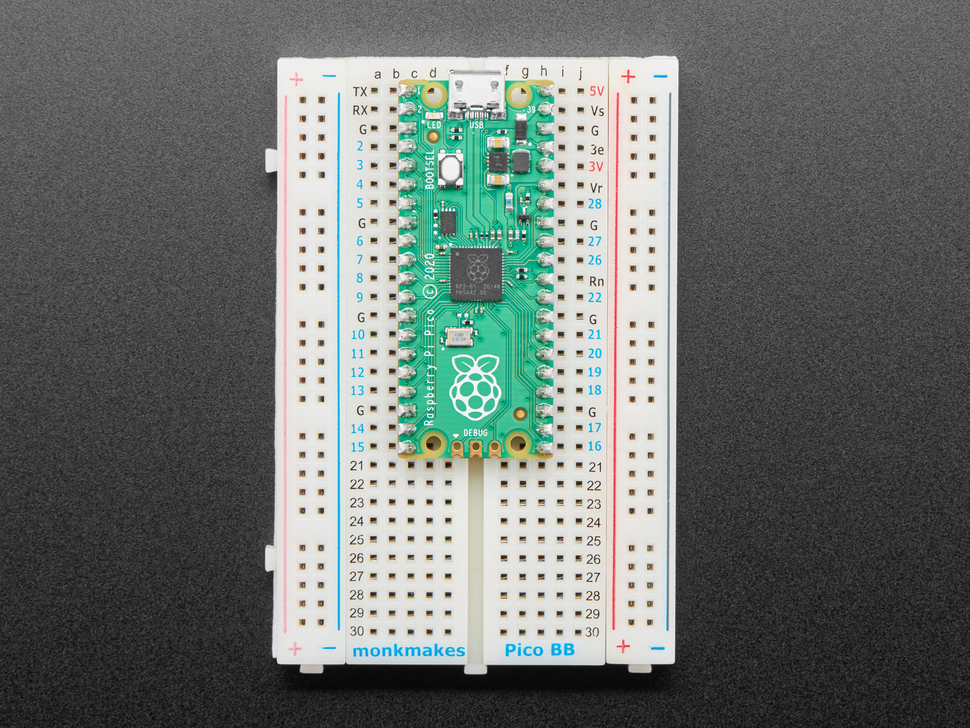
- Raspberry Pi (Raspberry Pi 4 recommended)
- microSD card
- Power supply
- Raspberry Pi case (optional but recommended)
- Keyboard, mouse
- Home Assistant software
- Smart home gadgets
- Extraction program (i.e. 7z)
- Image mounting software (i.e. Etcher)
Total Cost: $35-$50
You can snag a Raspberry Pi kit with a Raspberry Pi board, case, power supply, and microSD card for about $50. Unless you have accessories lying around such as a compatible power supply and case, I’d suggest opting for the kit. Because Home Assistant Raspberry Pi software is free, you won’t need to pay for any additional software. However, since you’ll connect Hass.io with your existing services, you will need smart home gadgets and corresponding software, some of which may require a subscription.
Hass.io on Raspberry Pi
First, head over to the Home Assistant website. Download the Hass.io Raspberry Pi image. It’s an img.bz2 file, so you’ll need to uncompress it using a program such as 7z.
Unzip the file, and you’re left with an IMG file. With software such as Etcher, mount your IMG file to a microSD card. To do so, first select the image file, and then choose your bootable media location.
After flashing the image to your microSD card, you’ll want to open system-connections/resin-sample located in the resin-boot volume on your freshly created SD card image using a text editor. Change the ssid entry to the name of your Wi-Fi network, and make psk the password for your network.
Next, pop the microSD card into your Raspberry Pi and power on the Pi. Your set up may differ based on whether you’re using Wi-Fi only or Ethernet. The Pi should turn on, and download the most recent Home Assistant iteration. This may take a bit of time to complete, so be patient. As soon as Hass.io installation completes, you can use it from accessing http://hassio.local:8213 via another PC on your network.
Hass.io vs Hassbian
While Hass.io is intuitive, it’s a standalone Home Assistant release. You may wish to use Hassbian, a Raspberry Pi image complete with Home Assistant baked in. Hassbian vs Hass.io benefits include the ability to add a graphical user interface (GUI), SSH enabled from the onset, and GPIO pins ready for use.
Begin by downloading the Hassbian image. You’ll need to extract this using an application such as 7z.
Then, mount the extracted image to your microSD card using a program like Etcher. When that’s complete, place the microSD card in your Raspberry Pi and power it on.
If you’re running on a wireless network, you’ll need to edit the wireless settings. Under the boot partition, create a file called wpa_supplicant.conf. Edit your network settings. Your file should look something like this:
country=SE
ctrl_interface=DIR=/var/run/wpa_supplicant GROUP=netdev
update_config=1

network={
    ssid="YOUR_SSID"
    psk="YOUR_PASSWORD"
}
At first boot, an installer runs which downloads the latest version of hassbian-config and Home-Assistant. When this finishes, you’ll see a login screen. The username is pi, and password is raspberry.
As with the Hass.io method, you can point the browser of any device on the same network to http://hassbian.local:8213 and view Home Assistant from there. Again, the username is pi and password is raspberry.
Manual Hass.io Raspberry Pi Installation on Raspbian
Though there’s Hass.io vs Hassbian for pre-made Home Assistant images, you may install Hass.io the manual way using Raspbian. Begin by installing Raspbian Lite. Other Debian derivatives should work as well.
Before installing Home Assistant on the Raspberry Pi in Raspbian, run an update:
sudo apt-get update
sudo apt-get upgrade -y
Next, install dependencies needed to run Hass.io:
sudo apt-get install python3 python3-venv python3-pipYou’ll need to add an account for Home Assistant, appropriately named homeassistant. For use with Z-Wave and Zigbee controllers, you’ll need to use -G dialout and dialout:
sudo useradd -rm homeassistant -G dialoutWith that finished, make a Home Assistant directory and make the owner of it the homeassistant user:
cd /srv
sudo mkdir homeassistant
sudo chown homeassistant:homeassistant homeassistant
Proceed to make a virtual environment for Home Assistant:
sudo su -s /bin/bash homeassistant
cd /srv/homeassistant
python3 -m venv .
source bin/activate
Upon activating the virtual environment, you’ll have to install a required Python package:
(homeassistant) homeassistant@raspberrypi:/srv/homeassistant $ python3 -m pip install wheelNow for the fun part of actually installing Home Assistant:
(homeassistant) homeassistant@raspberrypi:/srv/homeassistant $ pip3 install homeassistantRun Home Assistant for the first time, which will create a .homeassistant configuration in the /home/homeassistant directory alongside any necessary dependencies:
(homeassistant) $ hassYour Home Assistant interface is available at http://localhost:8123
Home Assistant Configuration: Hass.io Automations and More
With Home Assistant installed, you may begin installing Hass.io add-ons, setting up Hass.io automations, and connecting smart home services. Head to http://hassio.local:8123. Then, pick the left-hand menu icon and click Hass.io under this sidebar.
You’ll see the Hass.io panel open up. You can install Hass.io add-ons from the add-on store link. Home Assistant suggests beginning with the Configurator. From the Hass.io add-ons store, click Configurator. This allows you to edit Home Assistant configurations via the web interface. After installing the Hass.io Configurator, change its settings. First, set a password and save it. Then, launch the add-on. You can choose the Web US link and open the web user interface.
You can edit configuration.yaml to add a link to the configurator under the sidebar by adding the following code:
panel_iframe:
  configurator:
    title: Configurator
    icon: mdi:wrench
    url: http://hassio.local:3218
You can add tons of services to your Home Assistant set up, and these may be found on the Components page. Hass.io services include Amazon Echo, Arduino, Ecobee, Google Assistant, IFTTT, Kodi, MQTT, Plex, Nest, Philips Hue, among others.
For instance, the Hass.io Google Assistant integration provides seamless Google Assistant use.
Under the configuration.yaml add:
google_assistant:
  project_id: someproject-2d0b8
  client_id: [long URL safe random string]
  access_token: [a different long URL safe random string]
  agent_user_id: [a string to identify user]
  api_key: [a Homegraph API Key generated for the Google Actions project]
  exposed_domains:
    - switch
    - light
    - group
  entity_config:
    switch.kitchen:
      name: Custom Name for Google Assistant
      aliases:
        - bright lights
        - entry lights
    light.living_room:
      expose: false
      room: living room
Note, however, that this is an example template which you’ll need to customize for your specific set up. There are tons of Home Assistant components and Home Assistant automation options you can use to customize your Raspberry Pi smart home hub.
Home Assistant Raspberry Pi Smart Home Hub: Final Thoughts
Hass.io on the Raspberry Pi is an awesome means to spin up a Raspberry Pi smart home hub. I found simple integration for many of my smart home devices and services including Z-Wave and Ecobee products like my smart LEDs, as well as Google Assistant, and even my Plex media server software. Ultimately, it’s an inexpensive project idea that yields a ton of functionality.
Your turn: What smart home hubs are you using?

Moe Long is an editor, writer, and tech buff with a particular appreciation for Linux, Raspberry Pis, and retro gaming. Writing online since 2013, Moe has bylines at MakeUseOf, TechBeacon, DZone, SmartHomeBeginner, DEV.to, DVD Netflix, and Electropages. You can read his writings on film and pop culture at Cup of Moe, check out his tech reviews, guides, and tutorials at Tech Up Your Life, and hear his thoughts on movies on the Celluloid Fiends podcast. Aside from writing and editing, Moe has an online course, the Beginner's Guide to Affiliate Blogging From Scratch. When he's not hammering away at his keyboard, he enjoys running, reading, watching cinema, listening to vinyl, and playing with his dog Sebastian.


Leave your feedback...