
Get Started With Docker on Raspberry Pi
The Raspberry Pi is an excellent choice for a maker board. A lightweight, well supported single-board computer, there's a ton of supported software. Docker, a popular tool for quick creation, deployment, and running of container-based applications is a fantastic choice for developers and system administrators (sysadmins). Since Docker plays well with Linux, and loads of Linux operating systems (OSes) for the Raspberry Pi exist, you can easily run Docker on Raspberry Pi boards.
What is Docker?
Docker is a powerful and widely-used software option for creating, deploying, and running applications in containers. It's similar to a virtual machine (VM), but merely lets apps utilize the same kernel as the Linux OS Docker is running on. In that way, Docker eschews the need for an entire Linux distribution (distro) installation, whereas running apps in a VM requires first installing a base OS. Moreover, since Docker shares the Linux kernel, applications simply require whatever's not running on the host PC. Therefore, you'll witness enhanced performance with Docker.
Why Use Docker?

Ok, but why should you use Docker? Notably, Docker gained much traction in the DevOps space. For one, there's simplicity of app deployments. You won't need to fiddle with your computer and operating system to get applications to run. Plus, Docker boasts thousands of programs which are easily installed with a quick pull. There's flexibility since Docker avoids the need to run a resource-intensive VM, allowing for many containers running on a solitary machine rather than virtualization through the likes of a virtual machine.
Why you should use Docker:
- Simplicity of app installs
- Security
- Better performance when compared to VMs
- Shares OS kernel
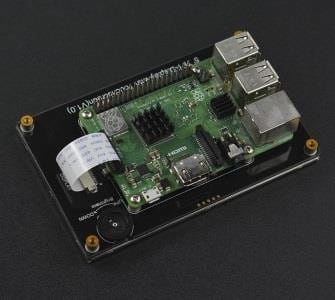
What is the Raspberry Pi?
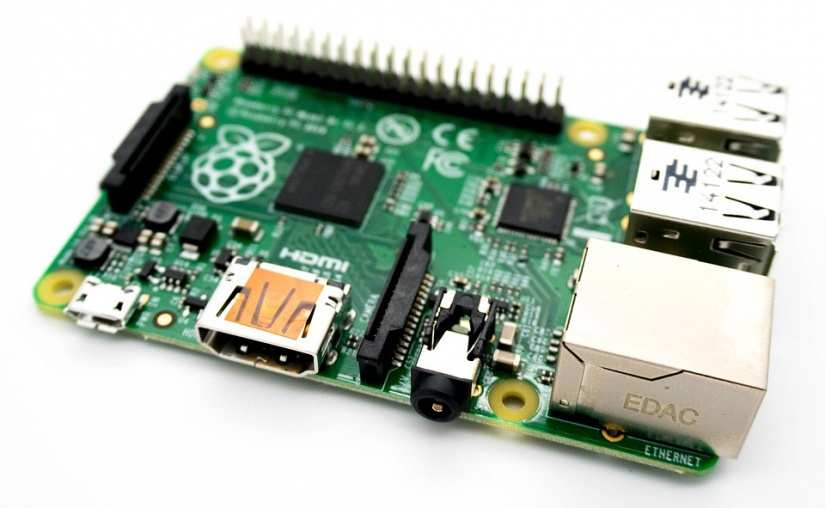
The Raspberry Pi is a single-board computer. Onboard, you'll find RAM, a CPU, GPU, and connectivity such as Wi-Fi, Bluetooth, and a 40-pin GPIO header. You can run a variety of operating systems on the Raspberry Pi, from Linux and Android to Chrome OS.
Raspberry Pi 3 B+ specs:
- Broadcom BCM2837B0, Cortex-A53 (ARMv8) 64-bit SoC @ 1.4GHz
- 1GB LPDDR2 RAM
- 802.11.b/g/n/ac wireless LAN, Bluetooth 4.2, BLE
- Gigabit Ethernet over USB 2.0 ( with a maximum throughput of 300 Mbps)
- 40-pin GPIO header
- HDMI
- 4 x USB 2.0 ports
- CSI camera port
- DSI display port
- 4-pole stereo output and composite video output
- MicroSD card slot
- 5V/2.5A DC power input
- Power-over-Ethernet (PoE) support (separate PoE HAT required)
Raspberry Pi 4 Specs:
- Broadcom BCM2711, Quad-core Cortex-A72 (ARM v8) 64-bit SoC @ 1.5GHz
- 1GB, 2GB, 4GB, or 8GB LPDDR4-2400 SDRAM (depending on model)
2.4 GHz and 5.0 GHz IEEE 802.11ac wireless, Bluetooth 5.0, BLE - Gigabit Ethernet
- 2 USB 3.0 ports; 2 USB 2.0 ports.
- Raspberry Pi standard 40 pin GPIO header (fully backwards compatible with previous boards)
- 2 × micro-HDMI ports (up to 4kp60 supported)
- 2-lane MIPI DSI display port
- 2-lane MIPI CSI camera port
- 4-pole stereo audio and composite video port
- H.265 (4kp60 decode), H264 (1080p60 decode, 1080p30 encode)
- OpenGL ES 3.0 graphics
- MicroSD card slot for loading operating system and data storage
- 5V DC via USB-C connector (minimum 3A*)
- 5V DC via GPIO header (minimum 3A*)
- Power over Ethernet (PoE) enabled (requires separate PoE HAT)
- Operating temperature: 0 – 50 degrees C ambient
Which Raspberry Pi Should You Use for Docker?
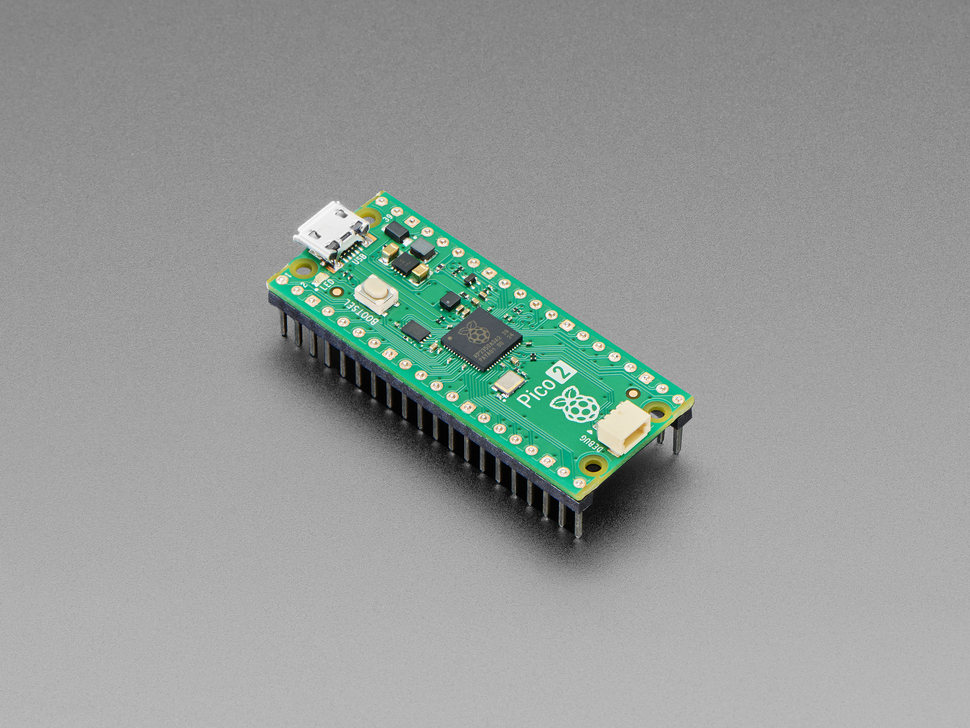
Raspberry Pi boards come in a variety of flavors. There's the $5 USD Raspberry Pi Zero, Raspberry Pi Zero W for Internet of Things (IoT) applications and wireless networking, Raspberry Pi 3 A+, and Raspberry Pi 3 B+. I recommend using a Raspberry Pi 3 Model B, Raspberry Pi 3 Model B+, or Raspberry Pi 4. This will allow for better Docker performance since the Raspberry Pi 4 boasts up to 8GB of LPDDR4 RAM.
Raspberry Pi Docker Installation and Use
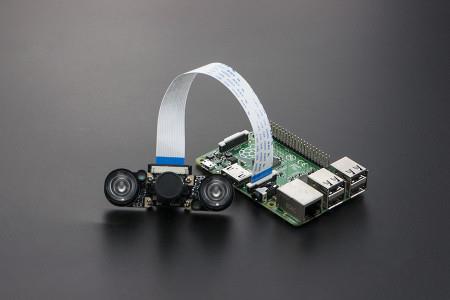
Running Docker on the Raspberry Pi is pretty simple, and requires little more than a Pi board, compatible Linux operating system, and a few Raspberry Pi accessories. You'll need a Raspberry Pi board (Raspberry Pi 3 or Raspberry Pi 3 B+ recommended), compatible 5V/2.5A power supply (PSU), and microSD card. On the software side, Docker on the Raspberry Pi necessitates a Raspberry Pi-compatible Linux distro and Docker software. You'll also need an Internet connection, and though a case isn't required, I strongly suggest copping a fun Raspberry Pi case. Plus, you'll need a few peripherals including a keyboard and mouse.
What you'll need to run Docker on Raspberry Pi:
- Raspberry Pi board (Raspberry Pi 4 recommended)
- microSD card
- Case (optional, recommended)
- Linux OS
- Peripherals (keyboard, mouse)
- Docker
- Internet connection
- 5V/2.5A PSU
Total cost: $35+ USD. A Raspberry Pi 3 or 3 B+ runs for $35. Certain extras including a microSD card and compatible power supply you may have lying around. All software such as Docker and your base operating system should be free. Overall, running Docker on the Raspberry Pi is a cost-effective project.
Begin by opening up a command line (CTRL + ALT + T) and installing Docker. To begin the Docker installer, run:
curl -sSL https://get.docker.com | sh
You might prefer to use the Docker testing version. If so, merely replace get.docker.com with test.docker.com which will look like:
curl -sSL https://test.docker.com | sh
Now, Docker should be installed. You'll want to make a few manual configurations before using Docker on the Pi. To auto-start Docker, in a command prompt enter:
sudo systemctl enable docker
Then, reboot or start the Docker daemon using:
sudo systemctl start docker
After that, we'll need to enable the Docker client, since only root or members of a Docker group may run Docker on the Pi:
sudo usermod -aG docker pi
However, you might wish to run Docker without entering sudo every time. To run Docker without sudo, first add the Docker group:
sudo groupadd docker
Then, create a connected user for your Docker group. You can change this user name if you'd rather not use the current user:
sudo gpasswd -a $USER docker
Next, to manifest your changes, run:
newgrp docker
Test that Docker is properly working by entering:
docker run hello-world
If everything went as planned, you should see the message "Hello from Docker!" along with some basic information.
How to Install Docker on a Raspberry Pi 4
With the introduction of the Raspberry Pi 4, Docker compatibility broke. Because the Raspberry Pi 4 uses Raspbain Buster, not Debian Stretch-based operating systems, you can't use the typical curl -fsSL get.docker.com -o get-docker.sh && sh get-docker.sh command. Instead, you can use:
curl -fsSL https://get.docker.com -o get-docker.sh
sed -i 's/9)/10)/' get-docker.sh
sh get-docker.sh
This should install Docker on the Raspberry Pi 4.
How to Install Docker Images on Raspberry Pi - Plex in Docker on Raspberry Pi Test
With Docker correctly installed on the Raspberry Pi, you can begin installing apps in Docker. I did a quick test with the official Plex Media Server Docker image. First, make sure that if your media folder is accessible in Docker. If you're using an external drive, you'll need to mount it. To find out what storage device that is, in a command line run:
df -h
You'll see an output of your filesystem, and the device at /media/pi should be the correct one. Often, that's /dev/sda1. Make a directory, and mount that drive. You can use whatever folder name you like, but I used "Plex media":
mkdir /mnt/Plex media
Then, with that directory created, mount your external storage device:
mount /dev/sda1 /mnt/Plex media
Grant read/write access with:
chmod 775 /mnt/Plex media
Download the Plex Docker image, Note that this is an ARMHF version of Plex from LinuxServer.io. The official Plex Docker image won't run on the Raspberry Pi since it's ARM-based:
docker pull lsioarmhf/plex
Then, create your Raspberry Pi Docker Plex set up. You'll want to specify the folders for your media, which will vary based on your specific configuration:
docker create \
 --name=plex \
 --net=host \
 -e PUID=<UID> -e PGID=<GID> \
 -v </path/to/library>:/config \
 -v <path/to/tvseries>:/data/tvshows \
 -v </path/to/movies>:/data/movies \
 -v </path for transcoding>:/transcode \
 lsioarmhf/plex
If you used the aforementioned mount path, use /mnt/Plex media with corresponding movies and TV show folders, your set up will look like:
docker create \
 --name=plex \
 --net=host \
 -e PUID=<UID> -e PGID=<GID> \
 -v /mnt/Plex media:/config \
 -v /mnt/Plex media:/data/tvshows \
 -v /mnt/Plex media:/data/movies \
 -v /mnt/Plex media:/transcode \
 lsioarmhf/plex
Test that everything worked with:
docker ps -a
You should see any Docker containers you've got running. If you've got a Plex container, then enter:
docker start plex
After that, an output should display which shows your status and uptime for the Docker Plex image. Open a web browser and navigate to [Raspberry Pi IP address]:32400/web. You should see the Plex Media Server configuration screen, where you'll walk through some set up for adding folders, naming your server, and more.
Getting Started With Docker on Raspberry Pi: Final Thoughts
Overall, Docker on the Raspberry Pi is pretty simple. It's not terribly difficult, but you will need to follow path information correctly. Although Docker running on the Raspberry Pi performs well, you'll need to use images compatible with ARM devices. For instance, the official Plex Docker image won't run on the Pi. Instead, you'll need to use an ARM release for the Pi. Still, it's not a difficult process, and you'll find loads of ARM-compatible Docker images. For a lightweight, flexible Docker configuration, the Raspberry Pi is a fantastic choice. With images like Plex and Nextcloud, the Pi could make for a solid media or file server when paired with Docker.
Have you tried Docker on the Raspberry Pi? What Docker images are you using, and what devices are you running Docker on?

Moe Long is an editor, writer, and tech buff with a particular appreciation for Linux, Raspberry Pis, and retro gaming. Writing online since 2013, Moe has bylines at MakeUseOf, TechBeacon, DZone, SmartHomeBeginner, DEV.to, DVD Netflix, and Electropages. You can read his writings on film and pop culture at Cup of Moe, check out his tech reviews, guides, and tutorials at Tech Up Your Life, and hear his thoughts on movies on the Celluloid Fiends podcast. Aside from writing and editing, Moe has an online course, the Beginner's Guide to Affiliate Blogging From Scratch. When he's not hammering away at his keyboard, he enjoys running, reading, watching cinema, listening to vinyl, and playing with his dog Sebastian.


Leave your feedback...