
How to Install Raspbian Buster on the Raspberry Pi 4 - Review and Installation
The Raspberry Pi 4 debuted, and with it a host of upgrades. Onboard, the Raspberry Pi 4 boasts a new system on a chip (SoC) more, and faster, RAM, plus enhancements such as dual micro HDMI ports. The system overhaul however runs more than skin deep. In order to use a Raspberry Pi 4, you'll need a new version of Raspbian, or a Debian Buster-based distro. Whereas the Raspberry Pi 3 B+ remained compatible with Debian Stretch distributions (distros) such as Raspbian Stretch, the new version lacks Stretch compatibility. Here's how to install Raspbian Buster on the Raspberry Pi 4!
What is the Raspberry Pi 4
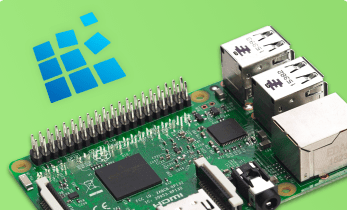
The Raspberry Pi 4 joins the Raspberry Pi lineup as the fourth generation of hardware. Powered by a 1.5GHz quad-core 64-bit ARM Cortex-A72 CPU SoC, the Pi 4 delivers roughly three times the performance of its predecessor in the Raspberry Pi 3 B+. It's available with 1GB, 2GB, or 4GB of LPDDR4 RAM. There's a full-throughput Gigabit Ethernet port, Bluetooth 5.0, and dual-band 802.11ac Wi-FI. You'll find two USB 3.0 ports and a pair of USB 2.0 ports as well. Dual micro HDMI ports output up to 4K video resolution at 60 frames per second (FPS), and its VideoCore VI graphics offers OpenGL ES 3.x compatibility.
Raspberry Pi 4 specs:
- 1.5GHz quad-core 64-bit ARM Cortex-A72 CPU (~3× performance)
- 1GB, 2GB, or 4GB of LPDDR4 SDRAM
- Full-throughput Gigabit Ethernet
- Dual-band 802.11ac Wi-Fi
- Bluetooth 5.0
- 2 x USB 3.0 and 2 x USB 2.0 ports
- Dual monitor support, compatible with resolutions up to 4K
- VideoCore VI graphics, support for OpenGL ES 3.x
- 4Kp60 hardware decode of HEVC video
How to Install Raspbian Buster on the Raspberry Pi 4
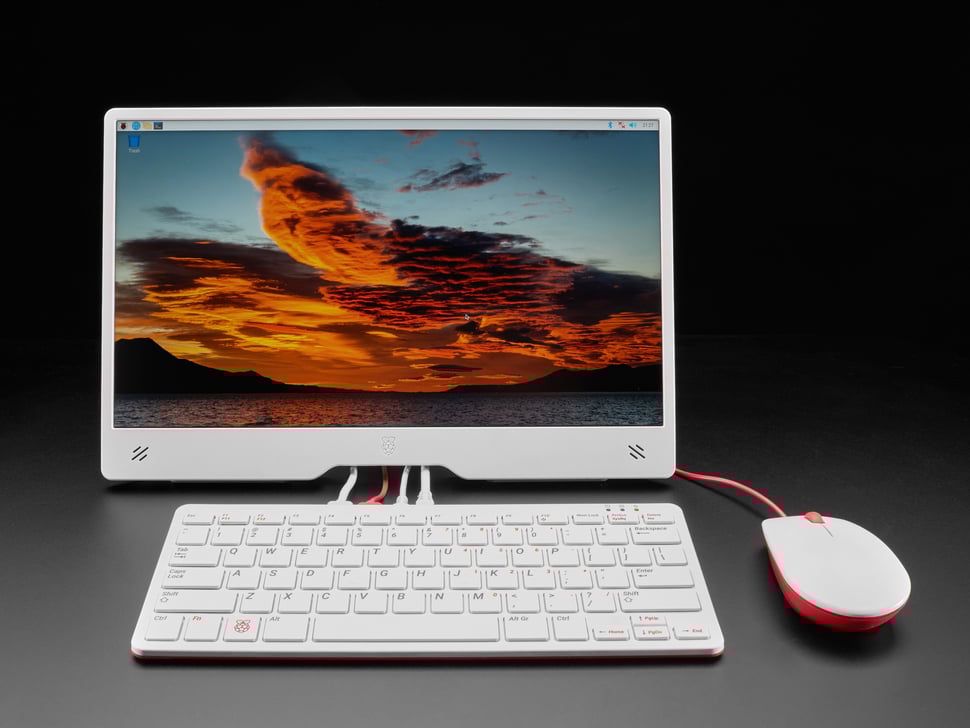
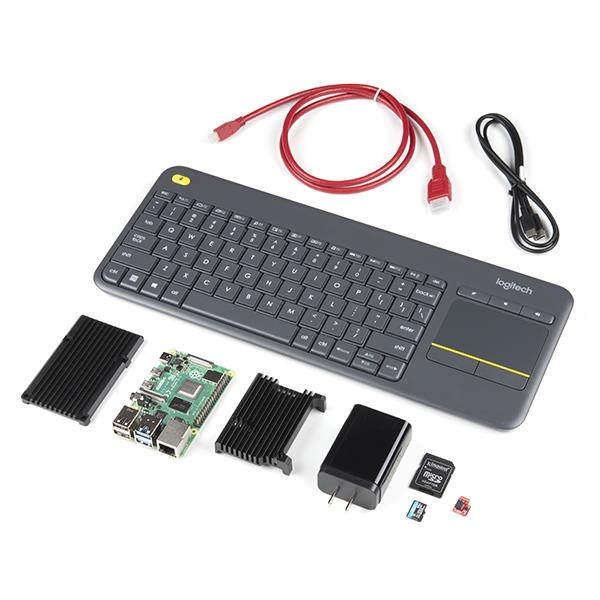
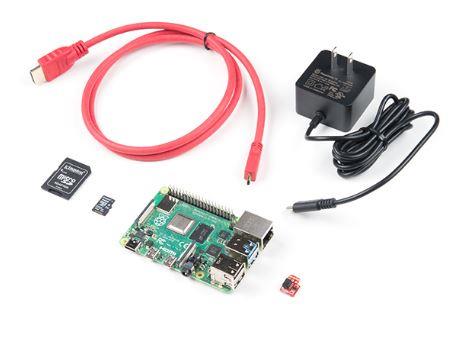
Raspbian Buster is pretty easy to install. You can either install the standalone Debian Buster on the Raspberry Pi, or use NOOBS. Before you begin, you'll need a Raspberry Pi 4 board, USB-C power cable, microSD card, keyboard, mouse, and internet connection. Additionally, you'll probably want a case. As for which Pi 4 to buy, I suggest the Raspberry Pi 4 with 8GB of RAM. For desktop use, multitasking such as opening multiple tabs in a web browser or running simultaneous apps will really benefit from more RAM, although it won't make your Pi run any faster.
What you'll need to run Raspbian Buster on the Raspberry Pi 4:
- Raspberry Pi 4 board (8GB variant recommended)
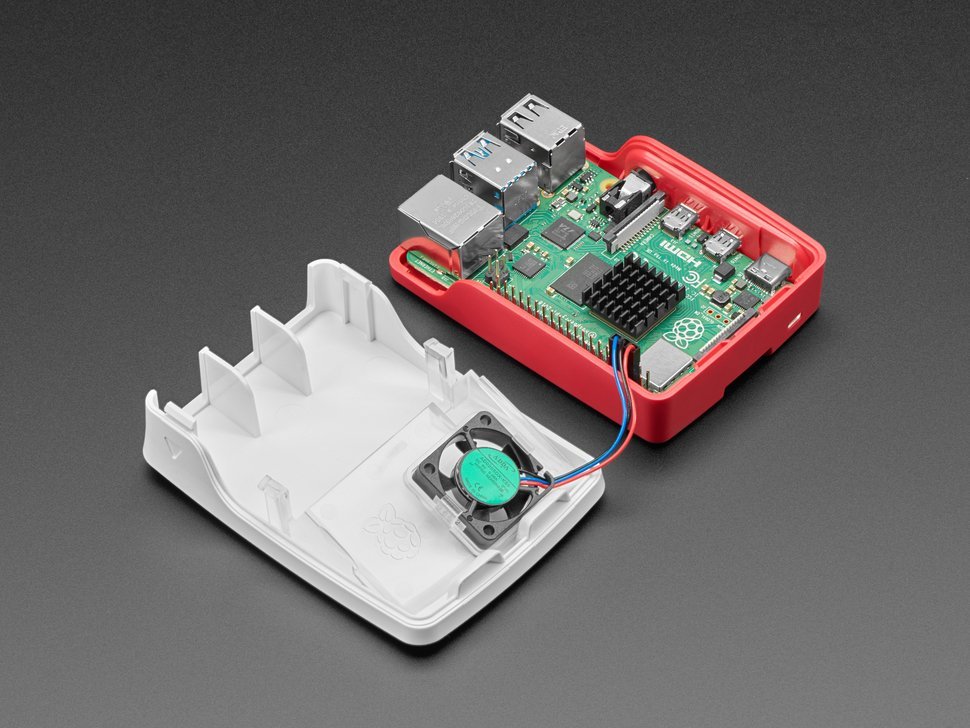
- Raspberry Pi 4 case
- microSD card
- micro HDMI to HDMI cable
- Peripherals (keyboard, mouse)
- Internet connection
- PSU
Total cost: $35+ USD. The Pi 4 alone retails for $35, while the 2GB version clocks in at $45. It's $55 for the 4GB variant. Throw in a few extras like a case, power supply, and microSD card and you're looking at $75 or more depending on which Raspberry Pi board you pick.
Download Raspbian Buster
Fellow film buffs will note that Buster was the name of the dog, the real one not the slinky canine, in "Toy Story." In fact, the previous Debian code names, Stretch, Jessie, Wheezy, Squeeze, and Lenny are each characters from "Toy Story." Reportedly, the Debian project lead when Debian 1.1 Buzz (Lightyear) debuted was Bruce Perens, who was at the time employed by Pixar.
Head over to the Raspberry Pi Downloads page. You'll find a few different versions. There's a Raspbian Buster with desktop and recommended software version, Raspbian Buster with desktop image, or Raspbian Buster Lite for a command-line only Raspbian set up. For each version, there's a torrent or ZIP folder download option. Alternatively, you can download NOOBS, an easy to use installer with multiple Raspberry Pi operating systems. NOOBS features both Raspbian Buster and LibreELEC, a just-enough Kodi operating system (OS).
For a standalone Raspbian Buster install, first download the image file using either a torrent client or ZIP folder. If you're willing to seed, you might consider downloading with a do-it-yourself (DIY) torrent box. Once your disk image is downloaded either with the ZIP method or via a torrent client, you'll need to mount it to a microSD card. If you used the ZIP download, first extract the compressed image. Using a program such as Etcher, mount your image to a microSD card. Then, pop your microSD card into your Raspberry Pi 4.
Alternatively, for NOOBS, just download either NOOBS or NOOBS Lite, which is essentially the same operating installer, but without a preloaded Raspbian. After downloading NOOBS, you're left with a ZIP archive. Extract the ZIP folder, and copy the contents of that folder to the root of your microSD card. Now, plug in the Pi to power it on and you should be greeted with a screen allowing you to select the operating system(s) you'd like to install. If your Raspberry Pi 4 isn't booting properly, make sure you're using a microSD card that's properly formatted, the correct version of Raspbian, and have your micro HDMI cable plugged into the port closest to the power port. I made this mistake and after much hair-pulling, grumbling, and a few muttered NSFW words, realized my error.
Raspbian Buster on the Raspberry Pi 4 Review
Upon booting into Raspbian, you'll be greeted by a friendly "Welcome to Raspbian" screen. Thanks, Raspbian, Thraspbian. Proceed to through the basic configuration, and hit Next. Select your country, language, and timezone. You'll also have options for using the English language, and a US keyboard. After that, there's a password screen for entering a new password if you so desire. For security purposes, that's probably a good idea. You can connect to Wi-Fi now if you're using a wireless network, or skip this step and set up Wi-Fi later.
Once that's complete, it's best to run an update. Open a new terminal and run:
sudo apt update
Normally, an update is performed with sudo apt-get update. However, since this first update changes from Debian testing to Debian stable, the repository name switches. You'll receive an error if you attempt an update with apt-get.
After that update finished, run:
sudo apt dist-upgrade
This installs the latest Raspbian Buster updates. Then, reboot. Once you've run your updates and restarted, you can begin using your Raspberry Pi 4. On the surface, Raspbian Buster appears pretty similar to its predecessor in Raspbian Stretch. Most of the changes are under the hood, such as security enhancements. Still, a few graphical tweaks spice up Raspian Buster. Its interface is more streamlined, and there's less curvature in corners with an overall flat design which appears modern and crisp. The background now features a photograph by Greg Annadale. Thankfully, the old user interface theme and desktop picture are installed so you can easily change back.
Further, the Thonny Python development environment gets bumped ot the default Python editor. As such, you won't find the IDLE. Alternately, the Mu Python IDE remains available in the Recommended Software section. In the taskbar, you'll notice an eject button for safely removing USB devices. The CPU temperature monitor by default is hidden, but easy to add back.
Even at first boot, Raspbian Buster felt snappier than Raspbian Stretch on my Raspberry Pi 3 B+. Undoubtedly, some of this derives from software changes and optimizations, but it's largely hardware-based. A new SoC and more, faster RAM really benefits the Raspberry Pi 4, especially for desktop applications. While the Raspberry Pi 4 CPU only jumps from 1.4GHz on the Pi 3 B+ to 1.5GHz, real-world performance increases substantially. The Pi 4 clocks in around 380s in sysbench CPU tests, compared to the 250s for the Pi 3 B+. In Linpack SP benchmarks, the Pi 4 jumps to over 900, while the Pi 3 B+ tops out in the 220s. Its LPDDR4 RAM aids in memory speed tests, with 1MB block RAM read/write benchmarks coming in almost twice as high for the Pi 4 as the Pi 3 B+. Upload and download speeds destroy the Pi 3 B+ with true Gigabit Ethernet.
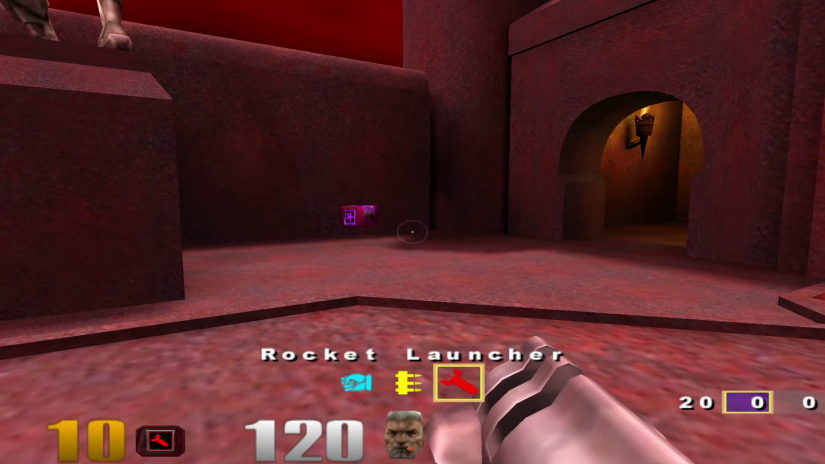
So how does that translate to real-world performance? Extremely well. I streamed a few videos via YouTube in 1080p, and even pulled up my Plex server in-browser and was able to play videos in 1080p (I've yet to snag a 4K TV). All the while, RAM usage remained low, hovering around 500 MB out of my total 4GB, and CPU use was about 60%. I played a bout of "Quake III," and though 1080p was pretty laggy, dialing back settings to 720p yielded a pretty smooth experience.
I appreciate the minor upgrades which overall lend Raspbian Buster a clean, decluttered aesthetic. Rounded edges and a flatter design feel more modern, and doing away with the removable device eject button unless a device is plugged in, and nixing the default CPU temperature monitor provide a minimalist, pleasing UI. I opted for a Raspbian Buster install with recommended software, and enjoyed writing a few articles plus editing a podcast episode on my Pi. Ultimately, it felt like using my desktop or laptop, and I experienced few slowdowns. The times my Pi 4 became sluggish were to be expected, as they were instances when I sought to stress test my board.
Raspbian Buster Installation and Review - Final Thoughts
Although Raspbian Buster might not appear drastically different than its predecessor in Raspbian Stretch, surface-level changes foster an increasingly modern aesthetic that feels less cluttered. Available software such as Audacity, "Quake 3," VLC, Kodi, and Libre Office makes it easy to use the Pi 4 as a desktop. With continued improvements to Raspbian, and a beefy little board in the Raspberry Pi 4, I've found the Pi able to handle most workday tasks, and may begin using it as my go-to work machine when I'm not on my laptop. This lets me use my Ryzen 5, GTX 1060 rig for more intensive tasks such as video editing and gaming. Though other OSes for the Pi are available and will soon launch, including Kali Linux, Raspbian Buster is extremely easy to install, robust, and well optimized. I'll definitely keep using it as my primary Raspberry Pi 4 desktop OS.
Your turn: What Raspberry Pi 4 operating systems are you using?

Moe Long is an editor, writer, and tech buff with a particular appreciation for Linux, Raspberry Pis, and retro gaming. Writing online since 2013, Moe has bylines at MakeUseOf, TechBeacon, DZone, SmartHomeBeginner, DEV.to, DVD Netflix, and Electropages. You can read his writings on film and pop culture at Cup of Moe, check out his tech reviews, guides, and tutorials at Tech Up Your Life, and hear his thoughts on movies on the Celluloid Fiends podcast. Aside from writing and editing, Moe has an online course, the Beginner's Guide to Affiliate Blogging From Scratch. When he's not hammering away at his keyboard, he enjoys running, reading, watching cinema, listening to vinyl, and playing with his dog Sebastian.


Leave your feedback...