
Getting Started With Flint OS on Raspberry Pi: Flint OS Raspberry Pi Installation and More
The Raspberry Pi is arguably the most popular maker board on the market. While many Raspberry Pi alternatives exist, a strong community, tons of software options, and a bevy of accessories make the Pi a fantastic single-board computer (SBC). Although there are loads of Raspberry Pi operating systems (OSes), few are cloud-based. Check out Flint OS Raspberry Pi installation, first set up, and a hands-on look!
Flint OS on Raspberry Pi:What is Flint OS?
Similar to Chromium OS, Flint OS is an open-source version of Chrome OS. Adopting cloud technology for a browser-centric desktop experience, Flint OS is engineered for speed and security. Since it abides by an Internet-first principle, Flint OS boots up quickly. Though based on the Linux kernel, the primary interface is the Chromium web browser. With a browser engine, there's an onus on web apps instead of more traditional desktop or mobile apps.
Benefits of running Flint OS include its quick boot time, security, and architecture simplicity. You may navigate Flint OS with a variety of input devices from keyboards and mice to touchscreens. There's planned Android app compatibility, and since the OS is cloud-based, you'll see low resource consumption and excellent battery life. Aside from the Raspberry Pi and single-board computers, Flint OS works on x86 PCs as well.
Flint OS on Raspberry Pi pros:
- Cloud-based
- Low resource consumption
- Excellent hardware compatibility
- Simple, secure, fast
Flint OS for Raspberry Pi: What You'll Need
Creating a do-it-yourself Chromium OS computer with Flint OS is inexpensive. You'll need a Raspberry Pi board, power supply, microSD card, and a case. Additionally, peripherals must be used for navigation. All software require is completely free to use.
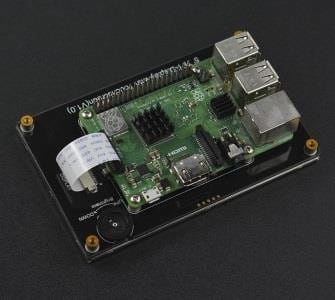
- Raspberry Pi board (Raspberry Pi 4 recommended)
- Power supply
- Raspberry Pi Case (optional, recommended)
- Installation medium (microSD card)
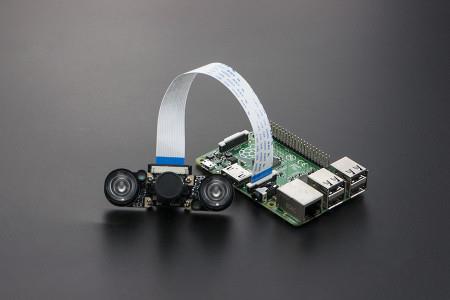
- Peripherals (keyboard/mouse, touchscreen, etc.)
- Extraction software (i.e. 7Zip)
- Image mounting software (i.e. Etcher)
- Flint OS image
Total Cost: $35+. You can purchase a standalone Raspberry Pi 4 board starting around $35 and use existing components you may have, like a keyboard, mouse, USB-C power supply, and microSD card. Or you may pick up an all-in-one kit.
Flint OS Raspberry Pi Installation
First, head over to the Flint OS download page and select the FlintOS ARM image, listed as Flint OS for RPi.
Once that's complete, extract the img.xz file using a program such as 7Zip.
Now, you're left with an IMG file. With an application like Etcher, mount your image file to a microSD card. Wait a few minutes for the image to finish mounting, and you're ready to pop your microSD card into your Raspberry Pi and begin setting up the operating system and using Flint OS on the Raspberry Pi.
How to Install Flint OS Raspberry Pi
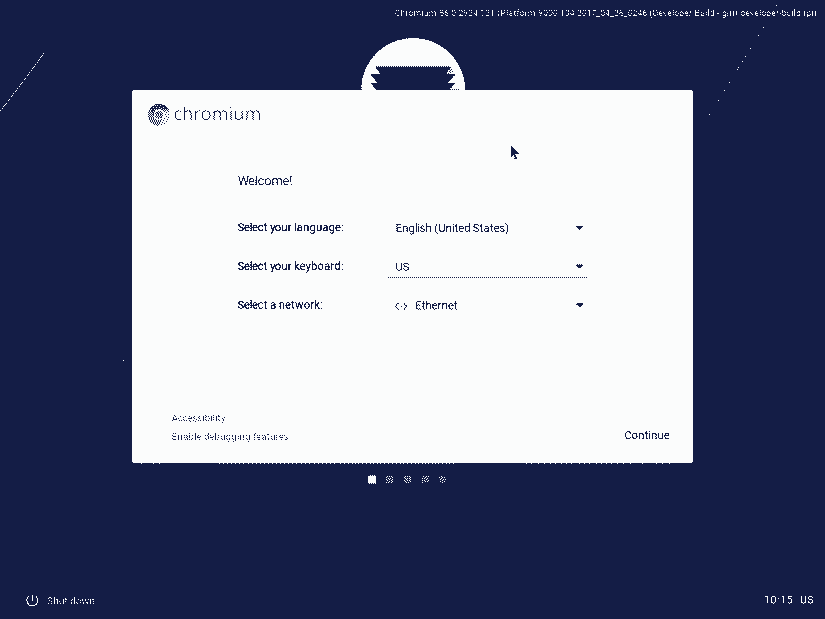
 Take your microSD card with Flint OS on it and place this in your Raspberry Pi. Plug in the power supply and you'll see a Flint OS splash screen. Wait a few seconds for a Chromium welcome screen. First, select your language, keyboard layourt and either ethernet or Wi-Fi. Once you've filled out all of the drop-downs, hit continue.
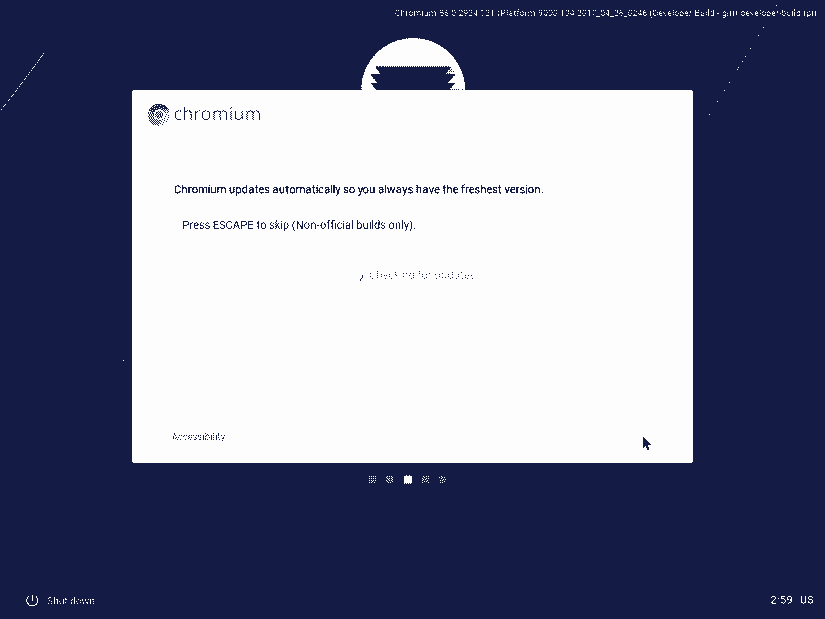
After that, Chromium checks for updates automatically.
Once Flint OS finishes updating, you'll need to sign into Chrome OS with your email address.
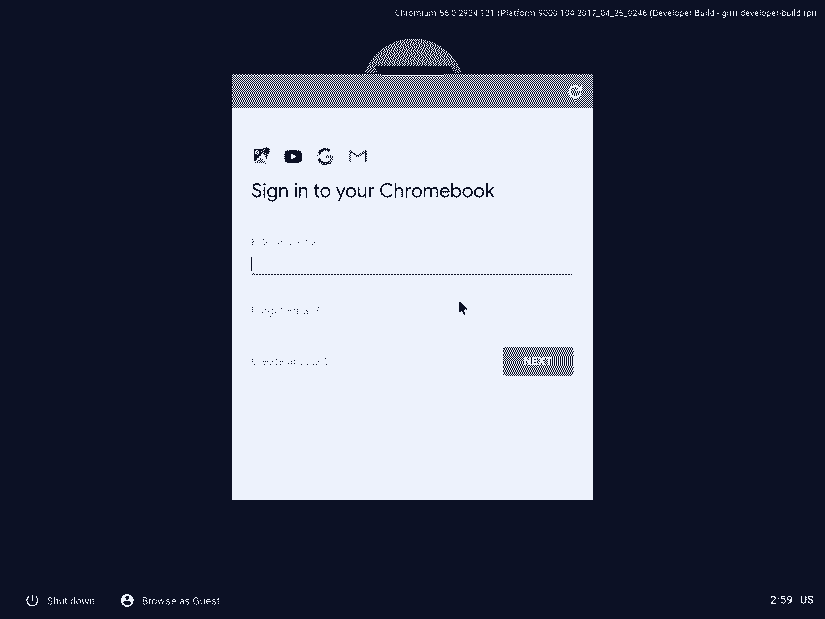
When you've logged in, you're ready to use Chromium OS via Flint OS on the Raspberry Pi.
Flint OS Review: Hands-on With Flint OS on the Raspberry Pi
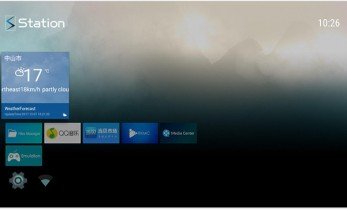
Overall, Flint OS is an awesome, and easy to use, DIY Chrome OS. Installation is incredibly simple. Initial configuration took less than two minutes to complete. The default interface is pretty minimalist, albeit in a user-friendly manner. There's a Flint OS desktop background which comes pre-loaded. In the bottom right hand corner of the screen, you'll find your Google profile pic and the local time. Clicking on your Google avatar yields a settings menu. Next to that, there's a notifications area.

On the left hand side of the screen, there's a circle which opens an apps menu, and next to that a dedicated Chromium web browser. The list of apps which come standard is the usual slew of Google applications: Google Docs, Google Slides, Google Sheets, a file browser, and the Chromium browser among others.

Overall, the experience isn't too unlike Chromium OS. However, when comparing Flint OS vs Chromium OS, I enjoyed Flint OS a bit more. Because it comes with a pre-set wallpaper, the default desktop is prettier than the gray of Chromium OS. Sure, it can be customized, but there's clearly a lot of effort put into Flint OS. As for general use, it's almost identical to Chromium OS. Performance was roughly the same, with snappy navigation and the same apps available.
Don't expect fantastic performance for more intensive tasks like video playback. Still, Flint OS is an affordable means of setting up a Chromebook for basically the price of a Raspberry Pi board. For general web browsing and even light office work, it's an excellent project PC. Since I use Google Docs for much of my writing, I'm inclined to keep a Flint OS microSD card on hand for use as a low-powered desktop.
Flint OS Raspberry Pi DIY Chromebook: Final Thoughts
Boasting an intuitive installation process, a short yet functional set of apps at the ready, and low resource consumption, Flint OS is an excellent operating system for transforming a Raspberry Pi into a Chromebook. Once you begin using Flint OS, it's pretty much the same as Chromium OS. Unlike Chromium OS, Flint OS retains compatibility with x86 PCs for wide-ranging hardware compatibility.
It's able to handle everything from Chromium web browsers with multiple tabs to the Slack web app, and even Chrome apps like Polarr. That's impressive considering the modest power of the Raspberry Pi. Plus, there's planned Flint OS Android apps compatibility in the future. Once Android apps on Flint OS become available, it's slated to become even more useful. This is an operating system ideal for anyone seeking a Chromebook on the cheap. Since input devices such as keyboards, mice, and touchscreens work with Flint OS, you can use a Raspberry Pi touchscreen to make a tablet or even laptop.
Your turn: What Raspberry Pi operating systems are you using?

Moe Long is an editor, writer, and tech buff with a particular appreciation for Linux, Raspberry Pis, and retro gaming. Writing online since 2013, Moe has bylines at MakeUseOf, TechBeacon, DZone, SmartHomeBeginner, DEV.to, DVD Netflix, and Electropages. You can read his writings on film and pop culture at Cup of Moe, check out his tech reviews, guides, and tutorials at Tech Up Your Life, and hear his thoughts on movies on the Celluloid Fiends podcast. Aside from writing and editing, Moe has an online course, the Beginner's Guide to Affiliate Blogging From Scratch. When he's not hammering away at his keyboard, he enjoys running, reading, watching cinema, listening to vinyl, and playing with his dog Sebastian.


Leave your feedback...