
Getting Started With Arduino Stepper Motors
Arduino microcontrollers are extremely popular among makers. One of the main reasons is just how versatile the tiny, low-power boards are. Likewise, there are tons of different hardware components available for connecting various devices such as LEDs, servo motors, and a slew of other parts and pieces. Stepper motors are great additions to projects. Learn all about getting started with Arduino stepper motors, from what a stepper motor is to how to program for one!
What is a Stepper Motor and How are They Used?
Before programming a stepper motor, it's important to understand just what a stepper motor is. It's sort of a hybrid of a servo motor and a DC motor. An Arduino-compatible stepper motor may be positioned precisely, and moved backward or forward in single steps or continuously. Stepper motors are pretty common in various electronics such as 3D printers, cameras, and DVD or Blu-ray drives. For instance, a 3D printer may use a stepper motor for exact positioning of the printhead. A camera outfitted with remote zoom functionality or an autofocus feature may use a stepper motor to achieve precise movement. While stepper motors operate similarly to DC motors, they're instead controlled by the application of DC electrical pulses to internal coils that then move the motor, as the name suggests, in steps.
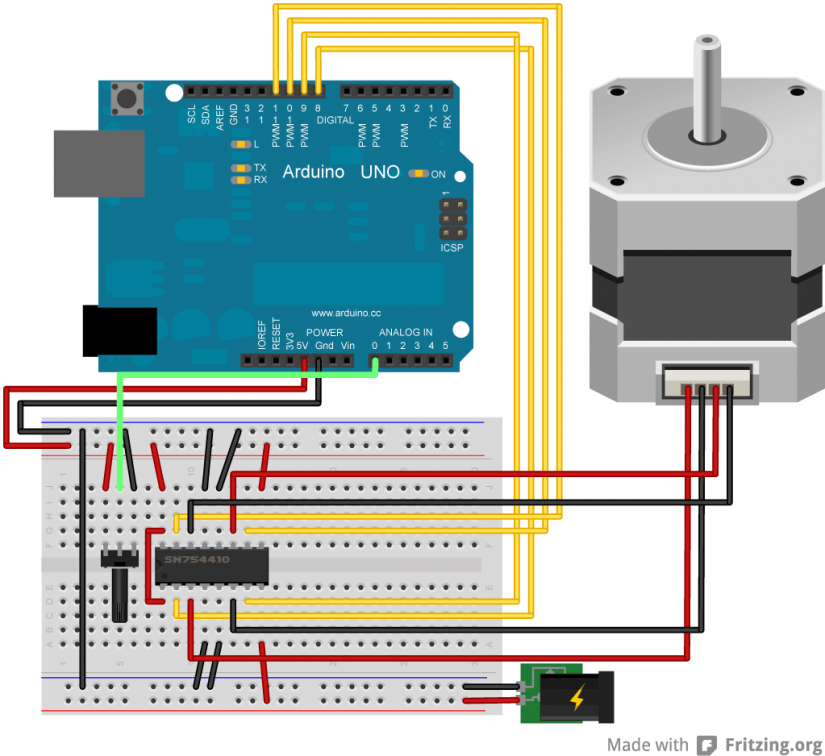
Bipolar stepper motor example. Image source: Fritzing.org, used with permission under the CC-By-SA license
So how do stepper motors work? Basically, a magnetic core is wrapped up in coils that serve as electromagnets. Regardless of the number of physical coils present, most stepper motors typically utilize two coils, or a pair of coils then sub-divided into smaller coils. And coils are connected to positive and negative terminals. Further breaking down stepper motors, you'll find a few different types including bipolar and unipolar stepper motors. A unipolar stepper motor features a set up where only half of every coil is used at a given time. By contrast, a bipolar stepper motor uses two wire coils, each usually with two connections for a total of four connectors. The entire coil is used for increased efficiency, but at the cost of controller complexity since voltage polarity must be reversed. Likewise, unipolar stepper motors might not be as efficient, however control is easier since there's no necessary polarity reversal.
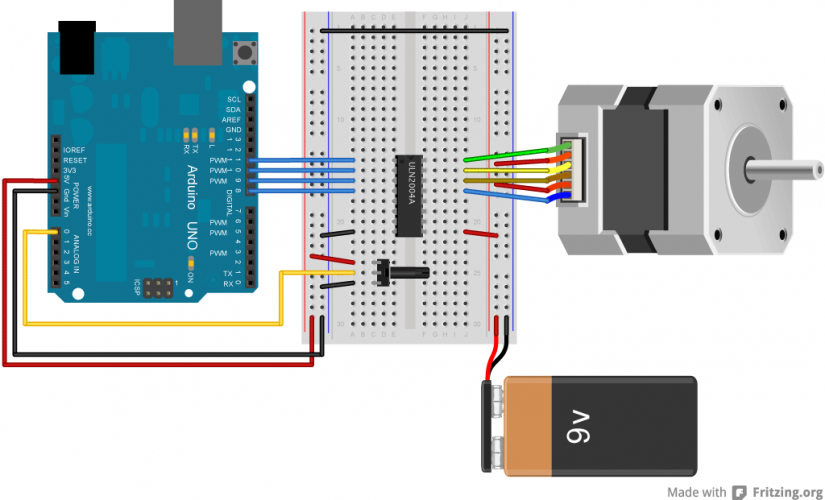
Unipolar stepper motor example. Image source: Fritzing.org, used with permission under the CC-By-SA license
What is a stepper motor: It's similar to a hybrid of a DC motor and a servo motor wherein a motor may be positioned in precise locations moving a step or fraction of a step at a time.
Stepper motor uses:
- 3D printers: positioning the print head)
- Cameras: autofocus, remote zoom)
- DVD and Blu-ray drives: Opening and closing a disc drive
Types of stepper motors:
- Bipolar: Uses all coils, efficient but complex to operate since there's a necessary polarity reversal
- Unipolar: Uses half of all coils, inefficient but easier to operate since it doesn't require reversing polarity
Getting Started With Arduino Stepper Motors
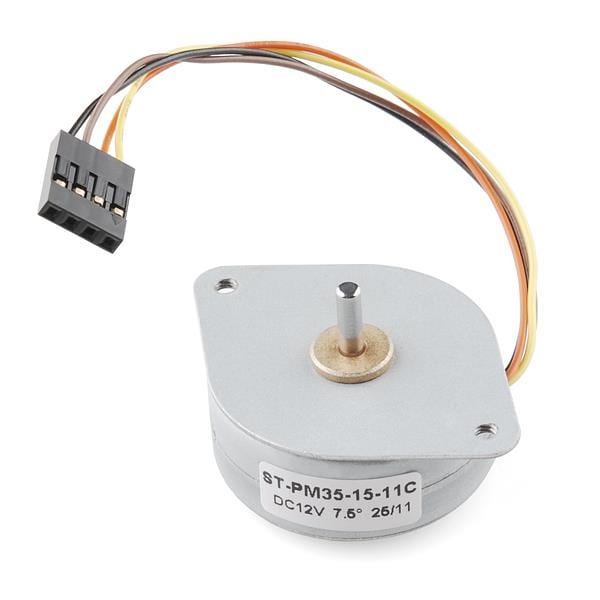
In order to mess around with stepper motors, you'll need a few items. First, an Arduino board. You'll need a stepper motor, 830 tie-points breadboard, a stepper motor driver module, power supply, female to male DuPont wires, male to male jumper wires, and a 9V1A adapter.
Stepper motor parts list:
- Arduino Uno
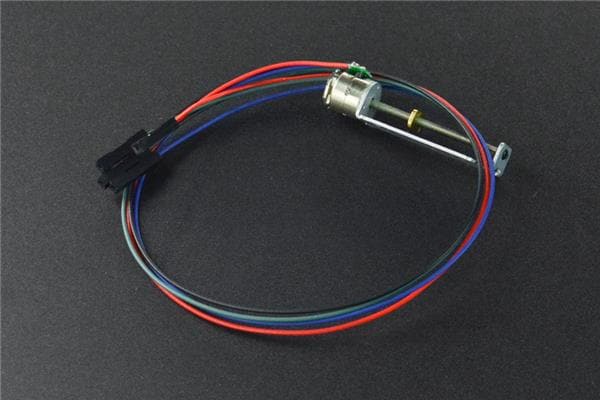
- Stepper motor
- 830 tie-points breadboard
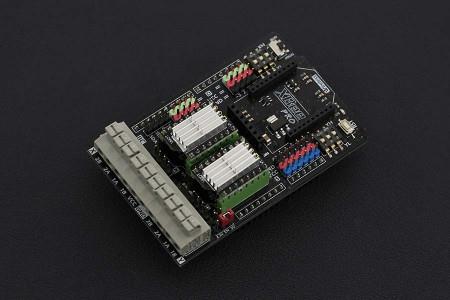
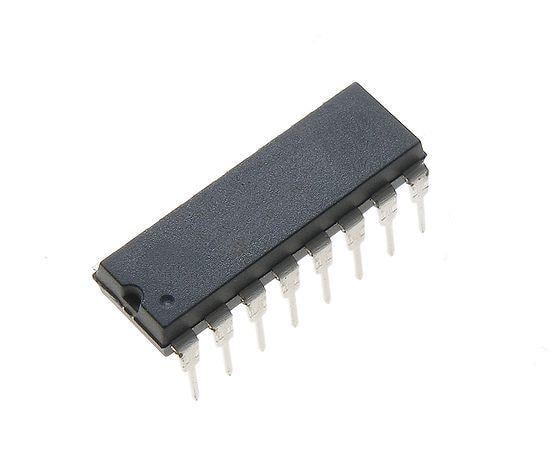
- ULN2003 stepper motor driver module
- Power supply module
- Male-to-male jumper wire (1x)
- Female-to-male DuPont wires (6x)
- 9V1A adapter
For this project, I used components from an Arduino starter kit, more specifically an Elegoo Uno R3 starter kit. You should be able to pick up a complete Arduino pack, or purchase parts piecemeal. Your parts list will vary based on whether or not you're using a unipolar or bipolar stepper motor array. We're looking at a unipolar stepper motor with four controller pins.
Wiring Up a Stepper Motor
There's an Arduino Uno R3, stepper motor, and a breakout board in between. So the physical connections will go: Arduino Uno R3-Breakout board-Stepper motor. In this example, we're using four pins to control the stepper motor itself. Those will be pins 8, 9, 10, and 11 on the Arduino. D8, D9 PWM (pulse-width modulation, a means of lowering the average delivered from an electrical signal), D10 PWM, and D11 PWM hook into In4, In3, In2, and In1 on the breakout board. And ground goes to ground.
Arduino > Breakout board connectors:
D8 > In4
D9 > In3
D10 > In2
D11 > In1
Gnd > Gnd
Then, on the breakout board > stepper motor side, out1 (16) goes to coil 4, out 2 (15) to coil 3, out 3 (14) to col 2, out 4 (13) to coil 1.
Breakout board > stepper motor connectors:
Out 1 (pin 16) > Coil 4
Out 2 (pin 15) > Coil 3
Out 3 (pin 14) > Coil 2
Out 4 (pin 13) > Coil 1
Com 9 > Red com
And the battery/power source must be connected to the +5-12V connector on the breakout board.
Arduino Stepper Motor Code
After you've hooked up all of your components correctly, you'll need to use code to actually program your Arduino stepper motor. You can write your own from scratch, or use sample code. Here's a bit of sample Arduino stepper motor code, stepper_oneRevolution, straight from the Arduino IDE (integrated development environment):
/*
 Stepper Motor Control - one revolution

 This program drives a unipolar or bipolar stepper motor.
 The motor is attached to digital pins 8 - 11 of the Arduino.

 The motor should revolve one revolution in one direction, then
 one revolution in the other direction.


 Created 11 Mar. 2007
 Modified 30 Nov. 2009
 by Tom Igoe

 */

#include <Stepper.h>

const int stepsPerRevolution = 200;  // change this to fit the number of steps per revolution
// for your motor

// initialize the stepper library on pins 8 through 11:
Stepper myStepper(stepsPerRevolution, 8, 9, 10, 11);

void setup() {
  // set the speed at 60 rpm:
  myStepper.setSpeed(60);
  // initialize the serial port:
  Serial.begin(9600);
}

void loop() {
  // step one revolution  in one direction:
  Serial.println("clockwise");
  myStepper.step(stepsPerRevolution);
  delay(500);

  // step one revolution in the other direction:
  Serial.println("counterclockwise");
  myStepper.step(-stepsPerRevolution);
  delay(500);
}
You can take a look at various attributes such as counterclockwise and change those to clockwise, or alter RPM, the myStepper attribute, and other parts of your Arduino code. That way, you can alter how the stepper motor moves.
Arduino Stepper Motors - Final Thoughts
Although Arduino stepper motors may seem intimidating, they're pretty easy. You can find sample code for stepper motor control in the Arduino IDE, so you don't even need to program anything yourself. It's arguably more challenging on the hardware side getting everything properly connected. But even that's not terribly difficult, as long as you're careful. Stepper motors are pretty useful, and being able to control them will really elevate your maker projects.
Your turn: what Arduino components do you enjoy the most?

Moe Long is an editor, writer, and tech buff with a particular appreciation for Linux, Raspberry Pis, and retro gaming. Writing online since 2013, Moe has bylines at MakeUseOf, TechBeacon, DZone, SmartHomeBeginner, DEV.to, DVD Netflix, and Electropages. You can read his writings on film and pop culture at Cup of Moe, check out his tech reviews, guides, and tutorials at Tech Up Your Life, and hear his thoughts on movies on the Celluloid Fiends podcast. Aside from writing and editing, Moe has an online course, the Beginner's Guide to Affiliate Blogging From Scratch. When he's not hammering away at his keyboard, he enjoys running, reading, watching cinema, listening to vinyl, and playing with his dog Sebastian.


Leave your feedback...