
Getting Started with Arduino Servo
Arduino microcontrollers are incredibly utilitarian devices. From simply blinking an LED to creating robotics projects and smart home gadgets. Adding a servo motor can take your Arduino tinkering to the next level. Learn all about using servo motors with an Arduino, from what a servo motor is to how you can program your Arduino servo, and connecting a servo motor to your Arduino board.
What is a Servo Motor?
A servo motor is a tiny gadget with a shaft that's positionable at particular angles. This is accomplished by programming for a servo motor, therefore sending coded signals that translate to specific functions. Coded signals designate the length of time a servo should remain at a certain angle.
Why are Servo Motors Used?
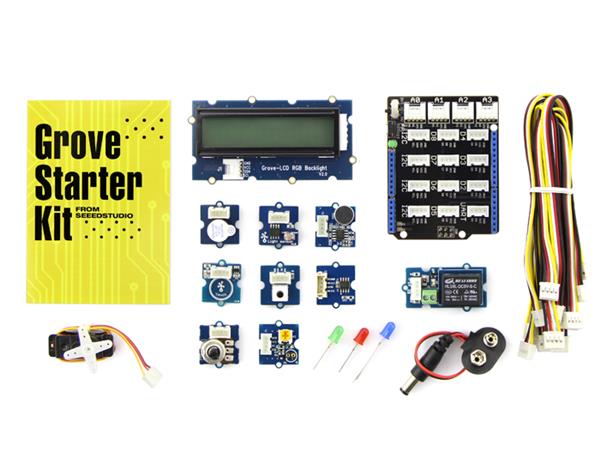
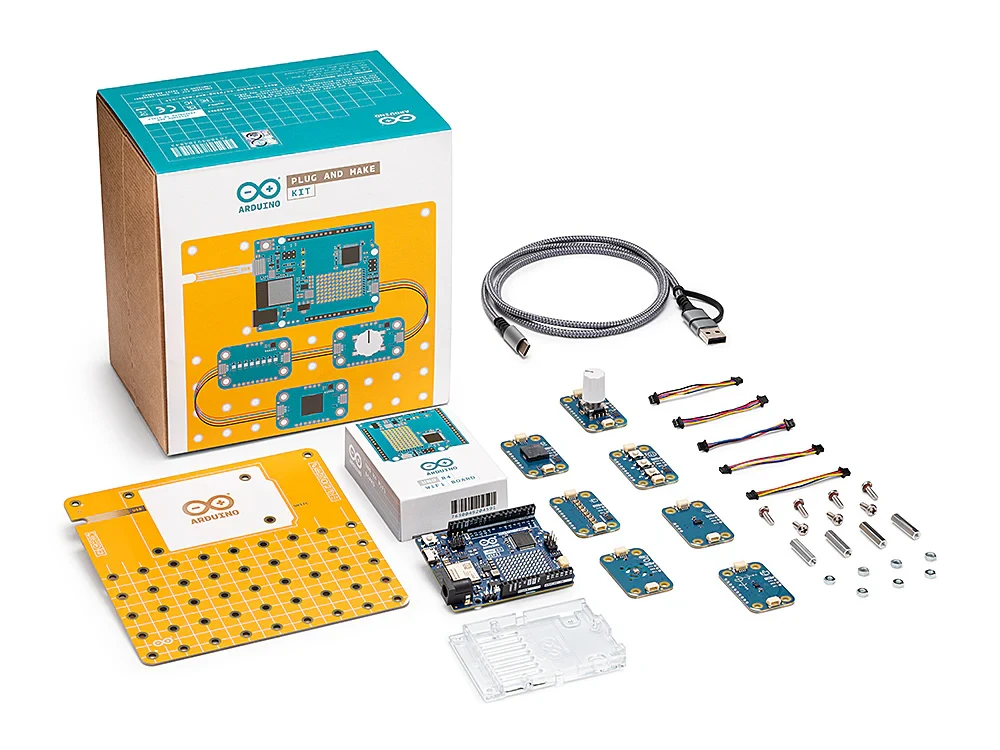
Primarily, servos are employed in various robotics projects. These small motors are incredibly powerful, especially for their miniature stature. Often, you'll find servos in radio-controlled airplane builds, or hobbyist RC boats. But they're right useful for many robotics applications, or even merely as a means of better understanding how Arduino boards, code, and connected I/O (input/output) devices like servos all interact.
How to Connect a Servo Motor to an Arduino
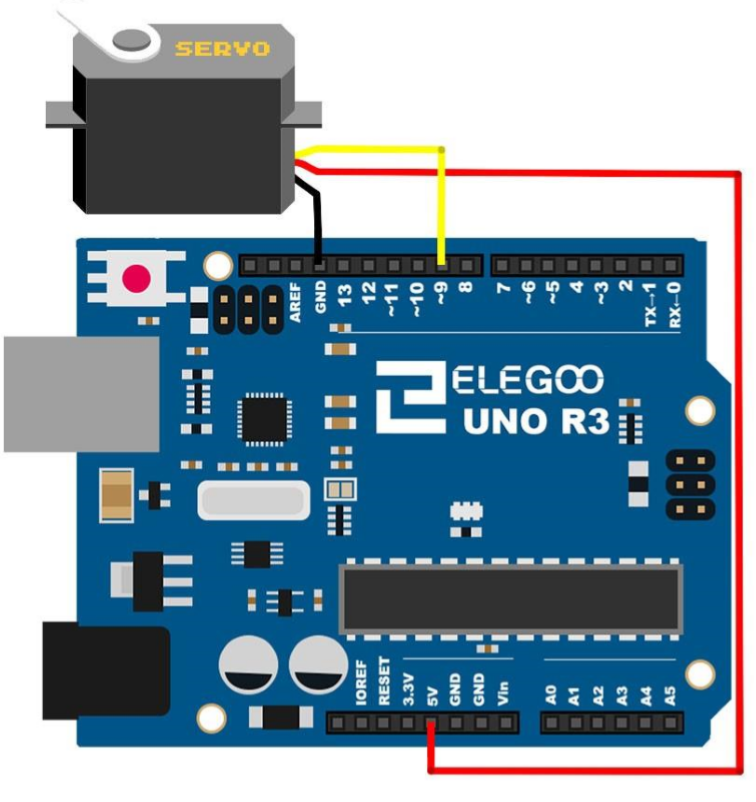
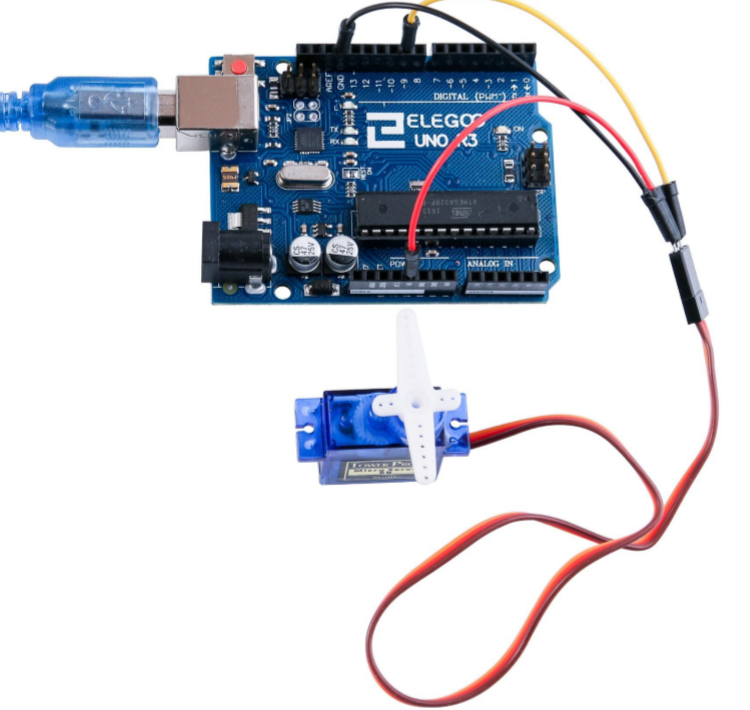
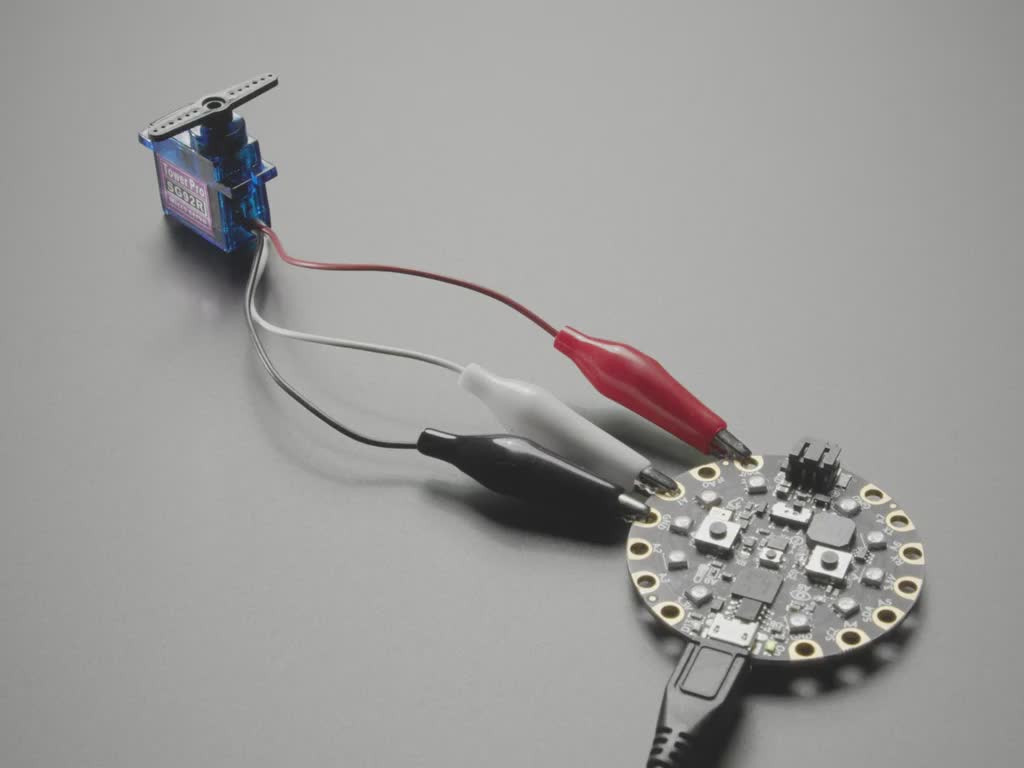
The first step when playing about with servos and Arduino boards is connecting the servo motor to your Arduino. On a servo motor, you'll find a female three-pin connector. Hook up the power cable, typically red, to a 5V connector on the Arduino board.
Next, connect the two remaining pins. Most likely, there's a black wire you'll slot into the GND socket on the Arduino. The final one goes to one of the digital I/O pins.
How to Program an Arduino Servo
Now that you've hooked up your servo motor, it's time to program it. Fire up the Arduino IDE (integrated development environment). The specific code you use will vary based on what you'd like to accomplish. Controlling a servo motor requires programming and inputting variables for the degree of an angle, as well as length of time.
To use your Arduino, you'll need to have the Arduino IDE installed, and your Arduino board synced with your computer with its USB cable. I used an Arduino UNO R3, but other boards and Arduino clones should be fine.
With your Arduino connected via USB, fire up the IDE and head to Tools > Board > Arduino to locate your board. Select the correct serial port with Tools > Serial Port > comX where X is a number.
Add your code into the IDE. Click the checkmark to verify your code. If all is ok, select the right arrow key to upload. Here's a sample code:
// Include the Servo library
#include <Servo.h>

Servo myservo; // create servo object to control a servo
// twelve servo objects can be created on most boards

int pos = 0; // variable to store the servo position

void setup() {
 myservo.attach(9); // attaches the servo on pin 9 to the servo object
}

void loop() {
 for (pos = 0; pos <= 180; pos += 1) { // goes from 0 degrees to 180 degrees
 // in steps of 1 degree
 myservo.write(pos); // tell servo to go to position in variable 'pos'
 delay(15); // waits 15ms for the servo to reach the position
 }
 for (pos = 180; pos >= 0; pos -= 1) { // goes from 180 degrees to 0 degrees
 myservo.write(pos); // tell servo to go to position in variable 'pos'
 delay(15); // waits 15ms for the servo to reach the position
 }
}
In this case, the servo moves from positions 0 degrees to 180 in 1-degree increments, waiting 15ms for the servo to reach its intended position.
Here's an example where a servo motor turns to 0 degrees for one second, then changes to 90 degrees for one second, followed by 180 degrees for a second before returning to 0 degrees.
// Include the Servo library
#include <Servo.h>
// Declare the Servo pin
int servoPin = 3;
// Create a servo object
Servo Servo1;
void setup() {
 // We need to attach the servo to the used pin number
 Servo1.attach(servoPin);
}
void loop(){
 // Make servo go to 0 degrees
 Servo1.write(0);
 delay(1000);
 // Make servo go to 90 degrees
 Servo1.write(90);
 delay(1000);
 // Make servo go to 180 degrees
 Servo1.write(180);
 delay(1000);
}
You can play around with the various components of the code, for instance changing the delay time or degree of angle.
Getting Started with Servos on Arduino - Final Thoughts
Using servo motors might seem intimidating for Arduino newcomers, but it's not at all. Hooking up the physical connectors is really easy, as simple as inserting its three pins properly. Then, add your code to the IDE, verify it, upload it, and watch the magic happen. While you can start by writing code from scratch to program your servo, you can find loads of sample code to start with. That way, you can play around with variables knowing it's going to work out of the box as it should.
Your turn: What are your favorite servo use cases and Arduino components?

Moe Long is an editor, writer, and tech buff with a particular appreciation for Linux, Raspberry Pis, and retro gaming. Writing online since 2013, Moe has bylines at MakeUseOf, TechBeacon, DZone, SmartHomeBeginner, DEV.to, DVD Netflix, and Electropages. You can read his writings on film and pop culture at Cup of Moe, check out his tech reviews, guides, and tutorials at Tech Up Your Life, and hear his thoughts on movies on the Celluloid Fiends podcast. Aside from writing and editing, Moe has an online course, the Beginner's Guide to Affiliate Blogging From Scratch. When he's not hammering away at his keyboard, he enjoys running, reading, watching cinema, listening to vinyl, and playing with his dog Sebastian.


Leave your feedback...