
Getting Started With the ASUS Tinker Board: ASUS Tinker Board Review and Tutorial
There are tons of single-board (SBC) options. The Raspberry Pi is arguably the most popular SBC on the market with loads of official and third-party community support. However, options such as the Odroid XU4 prove excellent Raspberry Pi alternatives. The ASUS Tinker Board is a solid maker board with tons of uses. Learn more about getting started with the ASUS Tinker Board with an ASUS Tinker Board review and tutorial!
ASUS Tinker Board Specs
![]()

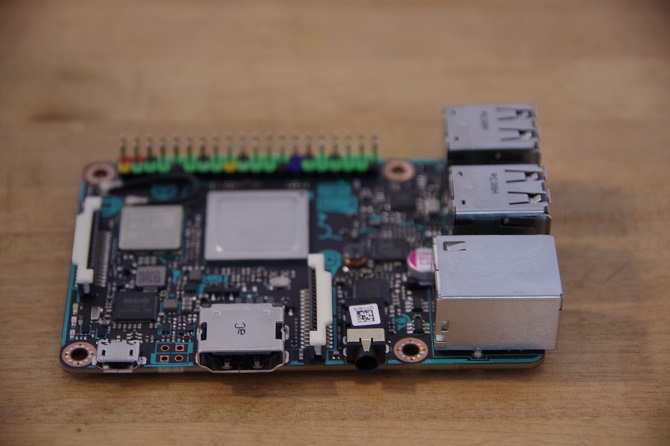
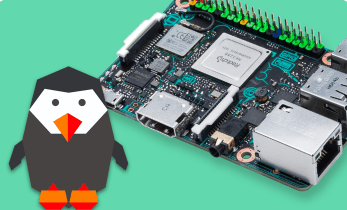
The ASUS Tinker Board comes in two variants: The vanilla ASUS Tinker Board and ASUS Tinker Board S. Its base model comes equipped with a Rockchip RK3288 Cortex-A17 quad-core system on a chip (SoC) processor. You'll see quad-core processing as high as 1.6GHz, and single core processing up to 1.8GHz. There's an ARM Mali-T674 GPU with 4K support over HDMI. Onboard, there's a decent 2Gb of DDR3 RAM.
For connectivity, the ASUS Tinker Board offers 802.11 b.g.n wireless and Bluetooth 4.0. There's a microSD card slot, and four USB 2.0 ports. You'll find a 15-pin MIPI CSI slot as a camera interface, and a 40-pin GPIO header. For power, the ASUS Tinker Board uses a micro USB port and it's compatible with a variety of operating systems (OSes).
Upgrading to the ASUS Tinker Board S adds 16GB of eMMC, a smart audio jack, HDMI-CEC support, and better power management.
ASUS Tinker Board specs:
- Rockchip RK3288 Cortex-A17 quad-core SoC
- ARM Mali-T764 GPU
- Up to 4K video support
- 2GB DDR3
- 802.11 b/g/n Wi-Fi
- Bluetooth 4.0
- 4 x USB 2.0 ports
- 1 x 15-pin MIPI CSI slot
- 1 x 40-pin GPIO header
- micro USB port for power
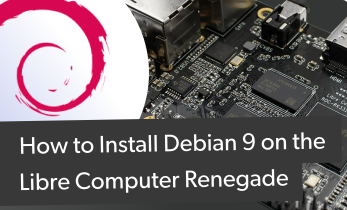
- Compatible with many OSes including Debian Linux
ASUS Tinker Board S specs (same as ASUS Tinker Board plus):
- 16GB eMMC
- Improved power management
- Smart audio jack
- HDMI-CEC
Getting Started With the ASUS Tinker Board: What You'll Need
![]()
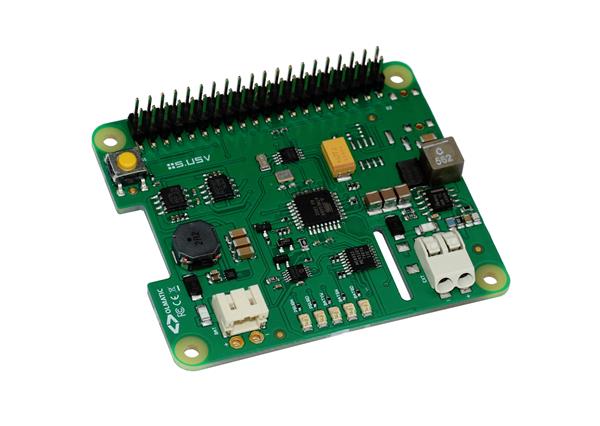
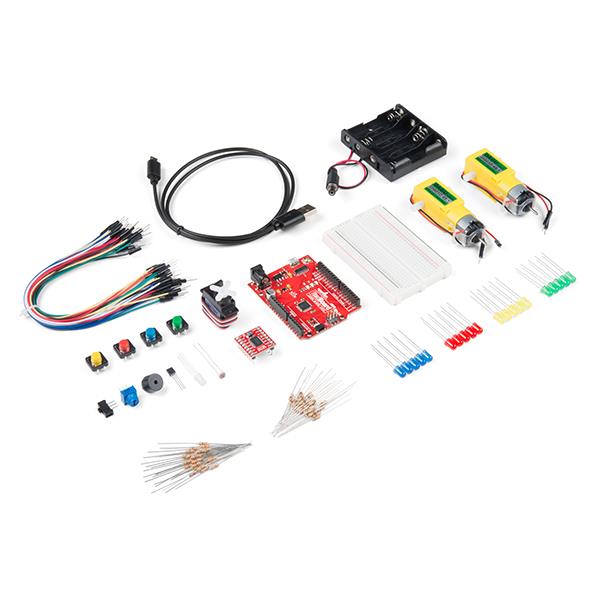
Spinning up ASUS Tinker Board projects is pretty simple. For a basic configuration, you'll only need the ASUS Tinker Board, a microSD card, micro USB power supply, optional but recommended case, input peripherals, and an operating system image.
What you'll need:
- ASUS Tinker Board SBC
- microSD card
- ASUS Tinker Board OS image
- micro USB power supply
- Case (optional, recommended)
Total Cost: For the ASUS Tinker Board, you can snag the board alone for around $57. Then, you can get a kit complete with case, cooling fan, and power supply for $20. That/s around $80 for the Tinker Board. The ASUS Tinker Board S retails for $85, bringing its cost to around $105. Unless you require HDMI-CEC and an eMMC module, the ASUS Tinker Board delivers virtually the same experience as a much lower price.

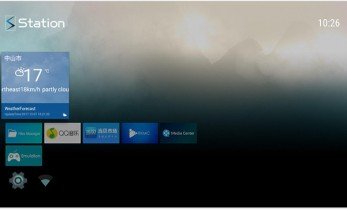
ASUS Tinker Board OS Options
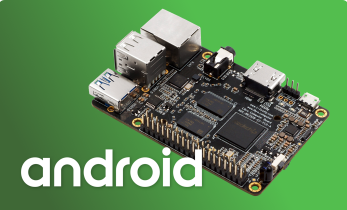
Between official images and community-supported operating systems, there's a bevy of ASUS Tinker Board OS choices. Notably, the ASUS TInker Board boasts Linux compatibility, and you'll find an ASUS Tinker Board Android image as well. For retro gaming, there's an official Lakka image, and an unofficial ASUS Tinker Board RetroPie image as well. Overall, the ASUS Tinker Board best OS option depends on your needs.
ASUS Tinker Board OS choices:
- TinkerOS (Debian stretch-based Linux OS for the ASUS Tinker Board)
- Android 6.01 Marshmallow
- Volumio (audiophile music OS)
- DietPi
- Yocto
- FlintOS for ChromeOS on the ASUS Tinker Board
- Ubuntu/Lubuntu
- LibreELEC for Kodi on the ASUS Tinker Board
- Lakka (retro gaming)
- RetroPie (unofficial retro gaming image for the ASUS Tinker Board)
ASUS Tinker Board Projects: What can You do With an ASUS Tinker Board?
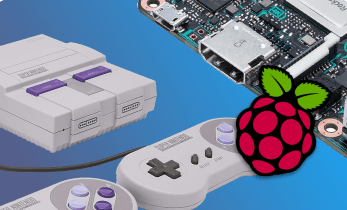
Ok, so what can you actually use an ASUS Tinker Board for? Thankfully, the answer is pretty comprehensive. With its beefy Rockchip Rk3288, the ASUS Tinker Board is perfectly capable of handling intensive tasks such as retro gaming and limited video transcoding. It's more powerful than the Raspberry Pi 3 and Raspberry Pi 3 B+. With 4K video playback, it's a solid SBC for HTPC use. You can also use the make an ASUS Tinker Board server. With its beefy processing power, you can run the likes of Nintendo 64, Sega Dreamcast, and PlayStation Portable titles with ease.
Aside from use as a DIY Chromebook, Linux PC, retro gaming arcade, server, and HTPC, the ASUS Tinker Board provides hardcore maker capabilities. Since there's a GPIO header and MISI MIPI camera interface, the ASUS Tinker Board may be used as the foundation for advanced DIY electronics.
ASUS Tinker Board project ideas:
- HTPC
- Retro gaming
- NAS/server use
- ASUS Tinker Board Chrome OS PC
- Lightweight Linux desktop
- ASUS Tinker Board Android PC
- Maker projects i.e. robotics
ASUS Tinker Board Case Choices, Accessories, and More
Because of its small form factor which retains compatibility with almost every Raspberry Pi 3 case, the ASUS Tinker Board is an awesome SBC. My ASUS Tinker Board kit came complete with its own case, but I tested the Tinker Board in my RetroFlag NESPi case and it ran like a champ. Because of its MIPI camera interface and GPIO header, there are loads of ASUS Tinker Board accessories on the market.
Getting Started With the ASUS Tinker Board
First, begin by installing the ASUS Tinker Board in its case. Depending on which case you're using, set up will vary. Regardless, you'll need an operating system mounted to either a microSD card or, if using the Tinker Board S, the optional eMMC module.
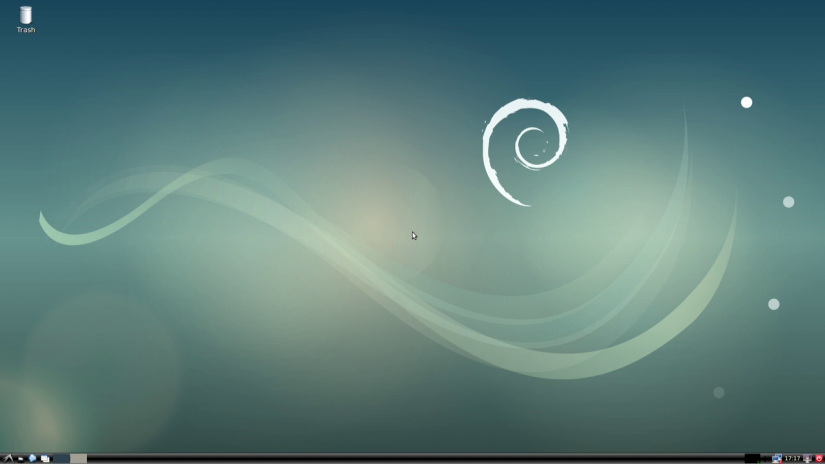
Once you've got your ASUS Tinker Board installed in its case, inserted the bootable media with a compatible OS, plug it in and power on the ASUS Tinker Board. Your device should boot into its operating system. I began with an installation of TinkerOS. It's a Debian-based Linux operating system specifically built for the ASUS Tinker Board. After downloading the image file, I simply burned it to a microSD card using Etcher, popped it into the Tinker Board, and powered it up. The OS booted almost immediately.
I'm impressed with the ease of configuring the ASUS Tinker Board, as well as the amount of compatible OSes, accessories, and cases. It's a powerful little board which won't top the performance of even slightly older x86 PCs, but bests the Raspberry Pi 3 which itself is no slouch. Performance in TinkerOS is snappy, with low resource consumption. I played a few videos, both locally and streamed, and performance was lag-free. Since I've yet to upgrade to a 4K set, I was limited to 1080p, but that's nonetheless impressive for the ASUS SBC.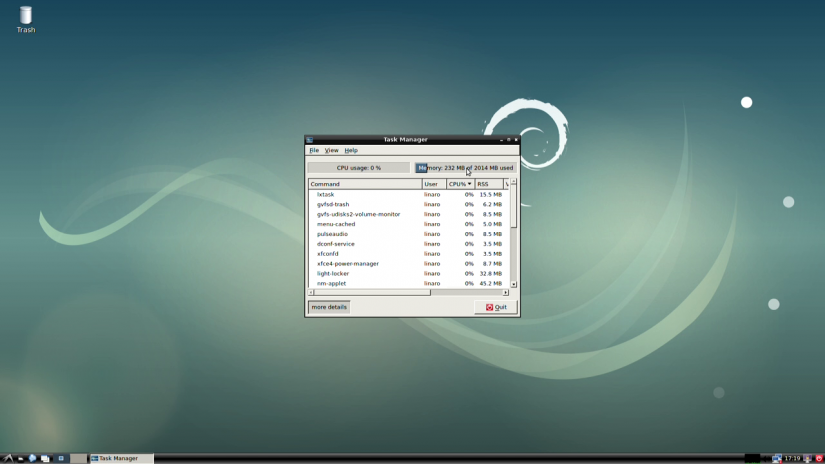
In Geekbench scores, floating-point benchmarks, memory performance, stream benchmarks, and integer scores, the Tinker Board beat out the Raspberry Pi 3. Even the Raspberry 3 B+ with a slight performance gain over the original Raspberry Pi 3 still falls short of the ASUS Tinker Board.
ASUS Tinker Board: Final Thoughts
Ultimately, the ASUS Tinker Board is a superb single-board computer. The tiny devices comes outfitted with a solid processor, GPU, RAM, and connectivity options. It maintains compatibility with tons of popular operating systems as well as many Raspberry Pi cases and accessories. For a beefier SBC than the Raspberry Pi with fantastic software support, the ASUS Tinker Board is a worthy contender.
Your turn: Have you tried the ASUS Tinker Board? What are you using your ASUS Tinker Board for?

Moe Long is an editor, writer, and tech buff with a particular appreciation for Linux, Raspberry Pis, and retro gaming. Writing online since 2013, Moe has bylines at MakeUseOf, TechBeacon, DZone, SmartHomeBeginner, DEV.to, DVD Netflix, and Electropages. You can read his writings on film and pop culture at Cup of Moe, check out his tech reviews, guides, and tutorials at Tech Up Your Life, and hear his thoughts on movies on the Celluloid Fiends podcast. Aside from writing and editing, Moe has an online course, the Beginner's Guide to Affiliate Blogging From Scratch. When he's not hammering away at his keyboard, he enjoys running, reading, watching cinema, listening to vinyl, and playing with his dog Sebastian.


Leave your feedback...