
RetroPie vs Recalbox vs Lakka vs Batocera for retro gaming on the Raspberry Pi
On the Raspberry Pi, there are countless project ideas ranging from an artificial intelligence (AI) assistant to a wall-mounted dashboard, low-powered home theatre PC (HTPC), and even a cryptocurrency mining rig. One of the most popular projects is a retro gaming console. For the Raspberry Pi, RetroPie, Recalbox, Batocera, and Lakka are fantastic retro gaming operating system (OS) choices. Learn more about RetroPie vs Recalbox vs Lakka vs Batocera for retro gaming on the Raspberry Pi!
Which Raspberry Pi is Best for Emulation?
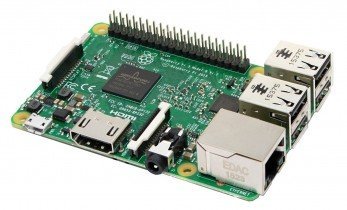
Generally, the most up-to-date Raspberry Pi should work best. In this case, the Raspberry Pi 4. But you'll need to check that there's a compatible image for your preferred Raspberry Pi board. Sega Dreamcast, Nintendo 64, and PlayStation Portable emulation on the Raspberry Pi 4 should function better than on the Raspberry Pi 3 B+ or A+. For pure emulation, RAM isn't really an issue. More RAM benefits performance in multitasking, such as running multiple apps, but won't help games run any faster. I suggest using a Raspberry Pi 4, but the Raspberry Pi 3 B+ should be fine for most titles up through the PlayStation 1, and many N64, PSP, and Dreamcast ROMs too.
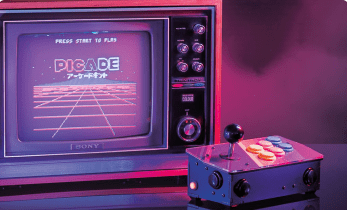
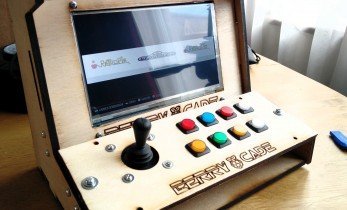
Aside from processing power, which Pi model you pick determines what case options you have. Any Raspberry Pi case should suffice, although a retro option lends an old-school flair. There are the Pimoroni Picade 10-inch and 8-inch cabinets which we loved. The Pimoroni Picade Console is a plug-and-play version with a joystick, arcade buttons, and no screen. RetroFlag offers for the Pi 3 and 3 B+ the NESPi, SuperPi SNES case, a Super Famicom case, plus a Sega Mega Drive/Genesis case. There's also the RetroFlag NESPi 4 case for the Pi 4, and the GPi portable retro gaming case for the Raspberry Pi Zero and Zero W.
Best Raspberry Pi for retro gaming emulation: Raspberry Pi 4
RetroPie on the Raspberry Pi
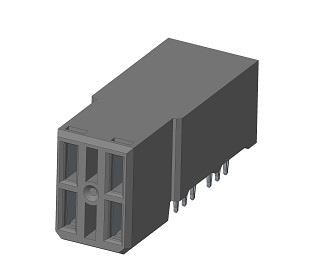
![Retropie]()
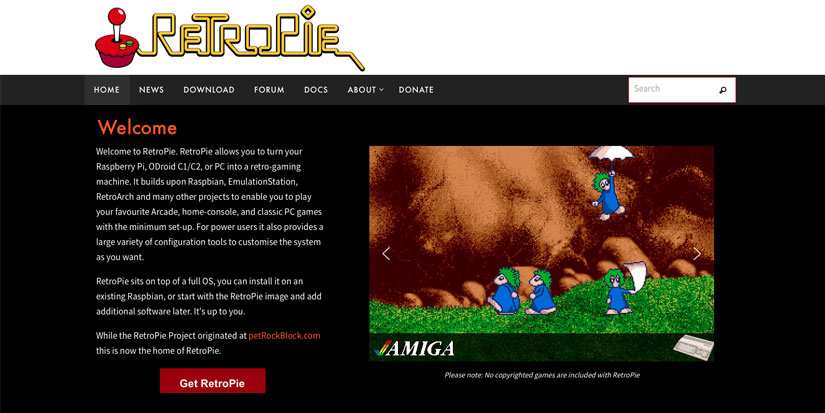
Although it’s not the only retro gaming OS, RetroPie is arguably the most popular. This release uses Raspbian as a base, along with EmulationStation and RetroArch. It’s built upon a full-fledged Linux distribution (distro), or can be installed over Raspbian for a traditional Linux OS desktop environment with RetroPie for gaming. The EmulationStation frontend lends a pretty interface for gaming, and RetroArch, a Libretro API frontend, ensures proper controls. You’ll find a bevy of themes to pick from, more than 50 game systems, and the robust Kodi media center built-in.
RetroPie features
- EmulationStation frontend
- RetroArch
- Kodi media center
- Modular installation: install standalone RetroPie image, or within any Debian-based Linux OS
RetroPie emulators list
- 3do
- Amiga
- Amstrad CPC
- Apple II
- Atari 2600
- Atari 5200 and 8-bit series
- Atari 7800
- Atari Jaguar
- Atari Lynx
- Atari ST/STE/TT/Falcon
- CoCo
- Colecovision
- Commodore 64/VIC 20/PET
- Daphne
- Dragon 32
- Dreamcast
- Famicom Disk System
- FinalBurn Alpha
- GameCube
- Game & Watch
- Game Gear
- Game Boy
- Game Boy Color
- Game Boy Advance
- Intellivision
- Macintosh
- MAME
- Master System
- Mega Drive/Genesis
- MESS
- MSX
- Nintendo 64
- Nintendo DS
- Nintendo Entertainment System
- Neo Geo
- Neo Geo Pocket
- Neo Geo Pocket Color
- Oric-1/Atmos
- PC
- PC-8800
- PC Engine/TurboGrafx-16
- PC-FX
- PSP
- PlayStation 1
- PlayStation 2
- ResidualVM
- SAM Coupé
- Saturn
- ScummVM
- Sega 32X
- Sega CD
- Sega SG-1000
- Sharp X68000
- Super Nintendo Entertainment System
- TI-99/4A
- TRS-80
- Vectrex
- Videopac/Odyssey2
- Virtual Boy
- Wii
- WonderSwan
- WonderSwan Color
- Zmachine
- ZX Spectrum
RetroPie Setup
Setting up RetroPie is incredibly simple. Merely download the image file, mount it to a microSD card, and pop it into the Raspberry Pi. Images are available for the Raspberry Pi 0/Raspberry Pi 1, and Raspberry Pi 2, 3, and Raspberry Pi 3 B+. Then, boot up the Pi and you’re ready to go. Upon initial boot, you’re prompted to configure your controller. After this, it’s a matter of loading your ROMs.
RetroPie Post-installation
After installing RetroPie on your Raspberry Pi, you can make several tweaks. For instance, you can load your ROMs from an external drive or over the network. Plus, you can add custom shaders, specify specific emulators, and set ROMs to launch from an external drive.
Because RetroPie has become the standard for retro gaming on the Raspberry Pi, it’s got a thriving user base with a beefy GitHub and Wiki.
RetroPie Raspberry Pi 4 Compatibility - Does RetroPie Work on the Raspberry Pi 4?
The Raspberry Pi 4 launched on June 24, 2019 ushering in the biggest hardware refresh yet. Raspberry Pi's fourth-generation maker board utilizes a 1.5GHz quad-core 64-bit ARM Cortex-A72 CPU with up to 8GB of LPDDR4. There's also dual-micro HDMI ports for multi-monitor support in 4K resolution. However, by switching to Debian Buster over Debian Stretch, the Raspberry Pi 4 fractured compatibility with previous operating system releases. As such, RetroPie Raspberry Pi 4 compatibility broke. As of RetroPie 4.6, RetroPie does work on the Raspberry Pi 4. There's a standalone beta image, and you can always install RetroPie on top of a pre-existing Linux distribution such as Raspbian or Ubuntu.
Recalbox on the Raspberry Pi
The first impression you’ll have of Recalbox is that it’s incredibly similar looking to RetroPie. That’s because Recalbox also uses EmulationStation and RetroArch. There’s a similar layout from the home screen, although Recalbox employs a custom splash screen, menu music, and main screen. Yet, it’s the configuration and installation where Recalbox diverges from RetroPie. Since RetroPie is older, it features a plethora of community resources. On the flip side, Recalbox is newer.
Recalbox worked with my gamepads out of the box, whereas RetroPie required some configuration. The main difference between RetroPie and Recalbox is customization. RetroPie boasts a bevy of custom shaders, emulator settings, and more. Recalbox does include shaders and scanlines, but adding your own is slightly more complex than on RetroPie. Further, RetroPie features a few more emulators than Recalbox.
Does Recalbox Work on the Raspberry Pi 4?
As of Recalbox 7.0, Recalbox works on the Raspberry Pi 4. And with it comes a slew of new emulators, excellent out-of-the-box controller support, plus a new share partition that lets you easily remove your microSD card to add ROMs to via a laptop or desktop.
Recalbox Emulators List
- Arcade
- Arcade Classics
- Nintendo Entertainment System (NES)
- Family Computer Disk System (FDS)
- Super Nintendo Entertainment System (SNES)
- Sega Master System
- Sony PlayStation
- Sega Genesis
- Nintendo GameBoy
- GameBoy Advance (GBA)
- GameBoy Color (GBC)
- Atari 7800
- Atari 2600
- PC Engine (CD)
- Sega SG1000
- MXS 1/2/2+
- Nintendo 64 (N64)
- Sega 32x
- Sega CD
- ScummVM
- Game and Watch
- Vectrex
- Game Gear
- Virtual Boy
- Lynx
- NeoGeo Pocket Color
- Wonderswan Color
- Neo Geo
- Supergrafx
- Odyssey 2 Videopac
- Amstrad CPC
- Atari ST
- Sinclair ZX81
- Sinclair ZX Spectrum
- PlayStation Portable (PSP)
- Commodore 64 (C64)
Recalbox Setup
![retropie vs recalbox vs lakka vs batocera - recalbox raspberry pi 4]()

Begin with downloading the correct system image for your Raspberry Pi version. There's a Recalbox image for the Raspberry Pi 1 and Pi 0, Raspberry Pi 2, Raspberry Pi 3/3B+, and Raspberry Pi 4. With its out-of-the-box gamepad support, and fewer customization options make Recalbox the best option for beginners.
Recalbox Post-installation
After installing Recalbox, you can once again store your ROMs on an external drive, add them over the network, scrape metadata, and more. Using an external drive is slightly less challenging on Recalbox than on RetroPie.
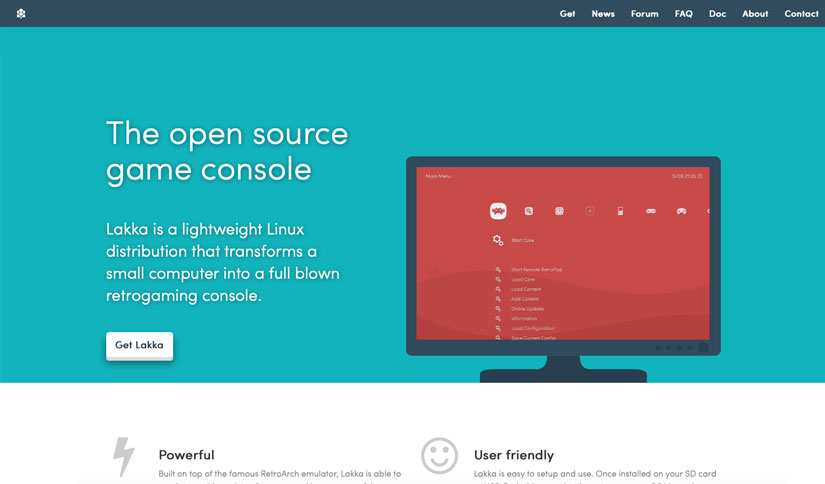
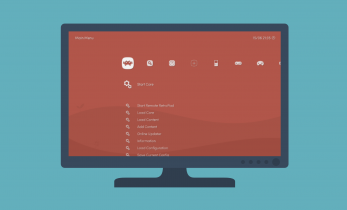
Lakka on the Raspberry Pi
Between RetroPie, Lakka, and Recalbox, Lakka stands out the most. Rather than EmulationStation, Lakka uses RetroArch and the Libretro frontend with an interface mimicking the PlayStation 3 XrossMediaBar (XMB). It’s the most robust option you’ll find, with a bevy of options for shaders, audio, and video tweaks. At times, it’s almost too much.
Does Lakka Work on the Raspberry Pi 4?
Lakka works extremely well on the Raspberry Pi 4. There's a Pi 4 Lakka image available to download, and out-of-the-box performance is great. Since Lakka most closely approximates a vanilla version of RetroArch, it's a nifty pick for the Pi 4.
Lakka Emulator List
- 3DO
- PlayStation
- SNES/Super Famicom
- Nintendo DS
- Arcade
- Game Boy/Game Boy Color
- Sega Master System/Game Gear/Mega Drive/CD
- Lynx
- Neo Geo Pocket/Color
- PC Engine/TurboGrafx 16
- PC-FX
- Virtual Boy
- WonderSwan/Color
- Nintendo 64
- NES/Famicom
- PSP
- Atari 7800
- Atari 2600
- Game Boy Advance
- Atari Jaguar
Lakka Setup
![lakka raspberry pi 4 - retropie vs recalbox vs lakka va batocera]()
Installing Lakka is similar to setting up RetroPie. You’ll need to download the proper image and mount that on a microSD card. Lakka images are available for the Raspberry Pi 0, Raspberry Pi 1, Raspberry Pi 2, Raspberry Pi 3 and 3 B+, as well as the Raspberry Pi 4. Then, it’s as easy as loading your ROMs from an external drive or via the network. I suggest a Lakka Raspberry Pi 4 installation, although a 3 or 3 B+ should offer solid performance.
Lakka Post-installation
This is where Lakka really shines. Whereas RetroPie and Recalbox both require at least a bit of tweaking, Lakka is essentially ready to go sans configuration. Gamepads such as my Xbox 360 remote functioned flawlessly without any button mapping. You won’t need a keyboard for most tasks and accessing save states plus enabling cheats is fantastically simple from the main menu.
Batocera on the Raspberry Pi
A Debian-based Raspberry Pi retro gaming operating system, Batocera features a slew of similarities with Recalbox. It's pretty easy to set up and install, and features RetroArch with the EmulationStation frontend.Does Batocera Work on the Raspberry Pi 4?
Batocera runs like a champ on the Raspberry Pi 4. The standalone Batocera Raspberry Pi 4 image delivers overall improved performance, particularly for tough-to emulate systems such as N64, PSP, and Dreamcast.
Batocera Emulators List
- Amiga 500
- Amiga 500+
- Amiga 1200
- Amiga 4000
- Amiga CDTV
- Amstrad CPC
- Apple II
- Atari 2600
- Atari 7800
- Atari ST
- CaveStory
- Commodore 64
- ColecoVision
- Dreamcast
- FDS (Family Disk System)
- Final Burn Alpha
- Game & Watch
- Game Boy Color
- Game Gear
- Game Boy
- Game Boy Advance
- Intellivision
- Lutro
- Lynx
- Mame
- Master System
- Megadrive
- MSX 1-2-2+
- MSX1
- MSX2+
- Neo Geo
- Neo Geo CD
- Neo Geo Pocket B&W
- Neo Geo Pocket Color
- Nintendo
- Nintendo 64
- Odyssey 2
- DOS
- PC Engine
- PC Engine CD
- PlayStation
- Playstation portable
- PR Boom
- Scumm VM
- Sega 32 X
- Sega CD
- Sega SG 1000
- Super Nintendo
- Supergrafx
- Vectrex
- Virtual Boy
- Wonderswan B&W
- Wonderswan Color
- ZX Spectrum
- ZX81
Batocera Setup
Navigate to the Batocera downloads page. Select the proper image for your Raspberry Pi board. I recommend the Raspberry Pi 3 B+, but installers for the Raspberry Pi Zero/Zero W, 1, 2, and 3 are available. After you've downloaded the correct image, you'll need to use a program such as 7Zip to extract the compressed img.gz file. Then, mount the resulting image file on a microSD card with an app such as Etcher. When burning finishes, place your microSD card into your Raspberry Pi board and fire it up.
Batocera Post-installation
Once you've booted into Batocera, general use is akin to Recalbox or even RetroPie. There are tons of different downloadable themes, and loading ROMs on an external drive is a breeze. Simply navigate to Start > System Settings > Storage Device and choose a specific drive or "any external." Then, remove your flash drive to find a recalbox folder at the root of your external drive. Place your ROMs under recalbox > ROMs.
RetroPie vs Recalbox vs Lakka vs Batocera for retro gaming on the Raspberry Pi: Which Should You Use?
Lakka, RetroPie, and Recalbox each feature strengths and weaknesses.
Ease of Use
Lakka and RetroPie are fairly simple to use, but Recalbox and Batocera win with installation and set up which is incredibly easy.
Winner: Recalbox/Batocera
Customization Options
Lakka contains the most shader options, but it’s an almost overwhelming array of choices. Recalbox and Batocera include the fewest, and RetroPie boasts a moderate amount. Striking a happy medium between too few and too many, RetroPie wins this round.
Winner: RetroPie
Best Out-of-the-Box Experience
RetroPie, Batocera, and Recalbox are pretty similar with their out-of-the-box experience. It’s Lakka that dominates with its extremely polished first boot which doesn’t even require a gamepad configuration. It’s rather user-friendly aside from the boatload of shaders.
Winner: Lakka
Platform Compatibility
Both Recalbox and RetroPie come in packages for several platforms including PCs and Raspberry Pi boards. However, Lakka is available on a ton of platforms from the Pi to WeTek Play 2. Thus, it’s easily got the best platform compatibility of these retro gaming OSes.
Winner: Lakka
Community
Retro gaming operating systems feel synonymous with RetroPie. With its fertile Wiki and GitHub, replete with user feedback, it’s an awesome, resource-rich option. Lakka and Recalbox both feature solid help documents and forums, but RetroPie bests them nonetheless.
Winner: RetroPie
Overall Experience
RetroPie takes the cake here. The scraper is phenomenal and it’s got more emulator options than Recalbox. The EmulationStation frontend handily beats out Lakka, plus it includes a few built-in titles. Moreover, you’ll find the massively popular Kodi media center within RetroPie (it’s also in Recalbox).
Winner: RetroPie
The Final Word
Ultimately, RetroPie, Recalbox, Batocera, and Lakka each cater to different user bases. Lakka is best for power users, while Batocera and Recalbox are top picks for beginners. Then, RetroPie is a good median that should satisfy both power users and novices. Because of its enormous help resources, RetroPie is a good pick for all users.
Best for beginners: Recalbox/Batocera
Best for power users: Lakka
Best overall: RetroPie

Moe Long is an editor, writer, and tech buff with a particular appreciation for Linux, Raspberry Pis, and retro gaming. Writing online since 2013, Moe has bylines at MakeUseOf, TechBeacon, DZone, SmartHomeBeginner, DEV.to, DVD Netflix, and Electropages. You can read his writings on film and pop culture at Cup of Moe, check out his tech reviews, guides, and tutorials at Tech Up Your Life, and hear his thoughts on movies on the Celluloid Fiends podcast. Aside from writing and editing, Moe has an online course, the Beginner's Guide to Affiliate Blogging From Scratch. When he's not hammering away at his keyboard, he enjoys running, reading, watching cinema, listening to vinyl, and playing with his dog Sebastian.


Leave your feedback...