
Pimoroni Picade Build, Hack and Review
In the 1980s, the arcade was where the latest games could be played. Galaga, Donkey Kong, Pole Position and Bombjack to name but a few. These classics swallowed many 10p/25c as we craved to beat that boss and top the high score table. With a new decade came more home consoles that could rival the power of the arcade, and slowly the arcade lost out as the new millennium encroached. But all is not lost! Old arcade cabinets can be picked up for a few hundred dollars, and you can restore them back to their former glory, if you have the time and the skill required. But most importantly we need the space to store these leviathans of wood, electronics and metal.
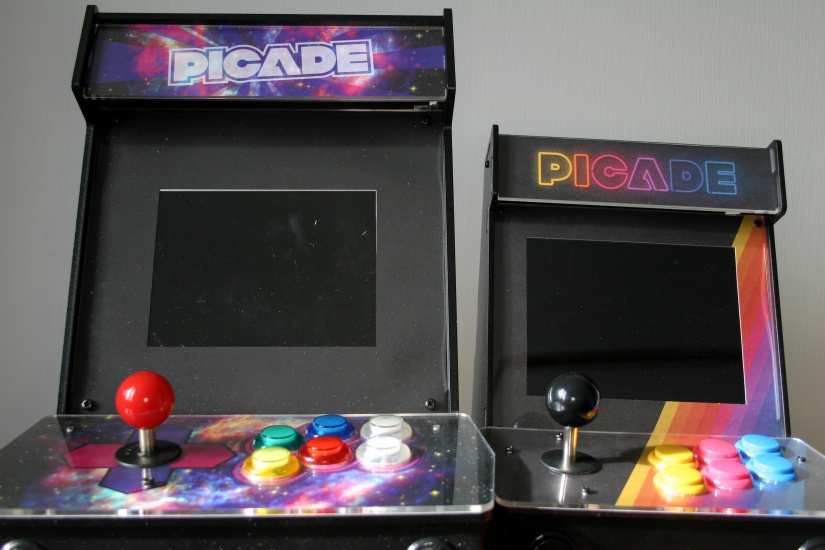
This situation is where bartop, smaller arcade cabinets that sit on top of the ‘bar’ have proven popular. They can be stored away when not in use and offer the full experience, minus the chewing gum on the floor and that kid from your street who hogs Street Fighter 2 all day! But even these cabinets are too big, so what next?
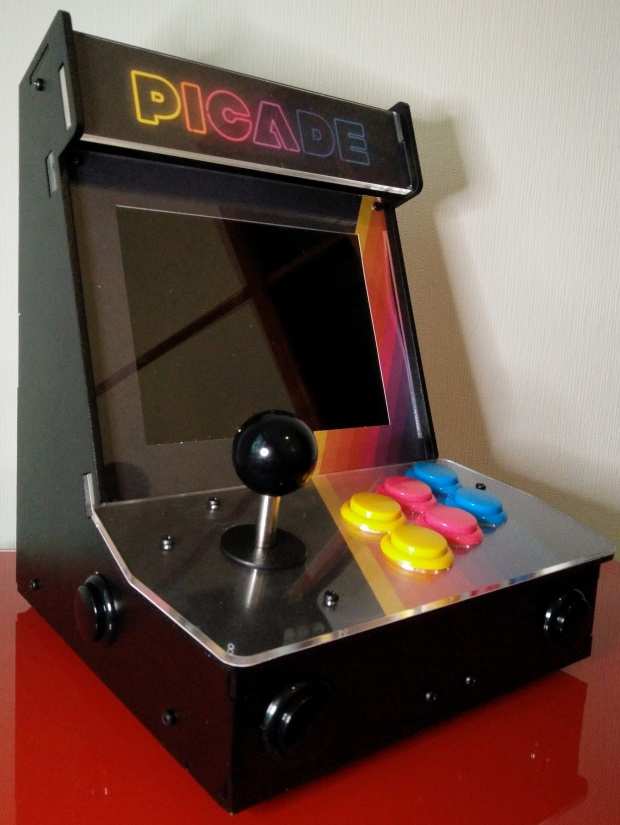
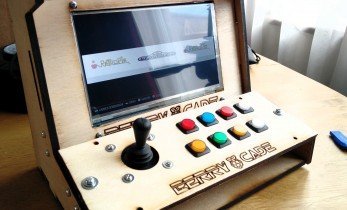
Well, the new Picade from Pimoroni is even smaller than a bartop, yet still packs enough power to emulate every home console and the majority of arcade releases up to the millennium. Thanks to the Raspberry Pi 4. Pimoroni kindly provided Electromaker with a review unit, and we spent a day building it.
What’s in the box?
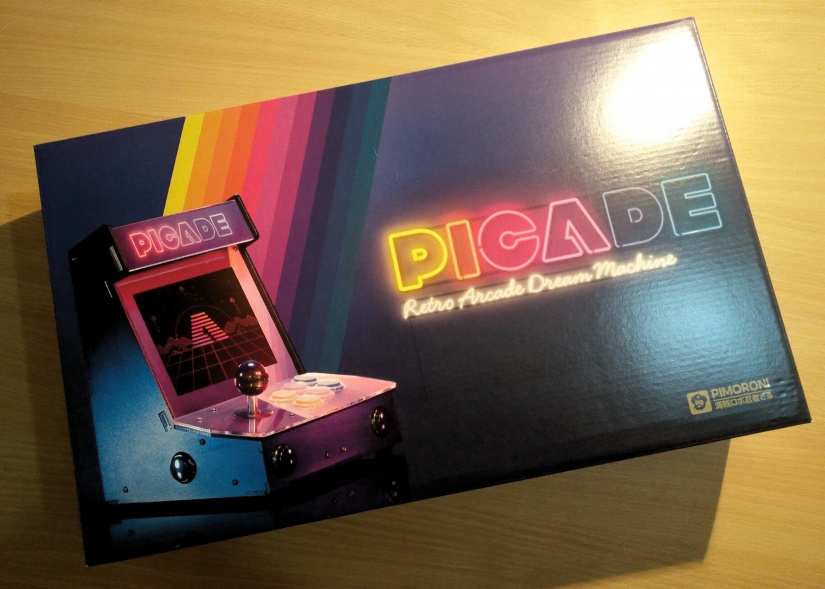
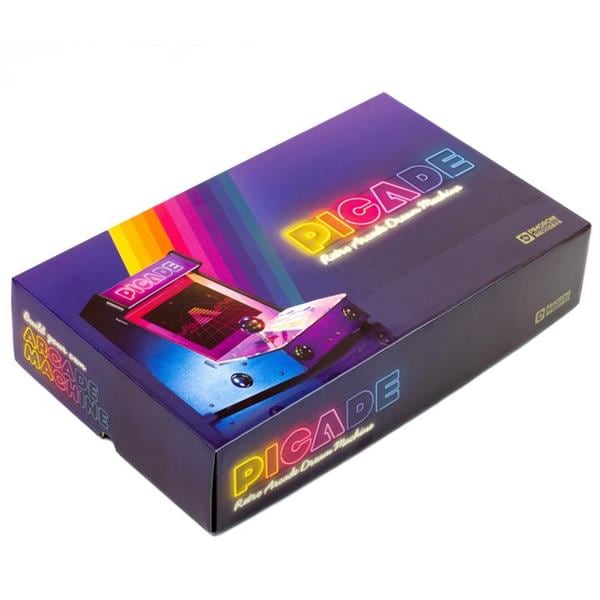
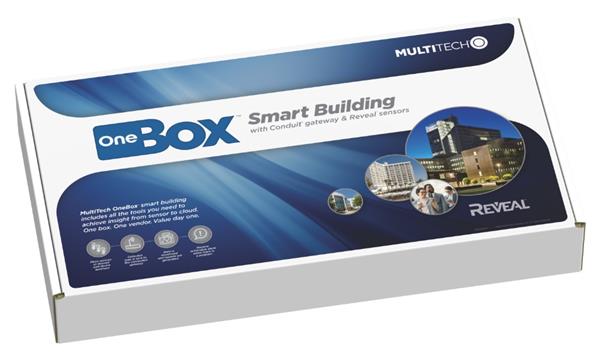
The new Picade comes in a lovely box. I know that might sound a little strange to say, but the box has ‘shelf appeal’ which means traditional bricks and mortar retailers are likely to stock the kit, and make the Picade something that your nan would pick for your Christmas present.
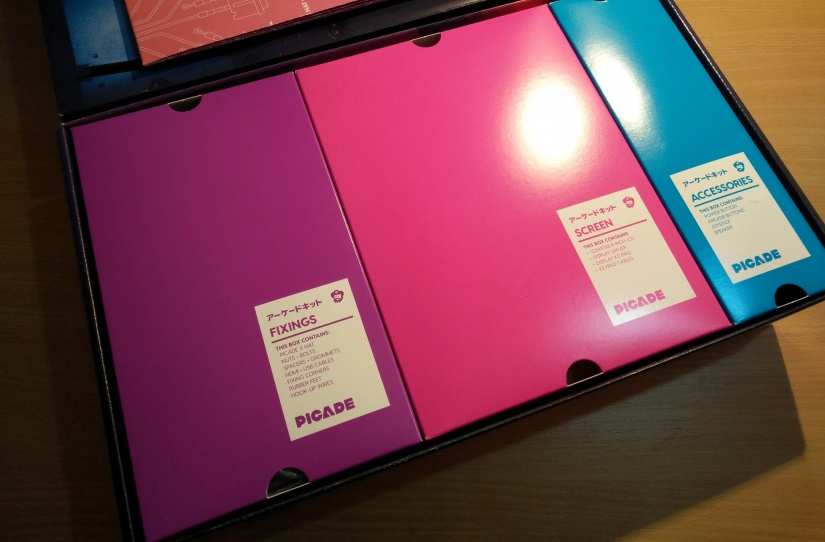
Inside the box we have four coloured boxes containing the screen, joystick/buttons, fixings and the black powder coated MDF shell of the cabinet. Again the attention to detail is impressive and these boxes make it super easy to find the bits that you need. A slight criticism of the fixings box, the screws were not marked (M2.5, M3, etc.) which may confuse some builders.
Assembly
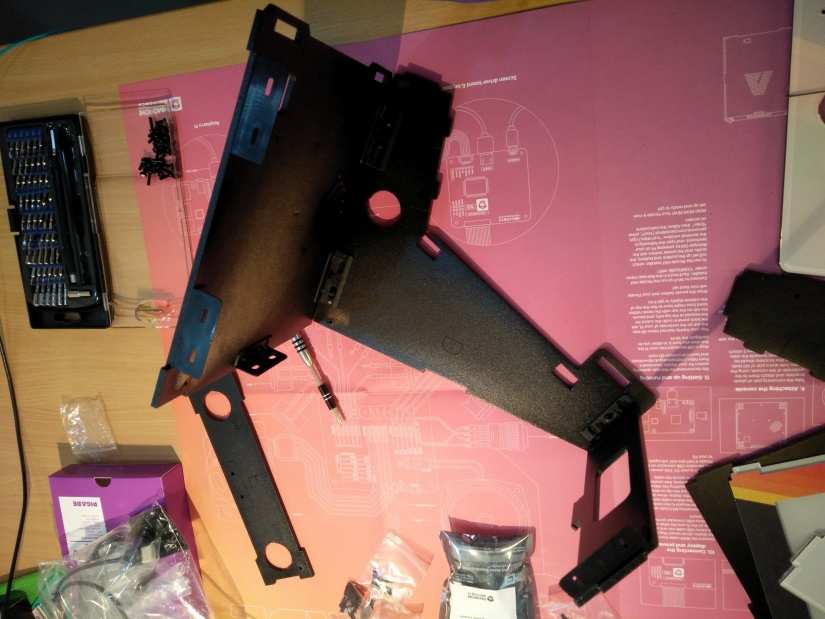
To build the Picade cabinet we need nothing more than a cross-head and flat blade screwdriver, some pliers and around 3 hours of time, or slightly longer if like us you make a few mistakes along the way (remember that learning from mistakes is a key maker skill!) such as putting the cabinet sides on incorrectly so that our cabinet was back to front.
Yes, we put the base plate, part A on the wrong way. So we undid four screws, rotated it 180 degrees, and now the front panel is on the front, not the back!
We fixed it! Overall the process is immense fun and quite a workout for your grey matter. This would be a great build for families to work on together around the dining table.
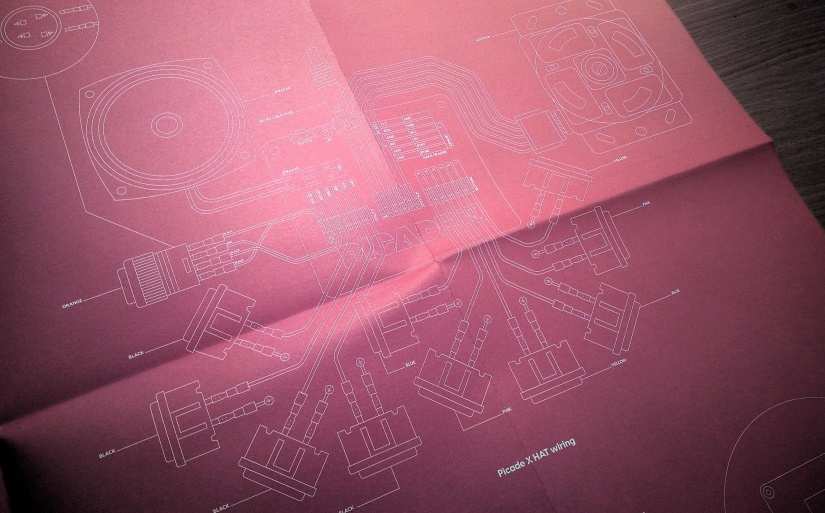
The build process is detailed on the included wall chart/poster, and 90% of the time it was easy to follow. A few times we stumbled, such as the orientation of the side panels in relation to the image for Step 1. This caused us to place them on the wrong way. But further down the page there was an image which shows how our cabinet should look after each stage, a little annoying but no real issue. Another annoyance is the illustration for step 8, it shows the screen controls (menu, power, etc.) but step 8 refers wiring the power and the speaker, in fact, it is step 10 where we connect the menu controls.
But these niggles are cleared up thanks to Pimoroni releasing their own build tutorial video which takes you through every step of the process … the right way!
But just for fun we recorded our own time-lapse video where Les makes a few mistakes during his build.
Components
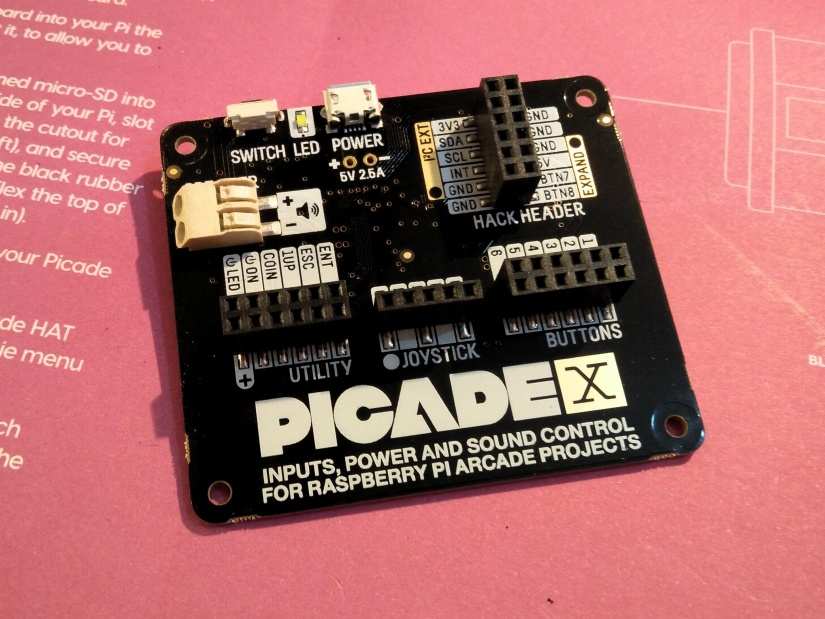
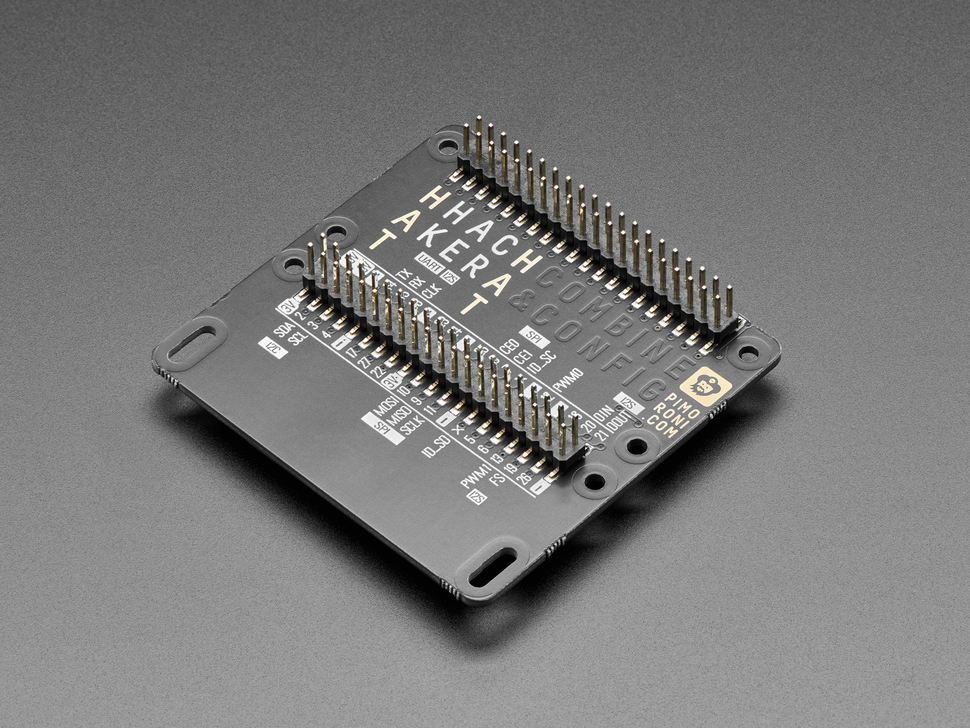
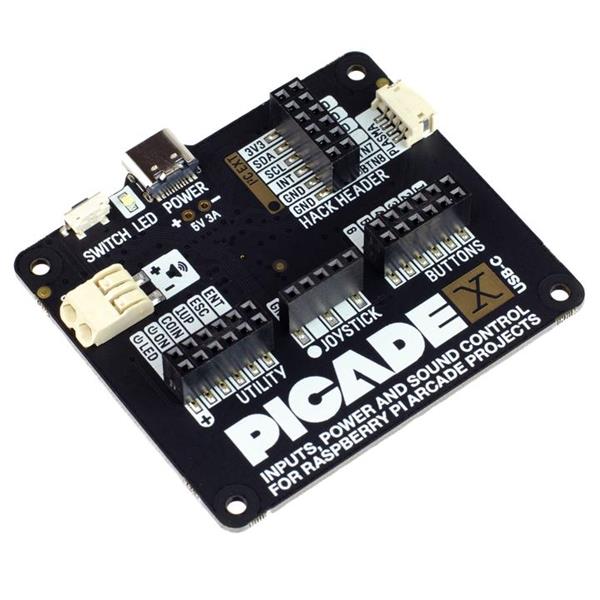
In the box is everything that you need, except for a Raspberry Pi and power supply. For the new Picade, Pimoroni recommends using the Pi 3 and a 2.5A power supply (be it via the micro USB port or via your own connection to the two pins just behind the micro USB port), as power feeds into the PicadeX HAT and powers the Pi and screen. Speaking of PicadeX, the new HAT that controls everything is this board, and it is much better than the previous version. The PicadeX board has connections for the eight-way microswitch joystick (we love the sound of clicky arcade joystick) is sturdy and features a single breakout connection that covers every switch in the stick. In previous versions we saw individual switches broken out and requiring a daisy chain of connections to link them together.

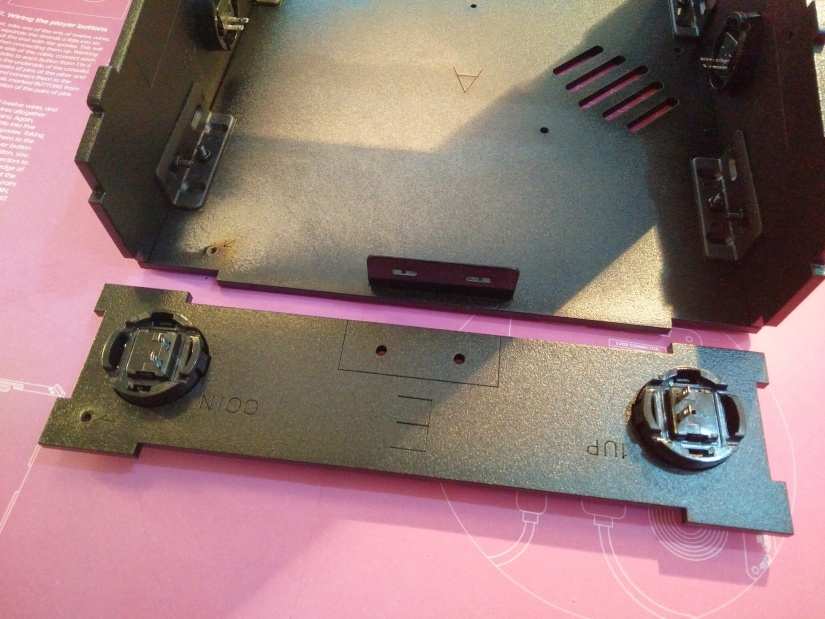
Buttons are 30mm in diameter and offer a soft yet responsive input. Being simple momentary switches, wiring up these buttons is simplicity and no polarity is to be noted.
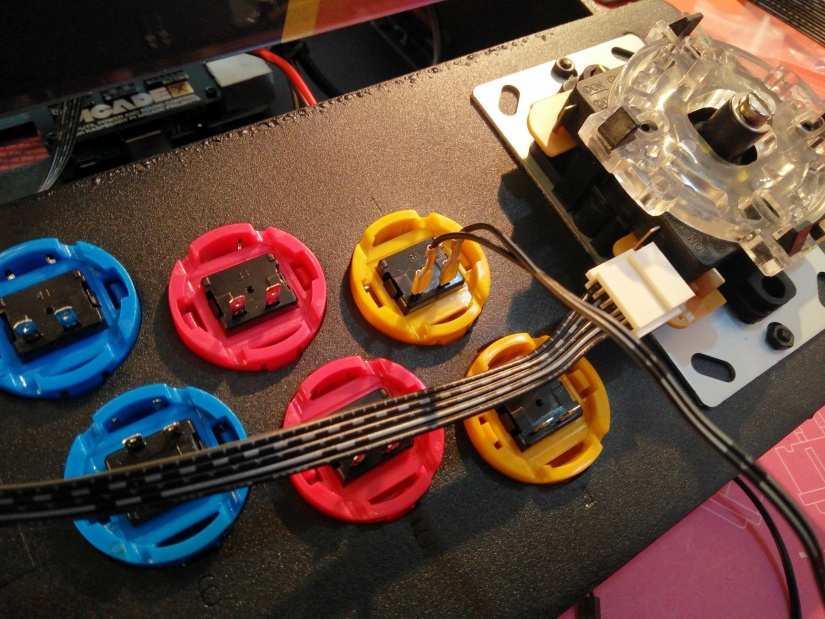
The lack of ‘clicky feedback’ is a shame, but as already said, the buttons are responsive, even to the lightest touch. As for sound, we have a loud and bright speaker, and yes we can directly connect our speaker to the PicadeX board so no need for a separate audio board. This does mean that audio is only available via this output, as the screen does not have any speakers, and audio is not routed via the HDMI port.
Expansion/Hacking is via a hacking header; we can add more buttons (for those multi-button fighting games) or add extra components via the I2C interface. The PicadeX HAT attaches to the GPIO of the Raspberry Pi, and it is only compatible with 40 pin GPIO boards, which is any board released after the 2015 B+.
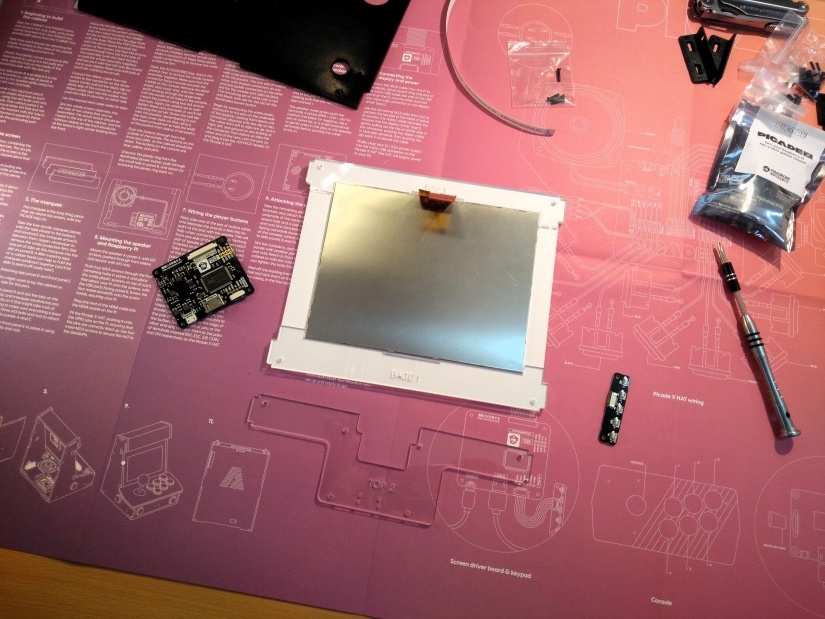
The screen used in Picade (2018) is the same size, 8 inches, as found in the previous version. But the 2018 version has a resolution of 1024 x 768, opposed to the previous 800 x 600 and the new screen is IPS (In-plane Switching) which offers a clearer and brighter display with much better viewing angles.
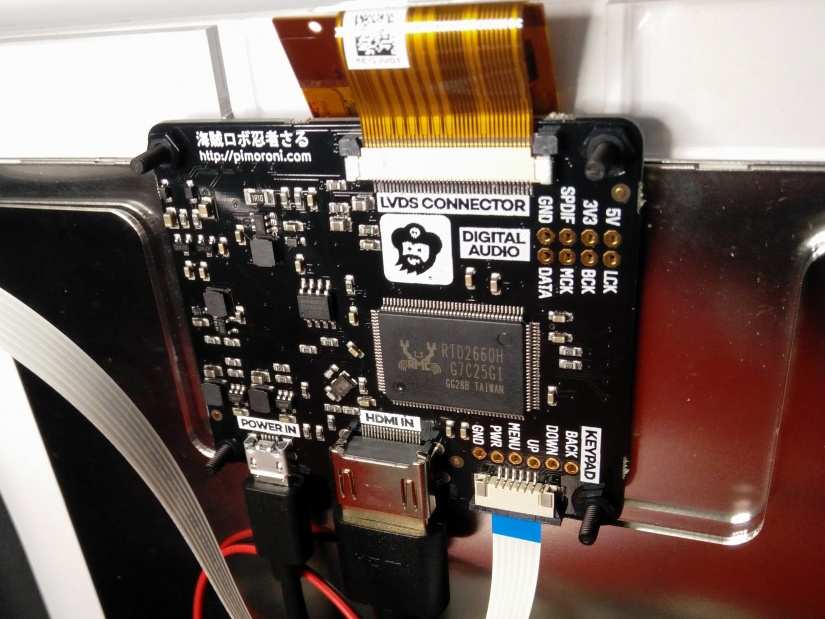
The screen attaches via a flat flex ribbon cable to its own control board, designed by Pimoroni, which takes the HDMI signal from the Pi and converts into something that the screen understands. This is thanks to the ubiquitous RTD2660H chip present on the board.
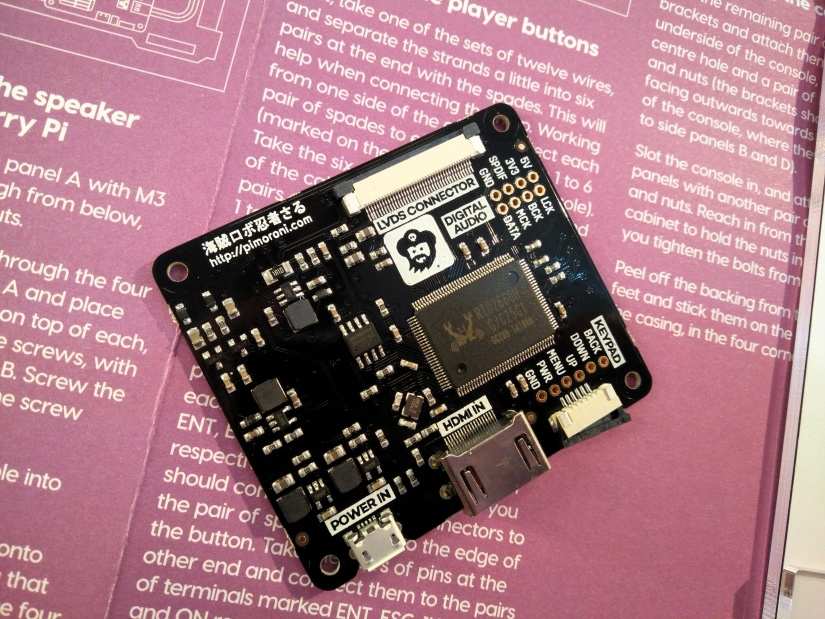
This chip from Realtek can be found powering many different screens and projects. Even Adafruit use this chip in their screens. The screen driver board also connects to a keyboard via another flat flex cable (present in the screen packaging, so don’t throw it away!) The keyboard is our screen menu controls, and we can change the input source, alter the menu, and turn the screen on / off.

So can I hack it?

Yes, you can! All of the buttons used are 30mm in diameter and these can easily be found via websites such as Arcade World UK or via eBay/Aliexpress. So if you fancy adding illuminated buttons or microswitched buttons, then you can! We picked up a Kori translucent pink bat top handle to replace the black ball top of the joystick, and we purchased Seimitsu PS-14 30mm snap-in buttons in pink, yellow and blue. To match the Pimoroni retro colour scheme. Please note that if you are looking to add illuminated buttons, then you will need to make sure that they are 3V/5V compatible LEDs, otherwise you risk them burning out.
The first boot
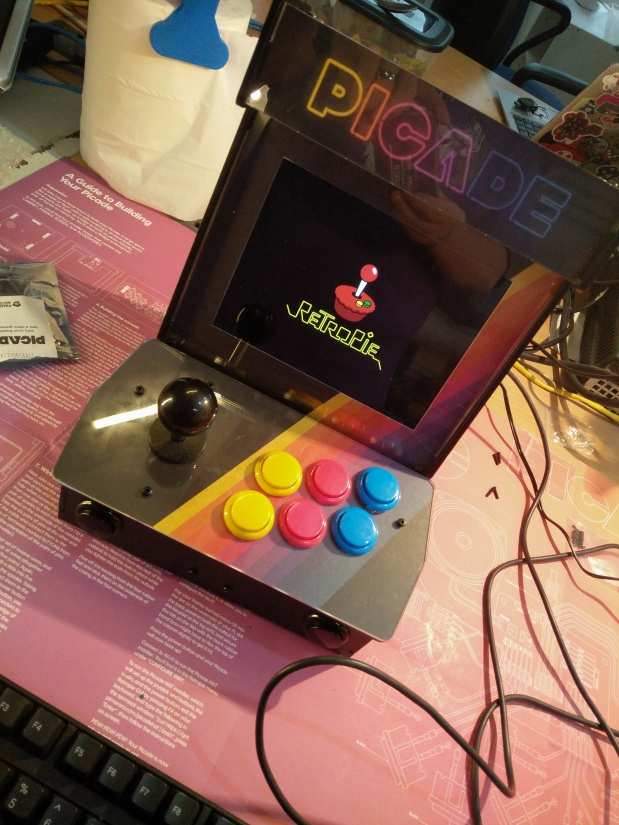
With the hardware built, now is the time to power up, and for the first boot it is prudent to plug in a USB keyboard and plug in an Ethernet cable for Internet connectivity.
But “What are we booting?” we hear you cry. For Raspberry Pi-powered arcade cabinets, the best choice is RetroPie which is nothing to do with Pimoroni, but it is an excellent piece of software. Download RetroPie and flash it to a 16GB micro SD card.
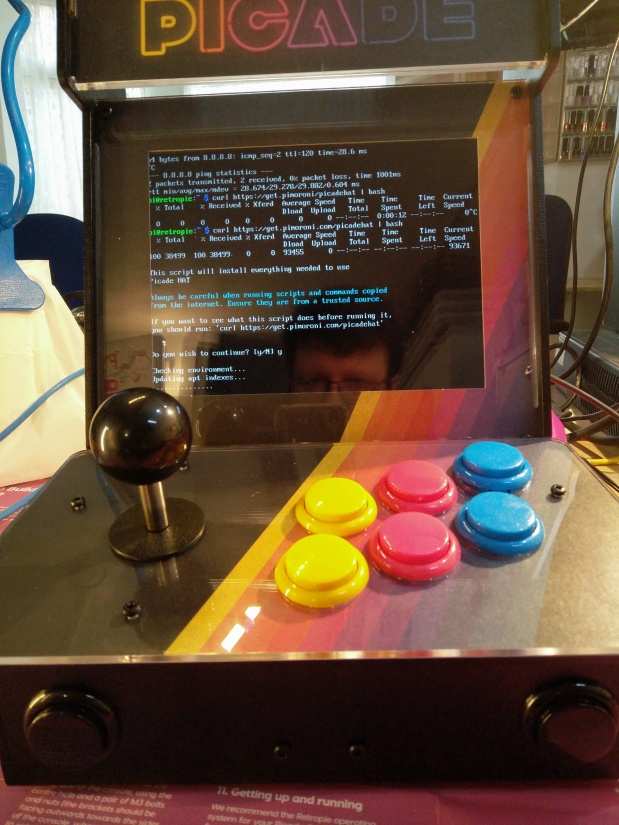
When we first boot up RetroPie it will ask us to setup our gamepad, in this case, the arcade controls. But before we do that, press F4 and you will be in the terminal. To make setting up the PicadeX easier, Pimoroni has created a software patch that we can download and run from the terminal. All we need to do is type
$ https://get.pimoroni.com/picadehat | bash
And it will run the installer for us, handy! The Picade will reboot and we can now set up our controls. As RetroPie is made to work with many different consoles/computers, there will be buttons/trigger/analog sticks that we do not need to use, and so we can just press and hold any button to bypass that option.
Once booted into RetroPie, you won’t see much … as we need ROMs (files that contain the code needed for games) to put into the folders present on the micro SD card. At the time of writing, ROMs have moved from being a ‘grey area’ or quasi-legal abandonware and Nintendo is now actively pursuing sites that offer their ROMs.
Conclusion
Picade is immense fun, the build process has a few niggles but it does not detract from a great experience. Every step of the way we learn how things connect, with crimped connectors, screws, slots, nuts and bolts. This is a great afternoon of building for the family, and well worth the skinned knuckles and occasional mishap. The PicadeX HAT is a vast improvement of the previous Picade HAT, and the onboard power management and simple to connect headers mean that we can simple plug in and move on, no need for extra tools or skills.
The new Picade is all you need to run retro games from the 80s, 90s and early 2000s and it fits easily on your desk.
This is a great piece of kit that truly deserves a place in your collection. Fun to build and use and it can be tinkered with and hacked to make it your own. All you need is the time and a little imagination. As your first foray into the world of arcade cabinets, this is a well designed, packaged and safe entry into a world of wonder, and just think of all the 10p’s/10c you will save!
You can purchase your own Picade directly from Pimoroni at https://shop.pimoroni.com/products/picade for around £150.
Electroscore: 4.5/5 ![Electroscore: 4.5]()

Pros:
- Complete kit in a box
- Great Screen
- Robust controls
Cons:
- In places, the instructions can be confusing
- A lot of money
- Raspberry Pi not included
Price: $24,300.00
Link: www.electromaker.io/shop/product/picade-10-inch-display

Les Pounder loves hacking and tinkering with Arduino, Raspberry Pi and new technologies. He passes on his skills and discoveries to Electromaker readers via tutorials and reviews.


Leave your feedback...