
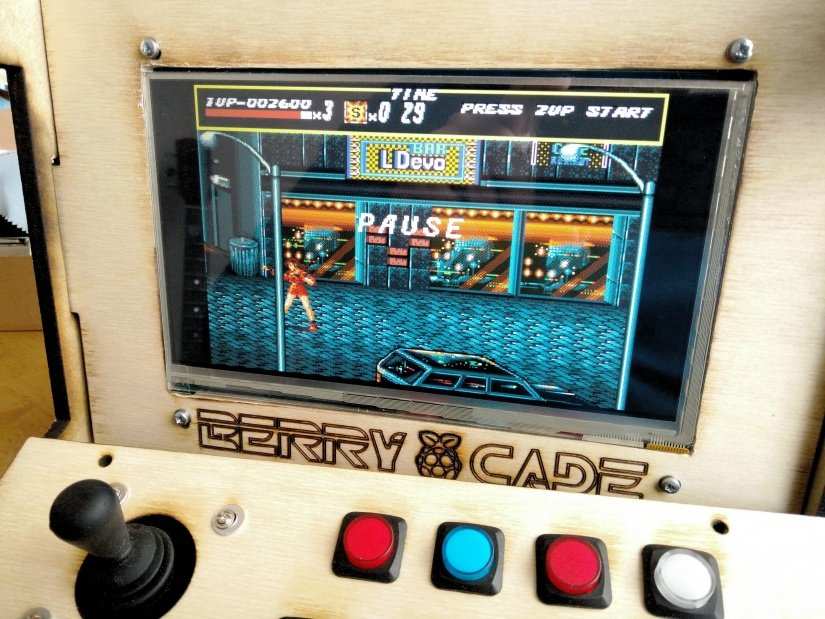
Build Your Own DIY Retro Arcade Cabinet Using a Raspberry Pi Zero
In this four-part series, we will teach you how to build your very own Retro Arcade Cabinet Using a Raspberry Pi Zero.
DIY Retro Arcade Cabinet - Part 1 - Planning
DIY Retro Arcade Cabinet - Part 2 - Component Selection
DIY Retro Arcade Cabinet - Part 3 - Laser Cutting
DIY Retro Arcade Cabinet - Part 4 - Assembly and Configuration
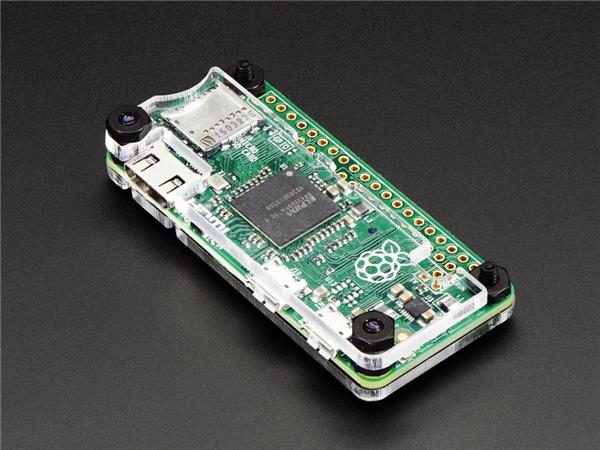
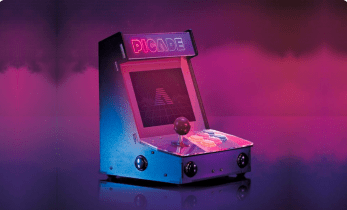
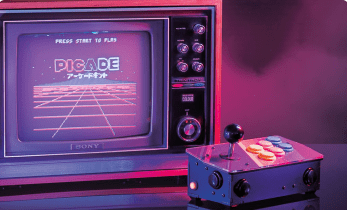
In the 1980s the arcade was where we saw the latest games. A cacophony of sound and lights designed to entice us to part with our 10p/25c to save the world, go out for a drive, or eat power pills. In recent years the arcades of the world have grown quieter but for those that wish to relive those heady days all we need is a Raspberry Pi and this series of guides to creating your own miniature arcade cabinet that will play the majority of games (arcade and console) up to the Megadrive/Genesis SNES era.
Part 1 - Planning
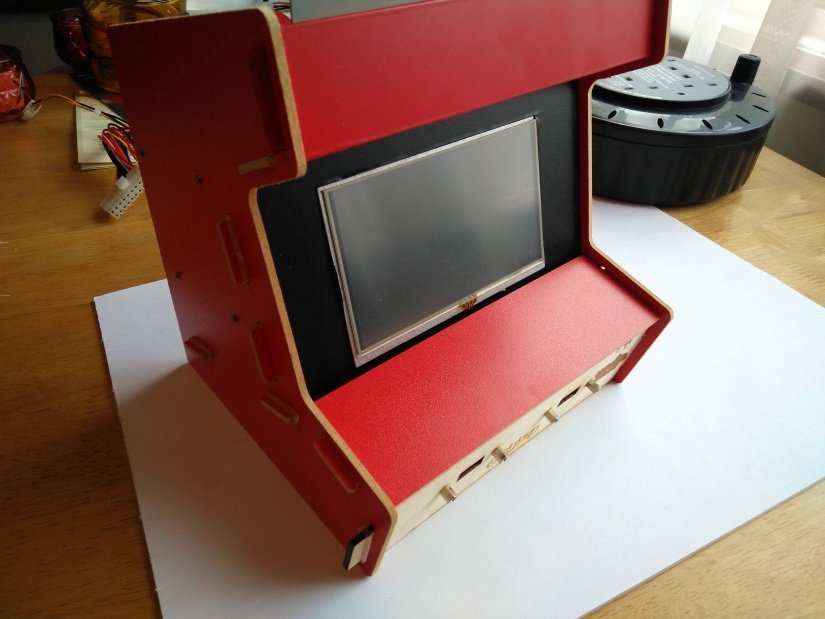
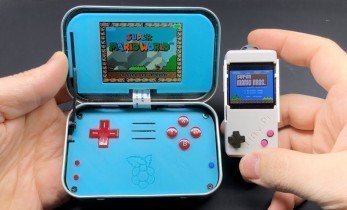
So what motivated the creation of this project? In this part we look at the original arcade cabinet, designed for the Nintendo Switch and purchased as a reference to see where we can improve and enhance the original cabinet to offer a better player experience.
Read part one here.
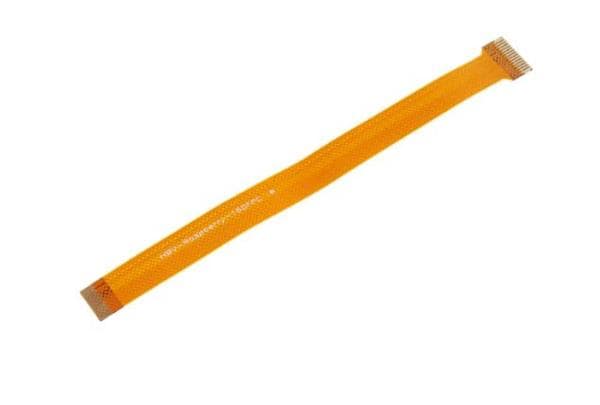
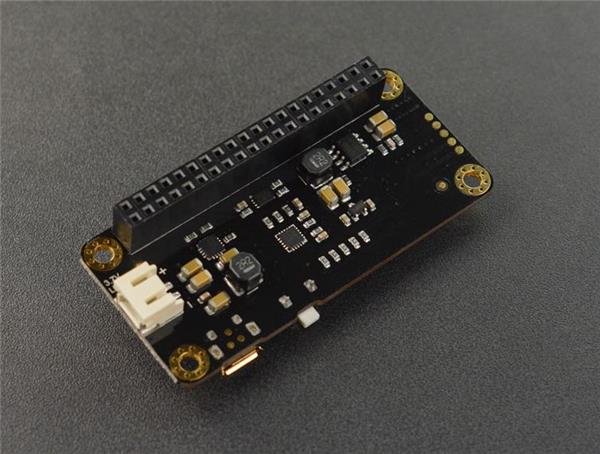
Part 2 - Component selection
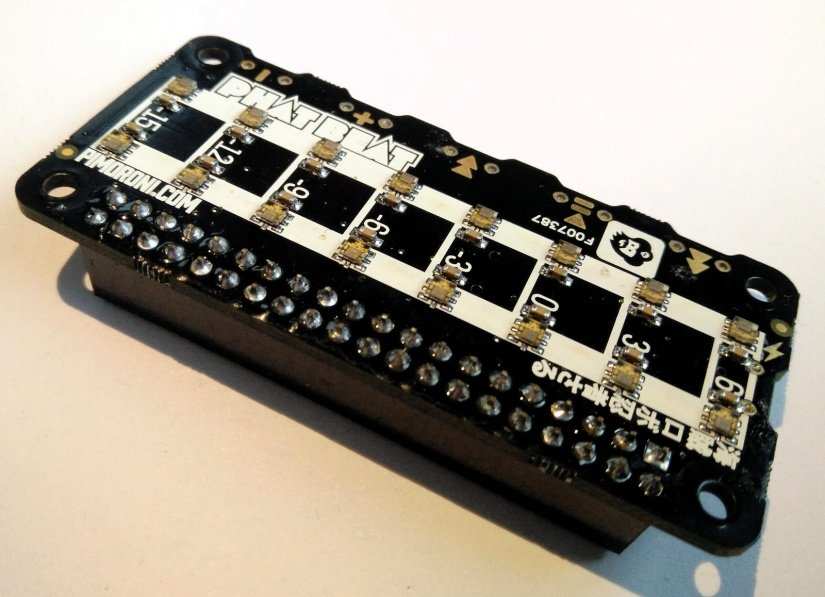
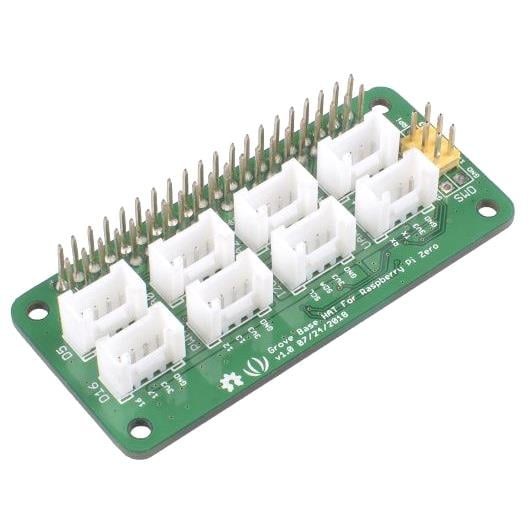
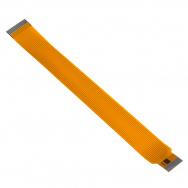
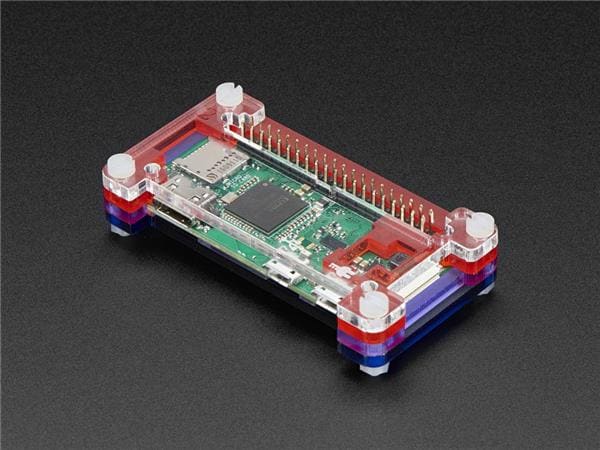
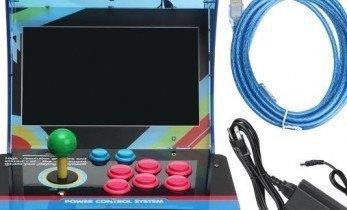
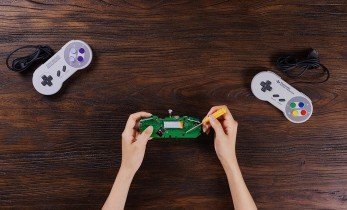
The right choice of components is key to this project. The joystick and buttons are the player’s interface to their gaming world, so they need to offer split-second response, otherwise, it’s game over! We will look at the suggested components and learn more about how they work, their dimensions and how we can integrate them into the project.
Read part two here.
Part 3 - Laser Cutting
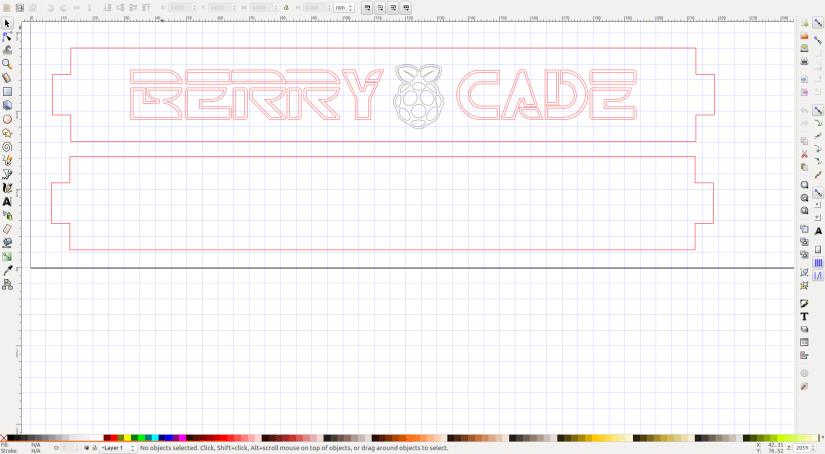
To create our custom arcade cabinet we need to cut it from sheets of plywood, MDF and acrylic. For this we need a laser cutter and the low-cost K40 will be the workhorse. Designing the pieces in Inkscape, then sending them to K40 Whisperer for cutting, we step through the process and learn how to streamline the workflow, with only a few mistakes along the way.
Read part three here.
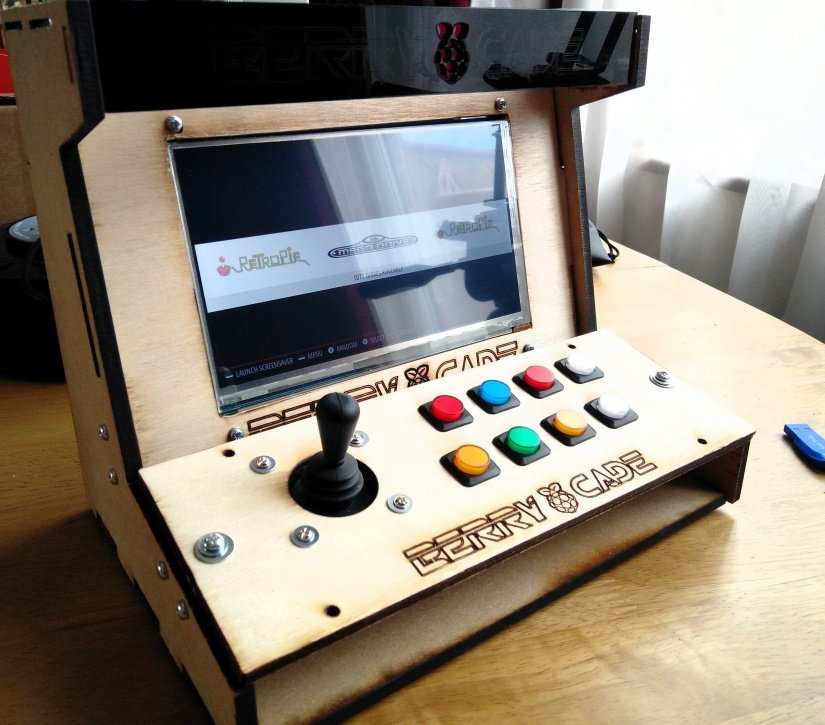
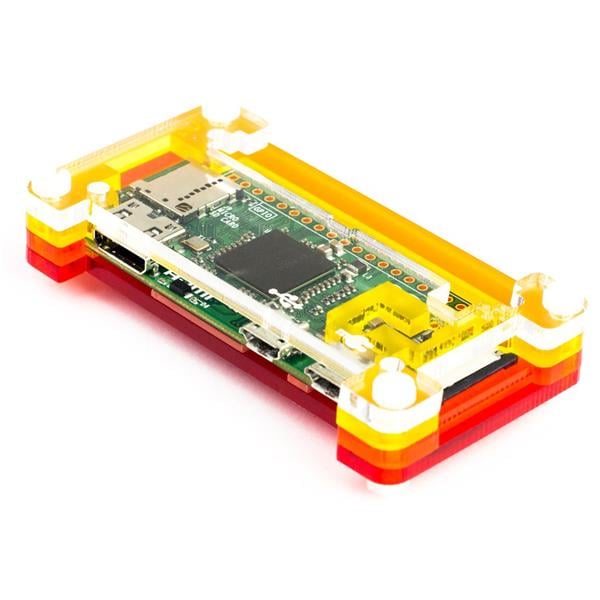
Part 4 - Assembly and configuration
After many weeks of work, research and lots of mistakes, we reach the final part of the arcade cabinet project, and we assemble the parts, test that they work and then settle down for a game of Streets of Rage. Along the way we learn how to configure the software, tweak the settings to get the most from the cabinet, and how much the project cost.
Read part four here.

Les Pounder loves hacking and tinkering with Arduino, Raspberry Pi and new technologies. He passes on his skills and discoveries to Electromaker readers via tutorials and reviews.


Leave your feedback...