
Pimoroni Picade Console Review and Tutorial: A Plug-and-Play Picade
The Raspberry Pi provides a fertile landscape for maker endeavors. Notably, one of the top Raspberry Pi projects for beginners is a retro arcade. You may run RetroPie, Recalbox, or Lakka on the Raspberry Pi, as well as other single-board computers such as the Odroid XU4 and ASUS Tinker Board. When I first purchased a Raspberry Pi 2, my first experiment was installing and running RetroPie. Pimoroni offers a neat Picade for transforming your Pi board into an arcade unit. Check out this review of the Pimoroni Picade Console, from what it is to first set up!
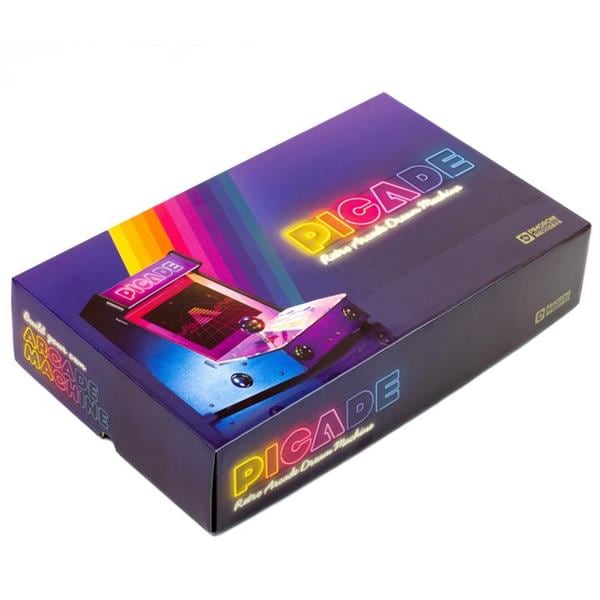
What is the Pimoroni Picade Console?
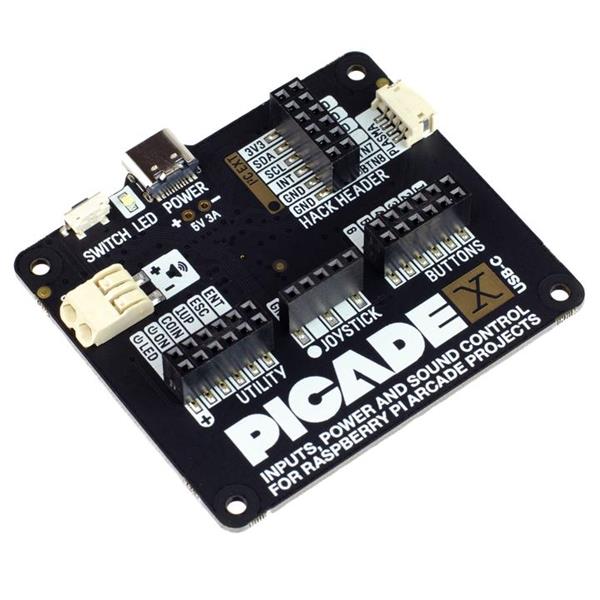
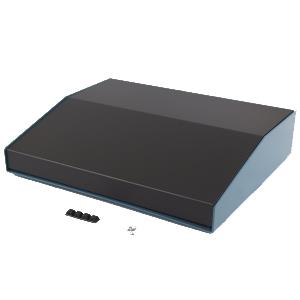
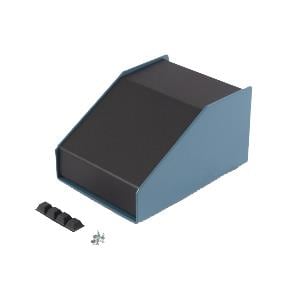
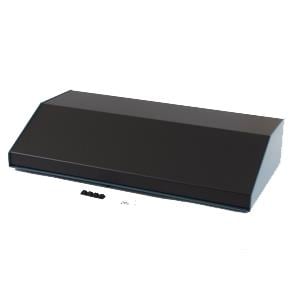
From Pimoroni, the Picade Console is an iteration of the Picade. Rather than a mini arcade cabinet form factor, it's merely a joystick and buttons. There's an HDMI output for plugging straight into a television, as well as options for connecting to a CRT TV for old school aesthetics. You'll find the exact same joystick, buttons, and power button as on the vanilla Pimoroni Picade. The Picade X HAT connects to your Raspberry Pi board, and there's an onboard 3-watt speaker. A Raspberry Pi board isn't included, nor is a microSD card or HDMI cable. Essentially, it's a do-it-yourself version of a plug-and-play console.
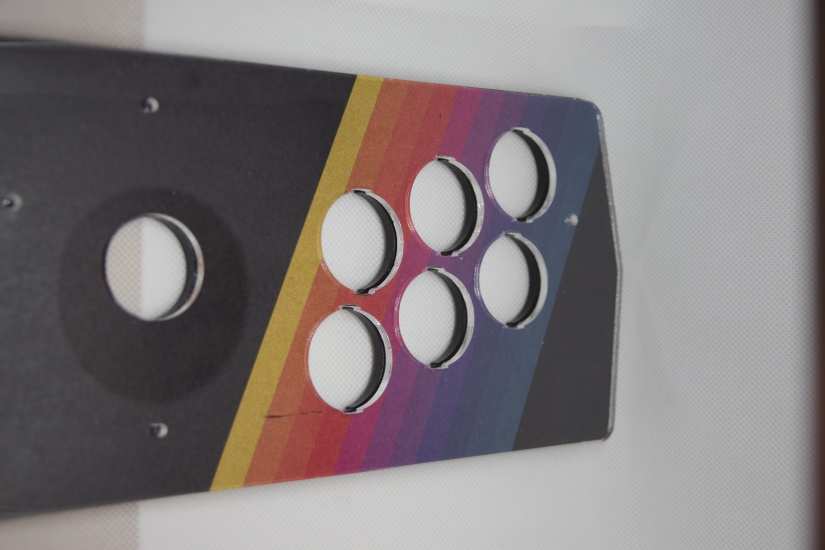
Though the Picade Console resembles a screen-less, cabinet-free Picade variant, it features a few design changes. Primarily, the buttons are low-profile, and the joystick boasts a solitary connection rather than eight spade connector. Furthermore, the Picade X HAT employs DuPont push-to-fit connectors instead of traditional screws. There's onboard power management and safe shutdown via the power button.
Pimoroni Picade Console specs:
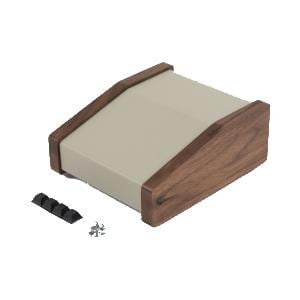
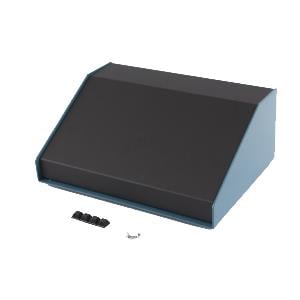
- Acrylic console
- 245 x 120 x 140mm
- 3W mono speaker
- Acrylic shell
- DuPont connectors for joystick and buttons
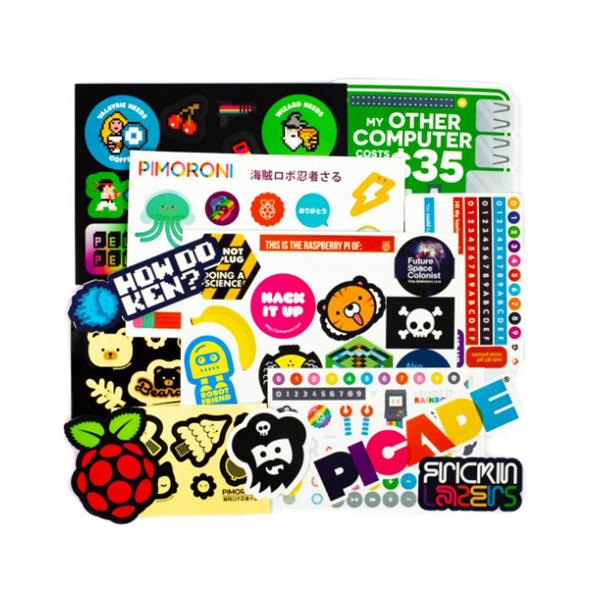
- Artwork included
- Picade X HAT
- Raspberry Pi-powered (Raspberry Pi, HDMI cable, and microSD card not included)

Picade Console Build
Picade Console assembly is pretty simple. For the Pimoroni Picade Console build, you'll need a Raspberry Pi, Picade Console kit, HDMI cable, microSD card, and power supply. You'll need a few items. Primarily, there's the Picade Console kit, a Raspberry Pi board, microSD card, and compatible operating system (OS). Pimoroni and I both suggest using RetroPie.Total cost: $111 USD+. The Raspberry Pi board (sold separately) retails for $35 while the Picade kit retails for $76. You'll also need to add your own microSD card and HDMI cable. It's more expensive than simply slapping your Raspberry Pi inside a RetroFlag NES, SNES, or Sega Genesis case. However, you gain a stylized Raspberry Pi retro gaming arcade.
Pimoroni Picade Console Assembly
First, begin your Picade Console build by putting together the unit. Attach all plastic brackets to side panels which show markings and text. Place the A panel with its text facing up, and the cutout section on the left. Take three plastic brackets and attach them on the top corner and edge with three metal nuts and bolts. The nuts go inside the panel, on the same side as the text.
 Panel D attaches to the front bracket of panel A with two nuts and bolts.


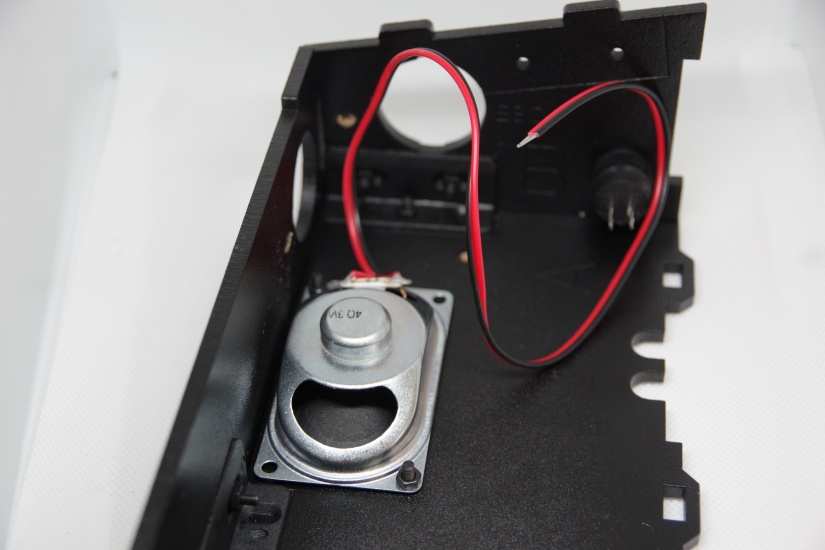
 Next up, attach the speaker to panel A with a pair of M3 nuts and bolts.

You'll see twelve wires with Dupont connectors. These hook up to the yellow, pink, blue, and black buttons as well as the power button. Separate the wires, then hook the Dupont connectors to the player buttons, labeled 1-6. Plug the pins into the 1-6 terminals on the Picade X HAT.
Perform the same for the black buttons labeled ENT, 1UP, COIN, and ESC. These are clearly labeled on the inside panels of the Picade Console unit.
Hook those spade connectors to the power button. One set connects to the pins closest to the edge of the power button. That's the power connector. The other set of pins on the power button connect with the black and red wires. The red wire goes in the positive + slot labeled LED, with the black wire in the negative - space.
Finally, run the black and red wires from teh speaker into the speaker connectors. Again, the red wire slots into the positive + terminal and the black wire in the negative - one.
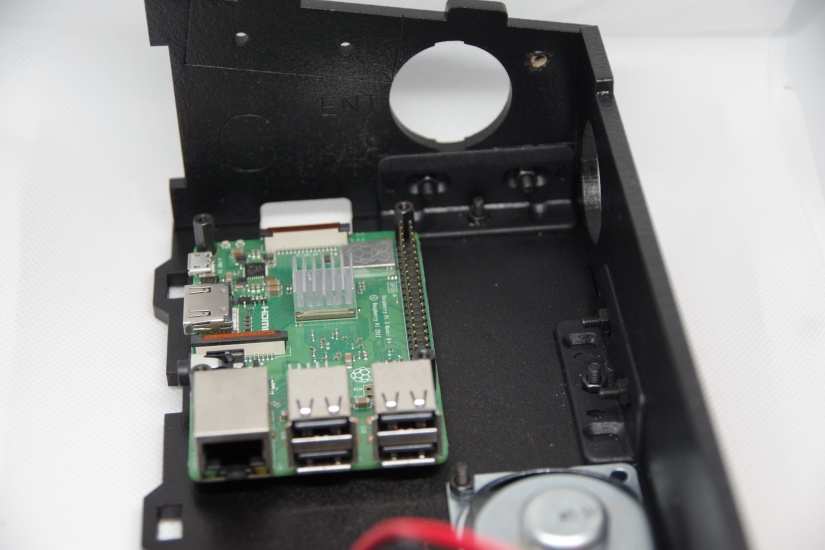
With wiring finished, attach the console itself. Mount the micro USB socket to the back panel with a pair of M3 screws, and hook the micro USB male connector to the female slot on the Picade X HAT, not the Raspberry Pi. Because the Pi HAT controls power management, the micro USB will need to hook to the HAT instead of the Pi board.
The console top section clicks into the case with the joysticks on the same side of the Pimoroni Picade Console as the power button. You'll need to slip two M3 bolts in the sides of the Picade console where the mounting brackets are. These will hold the top in place. Then, slip the back panel into place. It sort of clicks into the unit, though it may take a few tries to get it in. Add the rubber feet if you like.
Picade Console Kit Software Set Up
![]()
Since the physical build is complete, you'll now need to configure the software. I recommend using RetroPie. Head over to the RetroPie website and download the appropriate image. Using a program such as 7Zip, extract the compressed image file. Now, with an app like Etcher, mount the image to a microSD card. You'll need at least an 8GB microSD card. 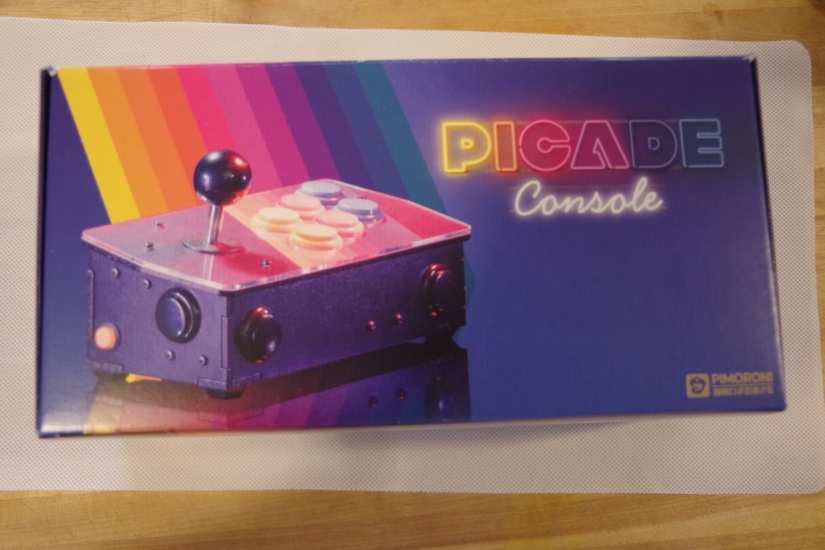
Pop that into your Raspberry Pi when finished, and boot up the console with the power button on the side. Initially, you'll need to perform a bit of set up if you haven't already. For this, you'll need a keyboard and mouse for navigation. Get connected to Wi-FI or use ethernet if you prefer.
I suggest expanding your file system first. Navigate to Raspberry Pi Configuration Tool Raspi-Config > Expand Filesystem, click Finish, and restart the system.
Once you're back up and running, scroll to RetroPie > WiFi > Connect to WiFi Network and find your network. Enter the password, and you're good to go.
Lastly, enable the Picade HAT installer. Hit F$ to exit EmulationStation and enter the command line. Run:
curl https://get.pimoroni.com/picadehat | bashWhen that finished, restart and your audio, buttons, and joystick should be properly configured.
Pimoroni Picade Console Review: Neat, Compact, and Mostly Easy
The Pimoroni Picade Console is a sweet retro arcade build. For a while, I've been debating a similar project but hadn't followed through selecting the various parts. The Picade Console kit allows for an arcade build complete with all the buttons, wires, and hardware you'll need. Well, except for the Raspberry Pi board, micro USB cable, peripherals (keyboard, mouse), HDMI cable, and microSD card. Still, these are the simple components to procure.It's similar to the vanilla Picade kit, but lacking a screen. While some might prefer an all-in-one cabinet, I appreciate the ability to hook the Pimoroni Picade Console to my projector and play on a massive 100-inch screen.
Building the console is fairly intuitive. The interior panels are conveniently labeled for hooking to one another and inserting buttons and the joystick. Similarly, wiring is a breeze with clearly labeled slots on the Picade X HAT. Software set up remains basic.
Unfortunately, certain aspects are a little challenging. Online instructions aren't terribly clear at times, and some of the screw holes are a bit tight. Especially as components go into the case itself, working inside the console becomes tedious and cramped. I've admittedly got large hands and you know what they say about fellas with big hands: they have difficulty working inside of tight electronics cases. Nevertheless, panels, buttons, and wiring remain simple enough to figure out. It's basically like a set of LEGOs. If you can follow directions carefully, it's not difficult.
The back panel pops into place rather than screwing in, helpfully, since this allows access to the ethernet port and USB slots. Still, I'd recommend getting a USB hub to string out the back if you plan on using peripherals like a gamepad, keyboard/mouse, or flash drive with your RetroPie ROMs. Pro tip: whereas the instructions call for screwing the Picade X HAT into place before hooking wires, I'd suggest wiring first, then screwing the HAT into place.
I like the portability of the Picade Console. Sure, slapping a Raspberry Pi 3 B+ into a RetroFlag NES, SNES, or Sega Mega Drive clone case is easier and arguably more portable. But the arcade aesthetic can't be replicated. It's a bit more affordable than the Picade, which works well for those who, like me, prefer to game on a larger screen.
Pimoroni Picade Console Kit Review: Game Over
Over my years of Raspberry Pi ownership, I've continually searched for the ultimate Raspberry Pi retro gaming set up. This very well might be it. The Picade Console boasts a retro arcade look and feel which is as easy as connecting a few panels and wiring the buttons. Everything's included except the Raspberry Pi, keyboard and mouse, HDMI cable, retro gaming operating system, and microSD card. Though a joystick and buttons are built in, accessibility of USB ports means you can hook up gamepads for more traditional gameplay. Foregoing the cabinet style affords the opportunity for big screen gaming, a major plus. I'll probably relegate the Pimoroni Picade Console to my primary Raspberry Pi gaming machine, and keep my NES and SNES Pi arcades as backups.Your turn: how are you gaming on the Raspberry Pi?
Electroscore: 4/5 ![Electroscore: 4]()

Pros:
- Retro aesthetic with TV output capabilities
- Comprehensive hardware kit including case, joystick, buttons, wiring
- Simple software installation
Cons:
- Lackluster instructions
- Cramped interior during Picade Console assembly
- Raspberry Pi board not included
Price: $11,200.00
Link: www.electromaker.io/shop/product/pimoroni-picade-console-controller-kit-for-raspberry-pi-4-pim488

Moe Long is an editor, writer, and tech buff with a particular appreciation for Linux, Raspberry Pis, and retro gaming. Writing online since 2013, Moe has bylines at MakeUseOf, TechBeacon, DZone, SmartHomeBeginner, DEV.to, DVD Netflix, and Electropages. You can read his writings on film and pop culture at Cup of Moe, check out his tech reviews, guides, and tutorials at Tech Up Your Life, and hear his thoughts on movies on the Celluloid Fiends podcast. Aside from writing and editing, Moe has an online course, the Beginner's Guide to Affiliate Blogging From Scratch. When he's not hammering away at his keyboard, he enjoys running, reading, watching cinema, listening to vinyl, and playing with his dog Sebastian.


Leave your feedback...