
Getting Started with Chromium OS on Raspberry Pi
There are loads of operating system (OS) options for the Raspberry Pi. While Linux distributions (distros) such as Raspbian, Ubuntu MATE, and Debian may be the most common, you can also install tons of alternatives. Among them, you'll find the likes of Chromium OS. An open-source iteration of Google's Chrome OS, it runs phenomenally on Raspberry Pi hardware. Learn how to install Chromium OS for Raspberry Pi boards!
What is Chromium OS?
Chromium OS is an open-source operating system which brings Chrome OS to a range of devices. It's a streamlined OS which operates on the same principles which spawned Google Chrome's web browser: speed, simplicity, and security. Essentially, Chromium OS is just an open-source of the official Google Chrome OS found on Chromebooks. As such, Chromium OS is best for developers or makers who want an affordable, do-it-yourself (DIY) Chrome OS experience.
Chromium OS Raspberry Pi Installation: What You'll Need
Running Chromium OS on a Raspberry Pi requires a few items. You'll need a Raspberry Pi board, compatible power supply, and microSD card as your bootable media. On the software side, you'll need Chromium OS for All SBC, a program such as Etcher to burn your image, and file extraction software to extract the Chromium OS for All SBC tar.xz.
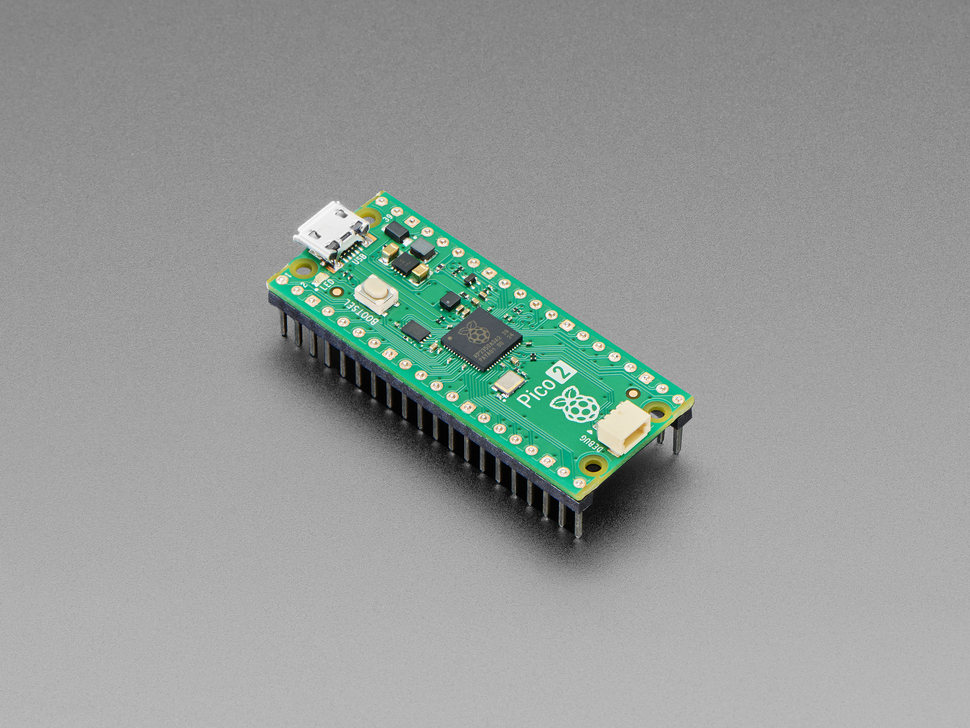
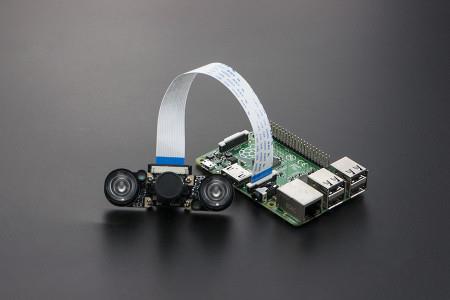
- Raspberry Pi board (Raspberry Pi 4 or 3 B+ recommended)
- Case (optional, recommended)
- Compatible power supply
- microSD card
- Chromium OS for All SBC via Sourceforge
- Extraction program (i.e. 7Zip)
- Image mounting software (i.e. Etcher)
- Input peripherals (keyboard, mouse)
Total cost: $35+ USD. You can pick up a standalone Raspberry Pi 4 2 GB model for $35. Alternatively, you may cop a complete kit with a Raspberry Pi board, case, power supply, and microSD card for around $50. Regardless, this is an inexpensive project which merely requires the Raspberry Pi, operating system, and input devices. It's more affordable than purchasing a Chromebook, which itself is fairly inexpensive.
How to Install Chromium OS on Raspberry Pi
First, download the Chromium OS image for Raspberry Pi. Depending on your Raspberry Pi board, you'll either need the Chromium OS for Raspberry Pi 3 download or Raspberry Pi 2 download. Head over to the Sourceforge page and select the correct Chromium OS for All SBC image.
With that downloaded, extract the tar.xz file using a program such as 7Zip. Once you have your image file, you'll need to mount that to a microSD card. Using software such as Etcher, select your image file, as well as your target boot medium, and mount the IMG to the disk.
After your burn finishes, you're ready to boot up Chromium OS for All SBC on your Raspberry Pi. Simply pop the microSD card into your Raspberry Pi and plug it in. Next, you'll need to perform a bit of brief set up before you can begin using Chromium OS on your Raspberry Pi.
Hands-on With Chromium OS for Raspberry Pi
 After installation, you'll need to slog through a little first-time configuration. Notably, this includes configuring your keyboard layout, entering your network information if on Wi-Fi, and signing into your Google account. Since no apps are installed directly, you'll need Internet access to use your Chromium OS on the Raspberry Pi.
First, Chromium OS for the Raspberry Pi prompts you for a keyboard and mouse. You can use either USB or Bluetooth peripherals. When your input devices register, hit continue. 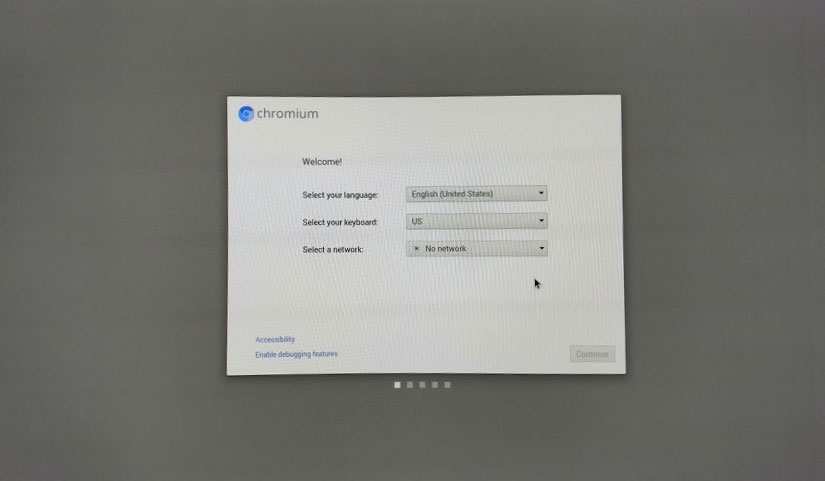
Then, you'll need to select your language, keyboard country type, and enter a network ID if you're using Wi-Fi. After that, select continue. Chromium OS briefly checks for updates so as to provide the latest version. When that finishes, sign into Chromium.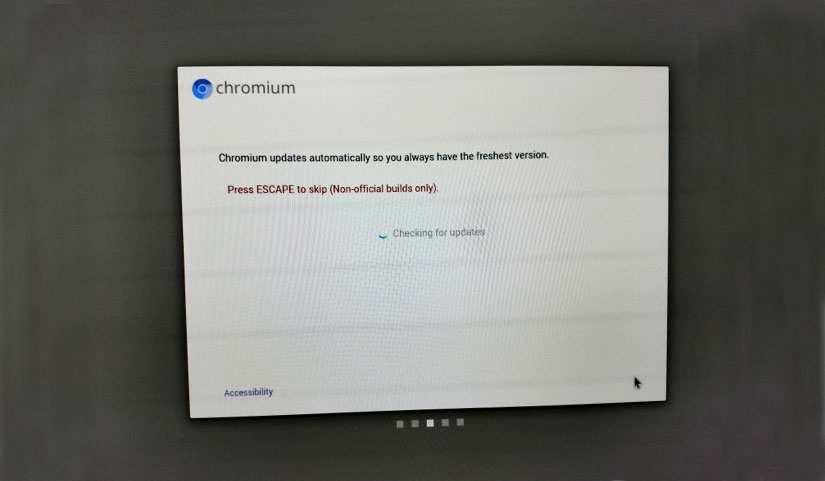
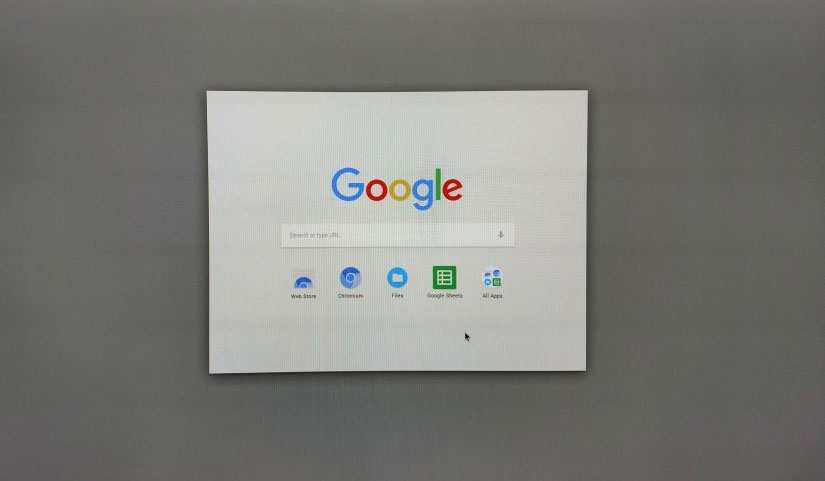
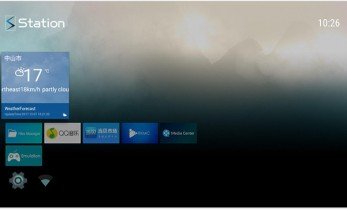
Once signed into Chromium OS on the Raspberry Pi, you'll see a welcome screen and basic desktop. Clicking the search icon in the lower lefthand corner presents a list of apps including the web store, Chromium web browser, Google Sheets, Google Docs, and Google Slides.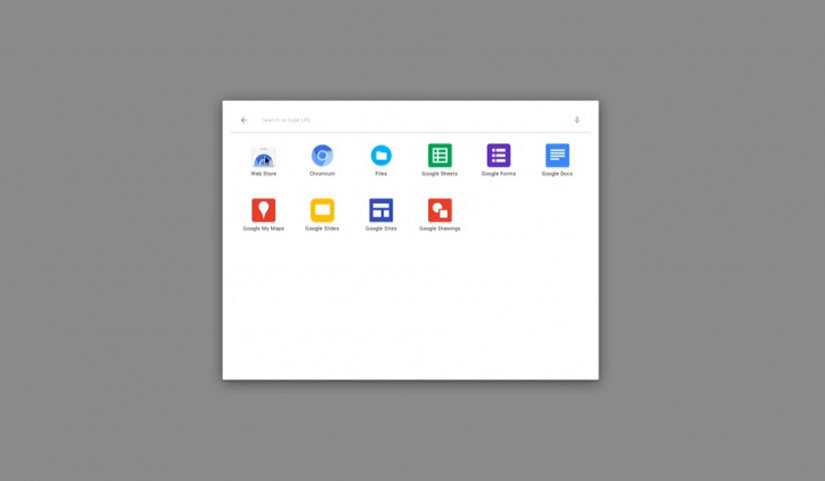
I found the experience of the Chromium OS Raspberry Pi installation snappy. It's quick to navigate and responsive. However, your results might vary based on your Internet connection. Default apps are well-tailored to use as a basic desktop. With its Google suite and web browser, Chromium OS for the Raspberry morphs the Pi into a barebones desktop.
While it's a solid desktop environment, Chromium OS doesn't carry the array of apps that you'll see in the likes of Raspbian or Ubuntu MATE. Nevertheless, it's a speedy OS which boots quickly. The main drawback is that if you're not already ingrained in Google's vast ecosystem, you'll have to at least register to use the operating system. But for any existing or potential users, Chromium OS is an awesome way to use your Raspberry Pi as a minimalist desktop. Even testing on my Raspberry Pi 2, real-world use is delightfully speedy, the Pi 2 fails to show its age compared to the more powerful Raspberry Pi 3 hardware.
Running Chromium OS on a Raspberry Pi: Final Thoughts
Overall, I enjoyed the Chromium OS Raspberry Pi release. The Chromium OS image is small enough to fit easily on an 8GB or smaller microSD card, and from inserting the microSD card until using the desktop is incredibly quick. Because I'm a heavy Google user, all I merely signed into my Google account and was prepped to begin using Chromium OS. Even registering for an account is totally worth it for trying Chromium OS.
Essentially, you can create your own Chromebook with Chromium for the Raspberry Pi. Ultimately, I might not switch from Raspbian, simply because I'm already invested in using it as my daily driver Raspberry Pi operating system. Nevertheless, I plan to keep my Chromium OS Raspberry Pi image in a microSD card for regular use. Adding a laptop kit like the pi-Top or Kano Kit transforms the Raspberry Pi running Chromium OS into a DIY Chromebook. Alternatively, you may use a touchscreen coupled with your Raspberry Pi for a Raspberry Pi Chromebook complete with touch controls.
Your turn: Have you tried Chromium OS on the Raspberry Pi for a DIY Chromebook experience?

Moe Long is an editor, writer, and tech buff with a particular appreciation for Linux, Raspberry Pis, and retro gaming. Writing online since 2013, Moe has bylines at MakeUseOf, TechBeacon, DZone, SmartHomeBeginner, DEV.to, DVD Netflix, and Electropages. You can read his writings on film and pop culture at Cup of Moe, check out his tech reviews, guides, and tutorials at Tech Up Your Life, and hear his thoughts on movies on the Celluloid Fiends podcast. Aside from writing and editing, Moe has an online course, the Beginner's Guide to Affiliate Blogging From Scratch. When he's not hammering away at his keyboard, he enjoys running, reading, watching cinema, listening to vinyl, and playing with his dog Sebastian.


Leave your feedback...