
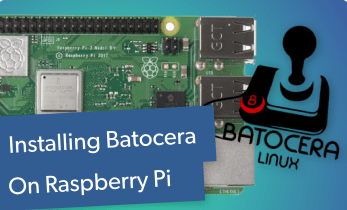
How to Install Batocera on the ASUS Tinker Board
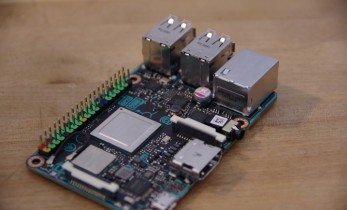
There are tons of single-board computers on the market. While the Raspberry Pi remains a top pick, many alternatives exist. One of the most competent, and my favorites, is the ASUS Tinker Board. Balancing capable hardware with an affordable price point, the Tinker Board is a worthy maker board. And it's one of the best-supported devices on the market. Thanks to operating systems such as the Android TV operating system Slash TV, RetroPie, and Lakka, it's a great SBC for gaming. Using Batocera, you can achieve a RetroPie-type experience on the Tinker Board. Learn how to install Batocera on the ASUS Tinker Board for retro gaming emulation!
What is Batocera?
Batocera is a Linux-based operating system (OS) for retro gaming emulation. It boots straight into RetroArch with the Emulation Station frontend. Although Batocera may appear similar in looks to RetroPie, it's a retro gaming operating system of a different breed. Batocera is intended to make emulation simple. For instance, upon first boot you don't even need to map buttons for the majority of controllers. They're instantly recognized. Plus, many emulator cores and bios come pre-installed. As such, getting started with Batocera is a bit easier than RetroPie. That's not to say RetroPie is difficult at all. In fact, it's not. But Batocera is even simpler, so it's a solid choice for beginners. When compared to RetroPie, Recalbox, and Lakka, Batocera is like a fusion of Recalbox and RetroPie. The default frontend is similar to RetroPie, but the ease of use is akin to Recalbox.
Aside from gaming capabilities, Batocera includes the ultra-powerful open-source media centre Kodi. As such, you can use Batocera as a dual-purpose home theatre PC (HTPC) and gaming machine. In addition to the ASUS Tinker Board, Batocera installers are available for x86 PCs and a host of other maker boards such as the Raspberry Pi and RockPro64.
What is Batocera: A retro gaming Linux-based distribution (distro) that's easy to use.
How to Install Batocera on the ASUS Tinker Board
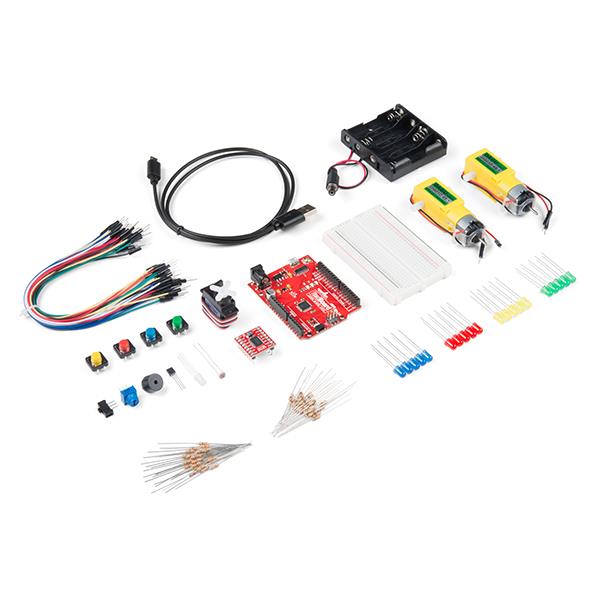
A retro gaming arcade using Batocera on the ASUS Tinker Board is super simple. You'll need an ASUS Tinker Board or Tinker Board S, compatible power supply, optional but recommended case, and a microSD card or eMMC module for installing an operating system. Aside from that, the Batocera OS image is required along with image mounting software such as Etcher, and image extraction software like 7Zip. You'll require an active internet connection too, and peripherals such as a keyboard, mouse, and gamepad.
What you'll need for a Batocera ASUS Tinker Board retro gaming machine:
- ASUS Tinker Board or Tinker Board S
- microSD card or eMMC module (if using the Tinker Board S)
- Peripherals (keyboard, mouse, game controller)
- Power supply and USB cable
- Case (optional, recommended)
- Batocera ASUS Tinker Board image
- Image mounting software (i.e. Etcher)
- Image extraction software (i.e. 7Zip)
- Flash drive or external harddrive for ROM storage (optional, recommended)
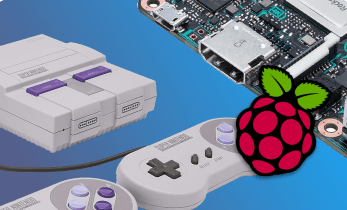
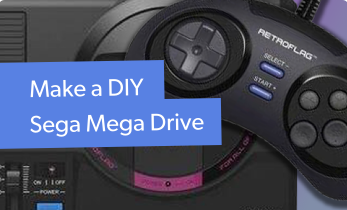
Total cost: $70+ USD. You can snag an ASUS Tinker Board for around $70 USD. The ASUS Tinker Board S retails for a bit more, and adds upgraded specs including eMMC support. Since the ASUS Tinker Board shares the same form factor as the Raspberry Pi 3 B+, I suggest picking up a Raspberry Pi RetroFlag gaming case to lend a retro flair to your Batocera Tinker Board set up. That way, you can make your own NES Classic, SNES Mini, or Sega Megadrive Classic.
Batocera Download for the ASUS Tinker Board
First up, head over to the official Batocera website and download the ASUS Tinker Board image. It's am IMG.GZ file. You may be able to mount it straight to a microSD card or eMMC module using Etcher. However, you can also extract the compressed IMG file using a program such as 7Zip.
Fire up your image mounting software. Select your Batocera image for the operating system, and microSD card or eMMC module for your boot medium. When you're ready, hit flash. Wait for the OS to finish burning, and when it's complete remove the microSD card or eMMC module from your PC and pop it into your ASUS Tinker Board, then power it on.
Setting Up Batocera on the Tinker Board
Upon first boot, Batocera resizes on your microSD card. Once Batocera completes that, you'll be greeted by the friendly interface of EmulationStation. By default, you'll find a number of emulator cores ready to use. Batocera includes menu music which you may or may not want to leave on. To turn it off, head to Menu > Sound Settings > Frontend Music and toggle the frontend music off.
After that, you'll probably want to get connected to the internet. If you're using an Ethernet cable, you won't have to worry about that. But for Wi-Fi, navigate to Menu > Network Settings > Enable Wifi. Once you've turned Wifi on, select Wifi SSID and find your network. Choose that, and then under Wifi password enter your wireless password.
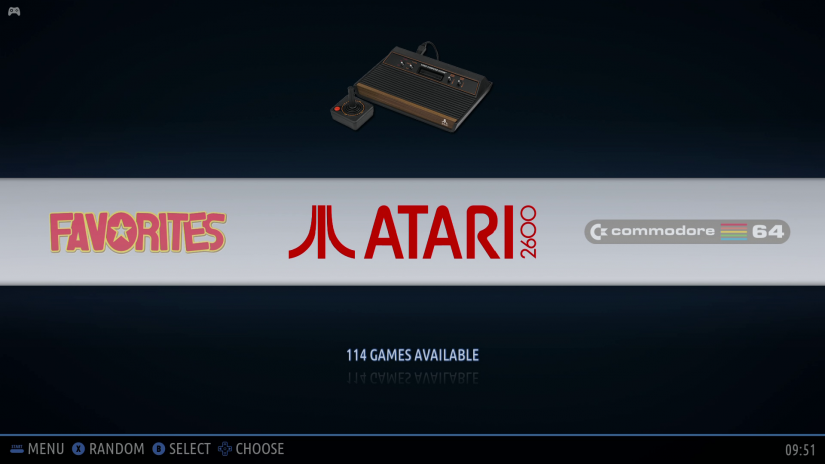
You'll also want to transfer your ROMs. The easiest method is by running your ROMs off of an external drive. Head to Menu > System Settings > Storage Device and select from either internal, any external, or a specific drive. I picked my 256GB flash drive. Once you've finalized your storage device, back out and reboot Batocera. This will create a Batocera folder at the root of your flash drive complete with a sub folder called ROMs with sub-folders for each system. For instance ROMS > Atari 2600. Then, just drag and drop your ROMs into the proper folders, pop the flash drive back into the Tinker Board, and power it on to find your games ready to be played.
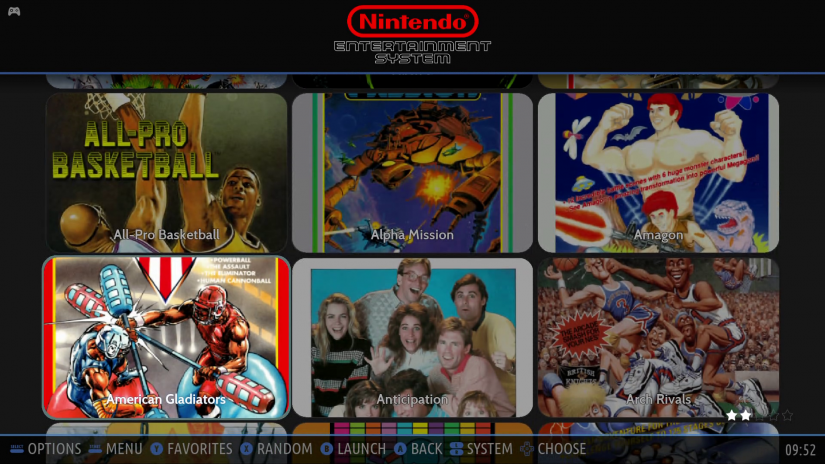
You might want to scrape your ROMs to add box art and metadata. To accomplish this, simply head to Menu > Scrape and choose either Screenscraper or TheGamesDb. Screenscraper comes with a bunch of different options for box art, ranging from 2D and 3D boxes to screenshots and even video snaps. You can enter a Screenscraper account name and password if you have one.
Batocera on the ASUS Tinker Board Review
Overall, Batocera is incredibly polished on the ASUS Tinker Board. It's ready to use virtually out of the box. You don't even need to button map your controller in most cases. The interface is pleasing, and there are tons of different options for customizing the look and feel of Batocera, including downloading new bezels that display around the edges of games like a TV. The experience is top-notch.
Where Batocera shines is its combination of user-friendliness and simplicity with a bevy of different options to tweak settings. You can really drill down and tailor the aesthetic to your liking, whether that's adding more bezels or using a different user interface, and picking how your scraped box art displays. The Tinker Board itself handles many higher-end systems pretty gracefully. Anything from the Atari 2600 up through the PlayStation 1 runs great. You won't have any problem playing NES, SNES, and Sega Megadrive games. Many Nintendo 64 ROMs will play fine on the Tinker Board, and PlayStation Portable performance is better than a Raspberry Pi 3 B+. Unfortunately, N64 and PSP isn't perfect, so more demanding titles like God of War Chains of Olympus simply won't work well without frameskip enabled for PSP.
Should You Use Batocera on the ASUS Tinker Board?
As a standalone retro gaming operating system, Batocera is hands-down my favorite ASUS Tinker Board OS. I'm partial to the Android TV Slash TV as well, but that's an all-around retro gaming and home theatre PC multimedia experience. Batocera is more gaming-focused though it does feature Kodi for media centre purposes. Because Batocera requires little to no set up besides getting connected to the internet and adding ROMs, it's one of the most beginner-friendly retro gaming OSes available. But Batocera, despite its simplicity, sports a ton of customization options. If you're looking for a competent retro gaming SBC, the Tinker Board is a superb pick, and pairing it with Batocera transforms the Tinker Board into a fun arcade.

Moe Long is an editor, writer, and tech buff with a particular appreciation for Linux, Raspberry Pis, and retro gaming. Writing online since 2013, Moe has bylines at MakeUseOf, TechBeacon, DZone, SmartHomeBeginner, DEV.to, DVD Netflix, and Electropages. You can read his writings on film and pop culture at Cup of Moe, check out his tech reviews, guides, and tutorials at Tech Up Your Life, and hear his thoughts on movies on the Celluloid Fiends podcast. Aside from writing and editing, Moe has an online course, the Beginner's Guide to Affiliate Blogging From Scratch. When he's not hammering away at his keyboard, he enjoys running, reading, watching cinema, listening to vinyl, and playing with his dog Sebastian.


Leave your feedback...