
Make a DIY Sega Genesis Mini With a Raspberry Pi, ASUS Tinker Board, and More
Retro console clones are all the rage with offerings from Nintendo such as the NES Mini Classic or SNES Mini Classic, Atari Flashback, and more. AtGames debuted the Sega Genesis Flashback with a built-in game library as well as cartridge support. In 2019, the Sega Genesis Mini debuted. With a selection of built-in games and exquisite attention to detail, it's a neat gadget. However, you can make your own do-it-yourself (DIY) Sega Genesis Mini or Sega Mega Drive Mini with a Raspberry Pi or ASUS Tinker Board!
What is the Sega Genesis Mini or Sega Mega Drive Mini?
The Sega Genesis, dubbed the Sega Mega Drive outside of North America, is a 16-bit video game console. Clocking in as Sega's third home video game console, the Sega Genesis boasted a beefy library of over 900 games. Available for the Sega Genesis and Mega Drive were a slew of add-ons such as a Power Base Converter for running Sega Master System games, as well as the Sega 32X and Sega CD.
Over the years, loads of different Sega Genesis/Mega Drive clones have been available. A 2017 AtGames iteration offered a selection of built-in ROMs alongside a cartridge slot and HDMI output. Then, in 2019, Sega dropped its Sega Genesis Mini with a selection of 42 bundled games and a smattering of options for aspect ratio, filters, and more.
Why Build DIY Sega Genesis Mini/Sega Mega Drive Mini with a Raspberry Pi or ASUS Tinker Board?
Sure, you can purchase a Sega Genesis Mini or Sega Genesis Flashback, and you absolutely should. The Flashback with its cartridge slot is a fantastic device, and the Sega Mega Drive Mini boasts a faithful design complete with tactile buttons. Still, a DIY Sega Mega Drive Mini with a Raspberry Pi or ASUS Tinker Board affords greater functionality. In addition to a Sega Genesis and Sega Mega Drive emulator, you'll be able to emulate ROMs for loads of systems including the Atari 2600, 5200, and 7800, all the way up through the Nintendo 64, PlayStation 1, and PlayStation Portable. Granted, some systems won't run well, such as PSP emulation, but fiddling with settings may improve performance.
How to Make a DIY Sega Genesis Mini aka Sega Mega Drive Mini
First, you'll need to select your components. Namely, decide whether you're using an ASUS Tinker Board or Raspberry Pi for your Sega Genesis Mini. The Raspberry Pi features a massive community with tons of resources. But the ASUS Tinker Board is a more powerful device. For the case, RetroFlag offers its Sega Mega Drive case which fits both the Raspberry Pi and ASUS Tinker Board. If you opt for the Raspberry Pi, I suggest sticking to the Raspberry Pi 3 B+.
Raspberry Pi 3 B+ specs:
- Broadcom BCM2837B0 quad-core A53 (ARMv8) 64-bit @ 1.4GHz SoC
- 1GB LPDDR2 SDRAM
- Gigabit Ethernet, 802.11b/g/n/ac Wi-Fi
- Bluetooth 4.2
- microSD storage
- 40-pin GPIO header
- HDMI port, 3.5mm A/V jack
- 4 x USB 2.0 ports
- CSI, DSI
- 5V/2.5A DC micro USB power input
ASUS Tinker Board specs:
- Rockchip RK3288 Cortex-A17 quad-core SoC
- ARM Mali-T764 GPU
- Up to 4K video support
- 2GB DDR3
- 802.11 b/g/n Wi-Fi
- Bluetooth 4.0
- 4 x USB 2.0 ports
- 15-pin MIPI CSI slot
- 40-pin GPIO header
- micro USB port for power
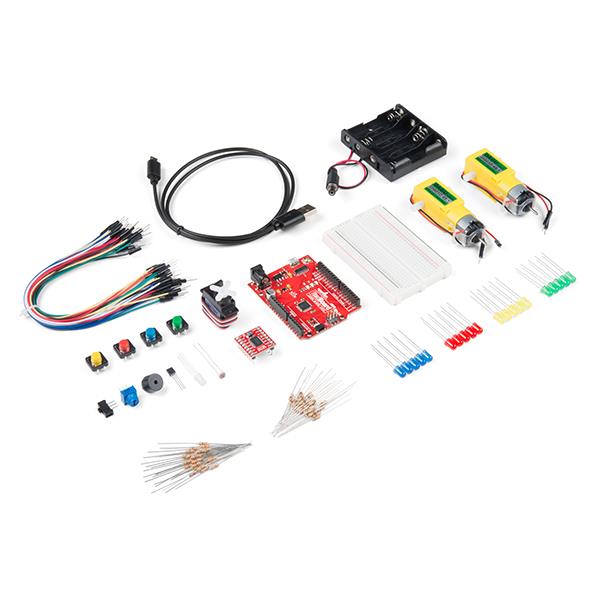
What you'll need for a DIY Sega Genesis Mini/Sega Mega Drive Mini:
- Raspberry Pi or ASUS Tinker Board
- RetroFlag MegaPi case
- microSD card or eMMC module
- Compatible power supply
- Retro gaming OS (RetroPie, Recalbox, Lakka, Batocera, Slash TV)
- Extraction software (i.e. 7Zip)
- Image mounting software (i.e. Etcher)
- Peripherals (keyboard, mouse, gamepad)
- Internet connection
Total cost: $55+ USD. The RetroFlag MegaPi retails for about $20, while the Raspberry Pi slides in at $35. It's about $60 for the ASUS Tinker Board which runs PSP and N64 games better than the Pi 3 B+. Then, factor in all the accessories you'll need for your set up.
Sega Mega Drive/Sega Genesis Classic OS Choices - RetroPie vs. Recalbox vs. Lakka vs. Batocera vs. Slash TV
For operating systems (OSes), you've got a few options. For the Raspberry Pi, there's RetroPie, Lakka, Recalbox, and Batocera. On the ASUS Tinker Board, you'll find Slash TV, Lakka, and RetroPie. While RetroPie, Recalbox, Batocera, and Lakka are all Debian Linux-based, Slash TV is an Android TV OS focused on retro gaming and home theatre PC (HTPC) use. Batocera, Recalbox, and RetroPie feature the Kodi media centre built-in for streaming media from Kodi add-ons as well as local file playback. All three run RetroArch with the Emulation Station frontend. Lakka, on the other hand, employs a user interface (UI) similar to the PlayStation 3's XcrossMediaBar (XMB). Slash TV is an Android TV OS that transforms the Tinker Board into a comprehensive Android TV box for gaming and streaming media.
- RetroPie: Best for most users
- Recalbox/Batocera: Best for beginners
- Slash TV: Best for HTPC use
- Lakka: Best for advanced users with no HTPC needs
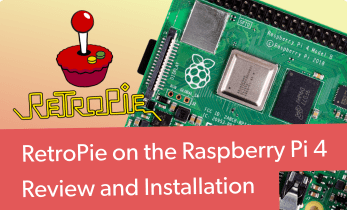
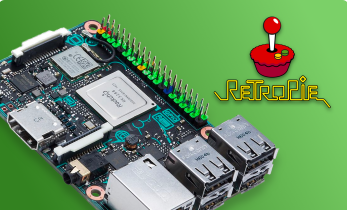
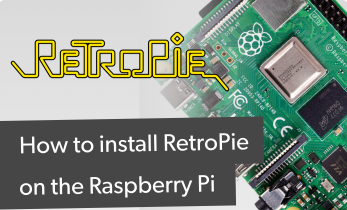
How to Install RetroPie on the Raspberry Pi and ASUS Tinker Board
Head over to the RetroPie website and download the RetroPie image for the Raspberry Pi 3/Raspberry Pi 3 B+. If you're using a Tinker Board, snag the ROTT download. Once you've got your image downloaded, you'll need to mount it to your boot medium, either a microSD card, or an eMMC module if you prefer on the TinkerBoard. You may need to extract the compressed image with an app like 7Zip.
Once your image is ready to be mounted, load it up using a program such as Etcher and burn it to your boot medium. When finished, pop your microSD card or eMMC module into your ASUS Tinker Board or Raspberry Pi, and power on your device.
Prior to using RetroPie, you'll need to map the buttons on your controller. Then, it's best to expand your filesystem with RetroPie Menu > Raspberry Pi Configuration Tool Raspi-Config > Expand Filesystem. Now, reboot your device.
Next up, log into your Wi-Fi network if you're using wireless networking instead of ethernet by navigating to RetroPie > WiFi > Connect to WiFi network where you can select your correct network and enter your password. After getting connected to the internet, run an update by dropping to the command line (F4), and running:
sudo apt-get update
After successfully updating, reboot with:
sudo reboot
With your RetroPie environment updated, you can install additional emulators. Head to RetroPie > RetroPie Setup > Manage packages. Here, pick either source- or binaries-based installation. I suggest opting for a binaries-based installation which is much faster than a source-based install.
Before you can begin using your emulators, you'll need to add ROMs (note: we here at Electromaker do not condone piracy, so please only use ROMs for games you legally own, or homebrew game ROMs). The easiest method is taking an NTFS or Fat32 formatted external drive and creating a folder at the root of that device called retropie-mount. Plug it into your device, wait a moment, then remove it. Under the retropie-mount folder, you should find several folders including a ROMs folder complete with subfolders for each compatible system. Drop your ROMs in there.
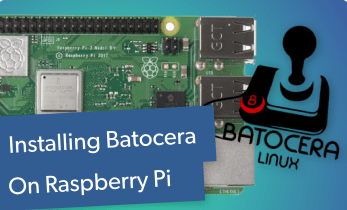
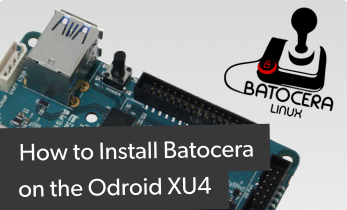
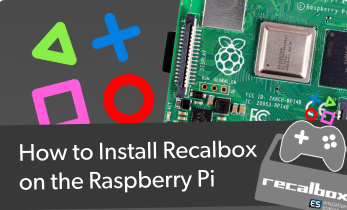
How to Install Recalbox and Batocera on the Raspberry Pi
Batocera and Recalbox on the Raspberry Pi are pretty easy to install, and similar to RetroPie. Begin by downloading the proper Batocera or Recalbox image for your Raspberry Pi board. Recalbox is an img.xz while Batocera comes as an img.gz file. You may need to decompress your image before installing it on your microSD card.
With a program such as Etcher, mount your image to a microSD card, and when finished, pop it in your Raspberry Pi board, then power it on.
After booting into both Batocera and Recalbox, as with RetroPie, you'll need to button map your controllers. Then, you can begin using your device. I first recommend getting connected to the internet with either Ethernet or Wi-Fi. Hit Start > Network Settings > Enable Wifi. Then, you can enter your Wifi SSID and password under the network settings menu.
The easiest method for transferring ROMs is to head to Start > System Settings > Storage Device, then select either a specific external storage device, or any external drive. Reboot, and at the root of your connected storage device like a flash drive or harddrive, you'll find a recalbox folder with a sub-folder for ROMs. Drop your ROMs in there.
Alternatively, open up your PC and from your PC's directory, Finder on macOS, browse your network. For Batocera, you'll need to look under \\BATOCERA for Windows and macOS, or smb:\\BATOCERA.local on Linux. For Recalbox, that's \\RECALBOX or smb:\\RECALBOX.local on Linux. Drop your ROMs in the corresponding folders under the /roms directory.
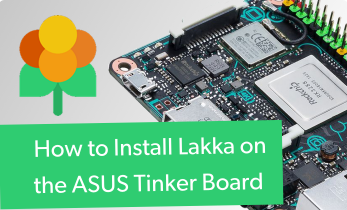
How to Install Lakka on the Raspberry Pi and ASUS Tinker Board
While RetroPie, Recalbox, and Batocera remain similar, Lakka differs. Its installation process is ridiculously simple, and doesn't even require button mapping a controller. But post-insallation work is a bit more comprehensive, and its wealth of options might be a bit challenging for beginners. Head to the Get Lakka page, and select the operating system you're using, either Linux, Windows, or macOS. Then, locate the proper installer for your Raspberry Pi or ASUS Tinker Board. The Lakka image is an img.gz for both the Raspberry Pi or Tinker Board. Download the Lakka image, and if need be, extract the decompressed image with a program such as 7Zip. Use Etcher or an alternative to mount the installer to your perferred boot medium, a microSD card or, for the Tinker Board, an eMMC if you like. Pop your boot drive into the board of your choice, and power on your device.
Once you boot into Lakka, you don't even need to map buttons on your controller. Instead, Lakka should support virtually any controller out of the box. First, you'll need to add your games. Head to Scan Directory and find the folder where your ROMs are located, then select Scan this Directory. Depending on the size of your collection, this could take a long time.
But before you can actually play any of these ROMs, you'll need to download cores for the systems you want to play. For this, an internet connection is required. Go under Settings >WiFi and choose your network, then password.
Now, click Online Updated > Update Cores and find the cores you want to update.
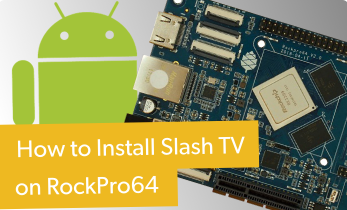
How to Install Slash TV on the ASUS Tinker Board or Raspberry Pi
If you're using an ASUS Tinker Board for emulation, I strongly suggest using Slash TV. This Android TV OS comes loaded with tons of emulators, both standalone apps such as PPSSPP for PlayStation Portable ROMs, and comprehensive emulators such as RetroArch. Additionally, Slash TV boasts home theatre PC apps like Netflix and Plex baked in. There's also a release for the Raspberry Pi, based on the Emitra OS Android TV image for the Raspberry Pi. The Pi version has a few limitations and bugs, like no Netflix functionality, Dreamcast, or PSP support.
Download your preferred Slash TV build, then mount it on a microSD card or eMMC module. When finished, boot up your device. It's best to get connected to the internet first, either via Ethernert or WiFi. Then, you can add ROMs. How you accomplish this varies based on what emualtors you're using.
DIY Sega Mega Drive Classic/Sega Genesis Classic Build - Final Boss
Though I regularly use my single-board computers for a variety of applications, one of my favorite projects remains a retro game console. I love classic console clones such as the NES Classic Mini, SNES Mini, and Sega Genesis aka Sega Mega Drive Classic. However, I enjoy creating my own. I started with a Raspberry Pi, and continue to use one, but upgraded to an ASUS Tinker Board for improved PSP and Dreamcast support. While I do switch microSD cards and alternate between RetroPie, Recalbox, Batocera, and Lakka, I find myself most often using RetroPie on my Raspberry Pi since it's the first retro gaming projcet I completed on the Pi, and thus the OS I've been using for emulation on the Pi the most. Even if you snag a Sega Genesis Classic, you should totally build your own DIY version with a Pi or ASUS Tinker Board. For even more retro gaming fun, learn how to make a DIY NES Classic Mini or SNES Mini with various single-board computers.

Moe Long is an editor, writer, and tech buff with a particular appreciation for Linux, Raspberry Pis, and retro gaming. Writing online since 2013, Moe has bylines at MakeUseOf, TechBeacon, DZone, SmartHomeBeginner, DEV.to, DVD Netflix, and Electropages. You can read his writings on film and pop culture at Cup of Moe, check out his tech reviews, guides, and tutorials at Tech Up Your Life, and hear his thoughts on movies on the Celluloid Fiends podcast. Aside from writing and editing, Moe has an online course, the Beginner's Guide to Affiliate Blogging From Scratch. When he's not hammering away at his keyboard, he enjoys running, reading, watching cinema, listening to vinyl, and playing with his dog Sebastian.


Leave your feedback...