
How to Install Recalbox on Odroid Go Advanced
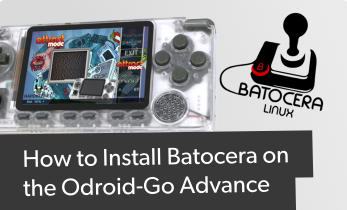
While you can buy many handheld game consoles such as the Nintendo Switch or GPD XD Plus, there are loads of do-it-yourself portable handheld retro game consoles on the market. The RetroFlag GPi case, ClockworkPi, and Odroid-GO are all great for gaming. Hardkernel's Odroid-GO Advance offers powerful, portable hardware for retro gaming on the go. While there are several different retro gaming operating systems (OSes) for the Odroid-Go Advance, Recalbox's user-friendliness and slew of features makes it a good choice for many gamers. Learn how to install Recalbox on the Odroid Go Advance!
What is Recalbox?
Recalbox is a Linux-based retro gaming OS that runs on a variety of different devices including single-board computers (SBCs) like the Raspberry Pi and Odroid XU4, x86 PCs, and retro gaming handhelds such as the Odroid Go Advance.
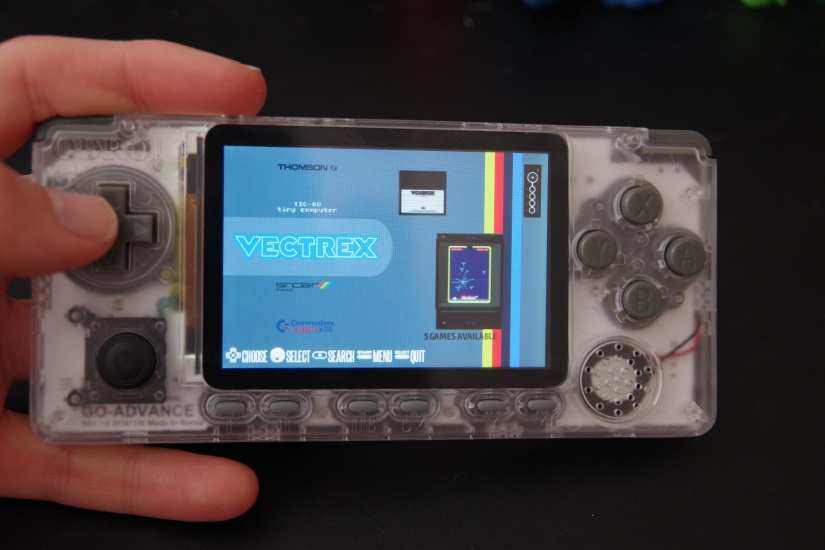
There's wide-ranging platform support for everything from arcade games such as MAME to consoles like the Super Nintendo Entertainment System (SNES), Sega Mega Drive, and PlayStation Portable (PSP). With around 150 indie games installed, Recalbox comes ready for use out-of-the-box. It's a retro gaming OS engineered with user-friendliness and simplicity in mind. At the same time, Recalbox is incredibly powerful and customizable. In a February 2021 update, Recalbox added the Odroid-Go Advance and Odroid-Go Super to its list of compatible hardware devices, complete with support for power consumption optimization, an easy-to-use setup wizard, sleep mode, volume and brightness controls, and more.
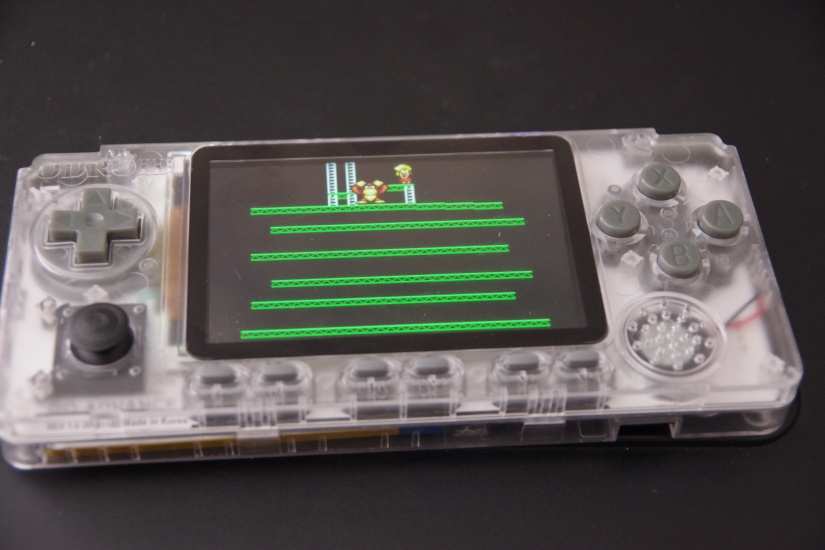
What is the Odroid-Go Advance?
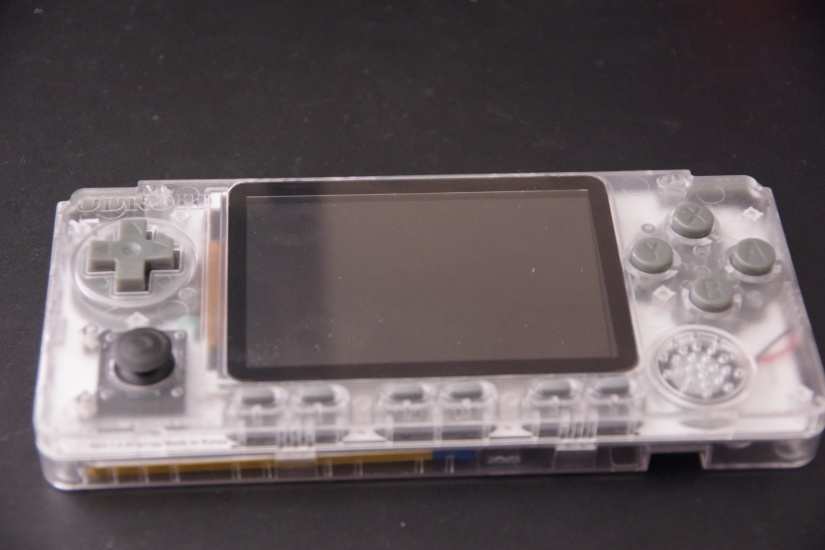
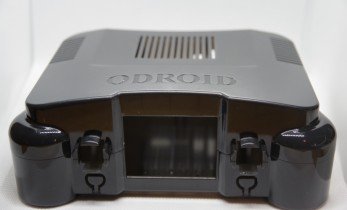
The Odroid-Go Advance hails from manufacturer Hardkernel. Aside from its retro gaming handhelds in the Odroid-Go Advance, Odroid-Go Super, and Odroid-Go, Hardkernel makes SBCs including the Odroid XU4 and Odroid H2.
Powered by a Rockchip RK3326 quad-core ARM Cortex-A35 1.3GHz CPU mated to a Mali-331 Dvalin GPU, the Odroid Go features 1GB of DDR3 RAM. There's a microSD card slot, 3.5-inch 320 x 480 TFT LCD screen, and 3.5mm headphone jack. You'll a USB 2.0 host, 3.7V, 3000mAh Li-Po battery, and 5V input for charging. There are tons of input buttons including F1, F2, F3, F4, F5, F6, A, B, X, Y, Direction Pad (D-pad), left shoulder, right shoulder, and an analog joystick.
With a pretty potent CPU and GPU combo, especially when paired with a 320 x 480 LCD screen, the Odroid Go Advance can handle emulation of a slew of game systems ranging from the Atari 2600 all the way up to the Sony PSP.
Odroid-Go Advance Specs
- RockChip RK3326(Quad-Core ARM Cortex-A35 1.3GHz) CPU
- Mali-G31 Dvalin GPU
- 1GB DDR3
- MicroSD card slot
- 3.5-inch 320 x 480 TFT LCD
- 3.5mm headphone jack
- 3.7V/3000mAh Li-polymer battery (up to 10 hours of play time)
- 5V input, 2.5mm DC plug
- USB 2.0 host
- 10-pin I2C, GPIO, IRQ
- Input buttons: F1, F2, F3, F4, F5, F6, A, B, X, Y, Direction Pad, Left Shoulder, Right Shoulder, Analog joystick
Odroid-Go Advance System Emulation Compatibility
- Atari 2600
- Atari 5200
- Atari 7800
- Atari Lynx
- Sega Game Gear
- GameBoy
- GameBoy Advance
- GameBoy Color
- Sega Master System
- Sega Mega Drive
- NES
- PC Engine
- PC Engine CD
- PSX
- Sega CD
- SNES
- PSP
How to Install Recalbox on the Odroid-Go Advance
For a portable, handheld retro game console with the Hardkernel Odroid Go Advance and Recalbox, you'll need a few items. First, the Odroid-Go Advance system itself. A microSD card is necessary for installing an operating system (OS). While you'll need at least a 16GB microSD card, a high-capacity 64GB or larger card is best for holding lots of ROMs, and particularly ROM files from newer systems such as the PSP, Nintendo 64 (N64), and PlayStation 1 (PS1) that feature larger file sizes.
On the software side, you'll need the Recalbox Odroid-Go image. To burn that image to a microSD card, you'll need image mounting software like Etcher. And of course you will want ROM files (legally obtained). Plus, you'll need an active Internet connection.
Odroid-Go Advance Recalbox parts list:
- Odroid-Go Advance console
- High-capacity microSD card (16GB+)
- Legally obtained ROM files
- Recalbox image
- Image mounting software (i.e. Etcher)
- Active Internet connection
Download Recalbox for the Odroid-Go Advance
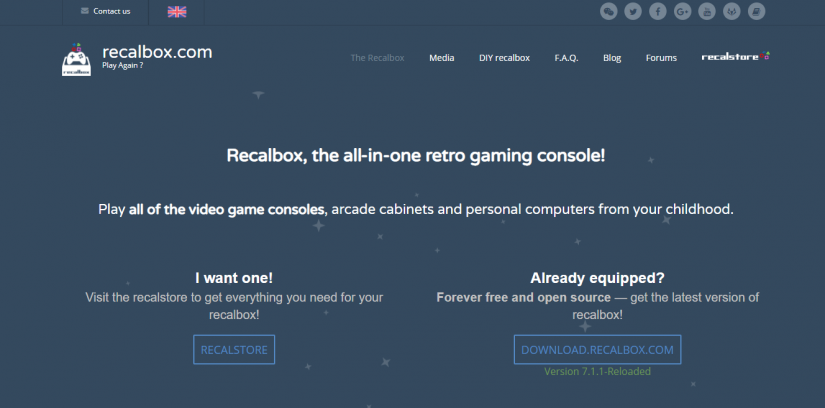 First up, head over to the official Recalbox website and select Download Recalbox.
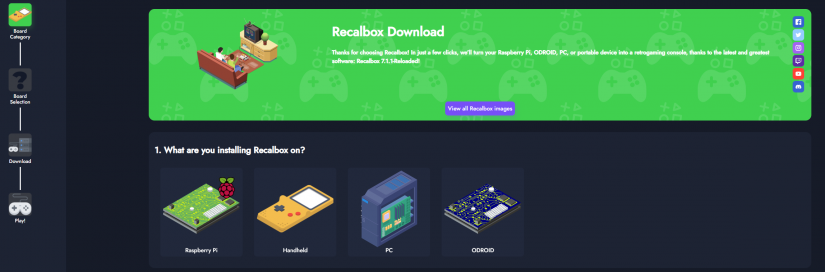
Next up, pick your hardware. You can choose Handheld, or browse for the Odroid-Go Advance Recalbox image with View all Recalbox images.
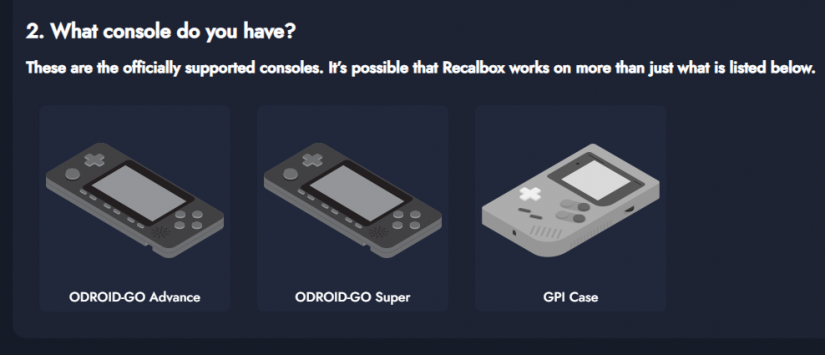 Click Handhelds or View all Recalbox Images, and then choose Odroid-Go Advance.
Now, download the Recalbox for Odroid-Go Advance image and wait for the file to finish downloading.
Write Recalbox for the Odroid-Go Advance to a microSD Card
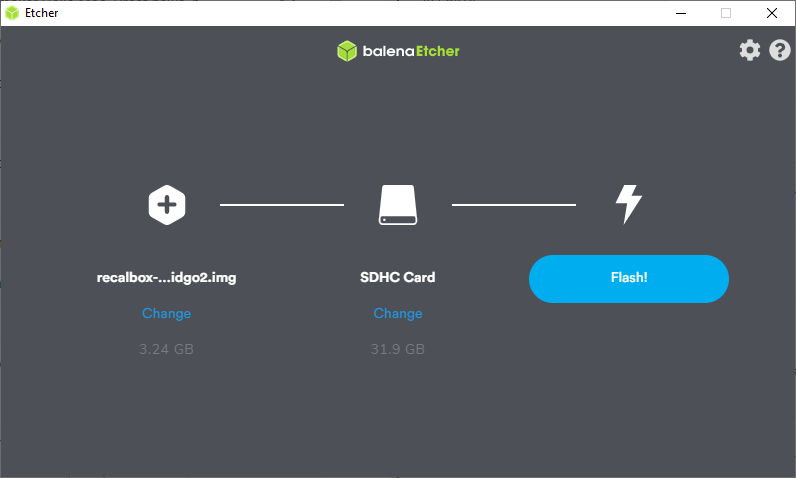
Once the Recalbox Odroid-Go Advance image finishes downloading, you'll need to write it to a microSD card. Using an image mounting program such as Etcher, select the Recalbox image as well as your desired boot medium, in this case a microSD card. The Recalbox image is an img.xz file.
When your Recalbox image and microSD card are both properly selected, go ahead and hit flash. Then, just wait for image mounting to finish. After image burning finishes, take your microSD card, pop it into your Odroid-Go Advance, and power it up.
Recalbox Odroid-Go Advance Set Up
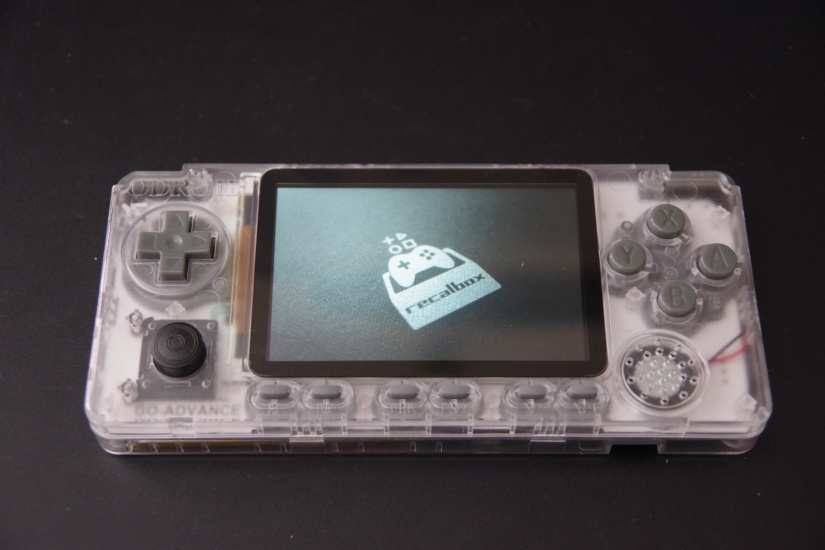
With your microSD card successfully flashed and inserted into the Odroid-Go, power on your device. You'll be greeted by the Recalbox OS. Initially, the controls on my device didn't work (on Recalbox 7.1.1). After some sleuthing, I discovered a simple fix of adding a few lines of code to the es_input.cfg folder under system/.emulationstation/. Open up the es_input.cfg file with a notepad editor, then add:
 <!-- Odroid Advance Go Internal controler -->
  <inputConfig type="joystick" deviceName="odroidgo2_joypad" deviceGUID="19000000010000000100000001010000" deviceNbAxes="2" deviceNbHats="0" deviceNbButtons="16">
    <input name="joystick1up" type="axis" id="1" value="-1" code="1" />
    <input name="joystick1left" type="axis" id="0" value="-1" code="0" />
    <input name="lum-" type="button" id="14" value="1" code="708" />
    <input name="lum+" type="button" id="15" value="1" code="709" />
    <input name="vol-" type="button" id="12" value="1" code="706" />
    <input name="vol+" type="button" id="1" value="1" code="707" />
    <input name="left" type="button" id="8" value="1" code="546" />
    <input name="down" type="button" id="7" value="1" code="545" />
    <input name="right" type="button" id="9" value="1" code="547" />
    <input name="up" type="button" id="6" value="1" code="544" />
    <input name="r1" type="button" id="5" value="1" code="311" />
    <input name="l1" type="button" id="4" value="1" code="310" />
    <input name="y" type="button" id="3" value="1" code="308" />
    <input name="x" type="button" id="2" value="1" code="307" />
    <input name="b" type="button" id="0" value="1" code="304" />
    <input name="a" type="button" id="1" value="1" code="305" />
    <input name="hotkey" type="button" id="10" value="1" code="704" />
    <input name="select" type="button" id="10" value="1" code="704" />
    <input name="start" type="button" id="11" value="1" code="705" />
  </inputConfig>
Save the file, pop your microSD card back in the Odroid Go Advance, and boot up. Now, you should be able to use the built-in controls. Follow the on-screen prompts for the getting started tutorial, and you should be good to go.
Adding ROMs to Recalbox on the Odroid Go Advance
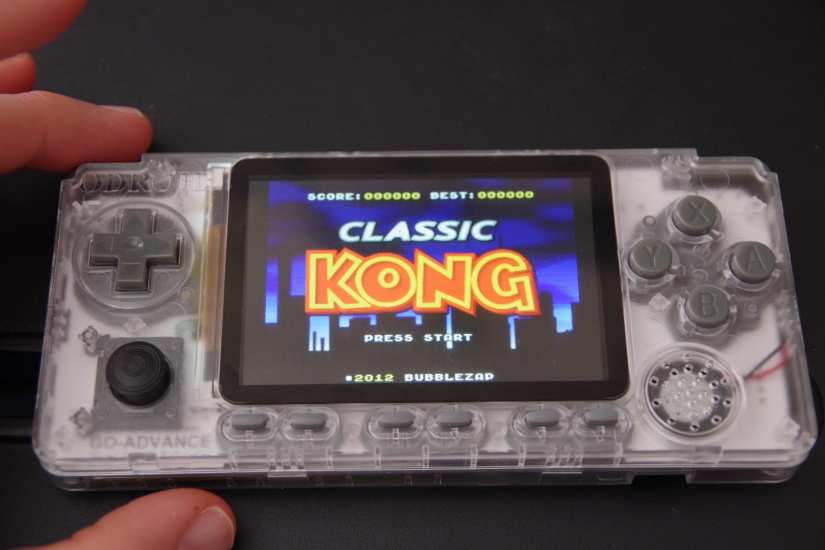
Out-of-the-box, Recalbox features a bunch of free, legal ROMs including indie games. But you can always add your own. The easiest way to accomplish this is by using the share partition of the microSD card. Power off your Odroid-Go Advance, pop your microSD card into your PC, and navigate to the Share folder.
Then, look under ROMs. Find the appropriate system folder, such as PSP, and drop your ROM files inside. When you're finished, simply place your microSD card back into the Odroid-Go Advance, boot it back up, and your ROMs should be available.
Odroid-Go Advance Performance
Its quad-core processor can handle many systems. PlayStation 1 games work great, and even a lot of Nintendo 64 titles run problem-free. I was able to play Mario Kart 64, GoldenEye 64, and Wu-Tang: Shaolin Style.
Some N64 and PSP titles don't run flawlessly. But with its 3.5-inch 320 x 480 TFT LCD screen, the quad-core CPU plus the Mali GPU will handle most N64 and older ROMs, plus a lot of PSP games. The ability to run so many games on a tiny device that fits in your pocket is absolutely fantastic.
How to Install Recalbox on the Odroid GO Advance - Final Thoughts
Maker boards are only as good as the software running on top of the hardware. Thankfully, Recalbox runs extremely well on the Odroid Go Advance. It's easy to install, simple to set up, and includes a bevy of different ROMs such as indie games.
Your turn: what retro gaming OSes are you running, and which retro games are you playing?

Moe Long is an editor, writer, and tech buff with a particular appreciation for Linux, Raspberry Pis, and retro gaming. Writing online since 2013, Moe has bylines at MakeUseOf, TechBeacon, DZone, SmartHomeBeginner, DEV.to, DVD Netflix, and Electropages. You can read his writings on film and pop culture at Cup of Moe, check out his tech reviews, guides, and tutorials at Tech Up Your Life, and hear his thoughts on movies on the Celluloid Fiends podcast. Aside from writing and editing, Moe has an online course, the Beginner's Guide to Affiliate Blogging From Scratch. When he's not hammering away at his keyboard, he enjoys running, reading, watching cinema, listening to vinyl, and playing with his dog Sebastian.


Leave your feedback...