How to Create a Retro Arcade with Recalbox
Among the best and most rewarding Raspberry Pi projects, a retro gaming machine is a top pick. These projects are simple enough for beginners and, once you’re finished, you benefit from a neat device capable of playing video games from a variety of retro systems. Learn how to create a retro arcade with Recalbox for old school gaming on a Raspberry Pi!
What is Recalbox?
Recalbox is a Linux operating system (OS) for gaming and multimedia purposes. It’s Debian-based and runs the EmulationStation frontend. It’s similar to RetroPie, another Debian-based retro gaming OS. However, there are some key differences.
Both Recalbox and RetroPie use Debian Linux as a foundation. Also, RetroPie and Recalbox employ the EmulationStation frontend. However, Recalbox’s interface is a bit different. You’ll still find most of the same features for this do-it-yourself (DIY) retro game console OS. Though the two look pretty similar, Recalbox includes music that plays on its home screen. But the main differences are in setup and configuration. Overall, Recalbox is simpler for beginners. Recalbox features support for most controllers immediately, while RetroPie demands a bit of fiddling.
Yet RetroPie boasts a bevvy of customization tools and increased system compatibility. For instance, RetroPie affords access to custom emulator settings, shaders, and more. On Recalox, there are scanlines and retro shaders, which automatically picks the best shaders for each system. Although you may add your own shaders, it’s a bit more complicated. The other major distinguishing factor between Recalbox and RetroPie is documentation. Recalbox is newer. Despite its young age, it’s grown rapidly and has a thriving community. Documentation is good, but nowhere near as comprehensive as what you’ll find for RetroPie and its extensive Wiki. Nevertheless, Recalbox is the perfect solution for beginners, or anyone seeking a straightforward, easy, and quick retro gaming and media center software option.
Recalbox Pros:
- Newer
- More intuitive
- Simple setup and configuration
Recalbox Cons:
- Lacks robust documentation
- Not as customizable
How to Create a Retro Arcade with Recalbox
Before you get started, here’s what you’ll need:
- Raspberry Pi (Raspberry Pi 4 recommended), or Odroid C2/UX4 ($70)
- Power supply
- microSD card (8 GB minimum)
- Controller ($10-$40)
- Case (optional but recommended)
- Keyboard
Cost: Although price will vary depending on what you currently own, a Raspberry Pi 4 kit is the best option. Those retail for $60-$70. That’s about how much you’ll spend for an Odroid board and case as well. For controllers, you can spend anywhere from $10-$40. Then a keyboard retails for about $14, though you’ll likely have a perfectly usable keyboard and mouse lying around. Even assuming you’re purchasing everything you need, think around $100 or less.
Pretty much any Raspberry Pi should function fine for most emulators, but for Nintendo 64 and Sega Dreamcast emulation, a Raspberry Pi 4 is recommended. Its beefier processing power should provide a smoother experience for playing N64 and Dreamcast ROMs. Still, even with a Pi 4 and overclocking, some ROMs still struggle. There’s a pretty solid crowd-sourced list of ROMs and their various playable states.
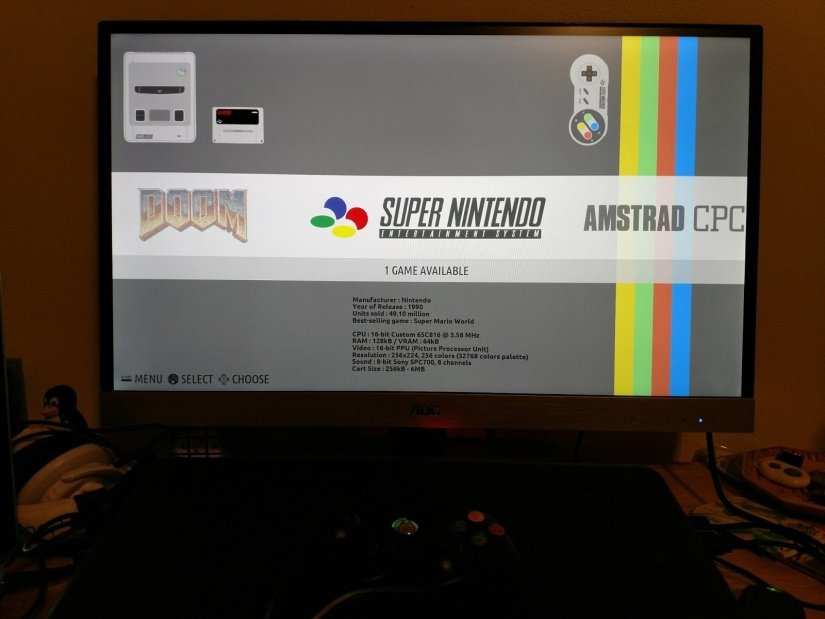
Available Emulators
- Arcade
- Arcade Classics
- Nintendo Entertainment System (NES)
- Family Computer Disk System (FDS)
- Super Nintendo Entertainment System (SNES)
- Sega Master System
- Sony PlayStation
- Sega Genesis
- Nintendo GameBoy
- GameBoy Advance (GBA)
- GameBoy Color (GBC)
- Atari 7800
- Atari 2600
- PC Engine (CD)
- Sega SG1000
- MXS 1/2/2+
- Nintendo 64 (N64)
- Sega 32x
- Sega CD
- ScummVM
- Game and Watch
- Vectrex
- Game Gear
- Virtual Boy
- Lynx
- NeoGeo Pocket Color
- Wonderswan Color
- Neo Geo
- Supergrafx
- Odyssey 2 Videopac
- Amstrad CPC
- Atari ST
- Sinclair ZX81
- Sinclair ZX Spectrum
- PlayStation Portable (PSP)
- Commodore 64 (C64)
Aside from emulators, you’ll find several ports such as PRBOOM, a “Doom” port, and Moonlight for streaming games from a PC to Recalbox. There’s also Kodi for a fantastic home theatre PC (HTPC) experience.
Install Recalbox
First, download the latest version of Recalbox from the Recalbox Downloads page. Pick the proper image file for your set up. You can choose from images for the Raspberry Pi 1/0, Pi 2, and Pi 3 as well as Oxroid XU4 and Odroid C2, or 32-bit and 64-bit PC images.
Once you’ve downloaded the proper Recalbox image, use Etcher to burn the img.xz to a microSD card.
Open Etcher, and navigate to the folder where you placed your Recalbox IMG file. Then, select that in Etcher as your image, and pick the proper source to mount it, which will be your microSD card. After that’s burned, insert your microSD card into your Raspberry Pi.
Configure Recalbox
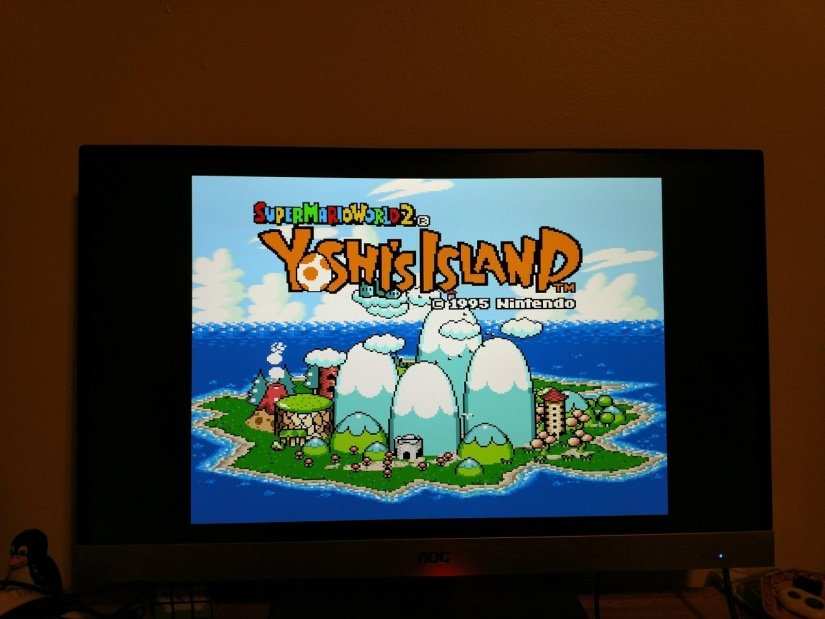
Upon first boot, Recalbox will perform a bit of first-time setup copying files. After that, it should boot into Recalbox. If not, make sure that your device is properly hooked up to a compatible power supply, the HDMI cable is connected, and that your microSD is seated correctly. If all else fails, make sure your IMG file is mounted on your microSD.
Controller Configuration
After the initial boot, you’ll want to setup your controller. Recalbox sports fantastic controller support. For an Xbox 360 USB controller, just plug it in and you’re ready to play. If you’re using a PlayStation 3 controller and a Bluetooth dongle, simply plug the controller in with a micro USB cable and wait 10 seconds. After that, you should be able to press the Home button and it’s properly configured.
For other USB controllers, first plug in a USB keyboard. Then, under the Recalbox frontend, navigate to Configure Input with the S key. Next, choose Configure a Controller, and again press the S key. Proceed to follow the prompts to map each controller key.
Optional but Recommended: Use a USB Device for Recalbox Storage
While you can easily use the microSD card to store system settings and ROMs, it’s even easier to use an external USB drive. That way, if your microSD card gets damaged or you perform a fresh installation, you’ve got your ROMs, game lists, and settings saved on an external drive.
With Recalbox booted up, plugin your flash drive. Then SSH into your device. Alternately, open a new terminal and enter:
cd /recalboxscripts
To view all available devices, run:
./recalbox-sync.sh list
From the list of devices, note your USB drive. It should look something like:
# ./recalbox-sync.sh list
INTERNAL
[DEVICE NAME]
Then, enter:
# ./recalbox-sync.sh sync [DEVICE NAME]
sending incremental file list
./
.keep
bios/
bios/lisez-moi.txt
bios/readme.txt
After that, your Recalbox OS is configured to use your USB drive for its data. Once this is complete, navigate back to the main frontend and press the Start button. Then, go under System Settings and select Storage Device List. Then, pick your USB device from the list. The system will perform a reboot, at which time a new folder called ‘recalbox’ will be created on your flash drive which contains the /share partition from Recalbox. So to add ROMs you may SSH into your device, or even easier, just pop the external drive into your computer, then drag and drop files into their proper folders.
Troubleshooting – If after this tweak, Recalbox isn’t able to load any ROMs, SSH into your device or open a terminal and run:
mount -o remount, rw /boot
cd /boot
nano recalbox-boot.conf
Then, add a line:
sharewait=30
Save this setting with:
CTRL X, Y, Enter
Finally, in the command line enter:
reboot
Once your Recalbox reboots, you should see your ROMs listed under the proper systems.
Other Resources:
Recalbox includes a solid Wiki on its GitHub page which is fantastic for troubleshooting, and reference during first install and config. If you’re looking for quality ROMs, these are excellent sources (note: we here at Electromaker do not condone piracy, so please only download ROMs to games you legally own, or make your own rips).
- The ISO Zone – Extensive ROM library and ROM sets
- Doperoms – Easy to navigate
- Emuparadise – Well-organized collection of ROMs
How to Create a DIY Gaming System with Recalbox
Ultimately, a DIY retro arcade with Recalbox presents an intuitive yet rewarding project for your Raspberry Pi or Odroid device. While Recalbox lacks many of the default custom shaders found in RetroPie, it’s more streamlined and suited to faster setup than RetroPie, which is engineered for power users.
Your turn: What hardware and software are you using for retro gaming, and what games are you playing?







Leave your feedback...