
Setup Octoprint for the Anet A8 with a Raspberry Pi
The Anet A8 3D printer that we reviewed in early 2018 is a bit of a beast for under $150, it produces decent quality prints and it is relatively easy to build. It may be a basic printer, made to a price point but we found that it was a reliable workhorse for makers.
So how can we enhance our Anet A8 experience? Well, first of all, a web interface would be great, one that enables us to monitor and control the printer from a tablet/laptop from the sofa. Well, we can do just that, using nothing more than a Raspberry Pi 3 and an Internet connection.
For this project you will need
- A Raspberry Pi 4
- An 8GB+ micro SD card
- Raspberry Pi power supply
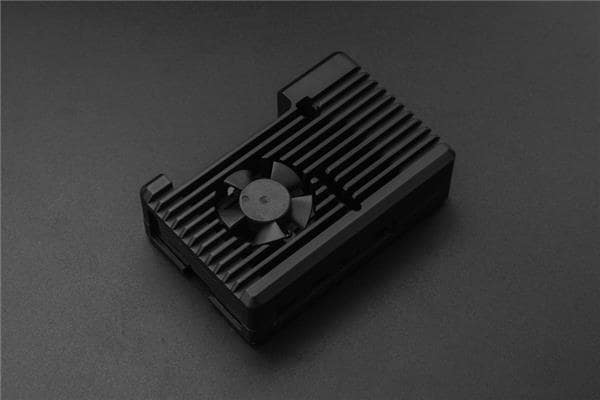
- Raspberry Pi case
- HDMI cable
- Keyboard/mouse
- An Internet connection
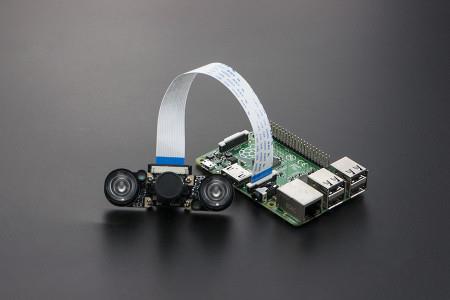
- Optional webcam (We used a Microsoft Lifecam 720P)
- Octoprint download
The first step in the process is to flash the downloaded OctoPi image on to a blank micro SD card. To do this we shall use Etcher a cross-platform tool to flash SD cards and USB sticks via a three-step GUI. Using Etcher, we need to tell it where the image is located, typically our Downloads folder. Then we tell Etcher where the microSD card is located. Lastly, we start the flashing process.
Once flashed, you will see a new drive appear in your File Manager. Open this drive and look for a file called octopi-network.txt open the file using your favourite text editor but do not use WordPad (Windows) or TextEdit (OS X) as they will cause issues. Edit the file so that it contains your WiFi access point name and password. Save and then safely eject the micro SD card and insert it into your Raspberry Pi. Connect your Anet A8 printer to the Pi, and then power up the Raspberry Pi and the Anet A8.
On another computer open a Terminal (Linux and OS X have this built in, Windows users will need to use PuTTY) and connect to the IP address of your Pi. If you don’t know this, then you can check via your router admin page, or use a tool like Fing for Android, which scans networks and reports connected devices. You will need to login as the user pi and the password is raspberry. Once logged in, it is best practice to change your password so that your device is secure. Use this command to change your password.
passwd
With that complete, we can now log out of the SSH session. But on the same computer open a web browser and navigate to the IP address of your Pi. For example, our IP was
192.168.0.6
For Linux and OS X users you can also connect to the OctoPi device via octopi.local thanks to the Bonjour printer service being pre-installed. Windows users can download and install the software from here then you can also use the same octopi.local address.
In the browser window, we will now go through an installation/configuration script. The first step in our configuration was to ensure that our access control was up to date, allowing only authorised users to access the printer controls. When a new user has been created, and when prompted, refresh the web page and you will be asked to log in. So do so as the next step requires us to administrate the system. To ensure that our software was up to date we saw that there was a pop reminder in the top right of the screen, so we took the opportunity to update the system.
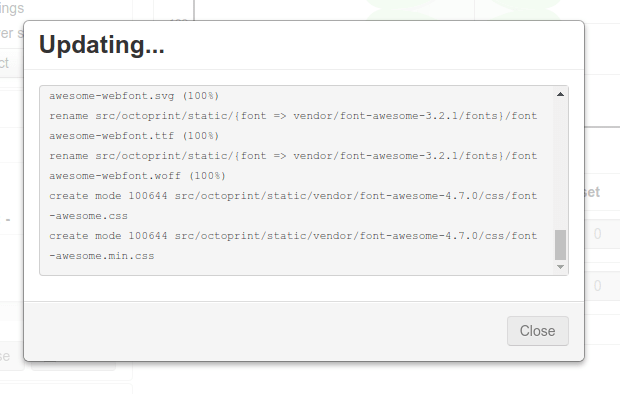
The updating process opens a new dialog box and shows the terminal output for all of the commands being used to update the installed software.
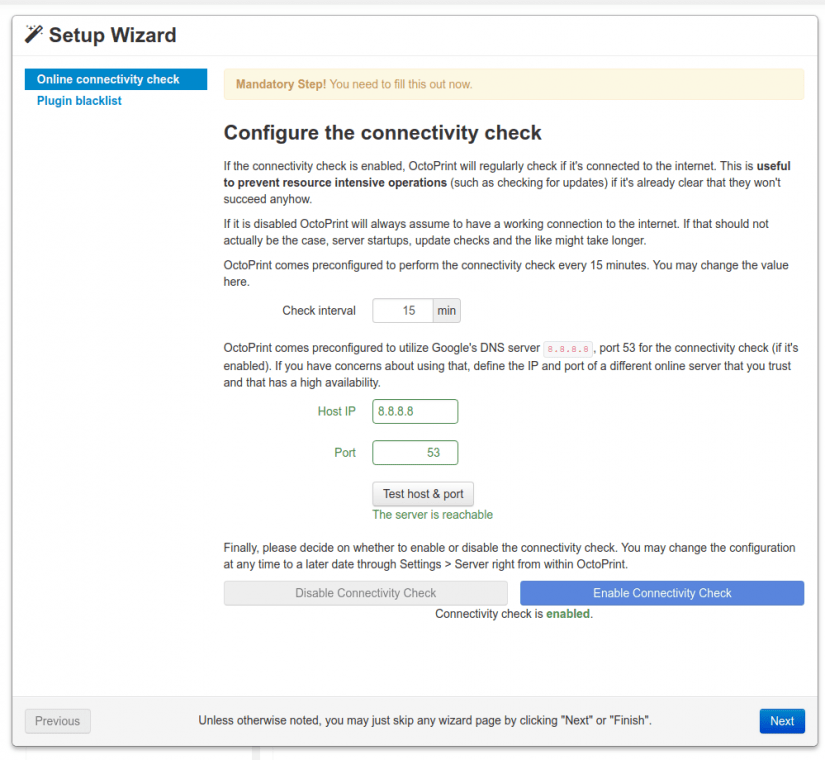
The next screen handles connectivity, specifically enabling your OctoPi device to maintain connectivity to the network and check for updates. You can turn this check off, but we left it on by default.
The next step is to protect OctoPi from any broken or malicious third-party plugins. We chose to enable this feature for added safety, remember that a malicious plugin may enable remote access to your printer and devices on your network.
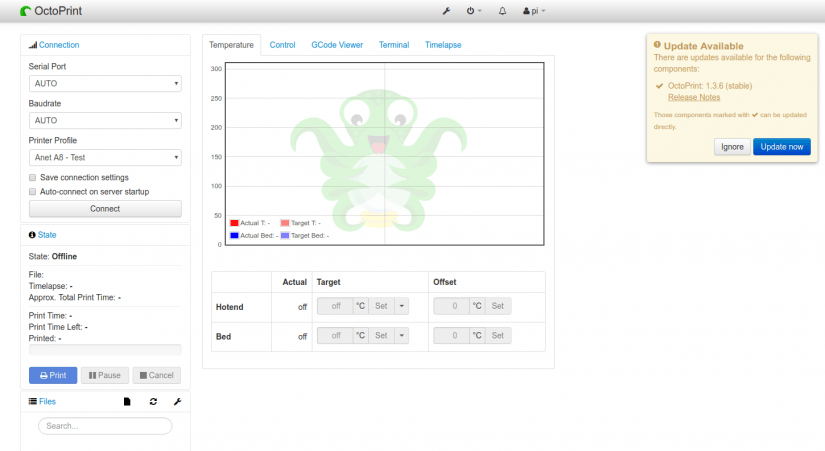
With those steps completed, we can now set up our printer and the first task is to make sure our Pi is connected. To do this use the Connection options found on the main page.
The default connections of /dev/ttyUSB0 and a baud rate of 115200 will do the trick. Click on connect and your Anet A8 is now connected to the Pi, but to control it we need to give OctoPi the printer profile settings. OctoPi should ask you to supply a Printer Profile as part of the install process, but if not, click on the Spanner icon found at the top of the screen. In the new menu, look for Printer Profiles in the left-hand list. Click on Printer Profiles and create a new profile.
And we set up the settings for the Anet A8 as follows, note that your settings (and ours) will require tinkering, and are there as a starting reference only.
Once completed, go back to the Connection options on the main page and select the printer profile that we have just created. Click on Connect again and we can now control the printer from our laptop/mobile device.
Danger, Will Robinson!
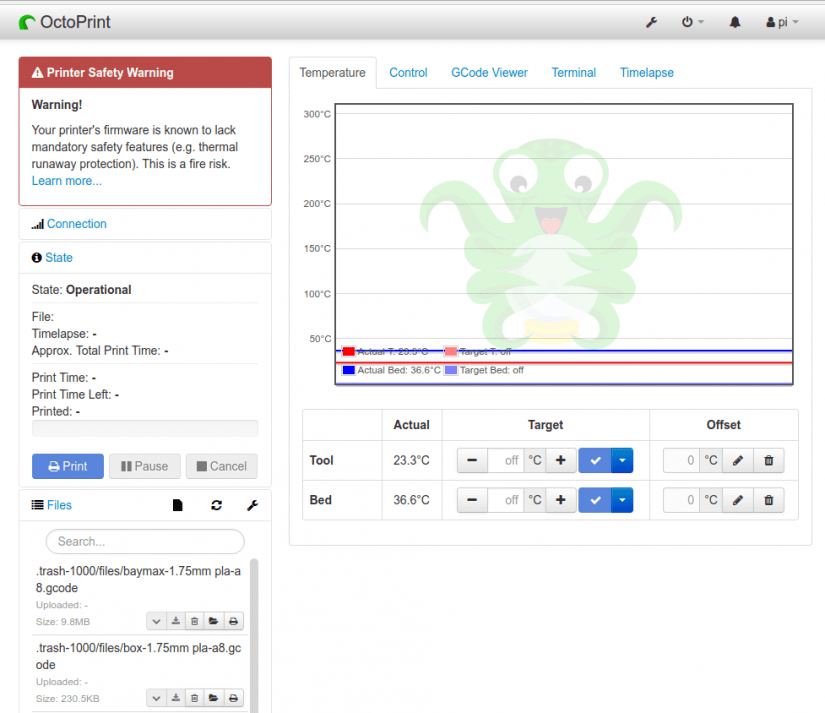
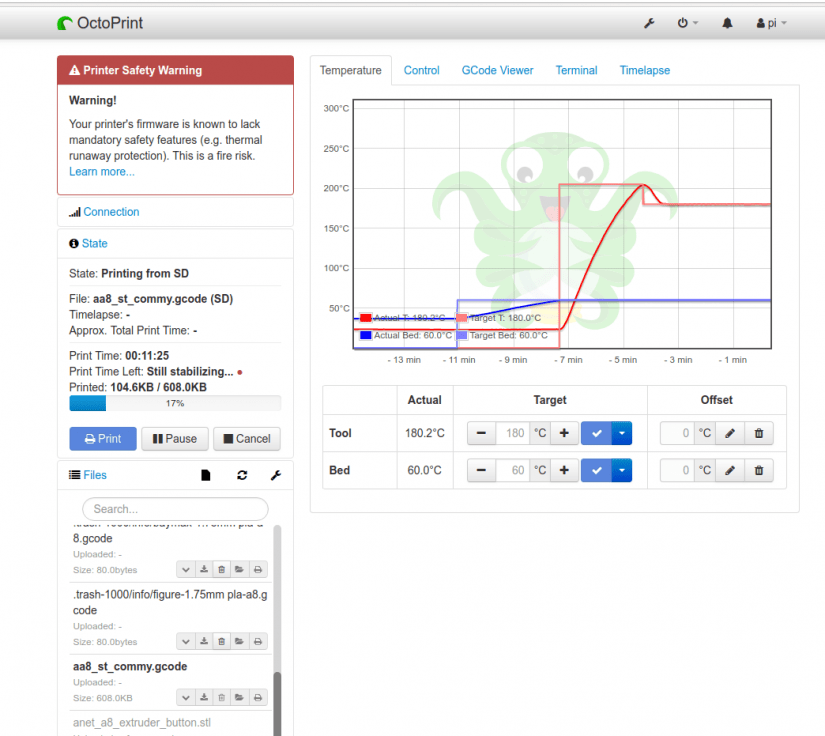
You will have noticed a big red warning box in the top left of the screen; it appears as though the firmware of my Anet A8, stock firmware, is out of date and potentially a fire risk. So dear reader, heed the warning, update the firmware of your Anet A8, Marlin is the best open-source option available ] so please do this and remember to NEVER leave your 3D printer unattended, this software does not replace a real person being on hand to manage any incidents.
Smile you’re on camera!
Remember the webcam that we mentioned that the start of this tutorial? Well, our USB webcam worked with no configuration necessary. Now in the top right of the screen under the Control tab, we can see a live feed from the camera. We can also control the position of the extruder in all three axis, and if we hover the mouse of the video feed, we can use the keyboard for direct control.
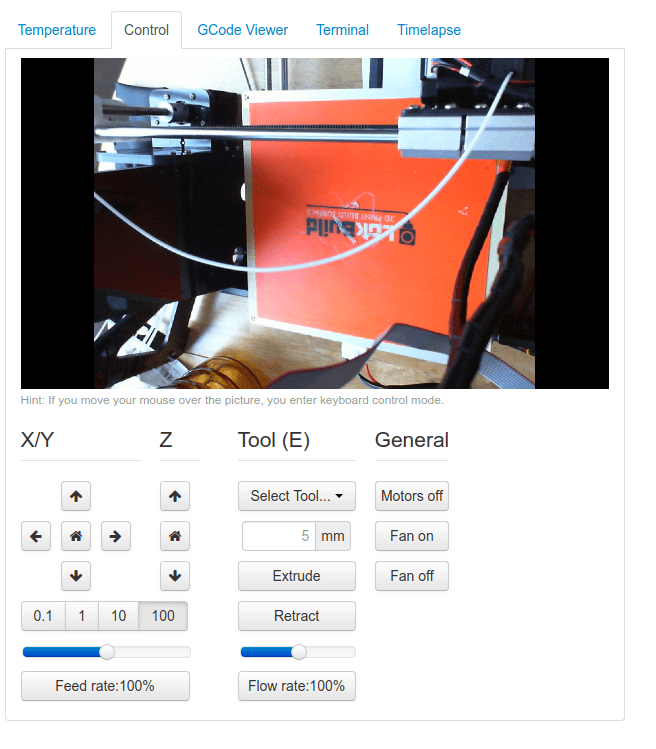
The official Raspberry Pi camera can also be used. Please note that webcam streaming and printing cannot be done simultaneously on the Pi Zero W due to bandwidth issues but it can be done with the Pi 4.
Uploading a file to print
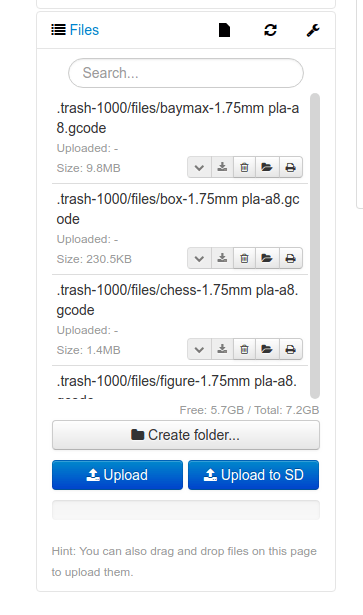
Printing a file using Octoprint is sheer simplicity. We can upload files directly to the micro SD card installed on the control board of the Anet A8, or we can stream a file over the network from our device. All we need to do is go to the main page and look for the Files section. Upload a file and then select it from the list. Click on the Printer icon to start the print process.
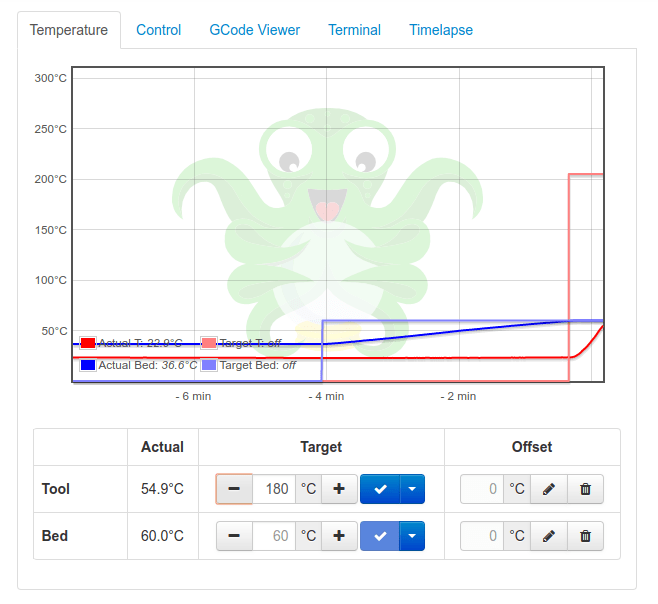
When the printer is ready it will spring to life and start printing your creation! We can keep an eye on the temperature of our heated bed and the extruder using the Temperature tab.
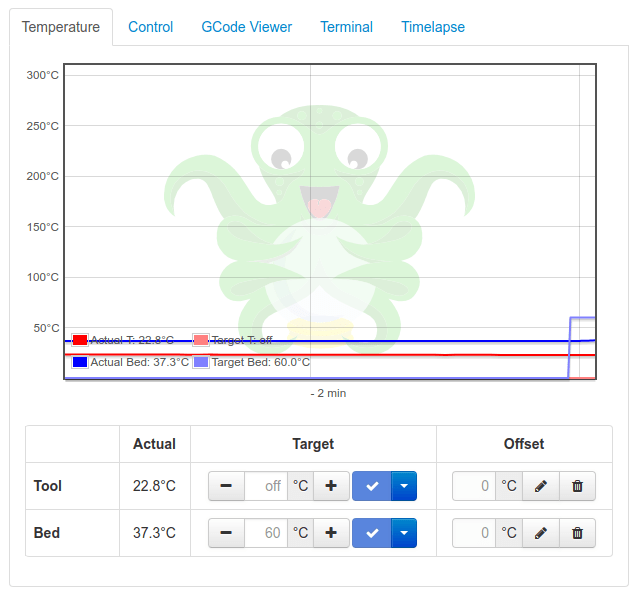
And we can manipulate the extruder temperature based on the filament we are using.
While the printing is underway, we can monitor the progress using the State options and we can flick between the tabs to watch the webcam, terminal and create a timelapse for use on YouTube!
So there we have it, our own web interface for the humble Anet A8. Now we can print from the comfort of the sofa, and monitor the print on our device, but please don’t pop out to the shops/pub/holiday. Always be around when using a 3D printer.
Go forth and enjoy your new web controlled 3D printer and make sure to show off your 3D printed project on Electromaker.

Les Pounder loves hacking and tinkering with Arduino, Raspberry Pi and new technologies. He passes on his skills and discoveries to Electromaker readers via tutorials and reviews.


Leave your feedback...