
Using a Raspberry Pi for a Crypto Currency Wallet
Despite its weakness, when compared with mid-range to high-end graphics processing units (GPUs) computing power, the Raspberry Pi is capable of cryptocurrency mining. Cryptocurrency mining on the Raspberry Pi presents a fun foray into the cryptocurrency space as a means to learn more about various cryptocurrencies, mining, and Raspberry Pi hardware as well as software. For more cryptocurrency Raspberry Pi projects, learn about using a Pi for a crypto wallet!
Using a Pi for a Crypto Wallet
To create a Raspberry Pi crypto wallet, you’ll need a few items:
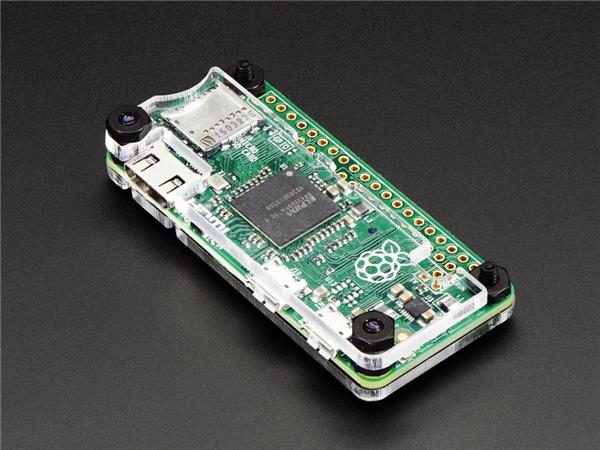
- Raspberry Pi board
- microSD card (8GB or more)
- Power supply
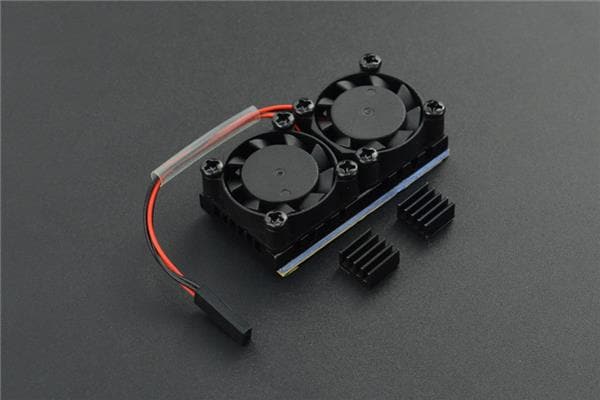
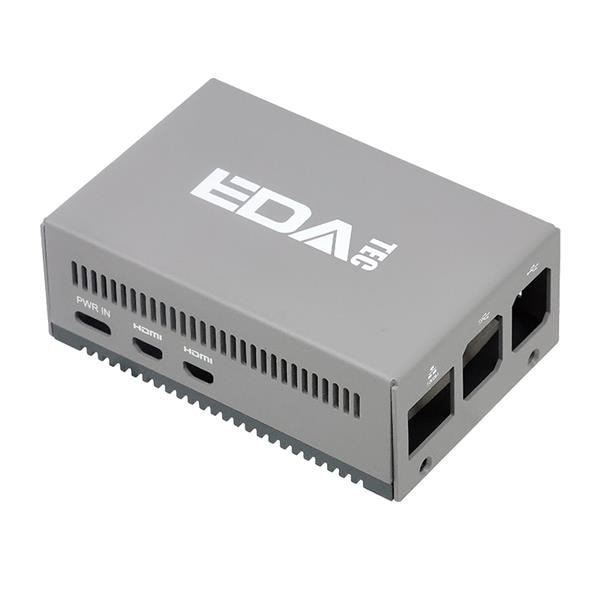
- Case (optional but recommended)
- Keyboard and mouse
- Compatible operating system (OS)
- Crypto wallet software
- External drive (optional)
Total cost: $60-100. You can get a Raspberry Pi kit complete with a case for around $50 or more. Although these packages typically come with a case, you may consider one of these 15 awesome Raspberry Pi cases. Since you may need additional space particularly if running a full node, an external hard drive or flash drive may be a good addition to this project
Most Debian-based Linux distributions that remain compatible with the Raspberry Pi should be suitable as a foundation for a crypto wallet on a Raspberry Pi. Raspbian is a good choice, and really simple to install.
Raspberry Pi Crypto Wallet
There are several options for running a cryptocurrency node on a Raspberry Pi.
Raspnode
While Raspnode is no longer maintained, it still functions fine.
Make a Raspberry Pi Bitcoin Wallet
You may wish to create just a Bitcoin wallet. To accomplish this, install the necessary dependencies:
sudo apt-get install python-qt4 python-pip -yThen, run the Python installer to load Electrum:
sudo pip install https://download.electrum.org/2.5.2/Electrum-2.5.2.tar.gzProceed to launch the desktop:
startxFinally, run Electrum:
electrumOr, you may run Electrum from the menu:
Menu > Internet > Electrum Bitcoin Wallet
DIY Bitcoin Node on a Raspberry Pi
You can also run a full node. With Raspbian or another compatible OS installed, boot up your Pi. If you plan to run your node on an external drive such as a USB stick, configure your USB and create an automount. You’ll need your flash drive formatted as FAT32. This will create a full node and wallet.
Create a Bitcoin Data directory:
mkdir ~/bitcoinDataNext, plug in your USB drive and find its location:
sudo blkidThis will show you where your USB stick is mounted. To make your flash drive automount, open and edit the fstab file:
sudo nano /etc/fstabAdd a few lines to the bottom of the file with the proper location of your flash drive. Depending on how your Pi is configured, you may need to change some information. For instance, if you changed your username to something besides Pi, you’ll need to alter that in the code below. If your USB stick is located at /dev/sda1/ then enter:
/dev/sda1 /home/pi/bitcoinData vfat uid=pi,gid=pi,umask=0022,sync,auto,nosuid,rw,nouser 0 0Now, save and exit:
CTRL + X, then confirm that you want to save by hitting Y. Once that’s complete, reboot:
sudo shutdown -r nowFor those that wish to download the entire blockchain node on raspnode, enlarging the swap file may be beneficial. Because swap files add additional memory, you may avoid a Bitcoin core crash by adding swap. For this, you’ll need to edit the dphys-swap file:
sudo nano /etc/dphys-swapfileMake the default size of 100 to 1000:
Old value:
CONF_SWAPSIZE=100New value:
CONF_SWAPSIZE=1000Save and exit (CTRL + X, Y). Now, run:
sudo dphys-swapfile setupthen
sudo dphys-swapfile swaponWith that completed, it’s time to download the Bitcoin core directory. Before you begin, it’s best to run an update:
sudo apt-get update
sudo apt-get upgrade -y
Now, download and install Bitcoin Core:
sudo apt-get install autoconf libevent-dev libtool libssl-dev libboost-all-dev libminiupnpc-dev -yFor those using Raspbian Jessie Lite, you’ll need to install git as well:
sudo apt-get install git -yIf you’d like to use the bitcoin-qt wallet and graphical user interface (GUI), you must download that on your Raspberry Pi:
sudo apt-get install qt4-dev-tools libprotobuf-dev protobuf-compiler libqrencode-dev -yNext, create a directory for the files you’ll need to download:
mkdir ~/binAnd change directories into that folder:
cd ~/binThe Berkeley database is required, so download, compile, and install it:
wget http://download.oracle.com/berkeley-db/db-4.8.30.NC.tar.gz
tar -xzvf db-4.8.30.NC.tar.gz
cd db-4.8.30.NC/build_unix/
../dist/configure --enable-cxx
make -j4
During the make -j4 step, this might take several minutes. Additionally, you may receive some errors, so if so, simply run: make:
sudo make installOnce that’s done, install Bitcoin:
cd ~/bin
git clone -b 0.13 https://github.com/bitcoin/bitcoin.git
cd bitcoin/
./autogen.sh
For use of bitcoin-Qt, run:
./configure CPPFLAGS="-I/usr/local/BerkeleyDB.4.8/include -O2" LDFLAGS="-L/usr/local/BerkeleyDB.4.8/lib" --enable-upnp-default --with-guiAlternatively, for a headless install, enter:
./configure CPPFLAGS="-I/usr/local/BerkeleyDB.4.8/include -O2" LDFLAGS="-L/usr/local/BerkeleyDB.4.8/lib" --enable-upnp-defaultWhen you’re finished, run:
make -j2This will take a few hours, so take a break and come back. If you get any errors, simply run:
sudo make installAfter that installation, configure, then run Bitcoin core. Navigate into your USB directory and edit the bitcoin.conf file:
cd ~/bin/bitcoin
cd ~/bitcoinData
nano bitcoin.conf
You should see a username and password:
rpcuser=USERNAME HERE
rpcpassword=PASSWORD HERE
Enter a username and password. If you’re NOT using an external drive, the bitcoin.conf file should be in ~/.bitcoin as opposed to ~/bitcoinData
Then, run bitcoinid, specifying the USB drive that’s mounted for blockchain data storage:
bitcoind -datadir=/home/pi/bitcoinData -daemonIf you’d like to run bitcoin-Qt on initial launch, enter:
bitcoin-qt -datadir=/home/pi/bitcoinDataThis will ensure that the blockchain is verified and synched properly. Make sure that your node is reachable via the network by running:
bitcoin-cli -datadir=/home/pi/bitcoinData getinfo
Make a Raspberry Pi Litecoin Wallet
You can create a Litecoin wallet on a Raspberry Pi as well. Begin by installing the necessary dependencies:
sudo apt-get install python-qt4 python-pip -yNow, with the Python installer, download and install the Electrum wallet:
sudo pip install https://electrum-ltc.org/download/Electrum-LTC-2.3.2.2.tar.gzAfter that, launch the desktop with:
startxFinally, run Electrum using:
electrum-ltcAlternatively, Electrum will be available in the Menu:
Menu > Internet > Electrum Litecoin Wallet
DIY Litecoin Node on a Raspberry Pi Litecoin
Depending on your needs, you may want to make a full Litecoin node with a wallet. Again, it’s good to increase your swap:
sudo nano /etc/dphys-swapfileMake the default size of 100 to 1000:
Old value:
CONF_SWAPSIZE=100New value:
CONF_SWAPSIZE=1000Save and exit (CTRL + X, Y). Now, run:
sudo dphys-swapfile setupthen
sudo dphys-swapfile swaponTo install a Litecoin node, first, run an update:
sudo apt-get update
sudo apt-get upgrade -y
After that, download and install the packages required for Litecoin:
sudo apt-get install autoconf libtool libssl-dev libboost-all-dev libminiupnpc-dev -yFor those using litcoin-Qt which includes a wallet and GUI, enter:
sudo apt-get install qt4-dev-tools libprotobuf-dev protobuf-compiler libqrencode-dev -yCreate a directory for your downloaded files:
mkdir ~/bin
cd ~/bin
You’ll need to use Berkeley, so download and install it with:
wget http://download.oracle.com/berkeley-db/db-4.8.30.NC.tar.gz
tar -xzvf db-4.8.30.NC.tar.gz
cd db-4.8.30.NC/build_unix/
../dist/configure --enable-cxx
make -j4
As with the Bitcoin installation, the make step will take a few minutes. If it returns any errors, merely run:
sudo make install
Make a Raspberry Pi Ethereum Wallet
For an Ethereum wallet on the Raspberry Pi, you may use either the Go Ethereum app, Geth, or Python Ethereum app, Pyeth.
Geth
For You may wish to use an external drive. To accomplish this, make a mount point for your USB stick:
mkdir ~/ethDataNow, locate your flash drive:
sudo blkidLocate the label for your external storage media, for example sda1. After that, edit your fstab to point to the USB drive:
sudo nano /etc/fstab
At the end of the file, add (if your flash drive location is something other than dev/sda1 then use that instead:
/dev/sda1 /home/pi/ethData vfat uid=pi,gid=pi,umask=0022,sync,auto,nosuid,rw,nouser 0 0Save the file (CTRL + X, Y) and reboot:
sudo shutdown -r nowBegin by downloading the Ethereum Geth dependencies. First, perform an update:
sudo apt-get update
sudo apt-get upgrade -y
Install dependencies with:
sudo apt-get install libgmp3-dev -yWhen that’s complete, make a directory for the build:
mkdir ~/bin
cd ~/bin
Then, download the Go tarball and extract it:
wget http://dave.cheney.net/paste/go1.4.linux-arm~armv7-1.tar.gz
tar -xzvf go1.4.linux-arm~armv7-1.tar.gz
export PATH=$PATH:/home/pi/bin/go/bin
export GOROOT=/home/pi/bin/go
Install Geth using (if you’re starting from a fresh terminal, make sure to change directory into ~/bin
):
git clone -b release/1.3.3 https://github.com/ethereum/go-ethereum.git
cd go-ethereum/
make geth
sudo cp build/bin/geth /usr/local/bin/
You may need to make a new account. If so, when you’ve finished, run (if you’re starting from a fresh terminal, make sure to change directory into ~/bin):
cd ~/
geth --datadir /home/pi/ethData account new
Then, enter:
geth account newRun Geth with (assuming you’re using external storage):
geth --datadir /home/pi/ethData --ipcdisable --autodag consoleIf you’re NOT using an external drive, instead use:
geth --autodag consoleOnce you run Geth, you should see a notification that Block synchronization has begun. You can check on its status using:
eth.syncingTo run Geth in the background, enter (assuming you are using external storage):
geth --datadir /home/pi/ethData --autodag --verbosity 0 &And for running Geth in the background without external drives:
geth --autodag --verbosity 0 &Pyeth
Instead of Geth, you may use Pyeth instead. This is the Python Ethereum client and stores an entire Ethereum blockchain. Here, you may want to use an external drive since the full Ethereum blockchain is pretty large. Make a new directory:
mkdir ~/ethDataFind your USB drive with:
sudo blkidNow, edit your
fstabfile:
sudo nano /etc/fstabAdd the proper line. If your USB stick is sda1 use that. Or if it’s sdb1 use that instead, and so on.
/dev/sda1 /home/pi/ethData vfat uid=pi,gid=pi,umask=0022,sync,auto,nosuid,rw,nouser 0 0Close and save (CTRL X, Y). Then, reboot:
sudo shutdown -r nowStart installing Pyeth by obtaining dependencies. First, run an update:
sudo apt-get update
sudo apt-get upgrade -y
Install the Python module installer:
sudo apt-get install python-pip python-dev -yAfter that, install PyEthApp:
sudo pip install pyethappNext, run PyEthApp:
pyethapp runFor those using external storage, you may store the blockchain on your flash drive:
pyethapp --data-dir /home/pi/ethData/ runMake a DIY Crypto Wallet with a Raspberry Pi: Final Thoughts
It’s fairly simple to make a crypto wallet using a Raspberry Pi. Merely identify the type of cryptocurrency you’d like to create a wallet for, and use the proper software. If you’re installing just a wallet, you’re likely fine with a microSD card, but for a full node, you’ll want a high capacity card (128GB+) or an external drive.
What devices are you using as cryptocurrency wallets?

Moe Long is an editor, writer, and tech buff with a particular appreciation for Linux, Raspberry Pis, and retro gaming. Writing online since 2013, Moe has bylines at MakeUseOf, TechBeacon, DZone, SmartHomeBeginner, DEV.to, DVD Netflix, and Electropages. You can read his writings on film and pop culture at Cup of Moe, check out his tech reviews, guides, and tutorials at Tech Up Your Life, and hear his thoughts on movies on the Celluloid Fiends podcast. Aside from writing and editing, Moe has an online course, the Beginner's Guide to Affiliate Blogging From Scratch. When he's not hammering away at his keyboard, he enjoys running, reading, watching cinema, listening to vinyl, and playing with his dog Sebastian.


Leave your feedback...