
Taking your first steps with the Adafruit Circuit Playground Express
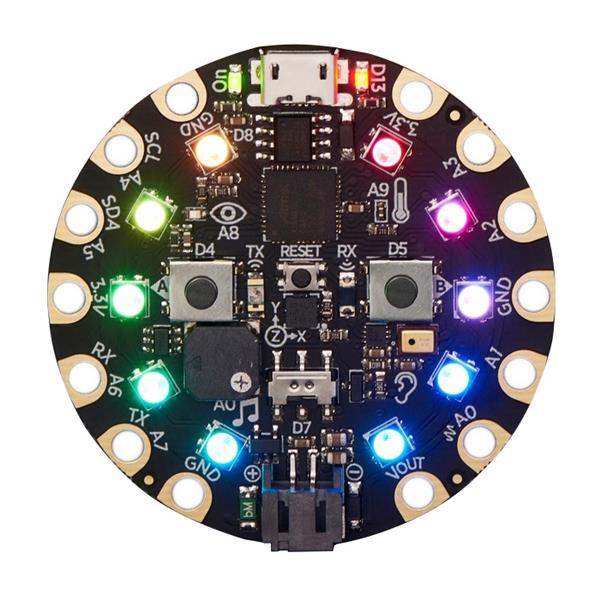
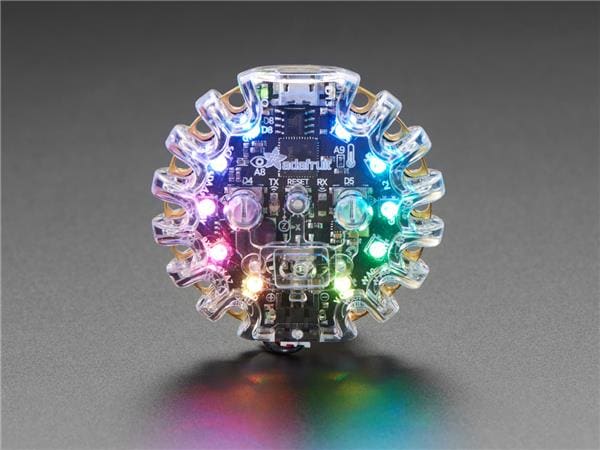
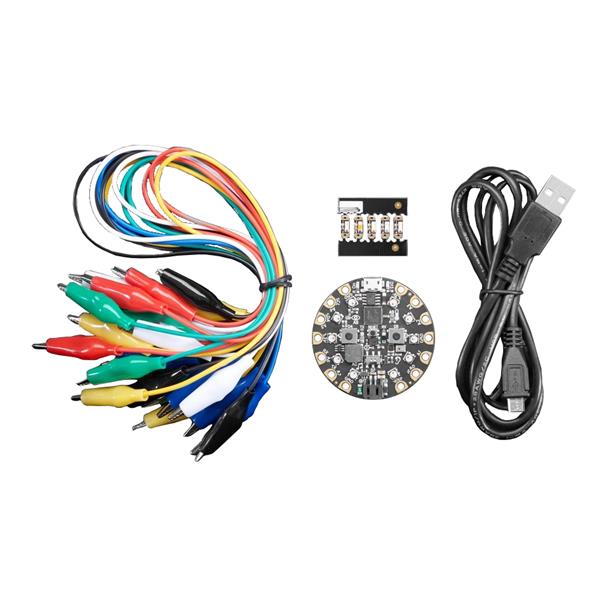
Adafruit make many fantastic things, from their excellent range of accessories for most of the popular boards, to their own range of Feather/Metro/Trinket microcontroller boards. But just recently they created something extra special, a new board that merges the ease of use found with the micro:bit and its various sensors, with a little more power similar to their range of Circuit Python boards. The Circuit Playground Express is the new flagship board from Adafruit, and it does not disappoint! Working in a similar fashion to the micro:bit, the Circuit Playground Express can be coded using a drag and drop block-based language, via Adafruit’s own version of Micro Python, Circuit Python or using the Arduino IDE. The board is circular and measures 51mm in diameter, so it is ideal for use in cosplay and wearable projects.
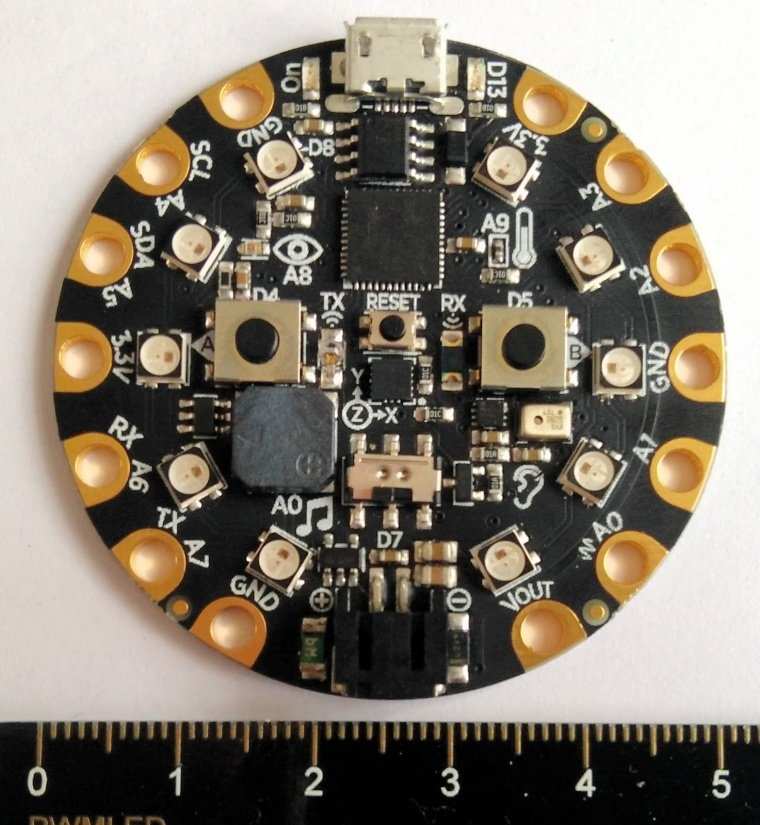
So what does the Adafruit Circuit Playground Express have under the hood?
- 10 x mini NeoPixels, each one can display any colour.
- 1 x Motion sensor (LIS3DH triple-axis accelerometer with tap detection,
- free-fall detection) So we can detect movement and gestures.
- 1 x Temperature sensor (thermistor).
- 1 x Light sensor (phototransistor). Can also act as a color sensor and pulse sensor.
- 1 x Sound sensor (MEMS microphone).
- 1 x Mini speaker with class D amplifier (7.5mm magnetic speaker/buzzer).
- 2 x Push buttons, labeled A and B.
- 1 x Slide switch.
- Infrared receiver and transmitter - can receive and transmit any remote control codes, as well as send messages between Circuit Playground Expresses. Can also act as a proximity sensor.
- 8 x alligator-clip friendly input/output pins.
- Includes I2C, UART, 8 pins that can do analog inputs, multiple PWM output.
- 7 pads can act as capacitive touch inputs and the 1 remaining is a true analog output.
- Green "ON" LED, so you know its powered.
- Red "#13" LED for basic blinking.
- Reset button.
- ATSAMD21 ARM Cortex M0 Processor, running at 3.3V and 48MHz.
- 2 MB of SPI Flash storage, used primarily with CircuitPython to store code and libraries.
- Micro USB port for programming and debugging.
- USB port can act like a serial port, keyboard, mouse, joystick or MIDI!

That is plenty of functionality for something so small. But what can we do with all that? Well, let's get to know the board by creating a project using the MakeCode block-based language. This project is a prank, something to annoy our family and friends but it shows how simple and elegant the coding process is with this board.
Playground Pranks
How annoying is a sound? That beep from the smoke alarm when the batteries are running low (that’s annoying on purpose, make sure you change the batteries often!), the notification in the cinema, or the high pitched buzz of a mosquito. So how annoying is it to have a device that will make a noise and flash when it hears a loud noise? Well with the Circuit Playground Express we can use it’s sound sensor to detect a noise and trigger a sequence of code.
Before we start any code we first need to ensure that our operating system can see the board. Mac and Linux users can skip this step, but Windows users will need to follow the Windows Driver installation instructions on Adafruit’s website [https://learn.adafruit.com/adafruit-circuit-playground-express/adafruit2-windows-driver-installation] before moving on.
With the drivers installed, we can now start this project so let's open a web browser to https://makecode.adafruit.com and start a new project. If you are familiar with the micro:bit blocks language then Adafruit’s version of MakeCode is very similar.
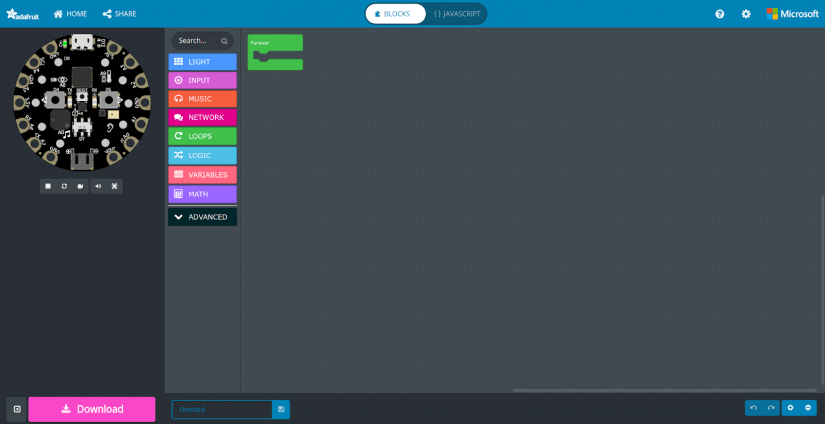
On the left of the screen is a simulation of the Circuit Playground Express, which can be used to test and debug code before it is copied to the real device.
In the centre we have a selection of blocks that we can use to write code. They are all grouped into functional groups, and if we need more blocks, then we can click on Advanced and unleash even more possibilities. To the right of the screen is where we build the blocks of code into a project. We refer to this as the coding area.
At the top of the screen we can see BLOCKS and JAVASCRIPT and by clicking on each of them we can see how the blocks become lines of JavaScript code, handy when migrating from block languages to typed languages.
At the bottom of the screen we see a big Download button which will download the pre-compiled code ready to be copied to the device. We can also save our code with a filename, which will also form the name of the file that we download.
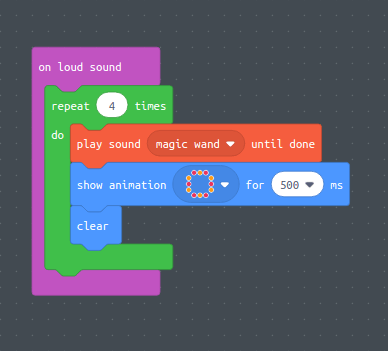
Now we can get started writing the code. To start go to the INPUT menu and drag the on loud sound block into the coding area.

Now inside the on loud sound we need to place the blocks that will be activated when the Circuit Playground hears a loud sound. In this case, we want to use a repeat 4 times loop from the Loops menu, as you can guess this will run the code four times.
So, we can now add an annoying noise, and luckily Adafruit has included a few sounds that we can use, not all of them are annoying. But one of the most intriguing is Magic Wand. So from the Music menu drag the Play power up until done block and place it inside the repeat 4 times block. Then change power up to magic wand.
So, we have the noise, lets now add some sparkly lights, and from the LIGHT menu we can see many options. But we are interested in show animation for 500 ms drag this and place it inside the repeat 4 times loop. Then change the animation using the drop-down, we will use the theater chase, the bottom right option.

The final block for this project is another block from LIGHT and this block is used to turn off the LEDs each time the loop is run. The block is called clear and it is at the bottom of the list.
![]()
Here is all of the code for this project, check your code before progressing to the next part.
We now need to name our code, and in this case we called it Eletro-Prank.
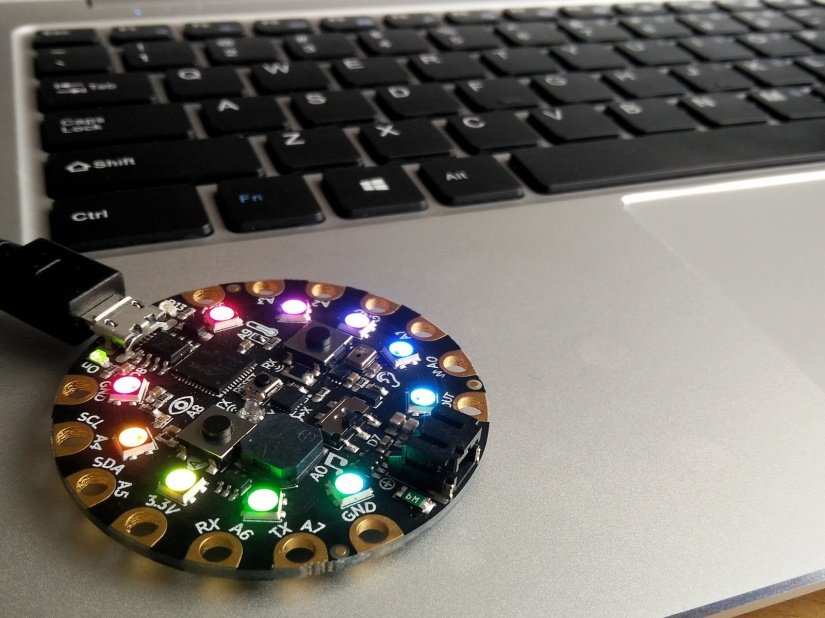
We then we clicked on the Download button to download a compiled version of the code ready to copy across to the Circuit Playground Express. Adafruit include a step guide when you download that explains how to make sure your device is ready to be used.
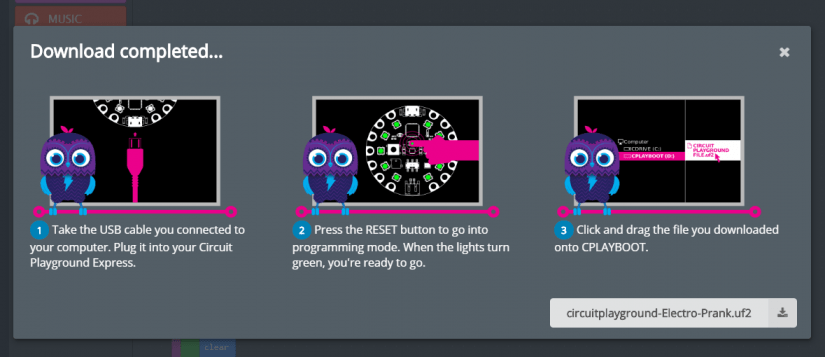
Essentially we need to connect the Circuit Playground Express to our computer via USB, then press the RESET button located in the centre of the board. When the lights turn green, the board will appear as a USB flash drive and we can then copy our downloaded code straight to the device, where it will flash the code and restart ready to be used.
Now to test the project, place the board on a table, and then clap your hands/shout/whistle and the built in microphone will detect the sound and trigger the annoying noise and lights!
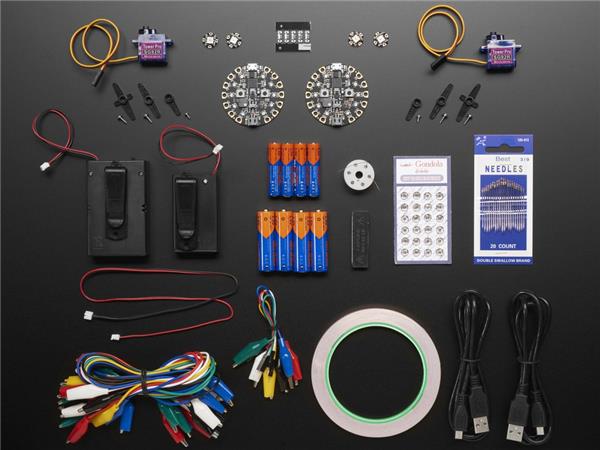
To power the Circuit Playground Express we can either power from a USB port, or use the JST battery input with a compatible battery (3 x AAA or a LiPo can be used) and hide it somewhere in the house.
So go ahead, hide the board and play a prank! Just be nice, because they will get you back!

Les Pounder loves hacking and tinkering with Arduino, Raspberry Pi and new technologies. He passes on his skills and discoveries to Electromaker readers via tutorials and reviews.


Leave your feedback...