
SenseHAT: Part 2 Accelerometer and Pixels
In this part of the series we shall learn how to take readings from the accelerometer and use them to control the array of LEDs present on the Sense HAT.
All of the code for this project can be found on our Github page.
For this project you will need
- Any model of Raspberry Pi with a 40 pin GPIO (4, 3 B+, Pi 2, Pi 3, Pi 3 B+, Pi Zero)
- A Sense HAT
- A micro SD with the latest version of Raspbian installed.
- Keyboard, mouse, monitor and power for your Pi.
Setting up the hardware
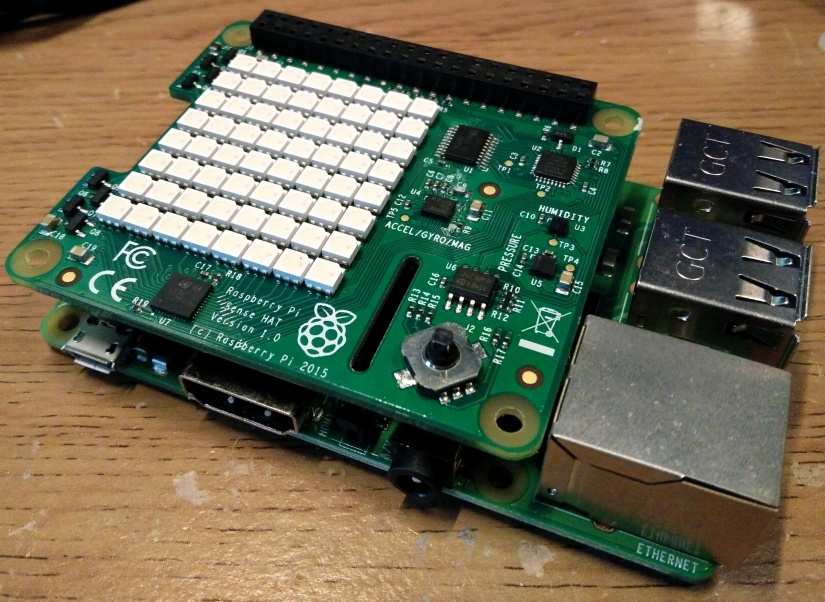
With the Raspberry Pi-powered down fit the Sense HAT on top of the Raspberry Pi so that it occupies all 40 GPIO (General Purpose Input Output) pins, and so that it fits neatly, overlapping the Raspberry Pi. With that complete, attach your keyboard, mouse, HDMI, micro SD card and finally power supply and boot the Raspberry Pi to the Raspbian desktop.
Coding the project
Thankfully Raspbian comes pre-loaded with the Sense-HAT Python library, so no installation is necessary. For these projects we shall use the Python 3 editor (IDLE3), which can be found in the Programming section of the main menu.
With the Python 3 editor open, we see the Python shell (REPL) open and ready for use. However, we shall not be using this window, instead, click on File >> New to open a new window where we can write the lines of code that will make up the project.
Project 2: Using the accelerometer to make it rainbow!
In this project we shall use data from the accelerometer to control the LEDs of the Sense HAT and to do that we first need to import the Sense Hat library for Python 3.
from sense_hat import SenseHatThe next import is the sleep function from the time library. This is used to control how fast the LEDs will update.
from time import sleepThe next two steps create an object called ‘sense’ used to connect the code to the Sense HAT, and then we use that object to clear the LED array ready for use.
sense = SenseHat()
sense.clear()
Now we move to the main part of the code and for this we start with ‘try’ which forms the first part of an exception handling sequence. The code inside ‘try’ will run (in fact Python will ‘try’ to run it unless it hits an error or exception. Inside the try we use a ‘while True’ loop to constantly run our sequence of code.
try:
    while True:
So now we are inside the loop and start by creating a variable called ‘o’, short for orientation and in this we store the data collected from the accelerometer. This will give us pitch, yaw and roll data.
o = sense.get_orientation()Then we extract the pitch, roll and yaw data and save it to three variables, respectively named.
        pitch = o["pitch"]
        roll = o["roll"]
        yaw = o["yaw"]
Next, we print the data to the Python shell, so that we can see the raw data.
print("pitch {0} roll {1} yaw {2}".format(pitch, roll, yaw))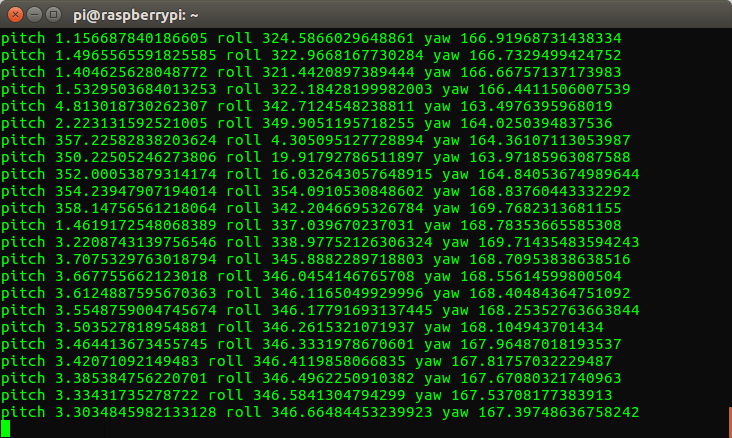
To determine the colour of an LED, we shall use the pitch, roll and yaw sensor data. And to do this we need to use a series of conditional tests. The first is to check if the pitch value is greater than 254. Why you ask? Well, the LEDs of the Sense HAT are WS2811 ‘Neopixels’ and to create colours using them we need to pass three values. Red, Green and Blue values are used to mix colours and produce any colour we desire. The values are passed as an integer between 0 and 255. So if our pitch value is over 254, we change the value of the ‘pitch’ variable to 254, to ensure that we can use the value to make a colour.
       if pitch > 254:
            pitch = 254
We do the same with the pitch value if it is lower than 1, typically a negative number. We change the value to 0.
       if pitch < 1:
            pitch = 0
The sequence is repeated for the roll and yaw values.
       if roll > 254:
            roll = 254
        if roll < 1:
            roll = 0
        if yaw > 254:
            yaw = 254
        if yaw < 1:
            yaw = 0
However, before we move on, you may be thinking, “why didn’t we use a series of if..elif conditional tests?” Well, dear reader using an if..if..if conditional test will test all of the conditions per loop, meaning that the values of pitch, roll and yaw are tested and altered accordingly. If we used a if..elif test, then each loop would only test the variables that are needed. So the first “True” response of a test would trigger the loop to end and then restart.
With the Red, Green and Blue values safely stored in our variables we now need to update the Sense HAT’s LEDs to show the mix of colour. For this we use the ‘sense.clear’ function and pass it the three values (pitch, roll and yaw) and to ensure that only integers are passed, we wrap the values in an integer conversion function. Why do we do this? Well the RGB values for the LEDs have to be integers, no float values can be used, otherwise, there will be an error. After updating the LEDs we then tell the loop to pause for 0.1 seconds before repeating.
       sense.clear(int(pitch),int(roll),int(yaw))
        sleep(0.1)
With the ‘try’ part of the code finished, we now move on to handling the exception. Which in this case is when we interrupt the loop by pressing CTRL + C together. When this happens, the LED array will turn off and the code will exit.
except KeyboardInterrupt:
    sense.clear()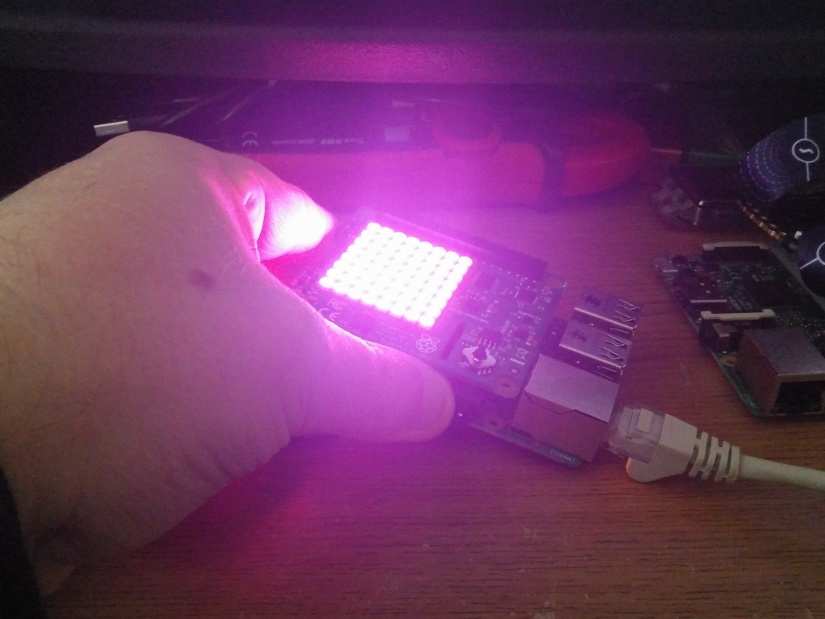
With all the code completed, save the file as ‘rainbow.py’ and then click on Run >> Run Module to start the code. Now carefully pick up the Sense HAT, with Pi attached and watch as the colours change according to how we hold the device!

Les Pounder loves hacking and tinkering with Arduino, Raspberry Pi and new technologies. He passes on his skills and discoveries to Electromaker readers via tutorials and reviews.


Leave your feedback...