
Make Your Own Virtual Assistant with Mycroft
Virtual assistants such as Alexa, Google Assistant, and Cortana are all the rage. Using devices like Amazon Echo or Google Home gadgets, it’s possible to automate many tasks and have a smart voice assistant. However, using a Raspberry Pi and Mycroft, it’s easy to cobble together an artificial intelligence (AI) voice assistant. Here’s how to make your own virtual assistant with Mycroft!
What is Mycroft?
Mycroft is a platform that’s capable of controlling Internet of Things (IoT) devices and acting as a virtual assistant. Similar to skills for Alexa, Mycroft includes a bevy of skills, from telling the time to controlling media center software. In addition to the Raspberry Pi, Mycroft is available for Android and Linux.
Getting Started
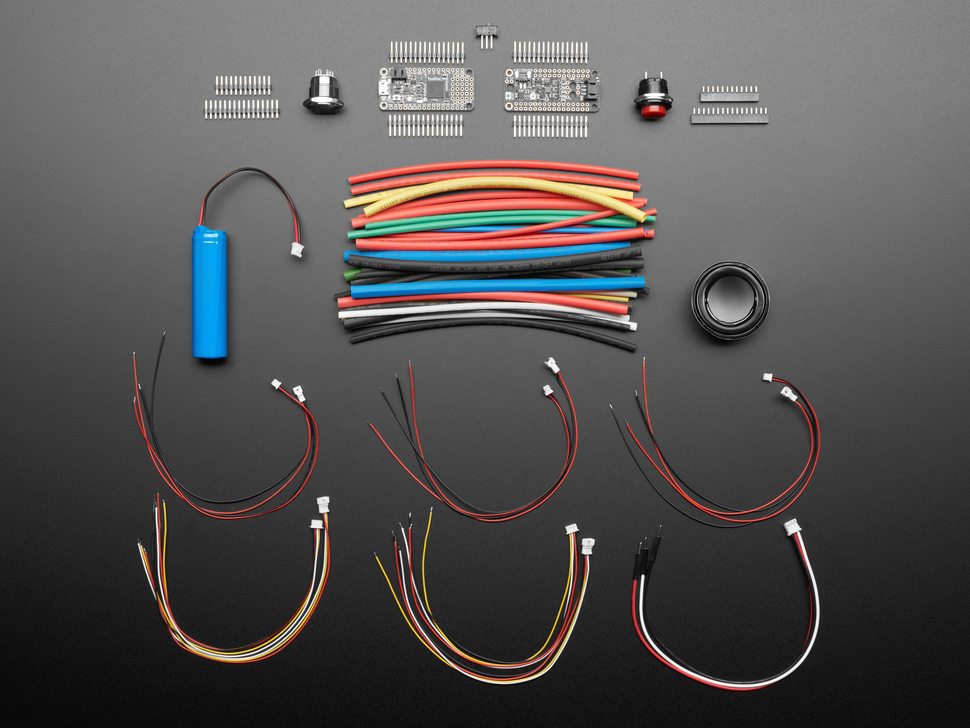
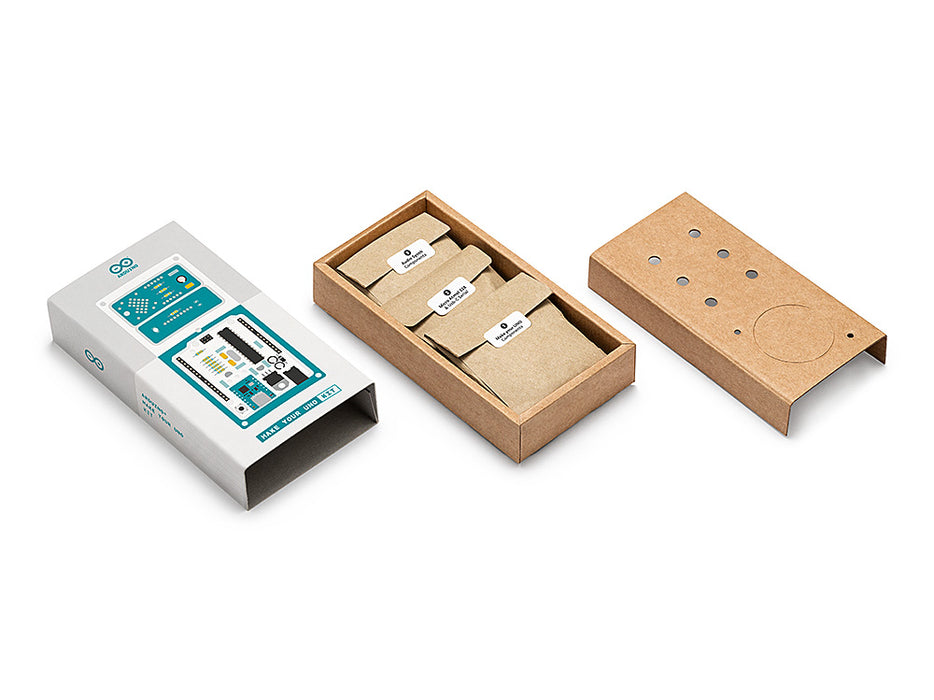
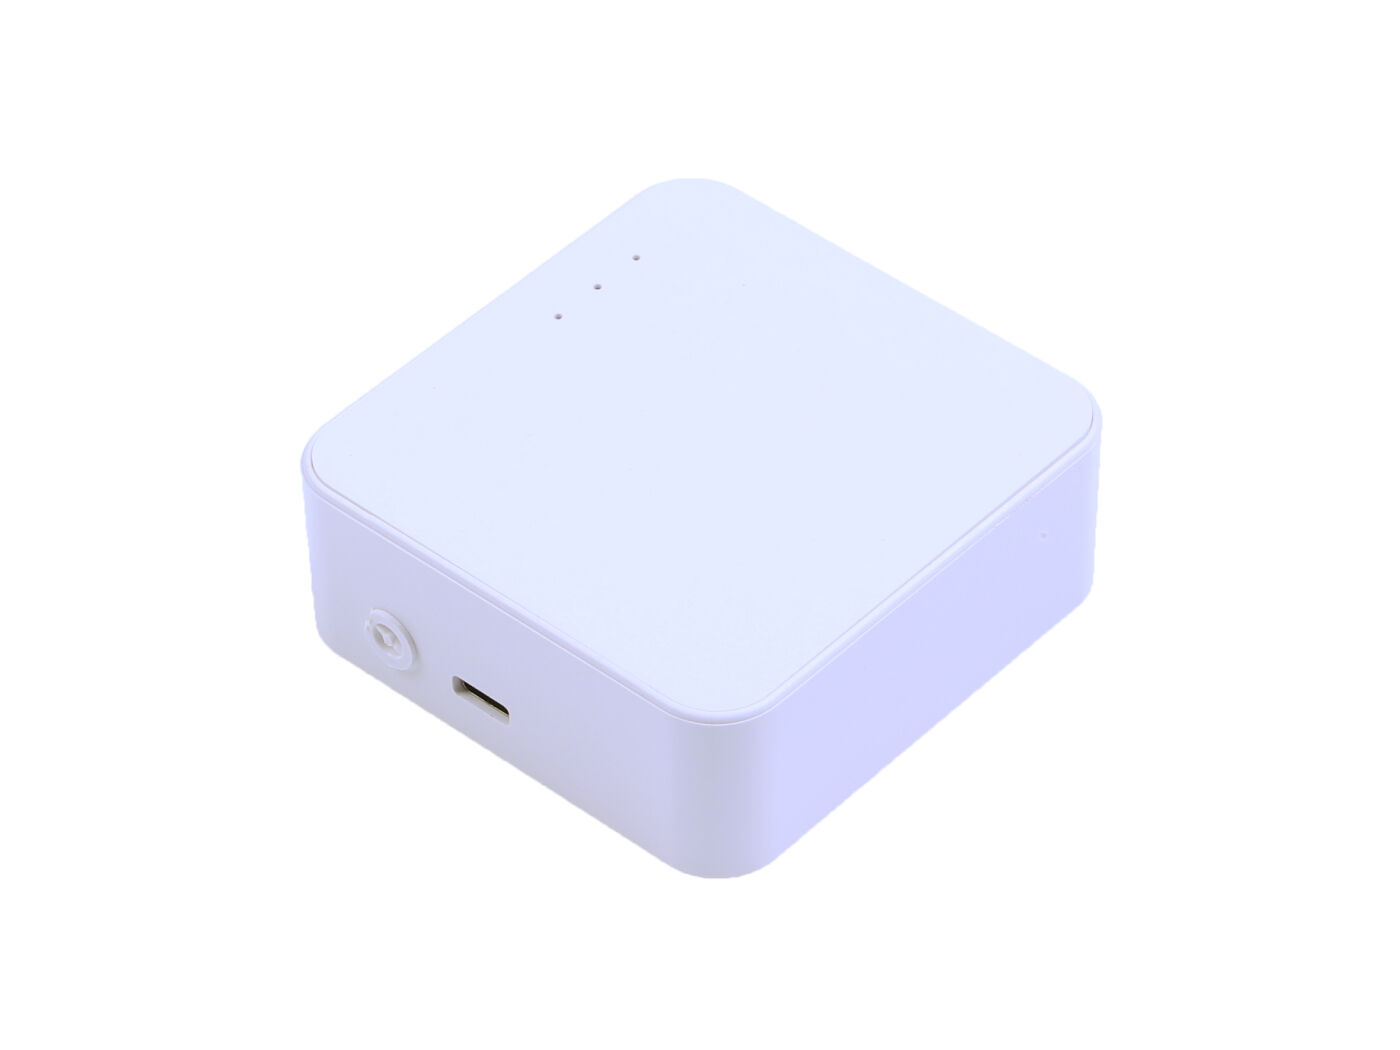
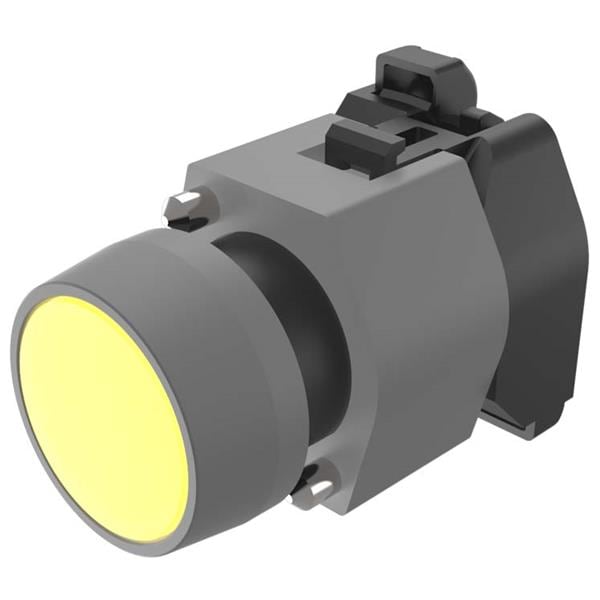
To begin installing Mycroft and creating a virtual assistant, you’ll need several items.
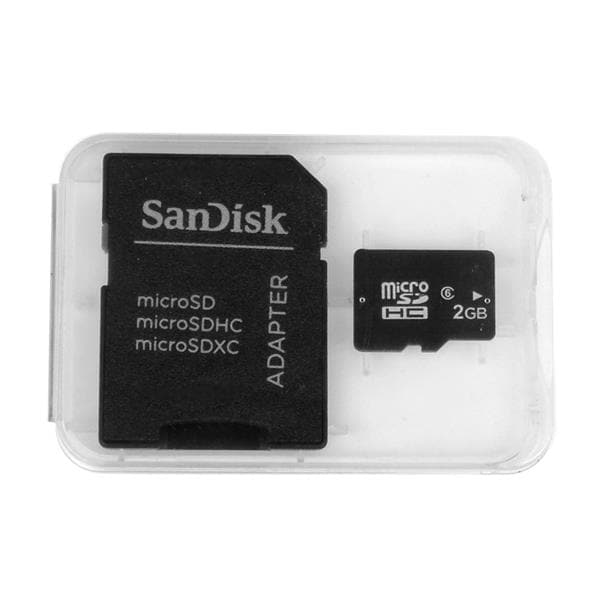
For installing Mycroft on a Raspberry Pi 3, the easiest method is using Picroft. It’s an operating system built with Raspbian Jessie Lite as its foundation. As the name suggests, Picroft is specifically engineered as a means to install Mycroft. This project is available as an image which is ready to easily be burned to a microSD card.
However, since there’s Mycroft for Linux, you may run this off of a Raspberry Pi using your favorite Ubuntu/Debian, Arch, or Fedora-based distribution (distro) instead. Alternately, simply run the Docker version of Mycroft on a Raspberry Pi.
Make Your Own Virtual Assistant with Mycroft
With your materials gathered, get started making a Mycroft personal assistant!
Download Picroft
If you’re using Picroft, head over to the GitHub page. From here, download the Picroft image. It comes as a Zip file. As such, you’ll need to extract the image file before you can mount it. The official Raspberry Pi website recommends:
-
Windows: 7-Zip
-
macOS: The Unarchiver
-
Linux: Unzip
Next, you’ll need to mount the Picroft image to your microSD card. There are several software options. Etcher is an excellent cross-platform burner that features installers for Windows, macOS, and Linux. However, a few other choices are:
-
Windows: Win32DiskImager
-
macOS: ApplePi-Baker
-
Linux: LiveUSB Install
Locate the extracted image file in your preferred image mounting software. Typically, that’s your downloads directory or wherever you selected to save your downloaded Picroft image and extracted image.
Using your preferred image writing software, select the extracted image file. Then, choose the microSD card where you’ll mount Picroft. Burn Picroft to your bootable media.
Alternate Install: Mycroft for Linux
Although Picroft is the simplest means of spinning up Mycroft on most Linux distros based on Debian, Fedora, or Arch. Therefore, you may choose your favorite Raspberry Pi-compatible Linux operating system (OS). Raspbian should work perfectly, especially considering Picroft is Raspbian with Mycroft installed and configured.
cd ~/git clone https://github.com/MycroftAI/mycroft-core.gitcd mycroft-corebash dev_setup.sh
Then, to start Mycroft on Linux, simply run:
start-mycroft.sh
As the Mycroft documentation reveals, here’s how to use the Mycroft startup service:
usage: start-mycroft.sh [command] [params]Services:all runs core services: bus, audio, skills, voicedebug runs core services, then starts the CLIServices:audio the audio playback servicebus the messagebus serviceskills the skill servicevoice voice capture servicewifi wifi setup serviceenclosure mark_1 enclosure serviceTools:cli the Command Line Interfaceunittest run mycroft-core unit testsUtils:skill_container container for running a single skillaudiotest attempt simple audio validationaudioaccuracytest more complex audio validationsdkdoc generate sdk documentationExamples:start-mycroft.sh allstart-mycroft.sh clistart-mycroft.sh unittest
You may start every Mycroft service simultaneously with:
$ ./start-mycroft.sh allStarting all mycroft-core servicesInitializing...Starting background service busStarting background service skillsStarting background service audioStarting background service voice
After installing Mycroft for Linux, you’ll need to pair it with your Mycroft account. To do so, say aloud:
“Hey Mycroft, pair my device.”
Mycroft will reply:
“I am connected to the Internet and need to be paired. Your 6-gigit registration code is XXXXXX.”
Then, enter that registration code in your Mycroft AI account to pair Mycroft with your Linux machine.
However, there is a means to use Mycroft without Mycroft Home. This requires adding your own API keys to configuration files. For instance:
[WeatherSkill] api_key= “YOUR API KEY HERE”
Mycroft Skills
Similar to devices like the Google Home or Amazon Alexa, Mycroft offers skills. These vary from telling the date and time to controlling media center software, or telling jokes. Onboard, Mycroft includes a smattering of skills. As with most AI smart assistants, you’ll need to become acquainted with what queries you can make and how to phrase them. The Mycroft documentation offers loads of examples for each of its specific skills.
-
Alarm: “set an alarm for [time, or date and time]” (sets alarm, checks alarm status)
-
Audio Record: “record” (play and record audio)
-
Configuration: “configuration update” (updates Mycroft configuration)
-
Date Time: “what time is it” (tell the date and time)
-
Desktop Launcher: “open [application]” (open apps on your desktop such as Firefox)
-
DuckDuckGo: “what is Frankenstein” (search DuckDuckGo for basic questions)
-
Hello World: “how are you” (Hello World)
-
IP: “what is your IP address” (tells IP address of host device)
-
Joke: “tell me a joke” (tells a joke)
-
Installer: “install [skill],” “uninstall [skill]” (installs or uninstalls skills)
-
Mark-1 Demo: Gives a demo of the Mark 1
-
Media: “play,” “pause,” “next track” (controls multimedia)
-
Naptime: “go to sleep” (puts Mycroft to sleep)
-
NPR News: “news” “stop news” (listen to NPR news)
-
Pairing: “pair my device” (pair Mycroft with home.mycroft.ai)
-
Personal: “what are you” (use this to learn about Mycroft)
-
Playback Control: “play” (allows control of audio subsystem)
-
Reminder: “remind me to [whatever you want to be reminded of]” (sets a reminder)
-
Speak: “say [phrase]” (repeats a phrase or word)
-
Singing: “sing a song” (sings songs)
-
Stock: “stock price of [desired stock, i.e. Google]” (provides stock prices)
-
Stop: “stop” (stops running skills)
-
Version: “check version” (tells Mycroft core version)
-
Volume: “increase/reduce/mute volume” (controls volume)
-
Weather: “what is the weather” (gives the current weather as well as forecast)
-
Wiki: “tell me about [topic]” (searches Wikipedia)
-
Platform Patch: “Platform patch” (patches official platforms)
In addition to its pre-bundled core skills, Mycroft allows for community developed skills. To add a new skill, merely use git clone on a repo, which will add that repo to your skills folder. Where this lies will depend on the device. On a Raspberry Pi, your skills folder is in the home directory at:
/opt/mycroft/skills
Therefore, to add a new skill, first change directory into your skills folder:
cd /opt/mycroft/skills
Then, git clone the git repo:
On Picroft, installation is easier. Merely use the Mycroft Skills Manager (msm) installer:
msm
install https://github.com/kfezer/daily_meditation.git
Make Your Own Virtual Assistant with Mycroft: Final Thoughts
Creating a virtual assistant with Mycroft is super simple. While it may not boast the same connectivity and integration as an Alexa or Google Home, a Raspberry Pi running Mycroft offers tons of functionality in what’s an inexpensive, intuitive project. Using Picroft makes this incredibly feasible to spin up a smart assistant on the Raspberry Pi.
Your turn: What smart assistants do you recommend?

Moe Long is an editor, writer, and tech buff with a particular appreciation for Linux, Raspberry Pis, and retro gaming. Writing online since 2013, Moe has bylines at MakeUseOf, TechBeacon, DZone, SmartHomeBeginner, DEV.to, DVD Netflix, and Electropages. You can read his writings on film and pop culture at Cup of Moe, check out his tech reviews, guides, and tutorials at Tech Up Your Life, and hear his thoughts on movies on the Celluloid Fiends podcast. Aside from writing and editing, Moe has an online course, the Beginner's Guide to Affiliate Blogging From Scratch. When he's not hammering away at his keyboard, he enjoys running, reading, watching cinema, listening to vinyl, and playing with his dog Sebastian.


Leave your feedback...