
Build a wildlife camera using a Raspberry Pi and PiJuice
While trying out the PiJuice Raspberry Pi add-on for our review, we started thinking of projects in which we could use its smart portable power. In the end, we decided to build a motion-sensing wildlife camera to capture photos of the birds and other critters visiting our garden.
Items required
• Raspberry Pi Zero with GPIO header
• ZeroView
• PiJuice
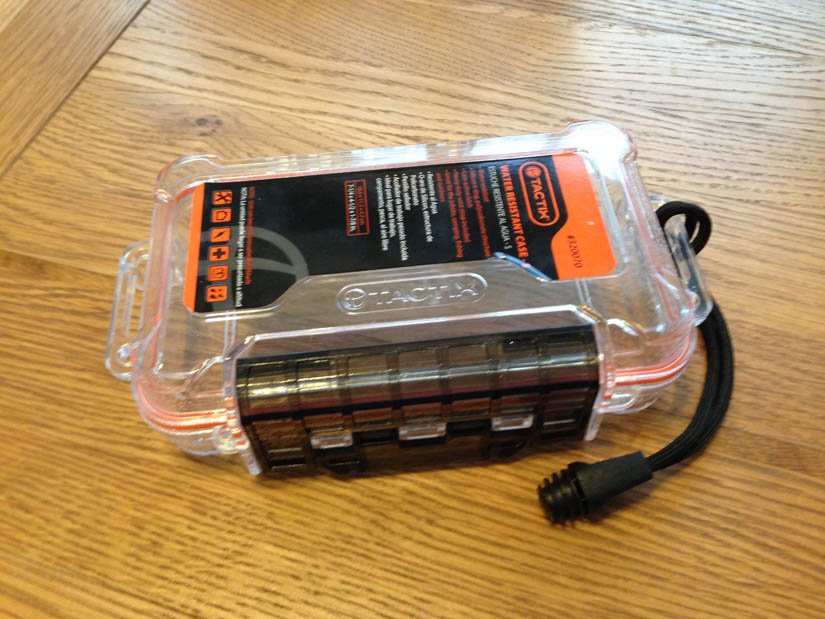
• Transparent water-tight container
Note that you could substitute the PiJuice with another portable power method, such as a mobile phone charger, so long as you can fit it in the water-tight container. For the latter, you can use any reasonably water-tight container, but it needs to be fully transparent so that the camera can get a clear view. We used a small Tactix case.
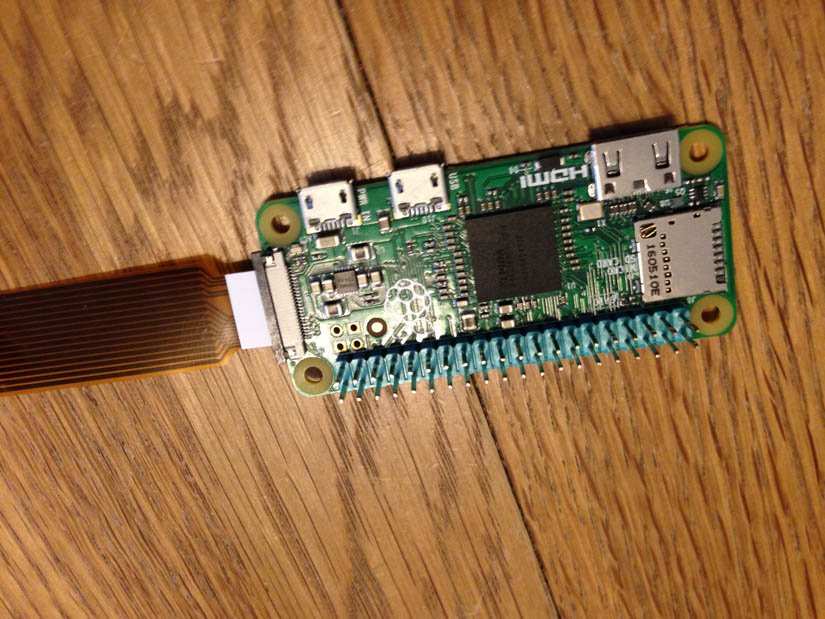
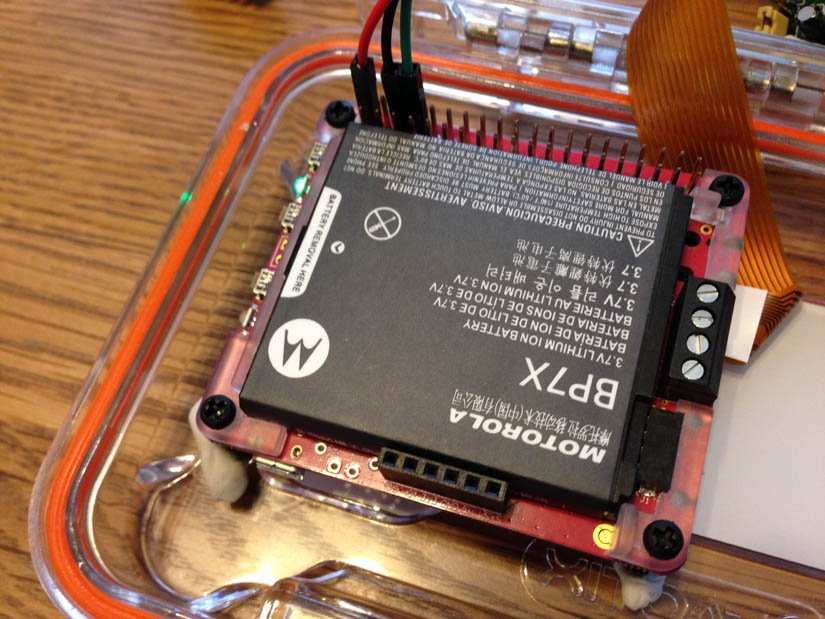
After charging up the PiJuice fully, connect it to the Pi Zero’s GPIO pins to start it up. While you could always use a different Pi model, the Zero is the most power-efficient and the camera port is also easier to access when using the PiJuice. Either connect the Pi to a monitor or SSH in from a remote device.
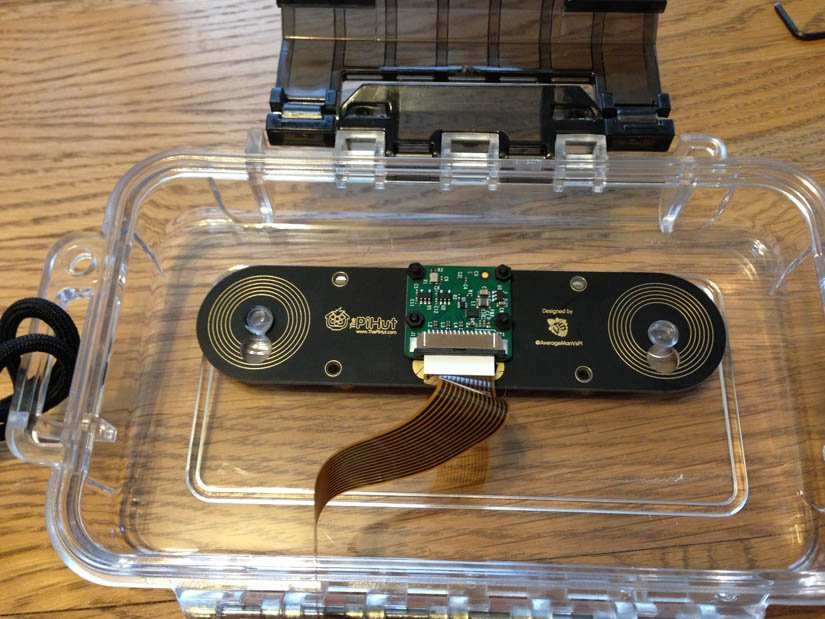
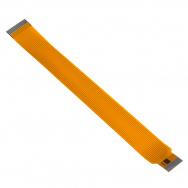
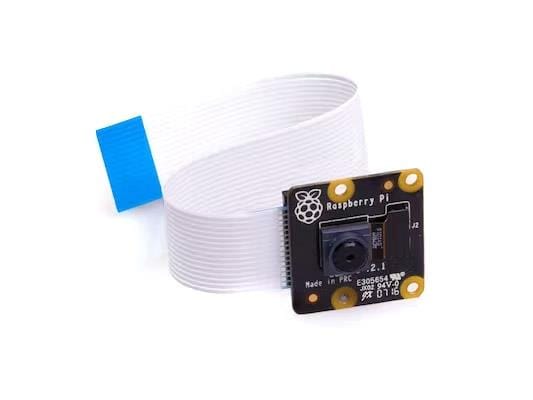
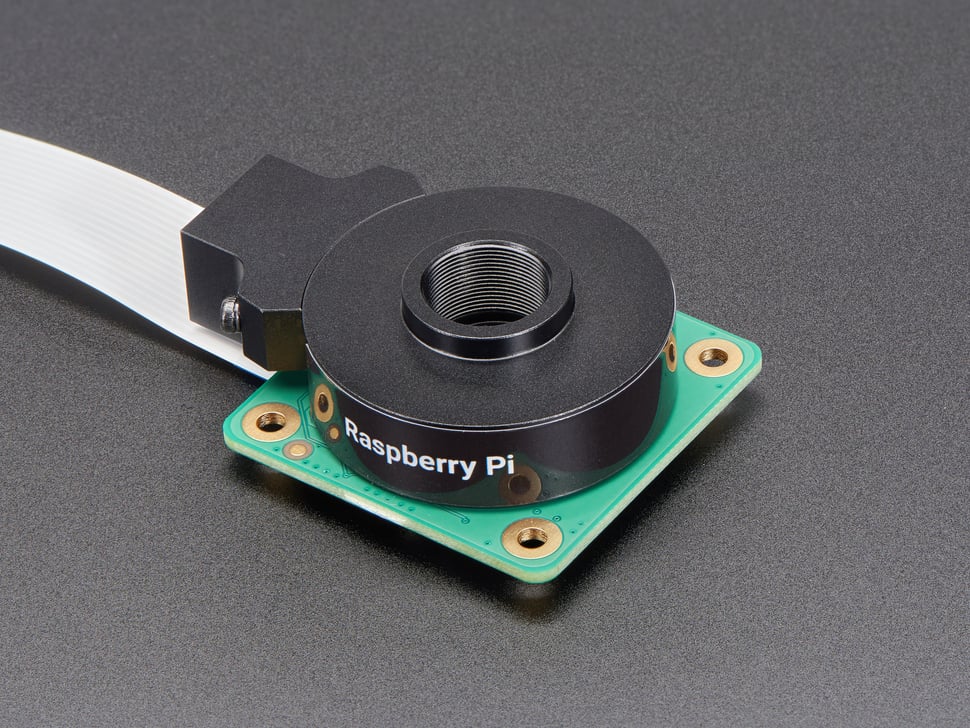
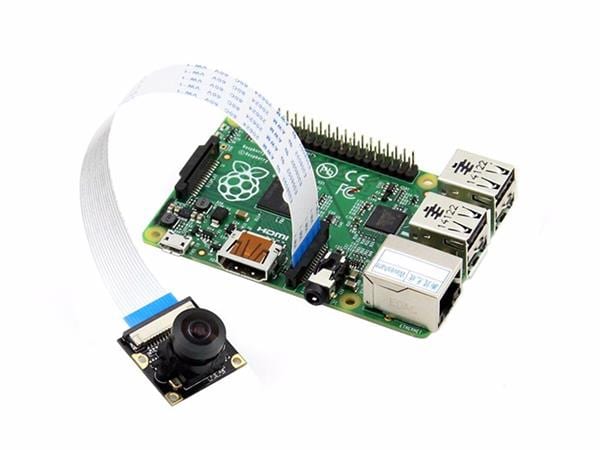
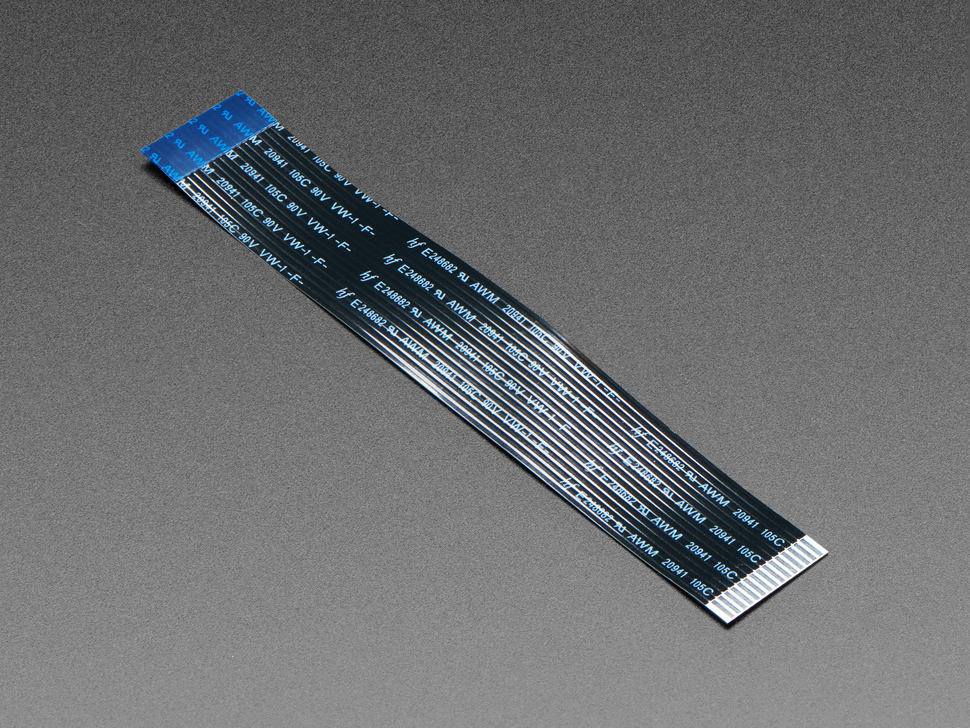
Connect the Camera Module to the Pi’s camera port – pull out the port’s tab, insert the cable with the metal contacts on the bottom, then close the tab to secure it.
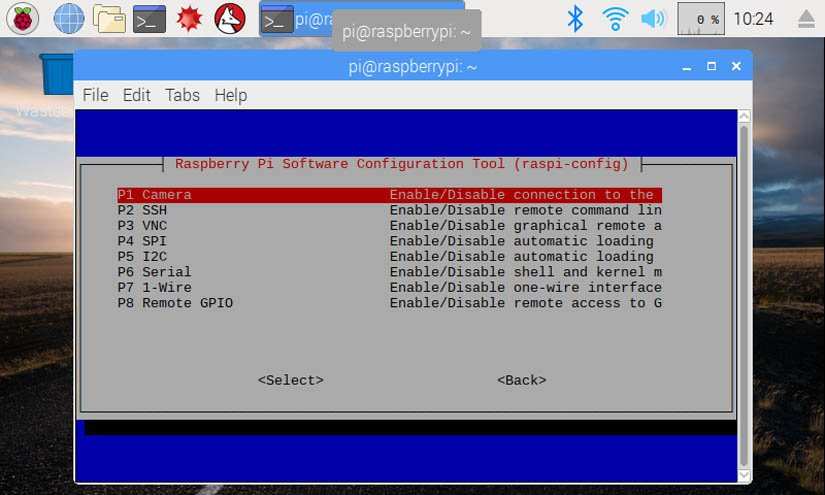
You now need to enable the camera interface In a Terminal window (or via SSH), enter sudo raspi-config, then select Interfacing Options > Camera and select Yes at the prompt.
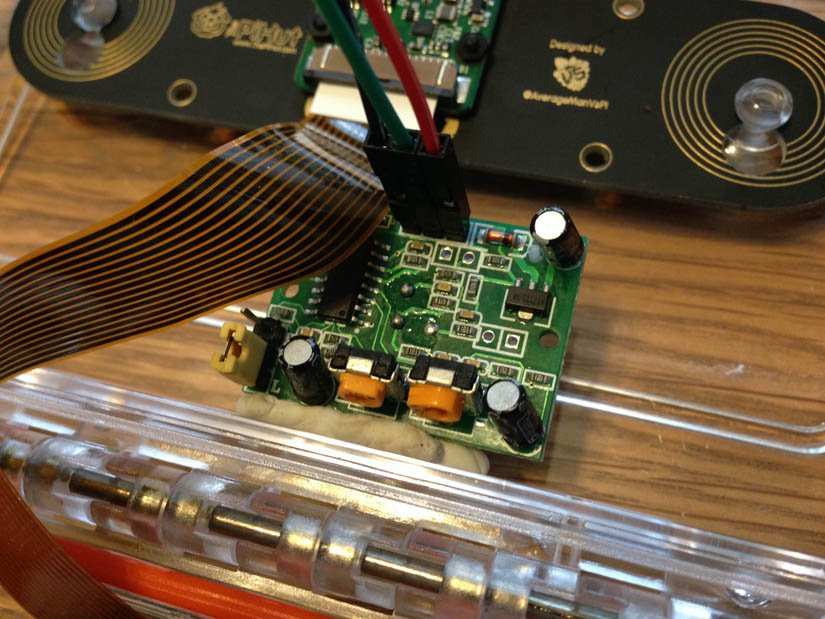
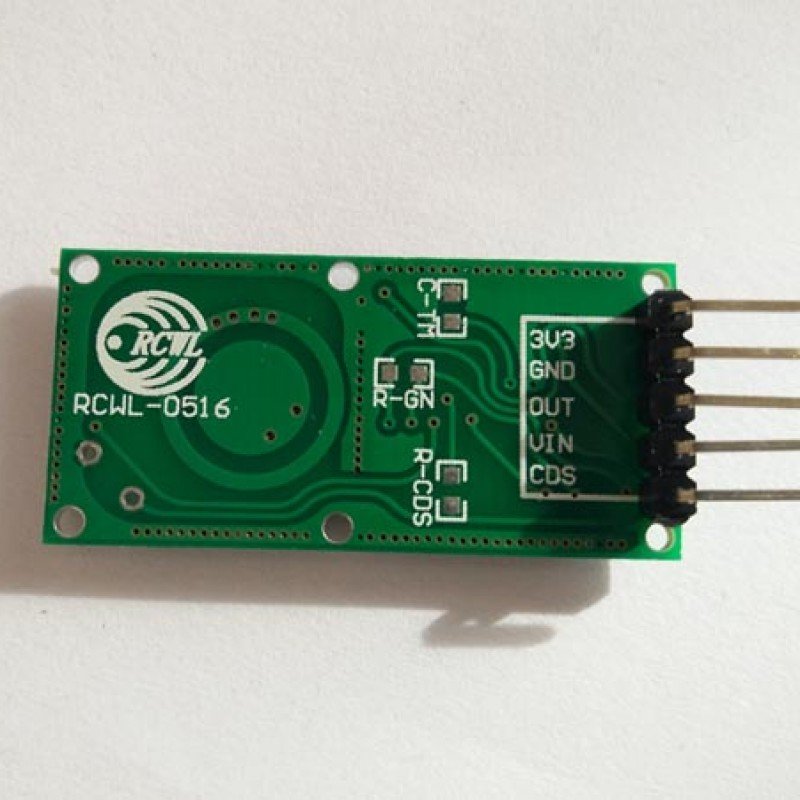
Next, wire the PIR motion sensor to the PiJuice pins – which are simply an extension of the Pi’s GPIO header. Using female-to-female jumper leads, connect the sensor’s VCC pin to a 5V on the Pi, the GND pin to a GND pin on the Pi, and the OUT pin to the GPIO 14 pin.

It is now time to write a Python script that will use the PIR to sense motion (ostensibly from a wild creature) and, when it detects it, tell the camera to take a photo. Either using the nano text editor or Python 3 IDLE, enter the following program and save it as wildlifecam.py.
from picamera import PiCamera

from gpiozero import MotionSensor

from datetime import datetime

from time import sleep


sensor = MotionSensor(14)

camera = PiCamera()


print("Waiting for sensor to settle")

sensor.wait_for_no_motion() print("Ready")


while True:

    sensor.wait_for_motion()

    filename = datetime.now().strftime("%H.%M.%S_%Y-%m-%d.jpg")

    camera.capture(filename)

    print("Motion sensed")

    sleep(2)
At the top of the script, we import several Python libraries, including picamera for the camera, and gpiozero to control the PIR motion sensor. We then wait for the sensor to settle (so it doesn't start taking photos immediately), before running a continuous while loop that waits for motion sensed by the PIR and then takes a photo with a timestamped filename.
Test out the program indoors to ensure that motion is being sensed correctly and photos are taken when they should. If the PIR is detecting motion too easily, you can adjust its sensitivity using the orange potentiometer screw marked ‘Sx’.
When ready, we will set the program to run automatically whenever the Pi boots up. There are several possible methods for this, but we will use a cron job. In the Terminal, enter crontab -e (you may be asked to select an editor). At the bottom of the file, enter the following:
@reboot sudo python3 /home/pi/wildlifecam.py
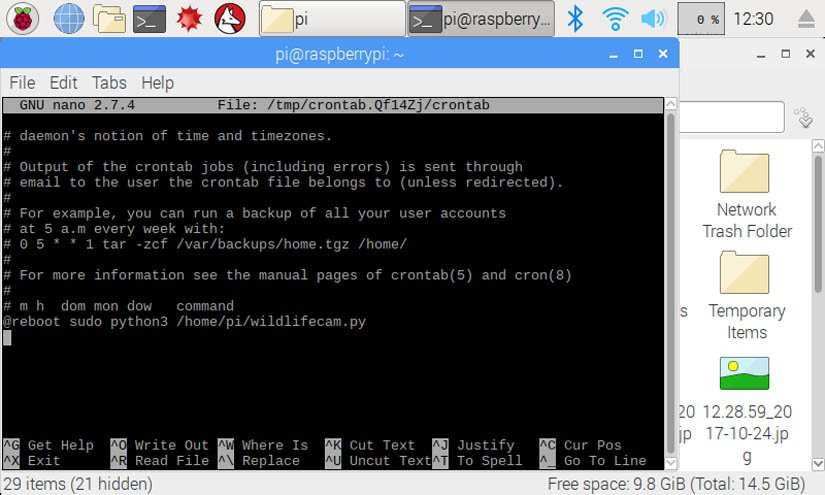
Press Ctrl+X, then Y and Enter to save the altered file. Now enter sudo reboot to restart the Pi – your camera script should start working straight away.
With everything working, it is time to put all the components inside the clear container. Mount the camera in a ZeroView (or similar) and use the latter’s suckers to stick it to the bottom of the case, so the camera has a clear view.
Place the PIR sensor beneath it, near the case hinge, securing it with Blu Tack or sticky tape.
Position the combined PiJuice/Pi Zero in the lid of the case, again securing with Blu Tack or tape.
Make sure that the case will close properly – if not, you may need to move the PiJuice and PIR apart, so they don’t collide upon closing. Also, try to avoid crushing the camera cable.
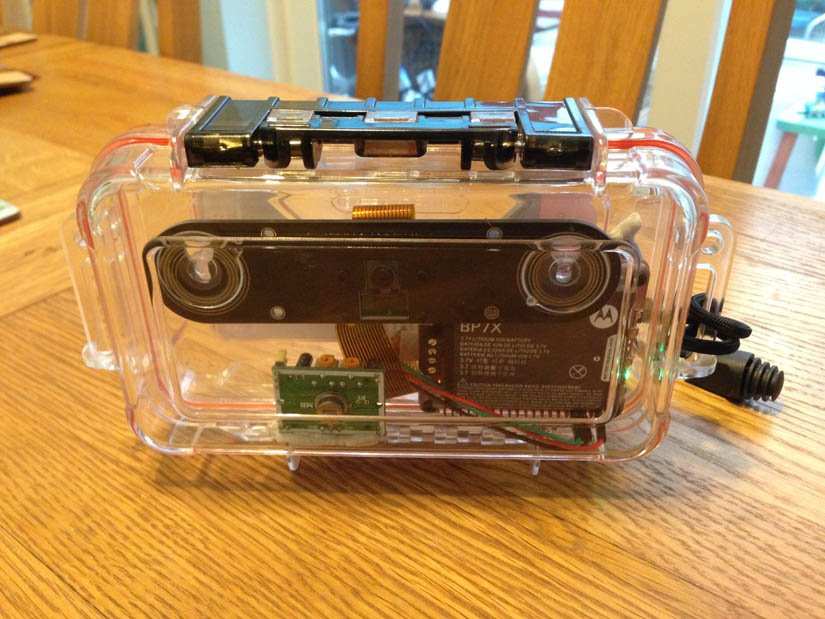
With everything in place, shut the case, then go and place it where you might expect wildlife to appear, such as near a bird table or feeder. You may need to secure it to a post with tape or twine, but make sure not to obscure the camera or PIR.

Now all you have to do is wait. Hopefully, you should capture some photos of wildlife in your garden. For extra convenience, you may want to save the images to a USB stick which can be easily removed and plugged into another computer to view them. Good luck!

Residing on the south coast of England, Rich has spent the last few years building Electomaker.io from the ground up. He is usually found behind a laptop coordinating the rest of the EM team and occasionally finding time to contribute articles to the blog. When not tapping away at a laptop, he can be found either paddleboarding, at the beach, playing golf (badly), or camping with his family.


Leave your feedback...