
How to create an electronics workshop for less than $100
So before we dive into the products Robin has selected you need to create your Makerspace let's talk a bit about the purpose of this article. When you look at other makers on YouTube or other social media platforms you always see stuff like power suppliers, oscilloscopes, and all kinds of crazy equipment. It looks great but in reality, this is not going to be practical for most people who just want to get started in electronics.
So here you can learn everything you're going to need in terms of modules, sensors, and tools, all under 100 bucks. So without further a-do let's get into it...
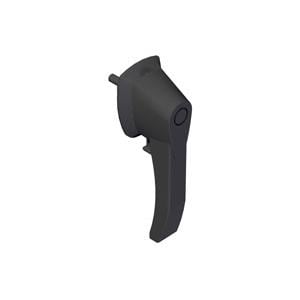
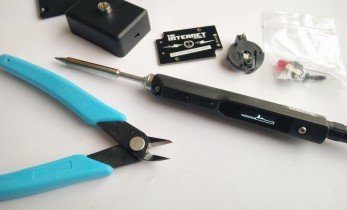
Needle Nose Pliers
The first thing that we've got on our list is a pair of Needle Nose Pliers that you can get for $3.19 from the Electromaker Store. The reason why I chose these is that Needle Nose Pliers are fantastic and you're going to need them a lot! Needle Nose Pliers are different from your typical pliers because they have a fine end on them so they're good at picking up small things, bending small wires, and getting around corners.

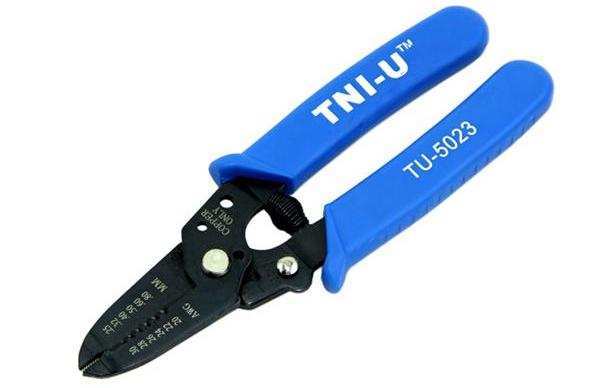
Wire strippers
The next tool that I think is absolutely invaluable is wire strippers. The ones I have selected from the Electromaker Store are manual ones (they have a pair of handles and you put the wire in, and you pull the wire through and it strips). Now if you want to spend a little more money you could get yourself an automatic wire stripper which I always do because they are brilliant but they're a little bit more pricey.
Soldering Station
I've decided to source the soldering station from Amazon and that's because you get a really good deal in terms of getting a soldering iron, some solder wire and you also get a little bag of tools such as needles, screwdriver, and various different soldering iron tips!
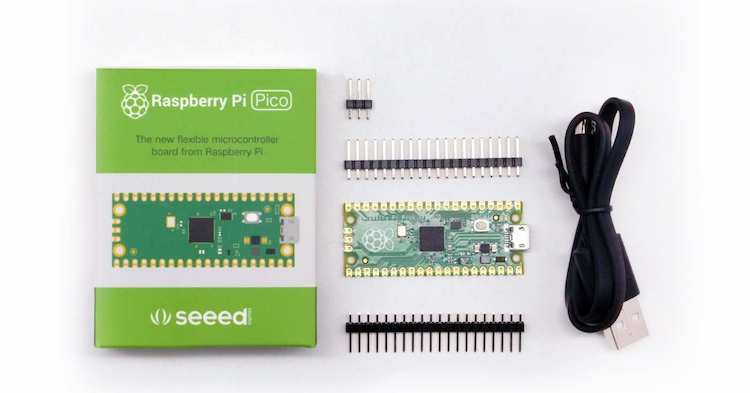
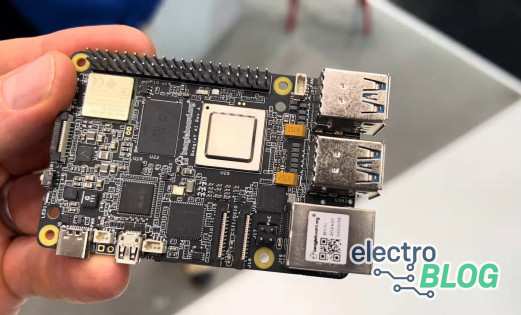
Raspberry Pi Pico
The next thing you're going to need is some testing tools and this is where I got a little bit cheeky! You could buy yourself a multimeter because multimeters are an essential component when dealing with electronics. You're also going to need different bits of test equipment such as an oscilloscope, or logic analyzer but it turns out the Raspberry Pi Pico is programmable to perform those types of tasks and that means that you can completely eliminate the need for some testing tools, especially for the first projects that you will build.
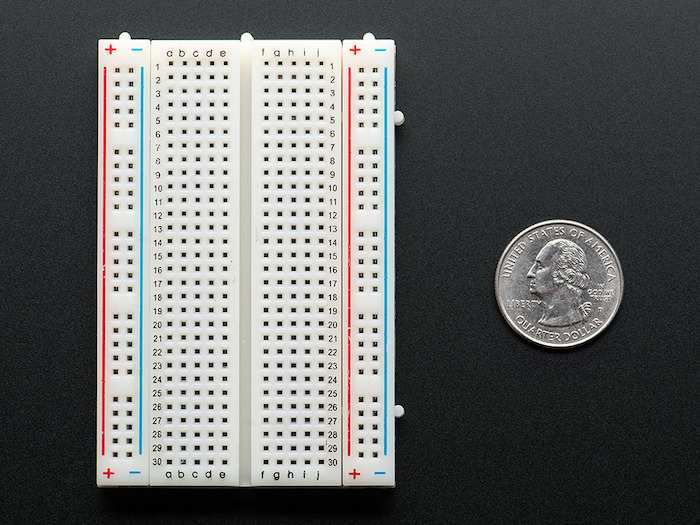
Breadboard
This is a cute half-size breadboard, good for small projects. It's 2.2" x 3.4" (5.5 cm x 8.5 cm) with a standard double strip in the middle and two power rails on both sides. You can pull the power rails off easily to make the breadboard as thin as 1.4" (3.5cm) and stick it onto an Arduino proto-shield. You can also cut these in half with a saw to create 2 tiny breadboards, or "snap" these breadboards together, either way, to make longer and/or wider breadboards.
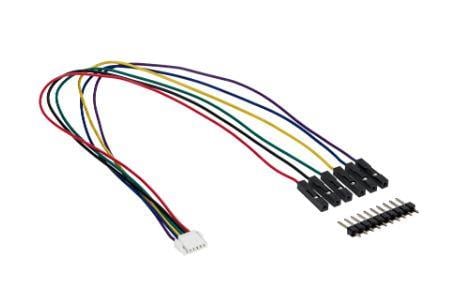
Wires
These wires are pre-cut and have the pin headers on the end so you can connect them straight into the breadboard as well as microcontrollers. They go for about $4.95 and you get a whole bunch of wires which is great so you can basically, make lots of different circuits.
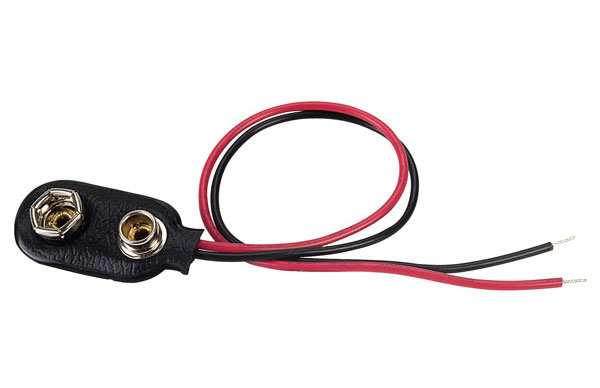
Power
You're also going to need power so I've decided to go for two different options. The first option is a PP3 connector which sells for about $1.50 and these are great for connecting two 9-volt batteries. I love nine 9 batteries and the reason why I love them so much is that the voltage is very high and that gives you a lot of freedom to do things like regulation with a 7805 so you've got a lot of headway above the five volts. It also gives you the opportunity to split that supply down, so for example, if you've got a 9-voltage battery you can use a 555 negative voltage generator and you oscillate the 555 output.
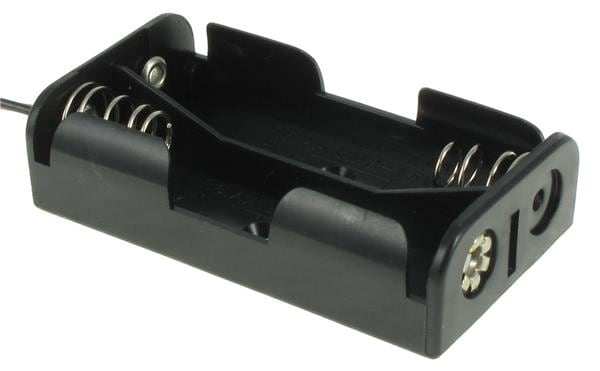
AA Battery Holder
The next thing you will want to buy is an AA battery holder which you can get for about $1.32 and these are great for low-power projects with low voltages, so two AA batteries put together makes about three volts and that's perfect for powering the Raspberry Pi Pico, as many other microcontrollers!
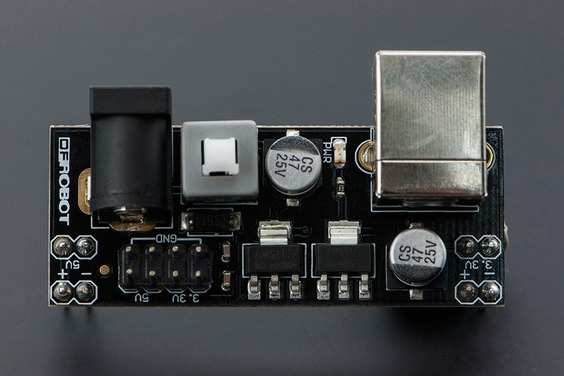
Breadboard PSU
Breadboard PSUs are great because they stick to the end of your PSU and you can connect them up to different power sources (usually something you like a USB connector or a mains adapter) such as a 12-volt adapter and then you can get different voltages out of them.
Voltages vary (usually 3.3 and 5 volts) and all of these are great with microcontroller projects.
Inputs
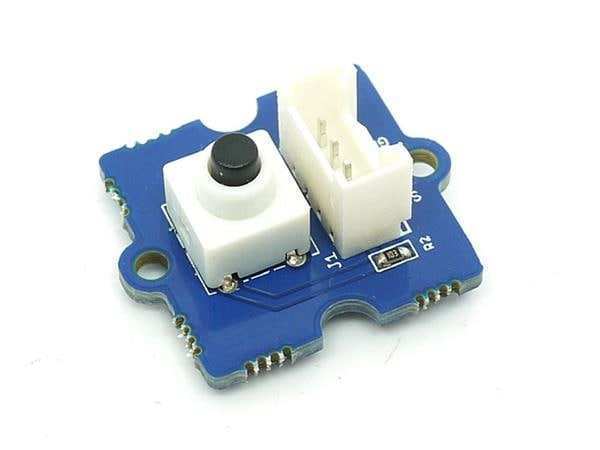
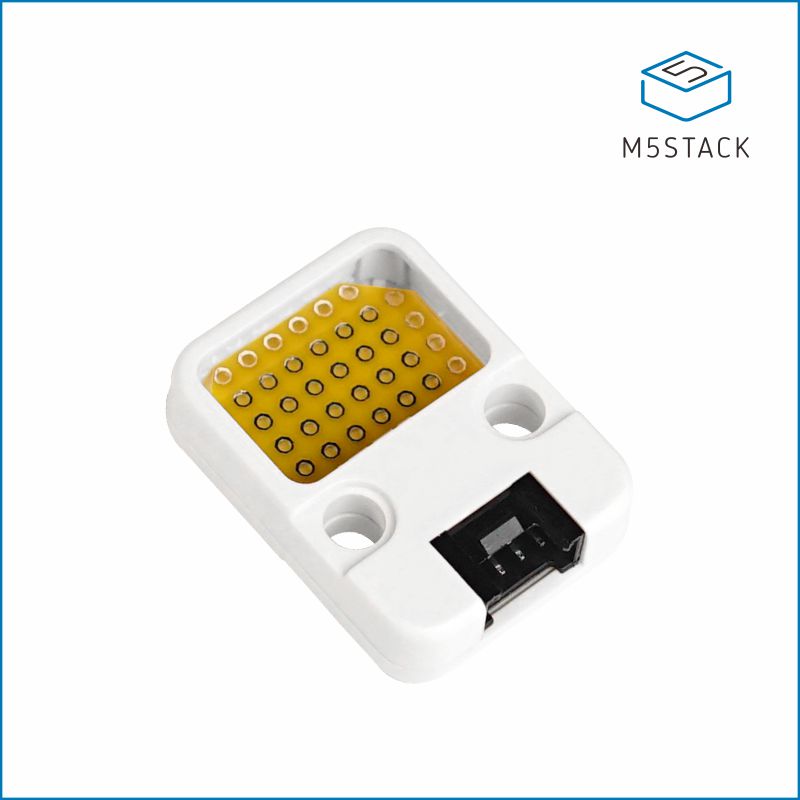
In this section, we will be discussing several useful modules for your projects. First up is the Grove button module, which is a great addition to any project as it allows you to add a button capability for around $2.10. It also has mounting holes for easy installation and a connector for attaching a wire to your microcontroller.
Next, we have the panel mount potentiometer, which is a 1K ohm potentiometer that can be used in a variety of ways. It can be connected to the ADC of a microcontroller to read the position of the potentiometer, or it can be used to adjust the resistance in a circuit. It's a great tool to have in any project that requires a turning dial, such as a thermostat or volume control, and it can be purchased for around $2.10.

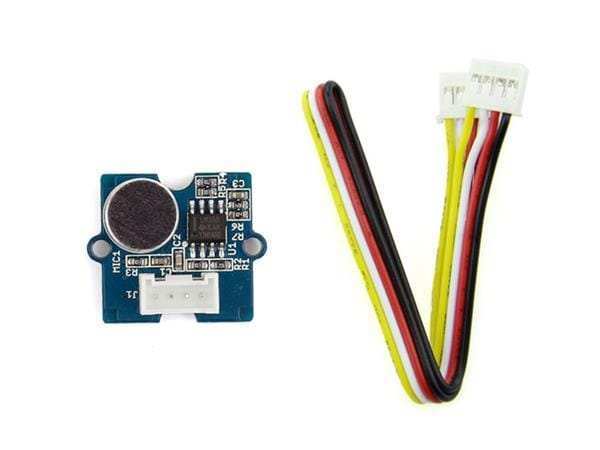
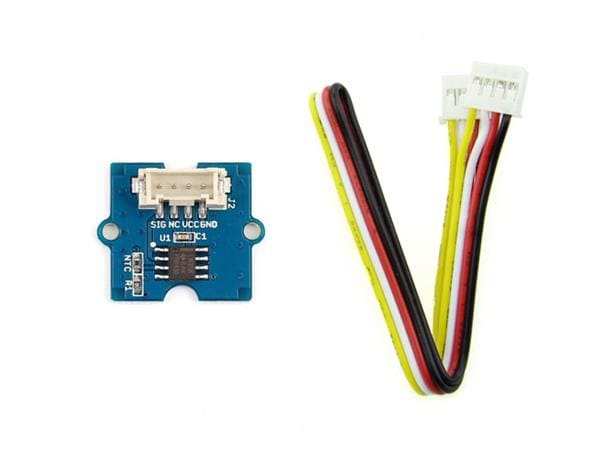
Sensors are another important element to consider when building a project. The Grove light sensor, which costs $2.13, can be used to detect light and has a variety of applications. The Grove touch sensor, which costs $2.75, is useful for detecting touch and interacting with your environment. The sound sensor, which costs $3.50, allows you to listen to and react to sounds in your environment, including voice commands if you know how to process the raw audio data in real time.
A water sensor is very useful if you want to do things like automated growing but it could also be used for detecting leaks so you might want to make an IoT leak detector that you could use under the sink.
The Grove temperature sensor which sells for $2.13 is another excellent sensor to have in your toolkit because sensing the temperature around you can be so important for so many different applications such as automated growing.
Another great sensor to have to accompany the temperature sensor is a humidity sensor. These go for about $4 and again these are Grove humidity sensors that also include temperature capability but we're just going to focus on the humidity here now.
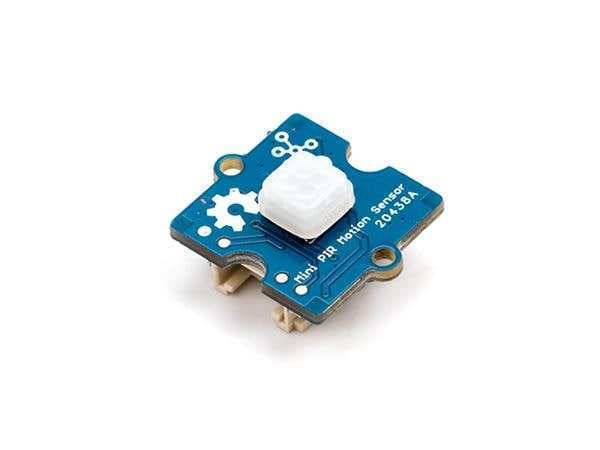
The final sensor we're going to look at is the PIR sensor and it goes for $2.88. These are great for security applications because they detect a change in the infrared signal and the way they're built is usually in a dome with weird little triangle patterns basically they can observe the change in IR signal over a very very wide area so if somebody move across in a room it picks it up and that makes for a great security device.
Outputs
The first output module on the list is a Grove speaker, which costs around $5.63. This allows your circuit to produce a sound that can be heard by anyone. For example, you could use it to create an intercom system or play music and warning sounds.
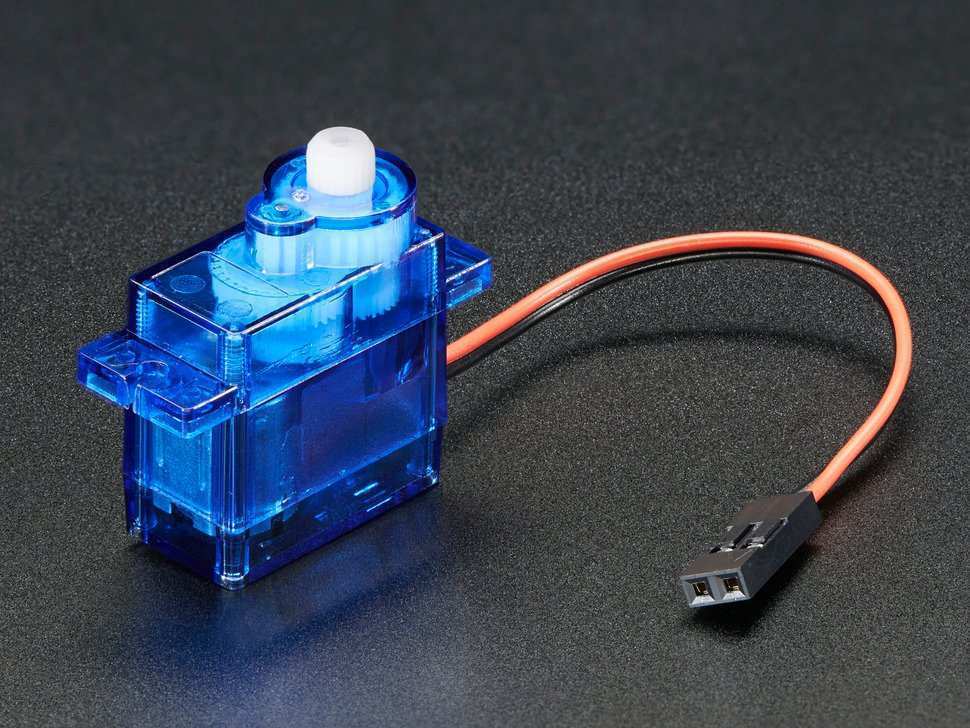
Next, we have two servos, which cost a total of $7. Adafruit Servos are a great addition to any workshop because they can convert electrical energy into mechanical energy, making it easy to move things with electricity. Additionally, servos have position control and negative feedback, meaning you can set them to a specific position and they will move to it while also reading back their position. This makes it easier to build advanced projects like robotic arms compared to using a stepper motor.
An H-bridge is another useful output device because it allows you to control a DC motor and change its direction. H-bridges are often used in robots and can be purchased for around $7. Two relays, which cost $2.25, are also a good addition to any workshop because they allow you to control large signals with a small signal. This means you can use your microcontroller to control things like mains devices, such as wall socket lamps.
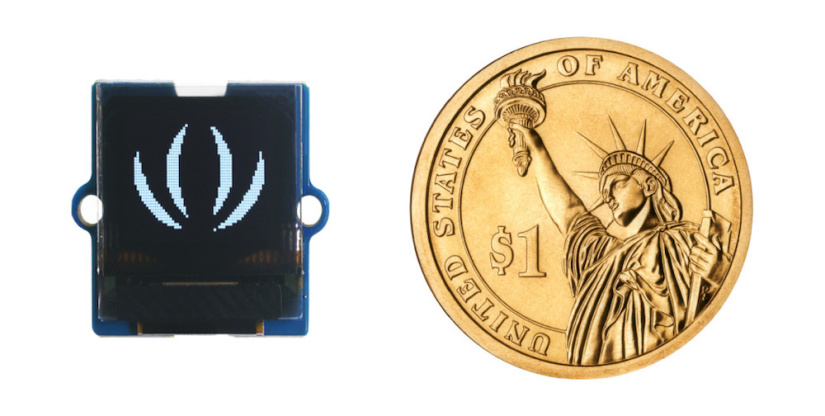
An OLED module, which costs around $4.75, is a great way to give your microcontroller a display to read information from. It can be used for debugging, displaying options on a vending machine, or creating an IoT watch. A 16x2 LCD is another display option that costs $4.88. While these displays may not be as common in small projects, they are easy to read and program, and they add a retro feel to your projects. They do require a few more pins to operate, but you can also purchase an I2C version that only requires four pins for power, ground, data, and clock.
First project ideas
I've tried to choose a range of sensors, inputs, and outputs that will allow you to make as many things as possible, or at least the most important maker projects. One idea is an automated greenhouse. You can use the wireless capabilities of the Raspberry Pi Pico W to control it remotely and monitor the status of your greenhouse. The temperature and humidity sensors let you keep track of the environment inside, and the water sensor helps you monitor the soil. You can also use the display and a potentiometer to create an internal dial to manually override settings.
Another project idea is a Wi-Fi-enabled RC car. The two DC motors provide power to the wheels, and the h-bridge lets you control them in different directions. The Raspberry Pi Pico W controls everything, and its Wi-Fi capabilities let you control the car remotely using a browser. You could even add sensors to turn it into a rover that can go around and monitor its environment.
Finally, one of the most rewarding projects you can make with the stuff on this list is smart home devices. Using a Raspberry Pi Pico W and a relay, you can control just about any device in your home, like lights, lamps, computers, coffee machines, or even a kettle.
I hope everything I've covered here will help you get started on your new projects, or even set up your own makerspace. Good luck!
Shopping list
Tools
Needle Nose Pliers - https://www.electromaker.io/shop/product/needle-nose-pliers
Wire Strippers - https://www.electromaker.io/shop/product/wire-strippers
Soldering set - https://www.amazon.co.uk/Soldering-Adjustable-Temperature-Desoldering-Screwdriver
Testing tools
Raspberry Pi Pico: https://www.electromaker.io/shop/product/raspberry-pi-pico
Essentials
Breadboard - https://www.electromaker.io/shop/product/half-size-breadboard
Wires - https://www.electromaker.io/shop/product/breadboarding-wire-bundle
PP3 Connector - https://www.electromaker.io/shop/product/t-6-wire-lds-26-awg
AA Battey Holder - https://www.electromaker.io/shop/product/2-aa-w6-wire-lds
Breadboard PSU - https://www.electromaker.io/shop/product/breadboard-power-supply
Inputs
Button - https://www.electromaker.io/shop/product/grove-button
Potentiometer - https://www.electromaker.io/shop/product/panel-mount-100k-potentiometer
Sensors
Light Sensor - https://www.electromaker.io/shop/product/grove-light-sensor-v12
Touch Sensor - https://www.electromaker.io/shop/product/grove-touch-sensor
Sound Sensor - https://www.electromaker.io/shop/product/grove-sound-sensor
Water Sensor - https://www.electromaker.io/shop/product/grove-water-sensor
Temp Sensor - https://www.electromaker.io/shop/product/grove-temperature-sensor
Humidity Sensors - https://www.electromaker.io/shop/product/grove-temphumi-sensor
PIR Sensor - https://www.electromaker.io/shop/product/grove-mini-pir-motion-sensor
Outputs
Speaker - https://www.electromaker.io/shop/product/grove-speaker
2 x Servo - https://www.electromaker.io/shop/product/dc-motor-in-micro-servo-body
H-bridge - https://www.electromaker.io/shop/product/maker-drive-mix1508-h-bridge-motor-driver
2 x Relay - https://www.electromaker.io/shop/product/grove-relay
2 x DC Motor - https://www.electromaker.io/shop/product/dc-gearbox-motor-tt-motor-200rpm-3-to-6vdc
OLED Display - https://www.electromaker.io/shop/product/grove-oled-display-066-ssd1306-v10
16x2 LCD - https://www.electromaker.io/shop/product/grove-16-x-2-lcd-white-on-blue

Residing on the south coast of England, Rich has spent the last few years building Electomaker.io from the ground up. He is usually found behind a laptop coordinating the rest of the EM team and occasionally finding time to contribute articles to the blog. When not tapping away at a laptop, he can be found either paddleboarding, at the beach, playing golf (badly), or camping with his family.


Leave your feedback...