
Electromaker Educator: Getting Started with the Pico W
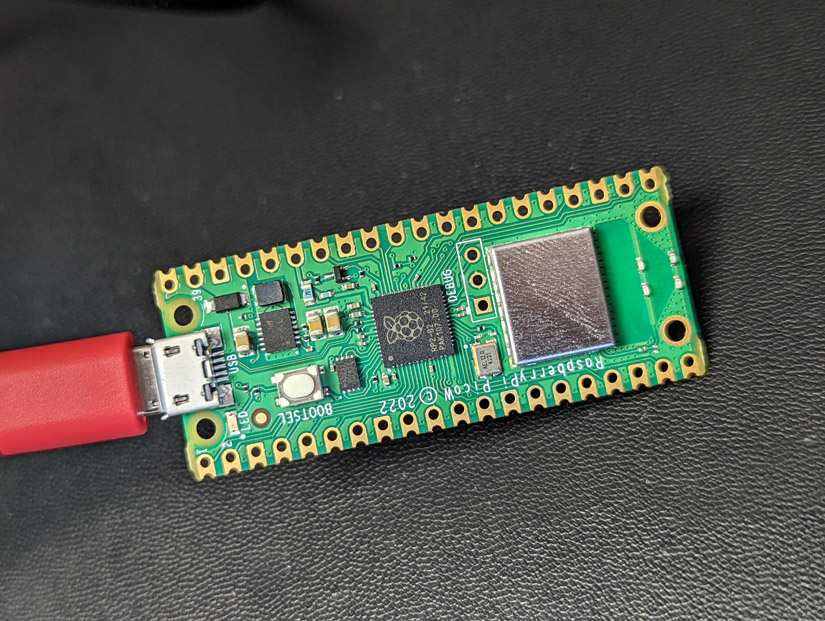
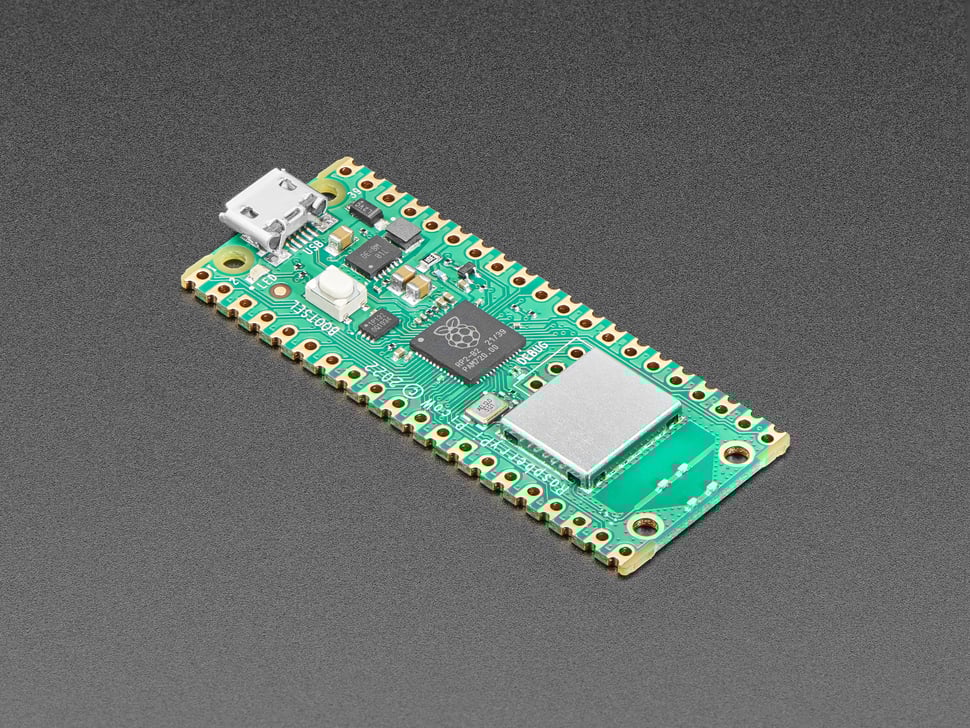
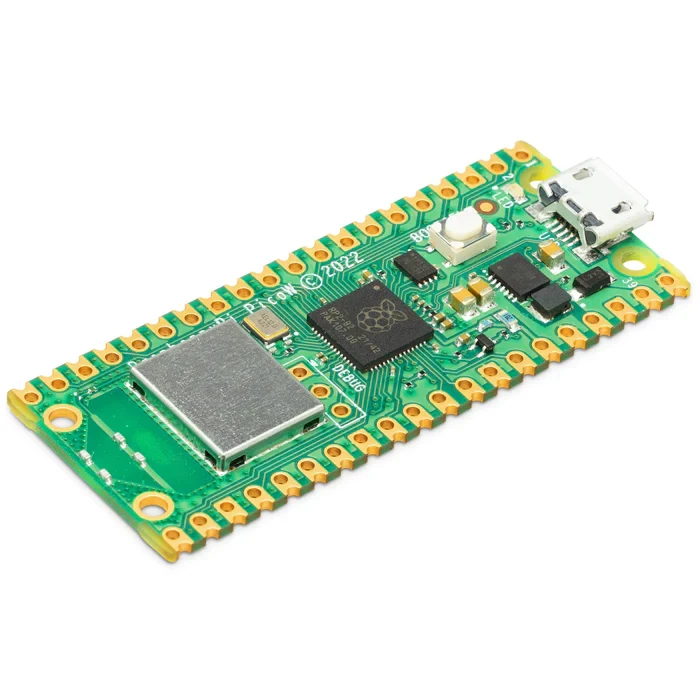
The Raspberry Pi Pico W is here! The new hardware sticks to the design of the original Pico with one large exception - the addition of a WiFi-capable coprocessor.
Today you'll learn how to get started programming the Pico W in MicroPython using the Thonny IDE, and how to set up a simple web server using MicroPython libraries designed to take the stress out of networking!
You can follow along with engineer and educator Robin Mitchel in the embedded video, or follow the text tutorial below!
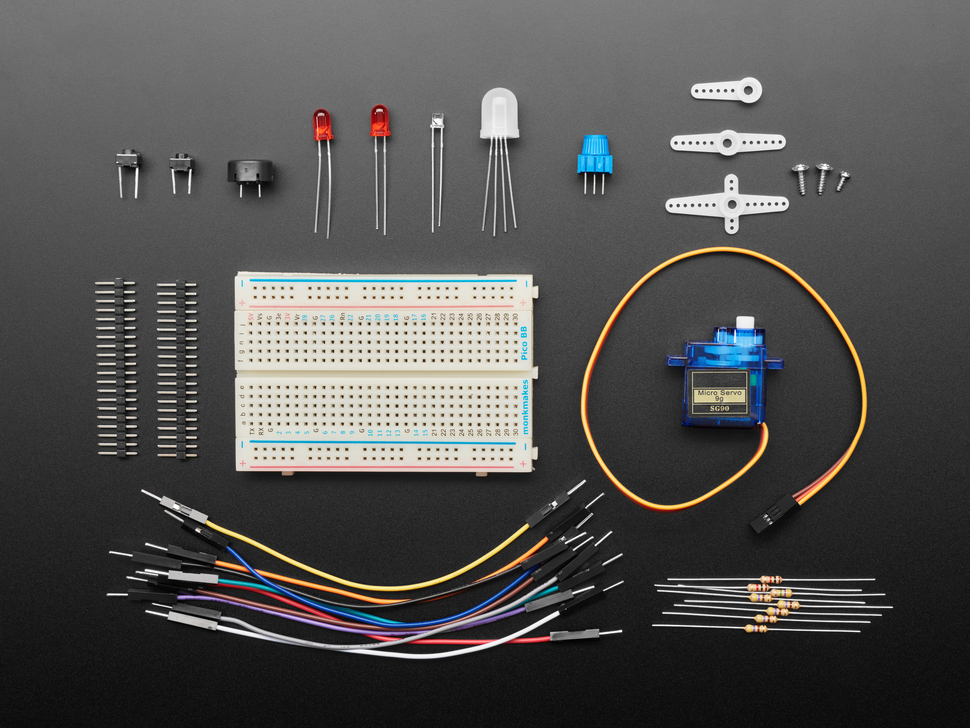
To follow this tutorial you'll need a Raspberry Pi Pico W, a Micro USB cable, and a computer running Windows, Mac, or Linux. The video portion of this tutorial is on Mac, the written part covers PC, but the process is the same either way.
First Steps with the Pico W
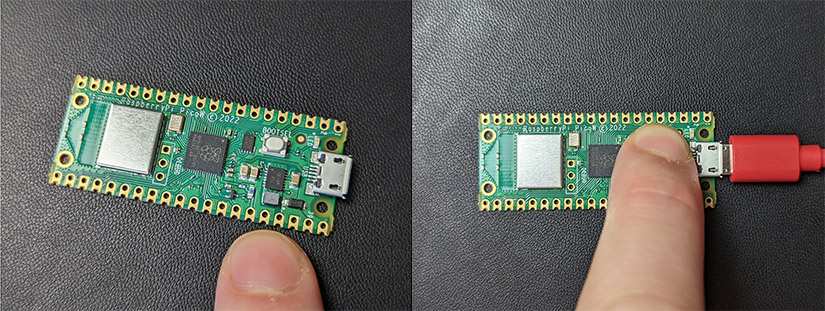
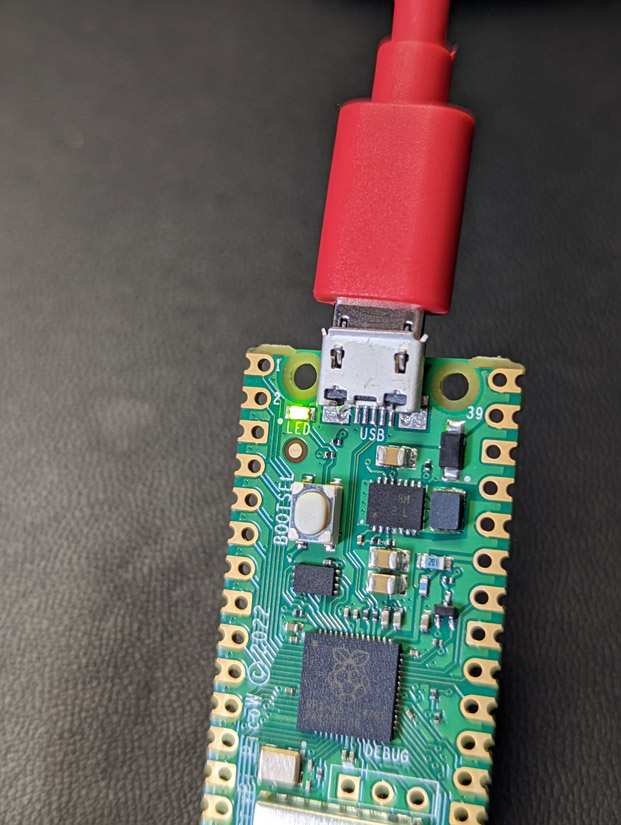
To begin, head to the Raspberry Pi documentation page, and download the latest version of MicroPython. It will be a file with a .uf2 extension. Make sure you get the firmware for the Pico W! Now, hold down the BOOTSEL button on the Pico, and plug it into your computer
This will open the Pico W as a flash drive on your computer. Drag and drop the MicroPython uf2 file into the Pico W drive. The Pico W will disappear as a flash drive, and reboot ready to be programmed.
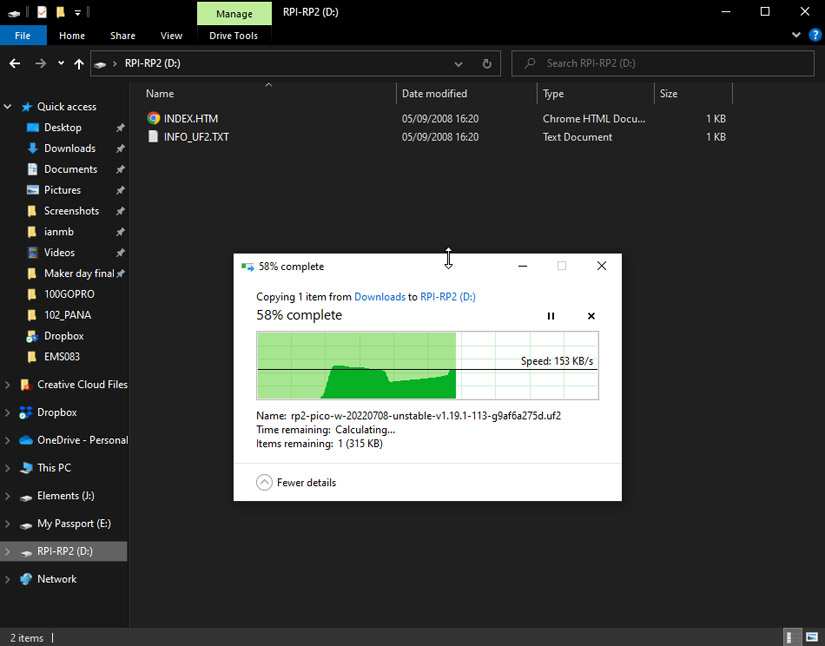
That's it for the firmware side, the Pico is now ready to accept MicroPython code!
Setting Up a Coding Environment
There are several options for programming the Pi Pico, both in terms of programming languages and software, but to get started we'd recommend downloading the free and open-source Thonny IDE. The main advantage of Thonny for beginners is the ability to choose your programming target using the menu in the bottom right of the window. Select MicroPython (Raspberry PI Pico) from this menu.

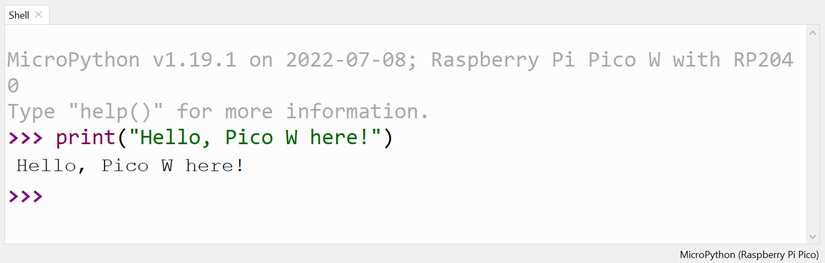
Now, anything you type in the interactive REPL in the bottom part of the window will run on the Pico W in real-time
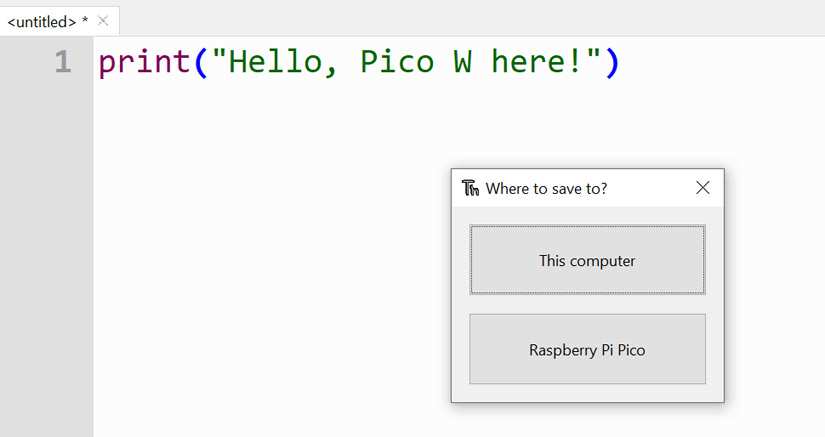
If you type the same code in the Thonny editor and save it, you'll be prompted as to where you want to save the file.
Once it's saved on the Pico W, click the green play button to start the code, and the red stop button to stop it. Note that if you save your file as main.py it'll run every time the Pico boots up. You can test this by entering the key combination Ctrl + d into the REPL, which soft-reboots the Pico, and runs your code again!
Setting up a Web Server on the Pico W
Let's move on to something that uses the new WiFi functionality of the Pico W. In just a few lines of code, you can get a functional web server running. We'll go through the code line by line here to explain what is going on, but if you just want to download the full code you can find it in this PasteBin.
Note: if at any time you get an error reading OSError: [Errno 98] EADDRINUSE, simply unplug your Pico W for a few seconds and plug it back in. You'll learn about those errors another day, for today they aren't important!
First, you'll import two libraries needed for connecting to WiFi and TCP connections. You'll also create variables for your WiFi name and password.
import network
import socket

ssid = 'Your WIFI Name'
password = 'Your WIFI Password'
Next create a wlan object to handle the connection, passing it the WiFi details and setting it to active:
wlan = network.WLAN(network.STA_IF)
wlan.active(True)
wlan.connect(ssid, password)
The network.STA_IF part just tells the Pico W you want it to connect to WiFi, not act as a WiFi access point for other devices to connect to.
Next, use the socket library to start a server, and listen for devices connecting to it.
addr = socket.getaddrinfo('0.0.0.0', 80)[0][-1]
s = socket.socket()
s.bind(addr)
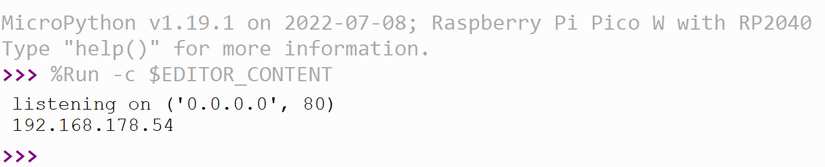
s.listen(1)So far, you've set up a WiFi connection and started a simple web server. Now, for convenience, print out what port the Pico W is listening on, and the IP address your router assigned it when it connected.
print('listening on', addr)
status = wlan.ifconfig()
print(status[0])
If you save and run the code as is, you'll see that information in the REPL.
Now that you've got a working web server and an IP address to connect to, let's set up a loop for listening for connections, and some data to send when a client connects.
#Listen for Connections
while True:
    try:
        cl, addr = s.accept()
        print('client connected from', addr)
        request = cl.recv(1024)
        print(request)

        response = "Hello"

        cl.send('HTTP/1.0 200 OK/r/nContent-type: text/html\r\n\r\n')
        cl.send(response)
        cl.close()


    except OSError as e:
        cl.close()
        print('connection closed')
This chunk of code loops forever, accepting connections from other devices, and printing the connection details, before sending back a response that reads Hello. To see this in action, save the code onto your Pico W, and copy the IP address from the REPL into the browser.
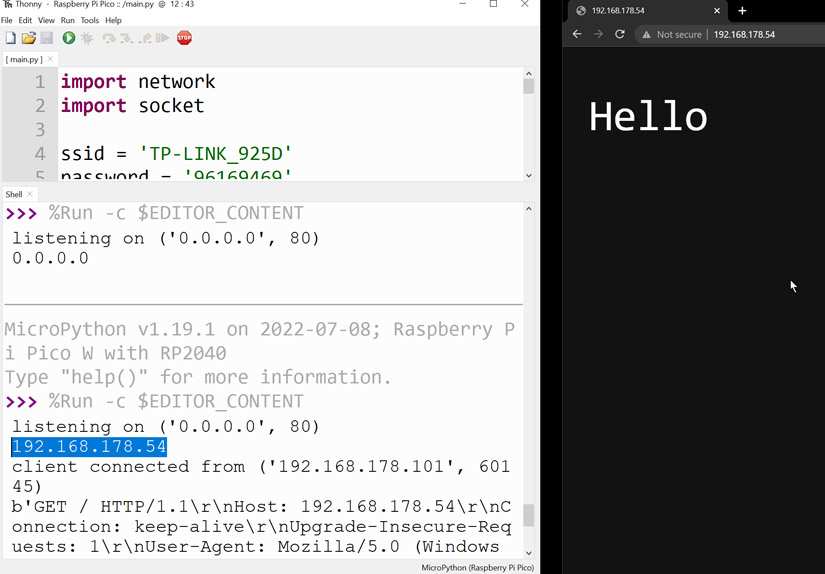
Now, you should get a simple page that says Hello. That's it! It's that simple to get started with networking on the Raspberry Pi Pico.
Potential Problems
Two potential problems you may face during this tutorial:
If you get an error reading OSError: [Errno 98] EADDRINUSE - simply unplug your Pico W for a few seconds and plug it back in.
If you start your program and you don't get your IP address printed, try clicking play again. If it still doesn't work, check the browser GUI for your router, which lists the IP address of every device attached to the network.
Bonus: Using the Onboard LED
Since the onboard LED on the Pico W works slightly differently to the Pi Pico, let's incorporate it into this project to see it in action.
Add these two lines to the top of your code, right after you imported the network and socket libraries.
import network
import socket
import machine

led = machine.Pin("LED", machine.Pin.OUT)
This imports the machine library for working with the Pico's GPIO pins and sets up the onboard LED.
Next, add these lines into the <srtong>while loop, just after you create the response variable, but before it is sent to the client.
        response = "Hello"
        led.toggle()


        cl.send('HTTP/1.0 200 OK/r/nContent-type: text/html\r\n\r\n')
Usually, you'd use led.on() or led.value(1) to turn it on, and led.off() or led.value(0) to turn it off, but this time we are using the toggle function to quickly turn it on when the Pico sends a response, before toggling it off again.
Give it a try! Whenever you refresh the browser page the LED will flash. Believe it or not, you've just covered the basic functionality of almost all embedded servers. From here, you can expand this program using the official documentation for the Pico and Pico W found on the official documentation page, and create your own connected embedded inventions!

Ian Buckley is a writer, musician, and perpetual tinkerer. Commonly found surrounded by hobby electrical components, he's also a keen programmer and likes to build crazy-sounding instruments with microcontrollers. In addition to Electromaker, Ian writes over at MakeUseOf and has bylines at the likes of Online Tech Tips as well as Help Desk Geek.


Leave your feedback...