
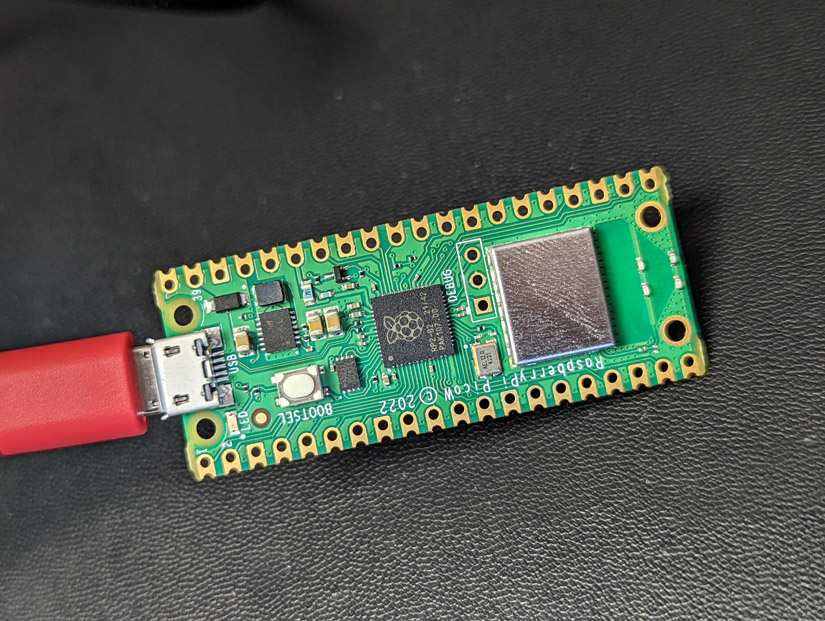
Getting Started with the Raspberry Pi Pico W C/C++ SDK
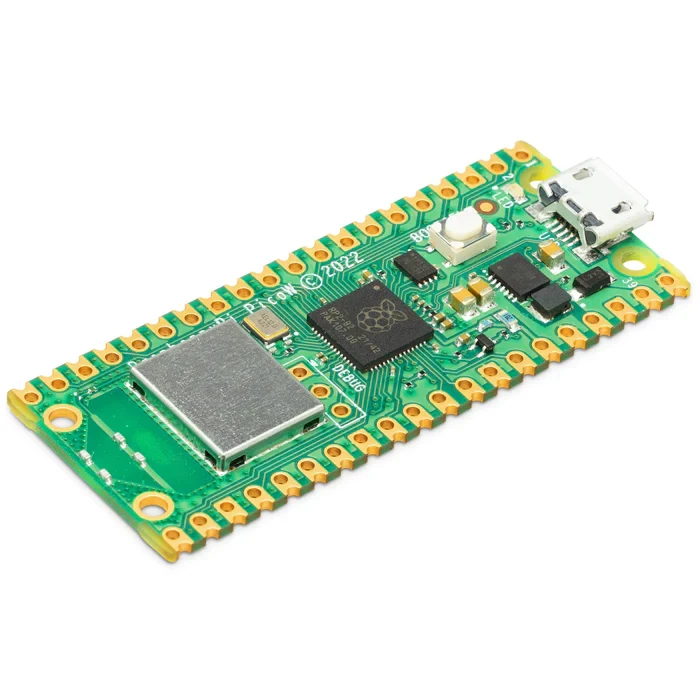
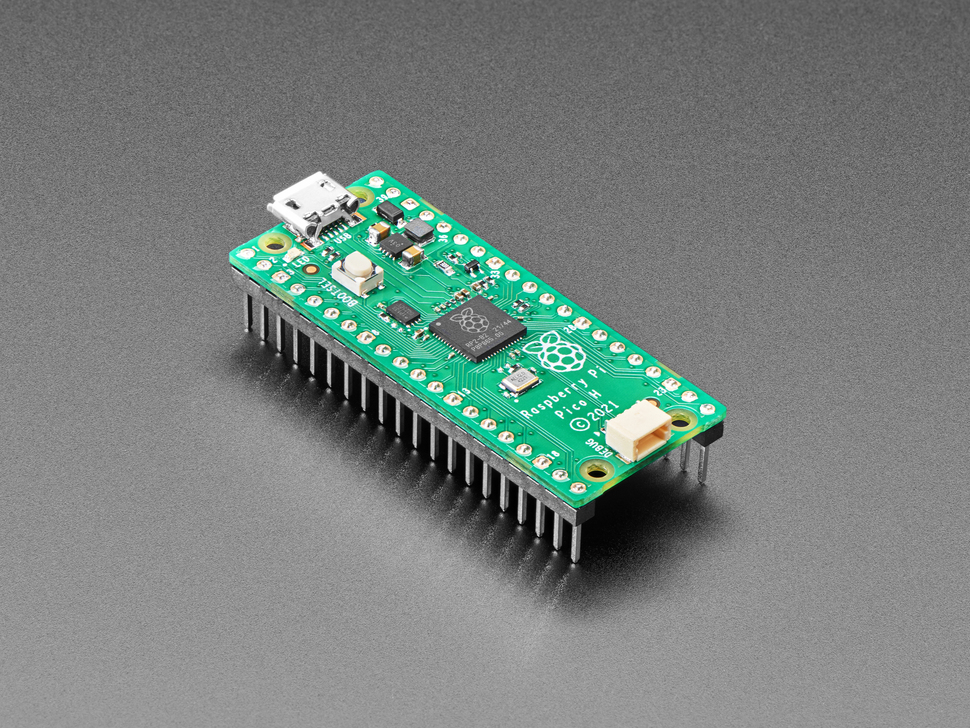
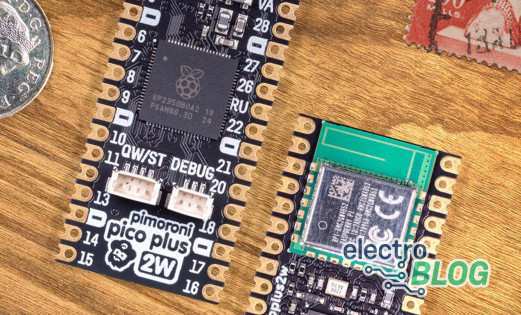
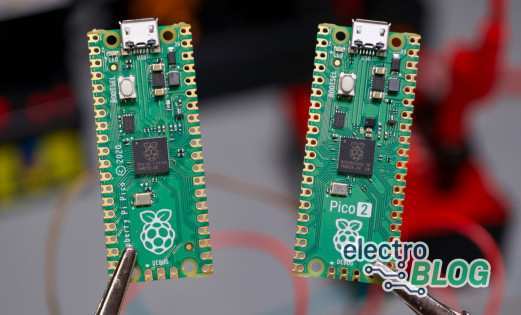
The Raspberry Pi Pico and recent Pico W/H/HW versions are easy to use thanks to their excellent documentation and MicroPython port, exposing almost everything the RP2040 can do.
To get the most out of the Pico, however, you need to dig into the C/C++ SDK. While many hardware toolchains can be quite a headache to get going, the Pico SDK is quite simple to get started with, especially if you use a dedicated virtual machine as a development environment. This tutorial takes you through downloading and installing free virtual machine software, running a Linux system in it, installing the Pico SDK and toolchain, building example projects, and even setting up your own project. This video shows every step:
The text guide below follows the video, though may not be comprehensive as a standalone written guide.
Setting up a Linux VM with VMWare
Start by downloading VMware Workstation Player from their official download site. At the time of making this tutorial the latest version was 16.2.4 and worked without issue. You'll also need a Linux installer .iso file. I chose Ubuntu 22.04 LTS, but this tutorial should work with any Debian system.
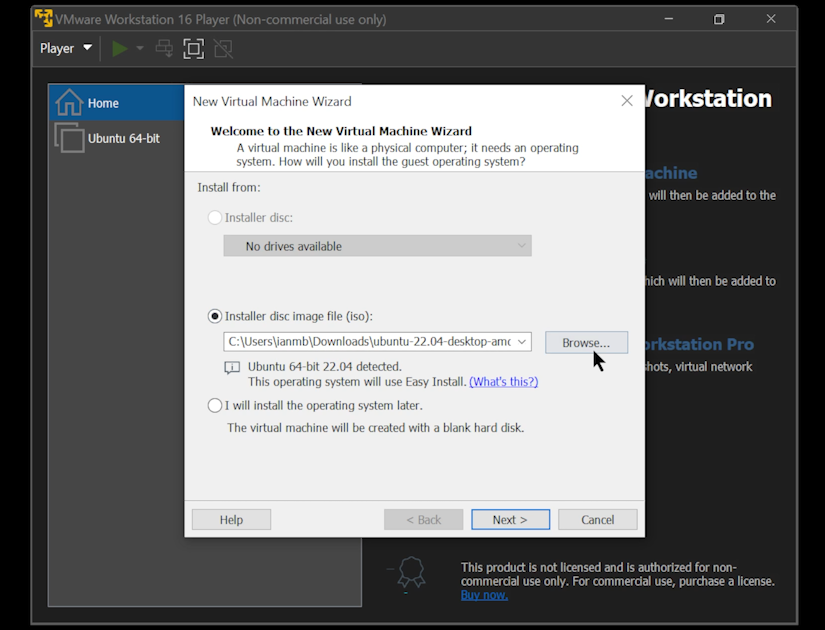
Inside VMware Workstation Player, click Create a New Virtual Machine and follow the recommended steps, using your Linux ISO file as the Installer disc image file. Boot up the VM, and install Linux as normal. See the video above for a step-by-step walkthrough of this part.
Setting Up the Pico-SDK and Toolchain
Once the VM boots up, install Visual Studio Code. You can do this from the Ubuntu Software app, or via the VScode website. This step isn't essential, as we are using it purely as a code editor - use whichever fits your preference! We'll also need git for cloning the Raspberry Pi GitHub repositories.
sudo apt install gitNext, create a working directory, and clone the pico-sdk and pico-examples git repositories:
mkdir pico
cd pico
git clone https://github.com/raspberrypi/pico-sdk.git

git clone https://github.com/raspberrypi/pico-examples.git
To use the WiFi chip on the Pico W (which the onboard LED is connected to), we'll need to get the included submodules. This also includes the TinyUSB port needed to communicate via USB.
cd pico-sdk
git submodule update --init
Now, update your system, and install the pico toolchain:
sudo apt update
sudo apt install cmake gcc-arm-none-eabi libnewlib-arm-none-eabi build-essential
Now everything is in place to get started. Let's take a look at some of the included examples.
Building the Example Projects
Inside pico/pico-examples, make a build folder:
cd pico-examples
mkdir build
cd build
This is where the build information for each project will go, but before we start the build, we need to specify where the pico-sdk is on the disk.
Export PICO_SDK_PATH=../../pico-sdk/
In this case it's two directories up, so we give it the relative path to the pico-sdk directory. Now we use cmake to build the examples:
cmake -DPICO_BOARD=pico_w ..
Note the two dots on the end of the command! After the examples have built, make the pico_w/blink project.
cd pico-examples/build/pico_w/blink
make
Now, you can copy the generated uf2 file over to the Pico W. Hold down the BOOTSEL on the Pico W as you plug it in, and it will show as an external drive. After the uf2 file is copied over, it'll automatically update, and you should see your LED blinking!
Creating your own Project
Make a new folder in the same directory as your pico-sdk:
mkdir myfolder
Enter it, and open up a code editor. I'm using a simple blink + serial print program to test:
#include
#include "pico/stdlib.h"
#include "pico/cyw43_arch.h"

int main() {
    stdio_init_all();
    while (true) {

        printf("LED on\n");
        cyw43_arch_gpio_put(CYW43_WL_GPIO_LED_PIN, 1);
        sleep_ms(2500);
        printf("LED off\n");
        cyw43_arch_gpio_put(CYW43_WL_GPIO_LED_PIN, 0);
        sleep_ms(2500);

    }
    return 0;
}
And here is the associated CMakeLists.txt file:
cmake_minimum_required(VERSION 3.13)

include(pico_sdk_import.cmake)

project(flashprint C CXX ASM)
set(CMAKE_C STANDARD 11)
set(CMAKE_CXX_STANDARD 17)

pico_sdk_init()

add_executable(printflash
    pico_c.c
)

pico_enable_stdio_usb(printflash 1)
pico_enable_stdio_uart(printflash 0)

pico_add_extra_outputs(printflash)

target_include_directories(printflash PRIVATE ${CMAKE_CURRENT_LIST_DIR} )


target_link_libraries(printflash pico_cyw43_arch_lwip_threadsafe_background pico_stdlib)
You'll need to copy the pico_sdk_import.cmake file from pico-sdk/external/pico_sdk_import.cmake into your project.
cp ../pico-sdk/external/pico_sdk_import.cmake .You'll also need a header file from the pico-examples folder, which needs renaming:
cp ../pico-examples/pico_w/lwipopts_examples_common.h lwipopts.h From here, it's the same process as before to build and run your project!
Getting Minicom
The last example uses minicom to see the USB Serial print feature. You can install minicom with this command:
sudo apt install minicom And run it using these parameters:
sudo minicom -b 115200 -o -D /dev/ttyACM0
Note that if you have other USB devices connected your /dev/tty port may differ! You should now see any serial messages coming over the serial USB port.

Ian Buckley is a writer, musician, and perpetual tinkerer. Commonly found surrounded by hobby electrical components, he's also a keen programmer and likes to build crazy-sounding instruments with microcontrollers. In addition to Electromaker, Ian writes over at MakeUseOf and has bylines at the likes of Online Tech Tips as well as Help Desk Geek.


Leave your feedback...