
Introducing Ardublockly for Arduino
The humble Arduino has powered many projects across the globe. Created in the early 2000s, the Arduino’s goal was to provide a cheap development platform for artists to experiment with electronics. For many years the Arduino set the bar for others to beat, and it wasn’t until the rise of the Raspberry Pi in 2012 that we saw competition that would offer an alternative experience for those new to code.
One of the biggest barriers to entry, especially for those new to the scene, is that the Arduino is programmed using a language based upon C/C++ and while this may be familiar to seasoned makers and hacker, it can be quite a shock to new makers. So, how can we help new makers to take their first steps with Arduino? Well, we can do that by offering them a block-based language, based upon Google’s blockly framework, and this block language is called Ardublockly that was created by Carlos as a means to enable anyone to take their first steps with the Arduino using an interface similar to other block coding languages.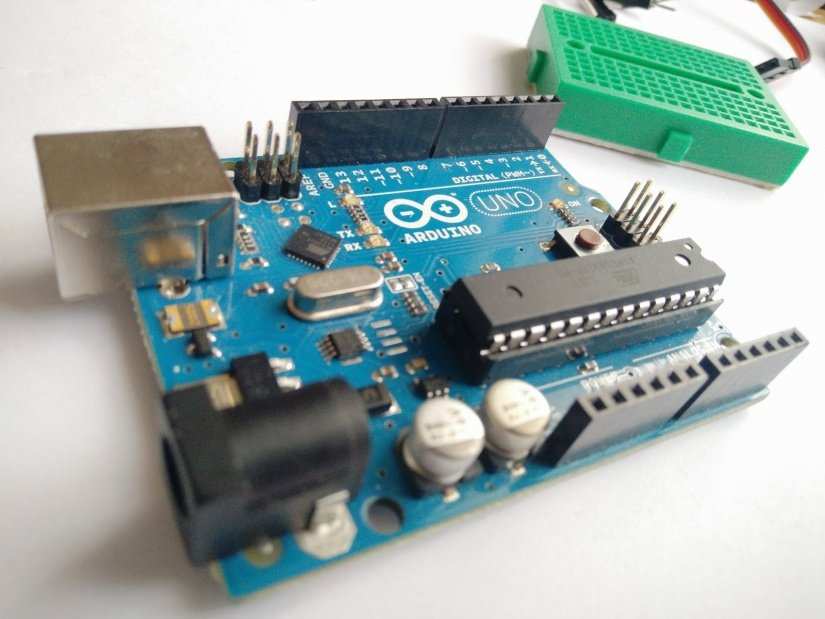
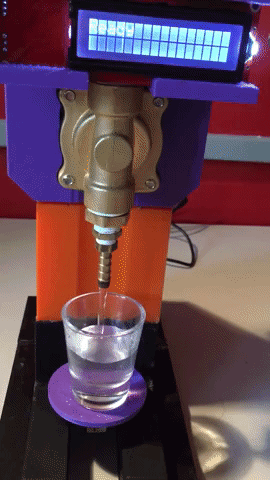
In this project we shall install Ardublockly and take our first steps to create a simple project that reacts to input, captured using an infrared obstacle sensor, and then wave a Raspberry Pi coaster, neatly attached to a cheap digital servo. OK, this might not be the most useful project, but trying out a new tool, be it software or hardware, should always be done with a quick and easy project as it minimises any stress and enables us to focus on learning and experiencing the workflow.
For this project you will need
- A computer with the Arduino IDE installed (there is a fantastic guide)
- An Arduino Uno (or compatible)
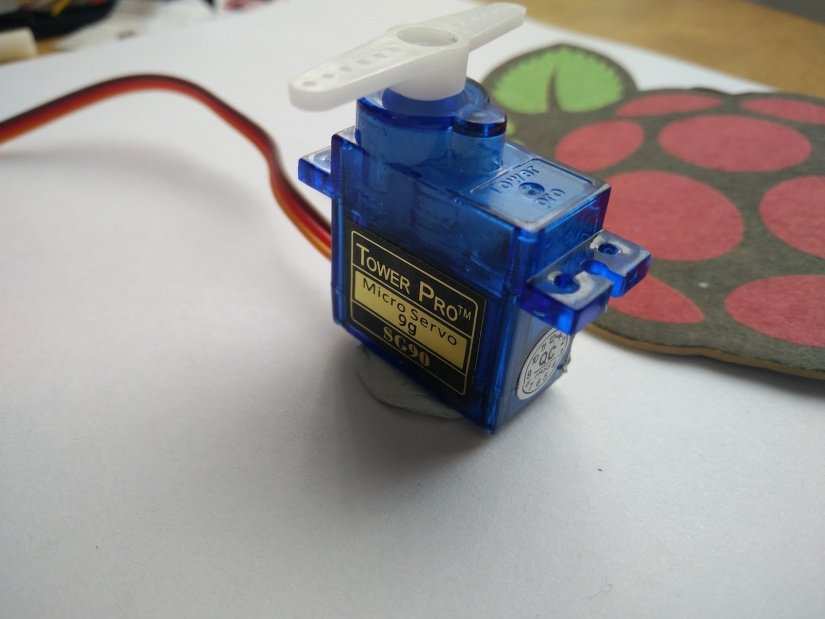
- A Digital servo (Tower Pro Micro Servo 9g)
- An infrared obstacle sensor
- 5 x Male to male jumper wires
- 3 x Female to female jumper wires
- A small breadboard

Building the hardware
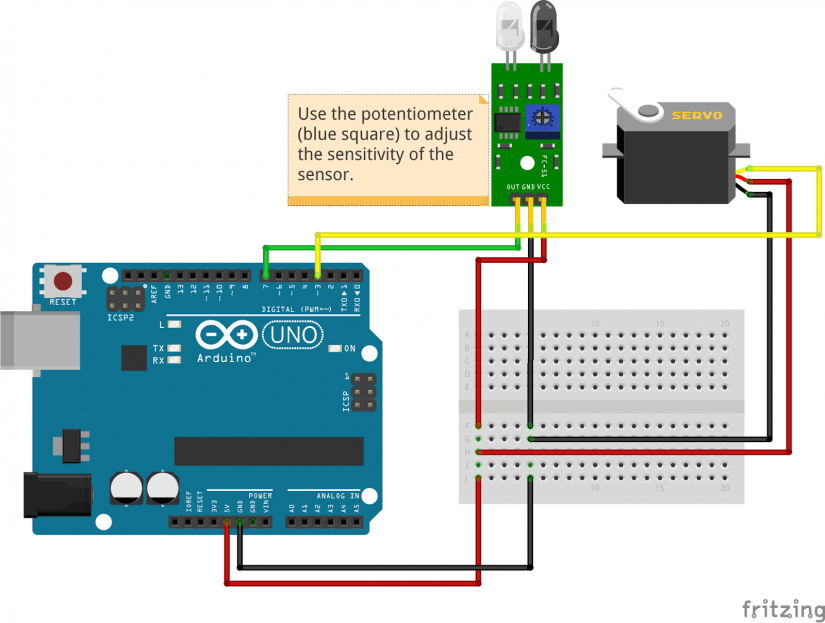
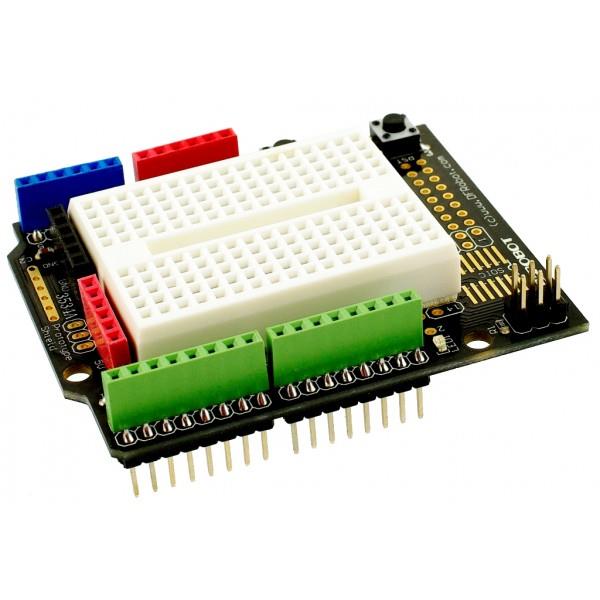
Let's start by building the hardware. Please follow the diagram to ensure that your connections are correct. For quick reference, the red wires are the 5V (Vcc) needed to power the servo and the sensor and the black wires are a common Ground (GND) between the Arduino, sensor and servo. The output pin of our sensor connects to pin 7 of the Arduino, and the input of our servo connects to pin 3. We use the breadboard to create multiple 5V and GND connections.
Installing Ardublockly
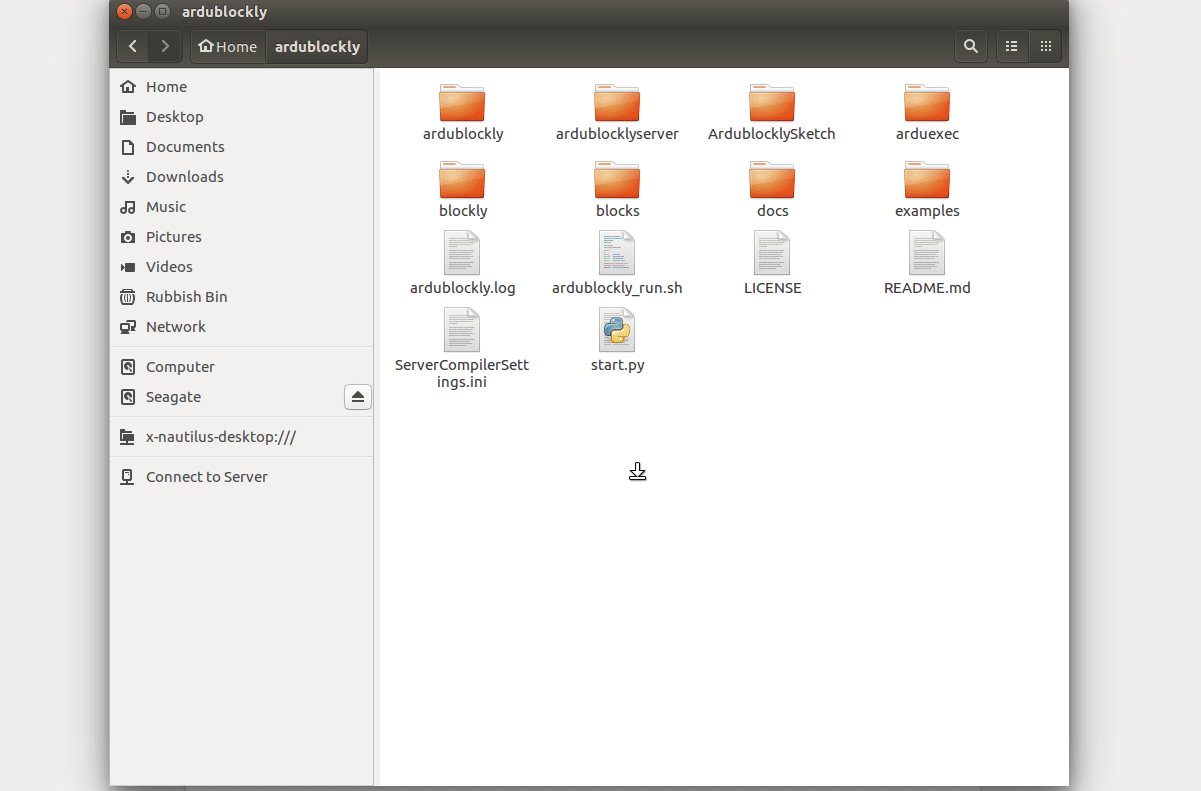
Ardublockly can be found at Carlos’ blog https://ardublockly.embeddedlog.com/, and we can find the installation instructions for each operating system. Downloading the necessary package is quick, and only requires extracting to a location on your computer. From there we can run the ardublockly_run file, on Windows this is a batch (bat) file, Linux and Mac this is a shell (sh) file. Run the file by double-clicking on it (Windows), but for Linux we will need to open the script using the Terminal and a quick way to do so is to right-click in the directory and select “Open in Terminal” and then type in the following.
./ardublockly_run.sh
It should look like this.
We are now inside the Ardublockly application, and before we can write any code, we need to tell it where to find our Arduino application, so from the Edit menu select Preferences.
Double click to change the file path to match the location of your Arduino executable.
For Linux this can be in either your home folder or in your /usr/bin/ directory. If you have followed the installation steps recommended by the Arduino website, then it will be in your home directory.
/home//arduino-1.6.xx/arduino -or- /usr/bin/
Next, ensure that your Arduino board is correctly identified using the Arduino Board dropdown menu. In this case, I was using an Arduino Uno. Next, connect your Arduino using the USB lead, and then select the correct COM Port, for Linux this will likely be /dev/ttyUSB0 and for Windows COMx where x is a number. If in doubt check in the Arduino IDE. Lastly, set the Default IDE button so that it Compiles and Uploads sketch when clicked. Click on Return to set these changes.
Coding the project!
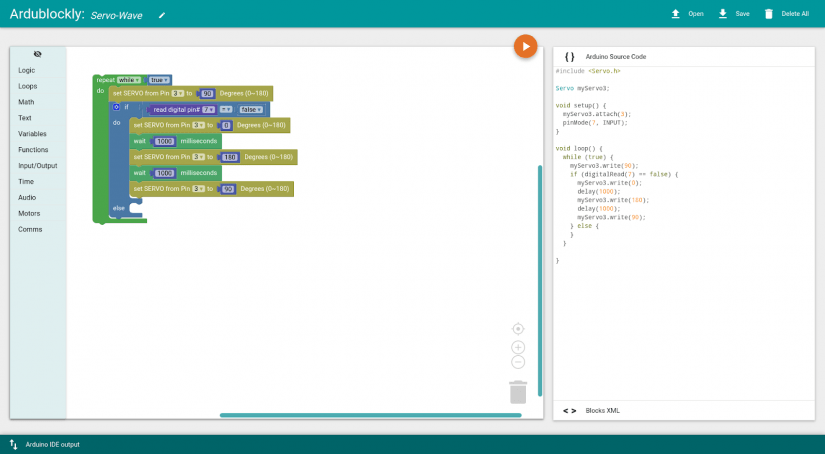
The Ardublockly interface is rather simple. On the left we have a selection of blocks, filtered by their function. We have Logic, Functions, Input/Output etc. groups and in these groups are the blocks that we can drag into the central coding area by left mouse button clicking and dragging the blocks over, in a similar fashion to Scratch. To build up a sequence of code, we connect the blocks together. On the right of the screen is the C/C++ code created by Ardublockly, which can be copied and pasted into the Arduino IDE if you wish. This is a handy feature for those wishing to learn the Arduino language as we can see the relationship between the blocks and the code they create.
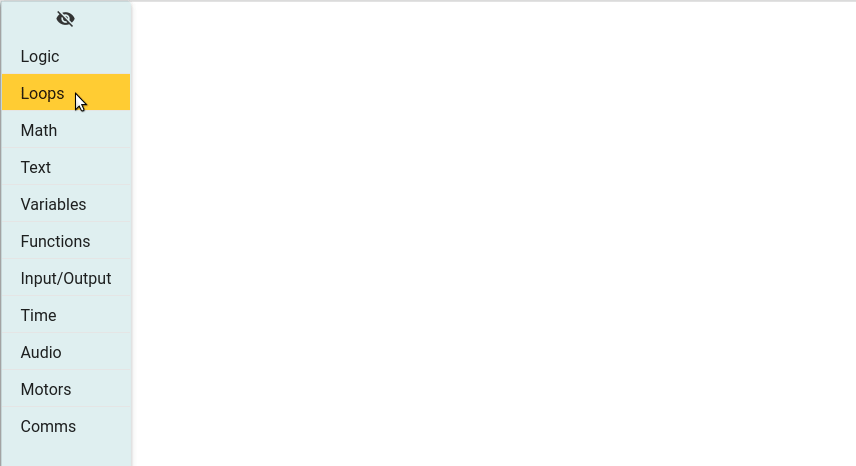
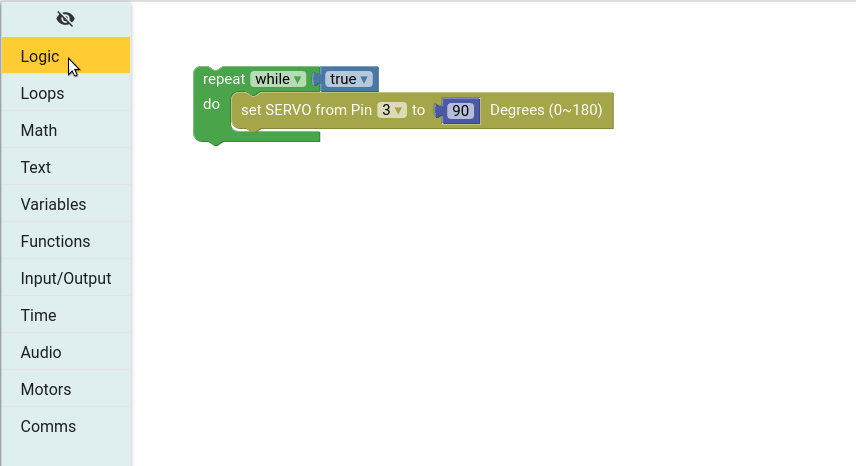
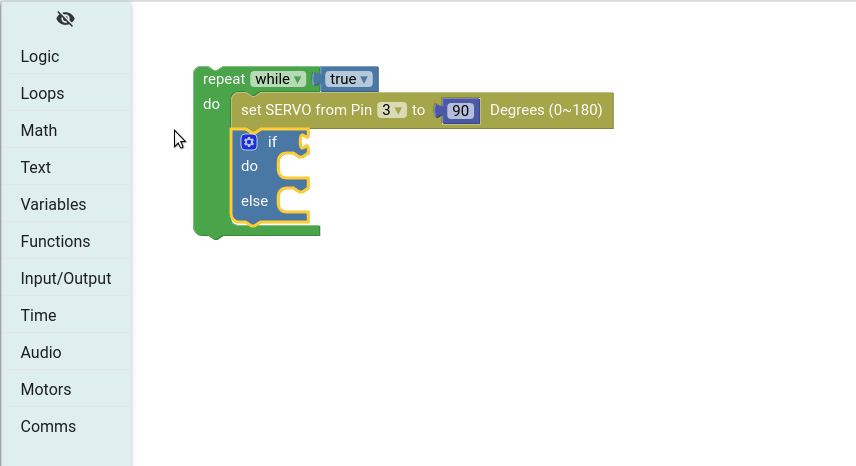
Let's start our project by creating an infinite loop, into which our code will run. From the Loops group drag repeat while and then from the Logic group drag true and connect it in the space just after our repeat while block.
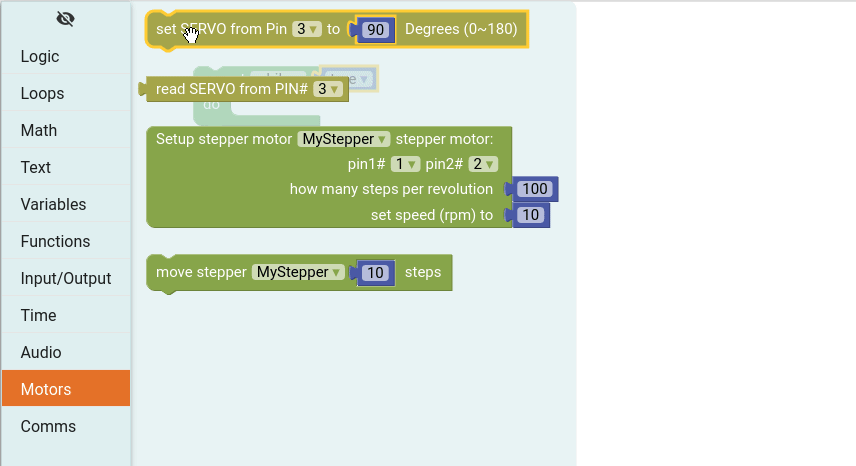
Our next block will control the connected servo and ensure that it starts at the correct orientation. Servos have typically 180 degrees of rotation (unless you buy continuous rotation servos) so we can set the rotation to any value between 0 and 180. In this case, we need it to be 90 as that is an “upright” orientation for the servo.
From the Motors group drag the set SERVO from Pin block and place inside the loop. Then change the pin number to 3 and set the rotation to 90.
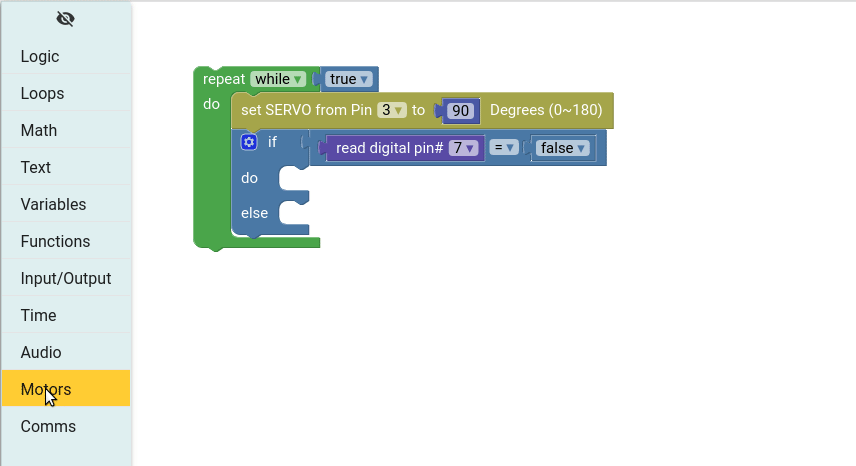
Now let’s create a conditional test inside the loop. This test will check the status of our sensor connected to Pin 7. The sensor will send a continuous voltage is if detects no movement, but if there is movement then the state will change and the voltage will drop. In Logic terms this is a change from True to False. When Pin 7 goes False, we need it to trigger the code sequence. So from the Logic group drag an If..do block and place it inside the loop, underneath the previous block. The click on the small Cog icon and include an else condition.
To create the conditional test, we first need to go to Logic and drag a “__ = __” block over. Then in the left blank space we need to drag read digital pin# found in the Input/Output group. Then lastly drag false from the Logic group.
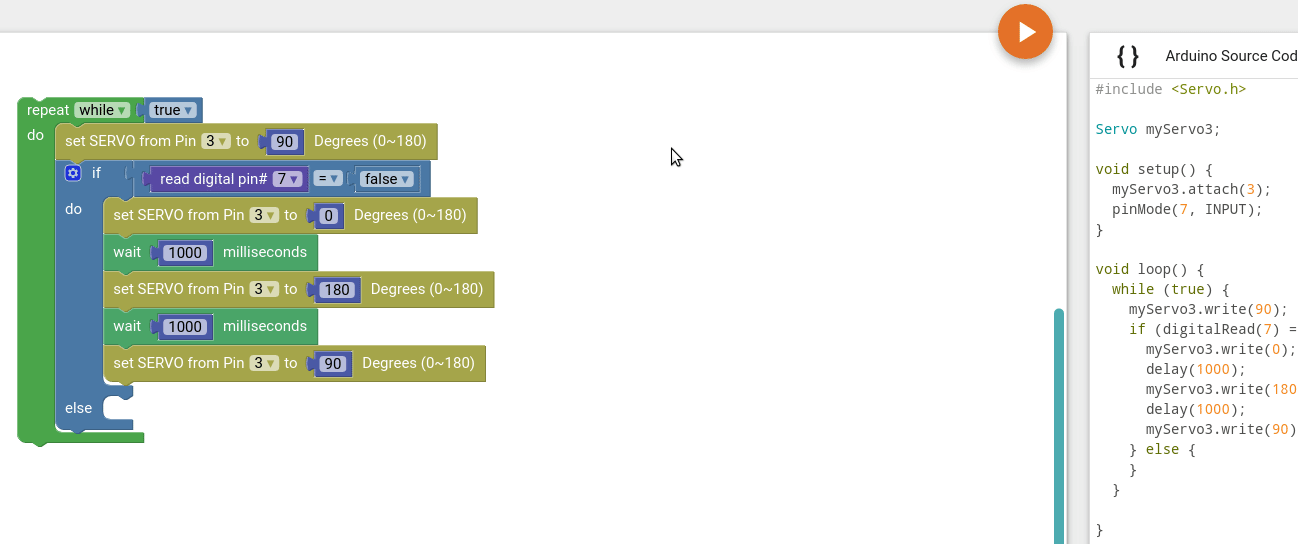
Now we move on to the code that will be executed if the sensor is triggered, and in this case the servo will move three times, first it will move to 0 degrees, wait for 1 second, then move to 180 degrees, wait for a second and then return to the original orientation of 90 degrees. From the Motor group we need set SERVO from Pin dragged into the Do section three times remember to change the Pin reference so that it matches the pin to which our servo is connected. Then we need to drag Wait 1000 milliseconds from Time so that it sits between the rotations as per the image.
That is all of the code completed. Make sure that you save your work, the icon for which is in the top right of the screen. This will save your code as an XML file, which cannot be used with the Arduino directly, so to programme the Arduino we now need to click on the orange button in the top right of the coding area. This will compile the code into something that the Arduino understands and then write the code to the board.
Once the code has been written to the Arduino, the board will reset and start running the code. Now wave your hand in front of the sensor to trigger the servo to life! Remember to change the sensitivity of the sensor using a screwdriver to turn the potentiometer (blue box) to adjust how near or far it will detect an object.
So, what have we created? Well, it is a bit of fun really. We have taken a sensor and used it to trigger a response. We could have replaced the sensor with all manner of inputs, pressure sensors, laser tripwire or even the humble switch. The output could have been a motor, an LED, a buzzer etc. The goal of working with these technologies is to try different combinations of inputs and outputs and see what is fun, useful and rewarding. Don’t think too heavy about a project when taking those first steps, keep it fun, and your interest and then your passion will grow. There is something to be said about lighting up your first LED with a device. It really is the lightbulb moment for many and spurs on a lifelong interest in making all manner of devices.
Electroscore: 5/5 ![Electroscore: 5]()

Pros:
None
Cons:
None
Price: $0.00

Les Pounder loves hacking and tinkering with Arduino, Raspberry Pi and new technologies. He passes on his skills and discoveries to Electromaker readers via tutorials and reviews.


Leave your feedback...