
Review: Elegoo Arduino Uno R3 Complete Starter Kit
The Arduino microcontroller is a popular board that touts impressive, and near limitless, capabilities. However, it's decidedly more difficult to get started with than a Raspberry Pi. Largely, this derives from the sheer array of Arduino boards on the market. A kit makes getting started with an Arduino more manageable. I was lucky enough to get hands-on with the Elegoo UNO R3 complete starter kit and was blown away. It's arguably the best kit on the market for delving into the Arduino space.
What is the Elegoo Arduino UNO R3 Project Complete Starter Kit?
![]()
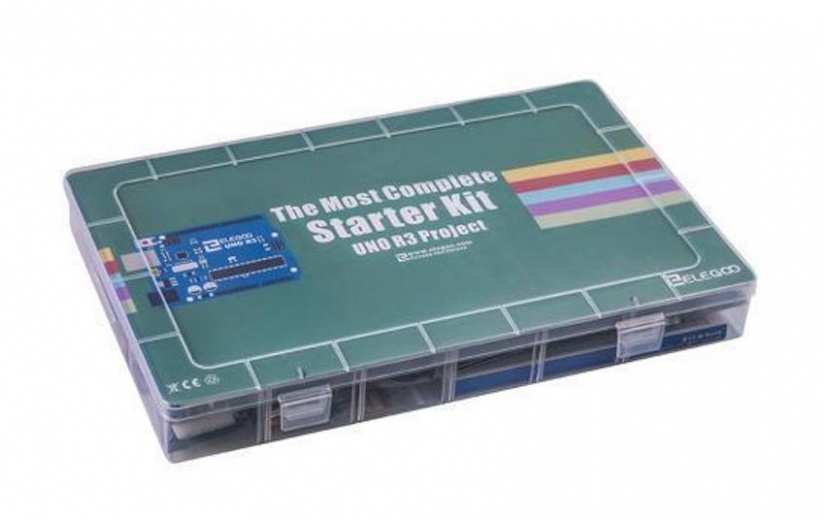
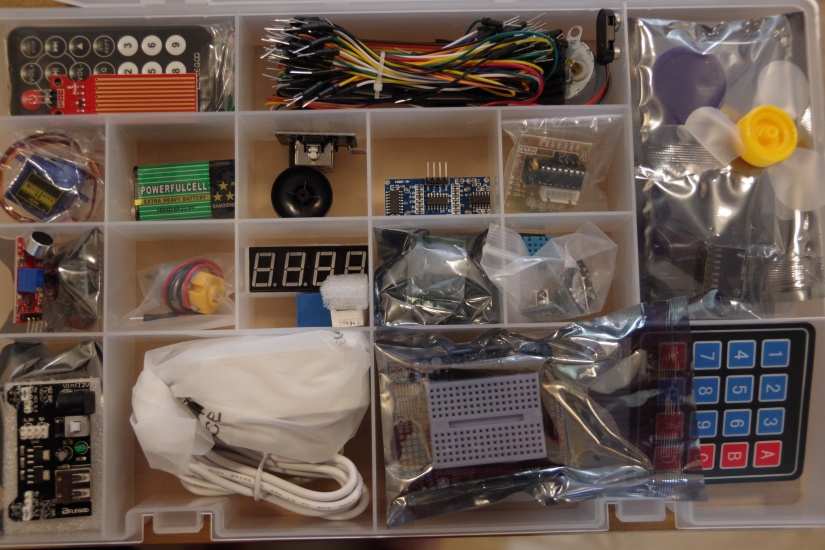
As the name suggests, the Elegoo Arduino UNO R3 Project Complete Starter Kit is an all-in-one solution for spinning up Arduino projects. Inside, you'll find an Arduino UNO R3 controller and USB cable. There's an included CD with a tutorial, and code for how to use the various modules. Modules are pre-soldered and require simple wiring. What really sets the Elegoo UNO R3 complete starter kit apart is that is features a whopping 200 plus components. This lends compatible with loads of Arduino products.
Elegoo Arduino UNO R3 Project Complete Starter Kit inclusions:
- 5pcs White LED
- 5pcs Yellow LED
- 5pcs Blue LED
- 5pcs Green LED
- 5pcs Red LED
- 1pcs RGB LED
- 5pcs 22pf Ceramic Capacitor
- 5pcs 104 Ceramic Capacitor
- 2pcs Photoresistor
- 1pcs Thermistor
- 5pcs Diode Rectifier (1N4007)
- 2pcs Electrolytic Capacitor (10UF 50V)
- 2pcs Electrolytic Capacitor (100UF 50V)
- 5pcs NPN Transistor (PN2222)
- 5pcs NPN Transistor (S8050)
- 1pcs Tilt Switch
- 5pcs Button (small)
- 1pcs 1 digit 7-segment Display
- 1pcs 4 digit 7-segment Display
- 1pcs Sound Sensor Module
- 1pcs LCD1602 Module ( with pin header)
- 1pcs IC L293D
- 1pcs IC 74HC595
- 1pcs Active Buzzer
- 1pcs Passive Buzzer
- 1pcs RTC Module
- 1pcs DHT11 Temperature and Humidity Module
- 2pcs Potentiometer
- 1pcs Rotary Encoder Module
- 1pcs Joystick Module
- 1pcs Keypad Module
- 1pcs 5V Relay
- 1pcs IR Receiver Module
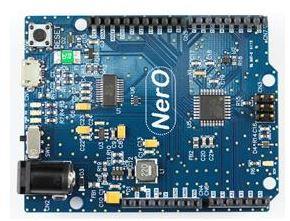
- 1pcs UNO R3 Controller Board
- 1pcs Breadboard
- 1pcs Servo Motor (SG90)
- 1pcs Stepper Motor
- 1pcs ULN2003 Stepper Motor Driver Board
- 1pcs Prototype Expansion
- 1pcs Power Supply Module
- 1pcs HC-SR501 PIR Motion Sensor
- 1pcs Ultrasonic Sensor
- 1pcs ADXL335 Module
- 1pcs 3V Servo Motor
- 1pcs MAX7219 Module
- 1pcs Remote
- 1pcs 9V 1A Power Supply
- 1pcs 65 Jumper Wire
- 1pcs Water Lever Sensor
- 1pcs USB Cable
- 1pcs 9V Battery with DC
- 1pcs RC522 RFID Module
- 10pcs Resistor (10R)
- 10pcs Resistor (100R)
- 10pcs Resistor (220R)
- 10pcs Resistor (330R)
- 10pcs Resistor (1K)
- 10pcs Resistor (2K)
- 10pcs Resistor (5K1)
- 10pcs Resistor (10K)
- 10pcs Resistor (100K)
- 10pcs Resistor (1M)
- 20pcs Female-to-male Dupont Wire
Bundled in its kit, Elegoo provides a helpful disc complete with lesson plans and code libraries. These start with fairly basic tasks like blinking an LED and proceed through more advanced topics such as connecting an LCD display, a real time clock module, and stepper motor. While I appreciated the bevy of hardware accessories, the software lessons and code snippets truly jumpstarted my Arduino experimentation.
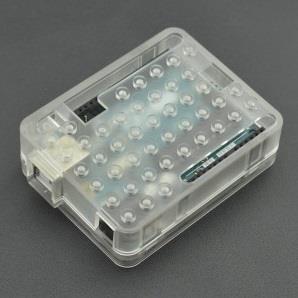
Packaging is among the best I've seen. There's a premium-feeling plastic case complete with parts and pieces logically and carefully stored in various compartments. It's a solid solution to keeping your Arduino projects organized.

What can You do With the Elegoo UNO R3 Starter Kit?
First, download the Arduino IDE. This is where you'll compile your code. It's a zip file, so you'll need to decompress that, and run the EXE installer. Then, connect your Arduino UNO R3 to the included USB cable. You're now ready to begin using your Arduino UNO R3 for a bevy of projects.
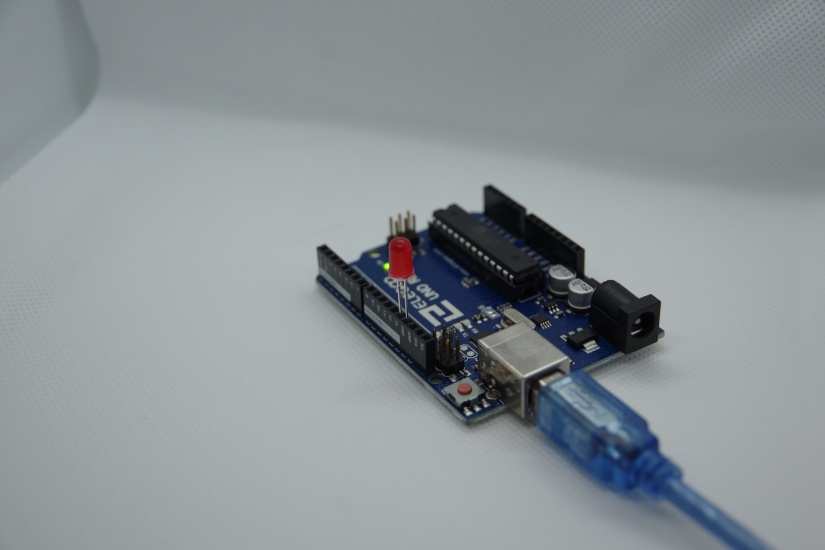
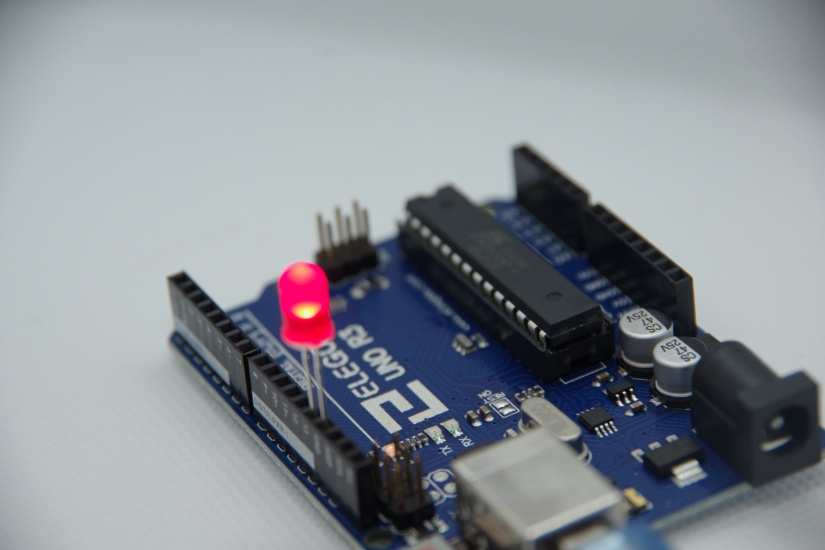
As a starter project, try blinking an LED. Let's blink a red LED and have it continuously blink. Start by plugging in the red LED that's included. You'll notice that there's a long leg and a short leg. The short leg of the LED is the negative LED, or cathode. Put that in the hole labeled GND or ground. The long leg goes into the D13 slot.
Now, copy some code into the Arduino IDE. Step one is initializing the LED_BUILTIN pin as the output with pinMode(LED_BUILTIN, OUTPUT);. Next, turn on the LED in the main loop using digitalWrite(LED_BUILTIN, HIGH); which sends 5 volts to the LED's anode. Turn off the LED using digitalWrite(LED_BUILTIN, LOW); which then reverts LED_BUILTIN to 0 volts. We'll use the delay() command which tells the Arduino to do nothing for one second. Put together, the code will look like:
void setup() {
// initialize digital pin LED_BUILTIN as an output.
pinMode(LED_BUILTIN, OUTPUT);
}
// the loop function runs over and over again forever
void loop() {
digitalWrite(LED_BUILTIN, HIGH); // turn the LED on (HIGH is the voltage level)
delay(1000); // wait for a second
digitalWrite(LED_BUILTIN, LOW); // turn the LED off by making the voltage LOW
delay(1000); // wait for a second
}
Then, press verify and if verification returns no error messages, upload to your Arduino board. You'll need to select the proper port under Tools > Port > [Select proper USB].
Altogether, blinking an LED with an Arduino is pretty simple. It's among the best Arduino projects for beginners because of its intuitiveness, and confidence building for those new to the Arduino world. Plus, this easy endeavor familiarizes you with the Arduino IDE and how software interfaces with hardware.
Elegoo Arduino UNO R3 Project Complete Starter Kit Review: Final Thoughts
Overall, the Elegoo Arduino UNO R3 Project Complete Starter Kit is the best starter kit on the market. It comes loaded with not only the Arduino board and accessories ranging from LEDs to motors, but also a disc containing project files and a PDF starter guide. If you're seeking an introduction to Arduino, the Elegoo UNO R3 complete starter offers a phenomenal value with everything you could possibly need. For $70 USD, you benefit from an Arduino, virtually any necessary hardware, and guides to walk you through a smattering of popular projects.
Your turn: What are you using your Arduino for?
Electroscore: 4.5/5 ![Electroscore: 4.5]()

Pros:
- Tons of accessories
- Bundled starter guide with Arduino libraries and lessons
- Solid packaging
Cons:
- Disc-based user guide seems dated with fewer PCs using optical drives
Price: $7,000.00
Link: www.amazon.com/dp/B01CZTLHGE/

Moe Long is an editor, writer, and tech buff with a particular appreciation for Linux, Raspberry Pis, and retro gaming. Writing online since 2013, Moe has bylines at MakeUseOf, TechBeacon, DZone, SmartHomeBeginner, DEV.to, DVD Netflix, and Electropages. You can read his writings on film and pop culture at Cup of Moe, check out his tech reviews, guides, and tutorials at Tech Up Your Life, and hear his thoughts on movies on the Celluloid Fiends podcast. Aside from writing and editing, Moe has an online course, the Beginner's Guide to Affiliate Blogging From Scratch. When he's not hammering away at his keyboard, he enjoys running, reading, watching cinema, listening to vinyl, and playing with his dog Sebastian.


Leave your feedback...