
Review : Building a Cube with Cube:bit
LED cubes are great, but for those new to electronics (and seasoned experts) they can be really difficult to build and control … if only there were a more simple way to create them...
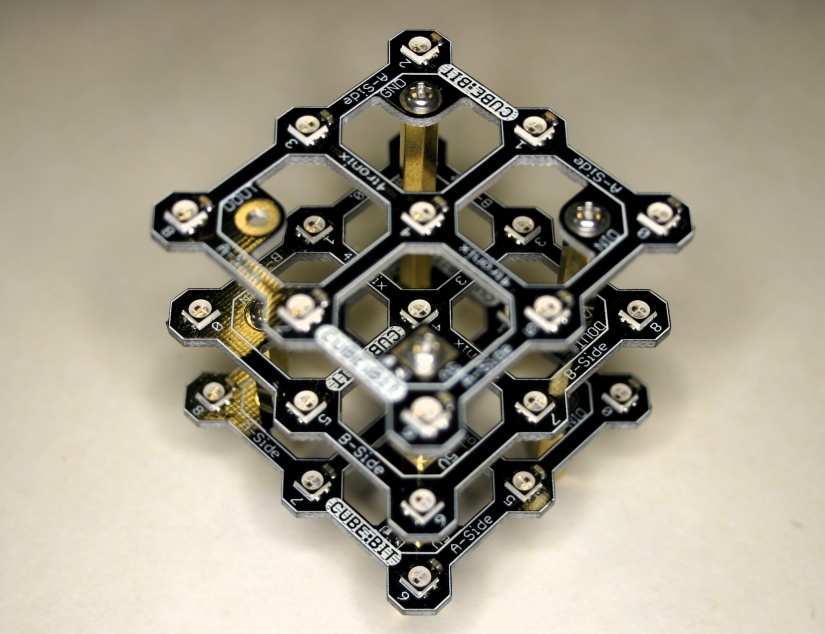
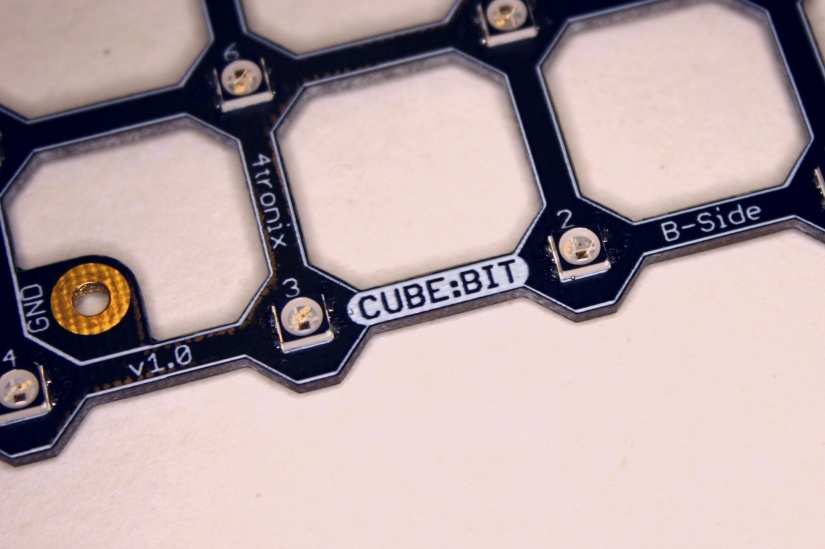
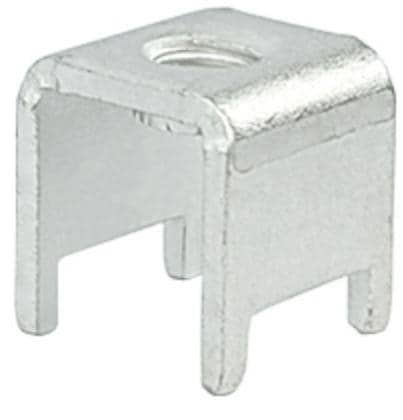
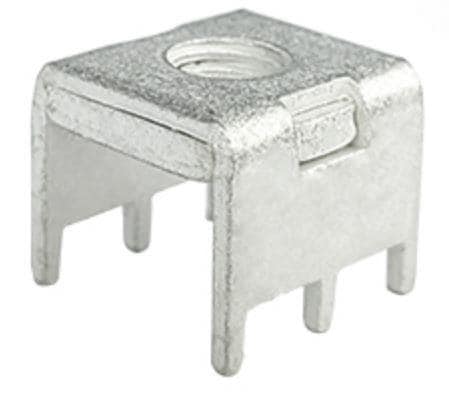
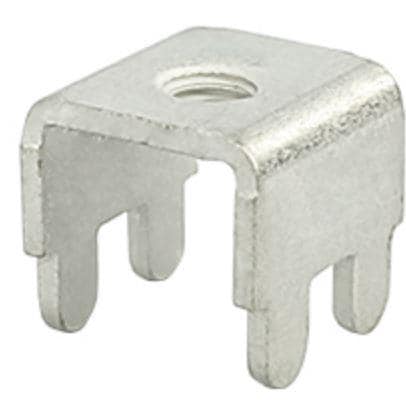
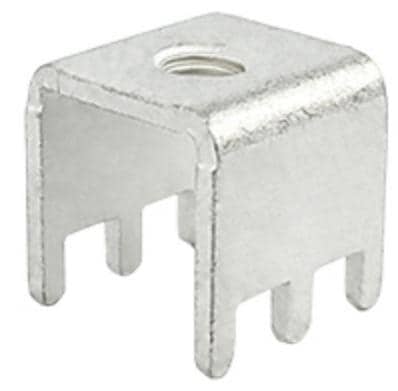
UK company 4Tronix have come up with a range of cubes inspired by Lorraine Underwood’s ‘Cubert’, a micro:bit controlled 1 metre cubed LED cube. There are three versions of Cube:Bit. A 3x3x3, 4x4x4 and a 5x5x5. For our review we tinkered with the 5x5x5 cube. All of these cubes use WS2811 (Neopixels), present on both sides of the slices which make up the cube. The Neopixels on both sides are linked together so if pixel 0 on the top side of the board is lit, then pixel 0 on the underside will also be lit.
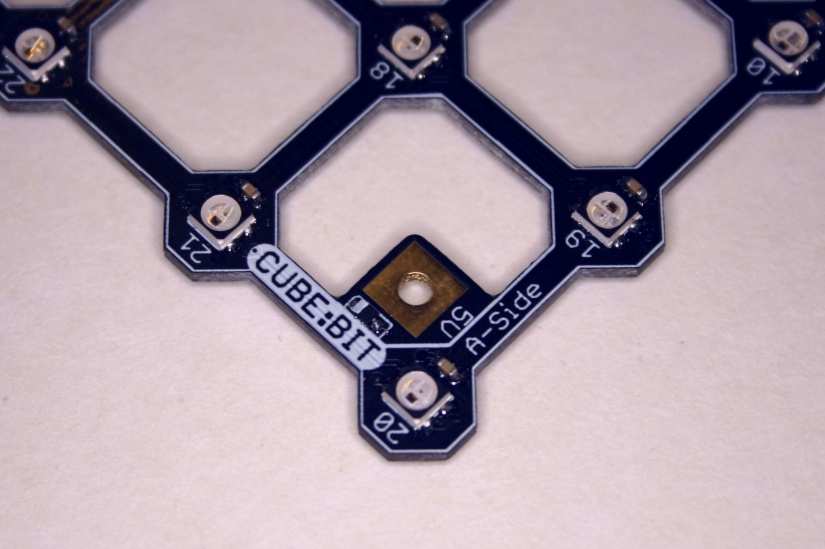
The sides of the slice are marked A and B, and they are to be used A > B > A > B > A to build our 5x5x5 cube.
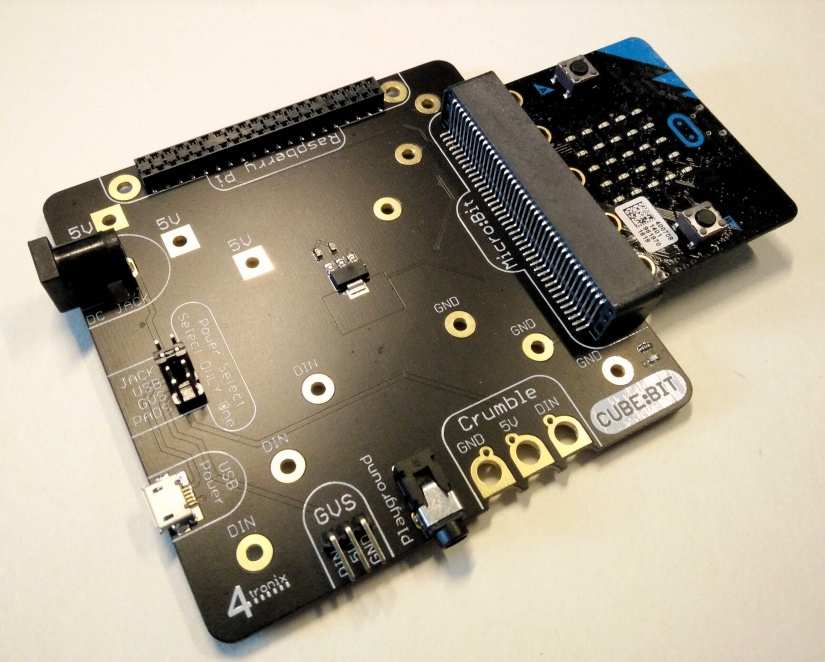
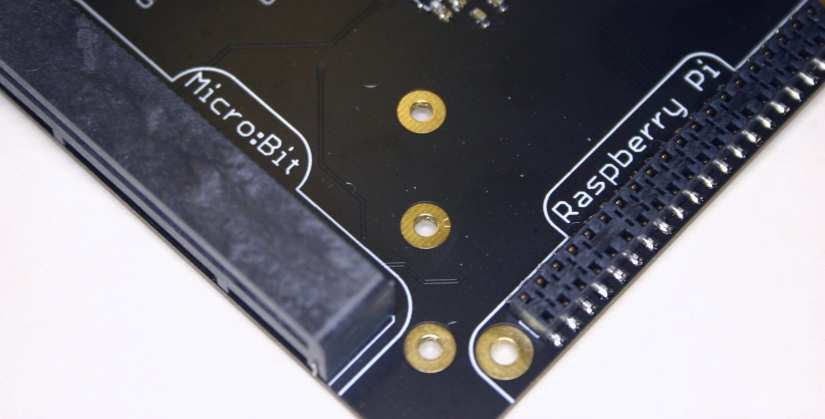
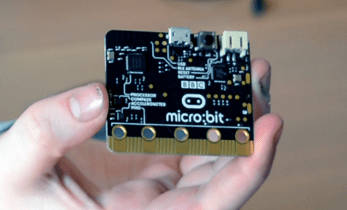
Cube:Bit, as its name suggests, has been designed for use with the BBC micro:bit, but it can also be used with Raspberry Pi (thanks to a 40 pin GPIO header connection. There are also connections for Crumble, Arduino (GVS pins) and for 4Tronix’s own range of Playground add-on boards.
So, the best way to understand how something works is to build it and use it, as building the cube involves a lot of brass standoffs, screws and a modicum of patience.
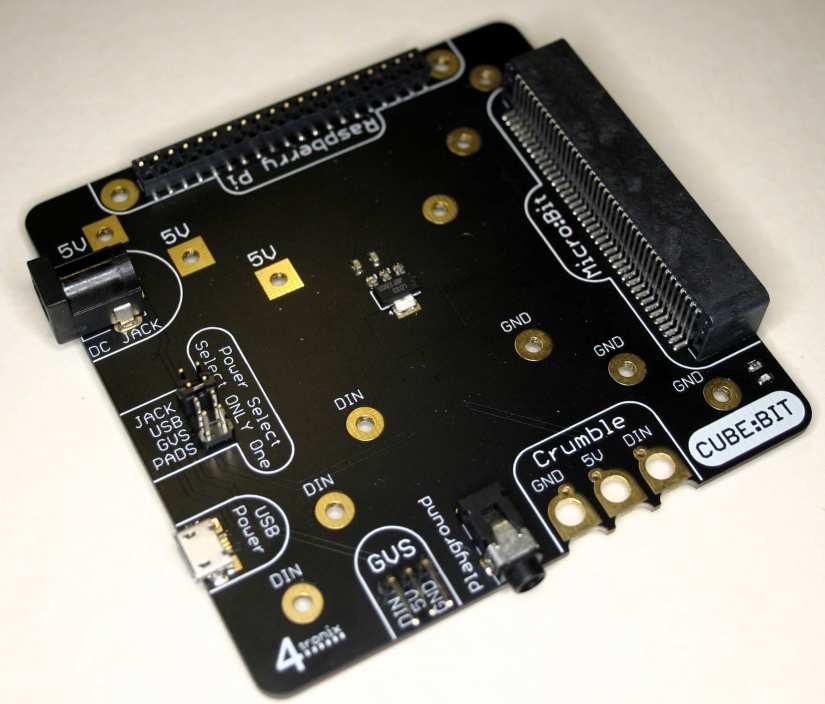
Assembling the cube starts with the Cube:Bit base and from there we connect three brass standoffs using screws through the base of the board at 5V, GND and DIN connections. Now the position of these standoffs depends on the size of the cube, in our test the position of the 5x5x5 cube meant that the standoffs were at the outer edge of the board. We start building the cube with the first slice, with side A facing upwards. We connect the DIN (Data In) connection from the base via an M2.5 screw and then use two male to female standoffs to connect 5V and GND.
However, then we use another female to female standoff to connect DOUT (Data Out) from this slice, so that when we place the next slice (with B facing upwards) the DOUT of slice A connects to DIN of slice B, enabling the Neopixels to be controlled using their standard interface. We repeat this process again for slice 3,4,5 and then our cube is complete. The build process is not difficult, but there are times where you will secure the wrong connection/standoff and have a slice the wrong way up. So before powering up, do make sure that you have everything connected correctly. The final step before powering the cube is to check where it gets its power.
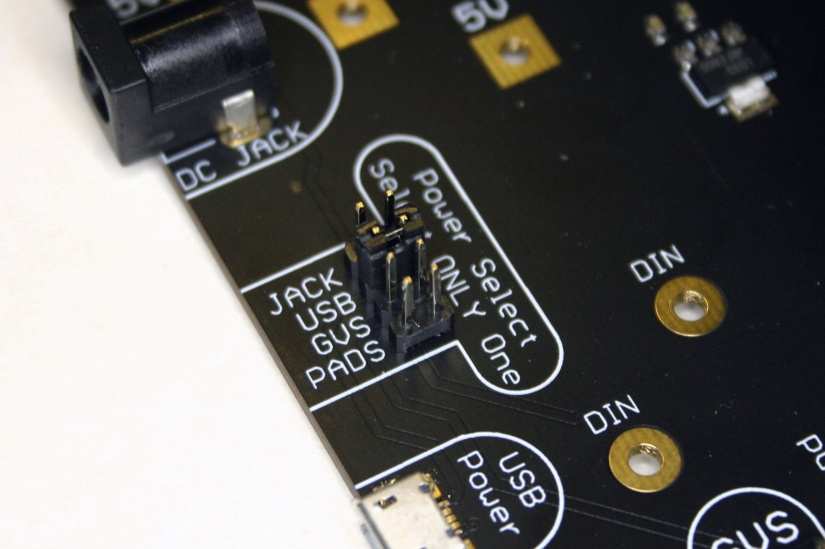
We can power the cube using the 2.1mm DC jack, the micro USB port, via the GVS pins or via the Crumble pads. But why do we need external power? Well, Neopixels are quite greedy and can consume more power than a micro:bit/Raspberry Pi, etc., can safely supply. For reference 4Tronix have provided a table of power requirements for each size of cube, and what each cube consumes per colour, with white consuming the most current!
3x3x3 all LEDs at Red, brightness 40 (out of 255) – Current 150mA
3x3x3 all LEDs at White, brightness 40 – Current 340mA
3x3x3 all LEDs at White, brightness 255 – Current 1.9A
4x4x4 all LEDs at Red, brightness 40 – Current 350mA
4x4x4 all LEDs at White, brightness 40 – Current 800mA
4x4x4 all LEDs at White, brightness 255 – Current 4.5A
5x5x5 all LEDs at Red, brightness 40 – Current 680mA
5x5x5 all LEDs at White, brightness 40 – Current 1.6A
5x5x5 all LEDs at White, brightness 255 – Current 8.75A
Just a note on using an external 2.1 DC supply. It needs to be rated between 5V and 5.3V for best results. Our test supply was 5.5V and after a brief chat with 4Tronix we surmised that there was an issue on our review board which caused the Neopixels to be unresponsive with voltages over 5.3V. 4Tronix are aware of the issue and a fix will be issued before the boards go on sale. So for our tests we used a micro USB power source at 2.5A and set the brightness of the LEDs to 40%, still exceptionally bright, but we did not put a strain on the power supply.
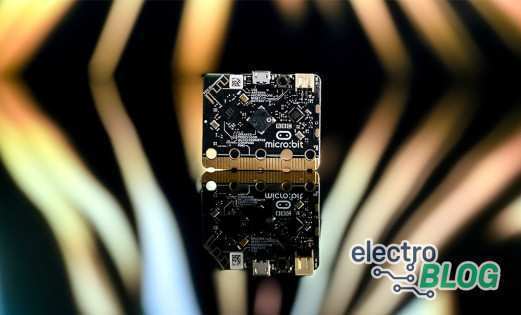
To programme Cube:Bit we can use any board that works with Neopixels. So we could use a Raspberry Pi and Python, Adafruit’s CircuitPython and a Gemma M0/Circuit Playground but we chose to use the micro:bit, from which it receives its name.
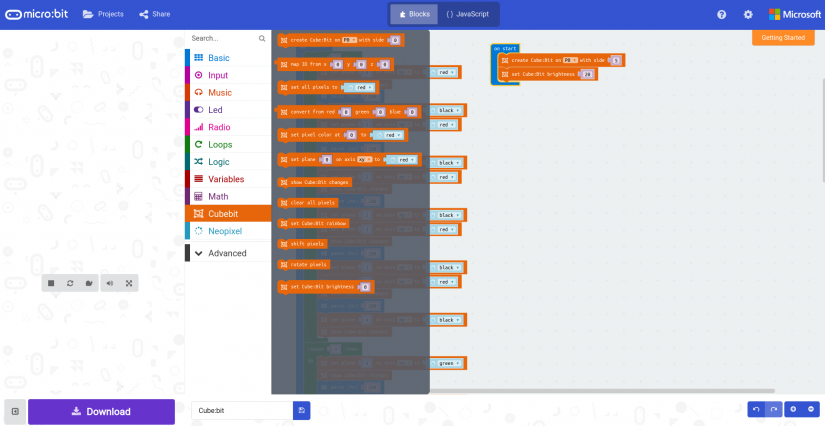
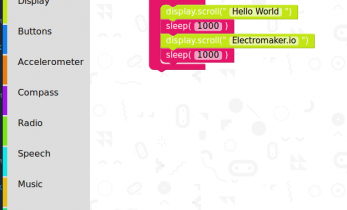
We used the micro:bit Makecode website to create our code, and it was really simple to work with. 4Tronix have provided their own Makecode package that enables us to easily interact with the cube. This package is installed as per their blog post and then we can import the blocks needed to create our project.
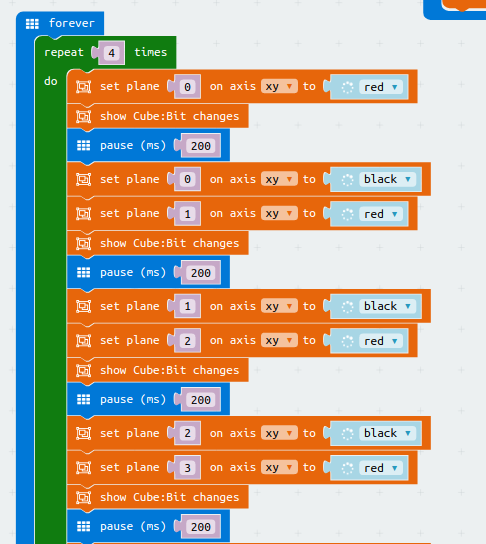
In our case we wanted to control slices that created an animated 3D effect, with colour cycling per slice. In the above image we can see that we have set plane 0, our first slice, to red, then we need to show the changes for us to see them! Then we pause, update the colour of the first slice to ‘black’ (all off) and then set slice 1 to red before repeating the sequence. The code for the full sequence is massive but really it is a repeating sequence (4 times per axis and colour) that is wrapped inside a forever loop.
Conclusions
Cube:Bit is fun to build and use and at £21.60 for the basic 3x3x3 model it is good value for money. When we get to the 4x4x4 version (£48) and 5x5x5 (£90) the value does drop somewhat. Also factor in the extra cost of the Cube:Bit base (£12) which is not strictly needed as we can simply connect crocodile clips to the bare standoff connections.
The 3x3x3 and 4x4x4 are both great fun and affordable, but the 5x5x5 is expensive and best left for those that really want to. If you want to play with LED cubes, then the 3 and 4 cubes will offer an affordable entry point with an exceptionally easy to use way to program.
We had great fun building and learning how to animate the cube, and we are sure that you will also!
Fun for all ages and abilities, offering an easy method of entry to LED cube building for any type of microcomputer/microcontroller.
You can purchase the Cube:Bit via the 4Tronix website and boards will be released in August 2018.
Electroscore: 4.5/5 ![Electroscore: 4.5]()

Pros:
- Fun to build
- Easy to code
- Works with any board that can control Neopixels
Cons:
- A little tricky to build
- Power supply issues
- 5x5x5 is expensive
Price: $11,822.00

Les Pounder loves hacking and tinkering with Arduino, Raspberry Pi and new technologies. He passes on his skills and discoveries to Electromaker readers via tutorials and reviews.


Leave your feedback...