
Arduino Uno R4 Wifi Home Automation: A Diy Local Web Server.
Made by TechnolabElectronics / Communication / Home Automation / Robotics / Sensors / IoT
About the project
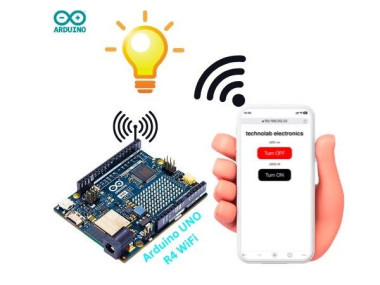
This project shows how the Arduino Uno R4 WiFi board can make controlling things in your home, by setting up a local web-Server.
Project info
Difficulty: Easy
Platforms: Arduino, DFRobot, Digispark, CircuitPython
Estimated time: 1 hour
License: Apache License 2.0 (Apache-2.0)
Items used in this project

Story
In this Article we are going to make a very useful and very easy home-automation project.
And for making of this home-automation system, we don't required any kind Internet and IOT Platform like blynk, ESP-Rainmeker, Arduino IOT Cloud.
We need only a Router or hotspot for making a local server, here router will work as a bridge between web-page and Arduino UNO R4 WIFI board.

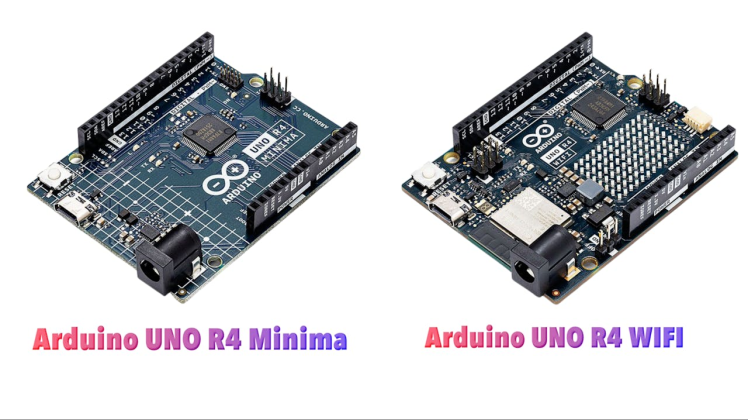
Arduino few day back launched the successor of Arduino UNO R3 board, that is arduino UNO R4 and it has two variants, One is Arduino UNO R4 Minima and the second one is Arduino UNO R4 WIFI.
This Arduino UNO R4 wifi has a ESP32 chipset inbuilt, So we expect WIFI and Bluetooth connectivity.
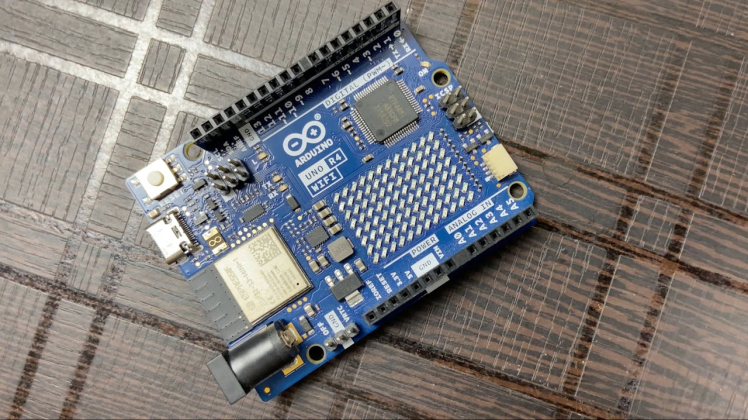
And this new Arduino UNO R4 board has the same form factor as the Arduino UNO R3 board and the pinout is exactly same as R3 board.
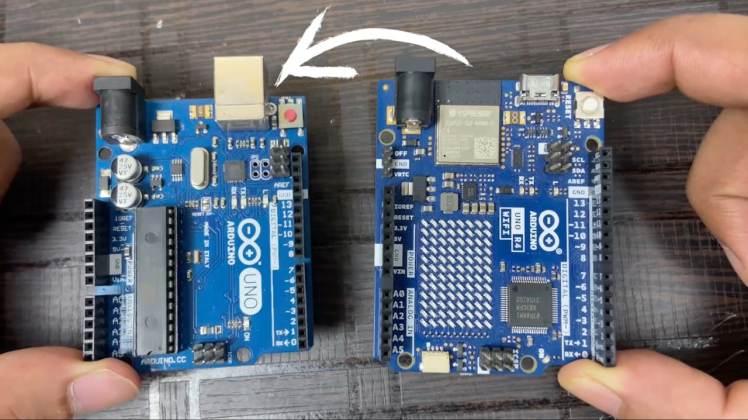
Having the same form factor and pinout, Now we can easily use all the shield or module of Arduino UNO R3 with this new R4 board.
Last year I designed a learning PCB for beginners which is kind of Arduino UNO R3 shield. Just put the shield on the Arduino UNO R3 board and easily make cool home-automation projects....it's a kind of plug and play thing.

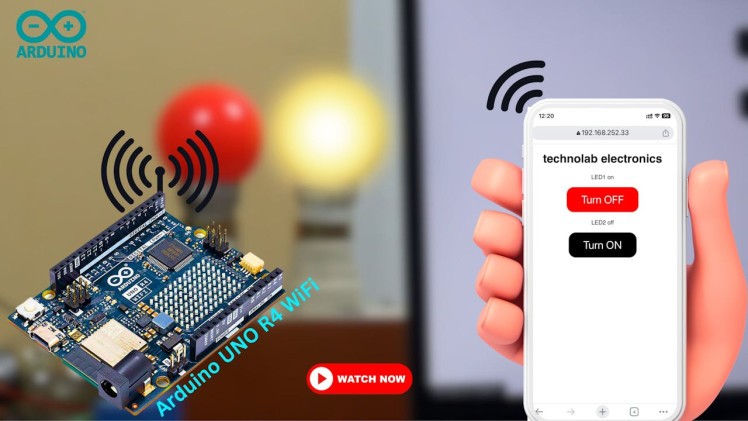
This project leverages the capabilities of the newly launched Arduino Uno R4 WiFi board and a custom-designed Arduino shield board to control two relays through a local web server.

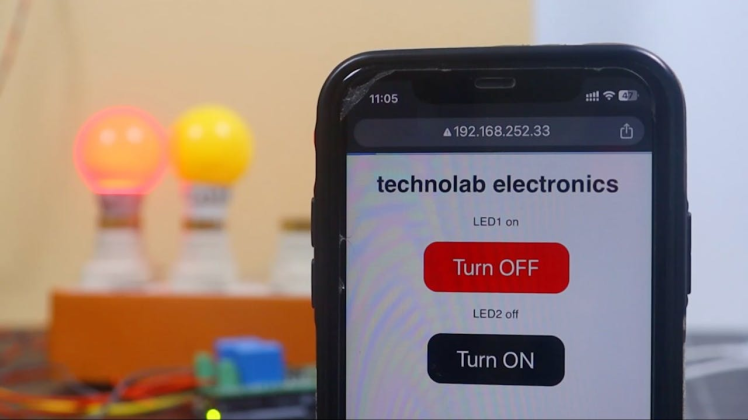
We will make a local web-server and from that local server we will able to control our home-appliances. Let's delve into the intricacies of this project.
Arduino UNO R4 WiFi Board:
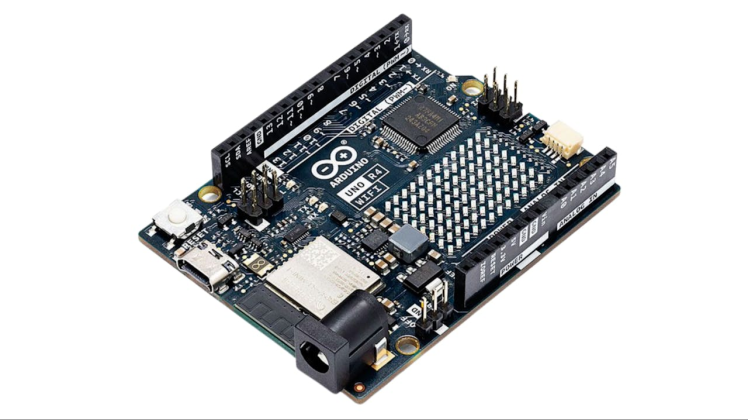
The Arduino UNO R4 WiFi board is a versatile and powerful development tool that combines the capabilities of a 32-bit microcontroller RA4M1 from Renesas and an ESP32 module, facilitating both Wi-Fi and Bluetooth connectivity.
Main Features
Microcontroller (MCU): The board houses the high-performance Renesas RA4M1, an Arm Cortex-M4 microcontroller that operates at a clock speed of 48 MHz. It is equipped with 32 kB of SRAM and 256 kB of flash memory. This MCU supports HID via USB and features a real-time clock (RTC), a digital-to-analog converter (DAC), and a CAN bus.
Connectivity Module: The ESP32-S3 module on the board enables Wi-Fi and Bluetooth connectivity. This module can be programmed separately through a specific header.
Operating Voltage: The RA4M1 and the GPIOs of the board operate at 5V, while the ESP32-S3 module operates at 3.3V.
LED Matrix: A distinctive 12x8 LED matrix allows users to prototype visuals directly on the board, fostering creativity in project designs.
Qwiic Connector: This feature facilitates plug-and-play style project creation, enhancing the ease of use for developers.
Compatibility and ResourcesThe Arduino UNO R4 WiFi board is compatible with various hardware including shields like 4 Relays Shield, Motor Shield Rev3, Ethernet Shield Rev2, and 9 Axis Motion Shield. It supports programming through Arduino IDE, Arduino CLI, and Web Editor. The board also offers a range of tutorials and guides to assist users in setting up and utilizing the features effectively.
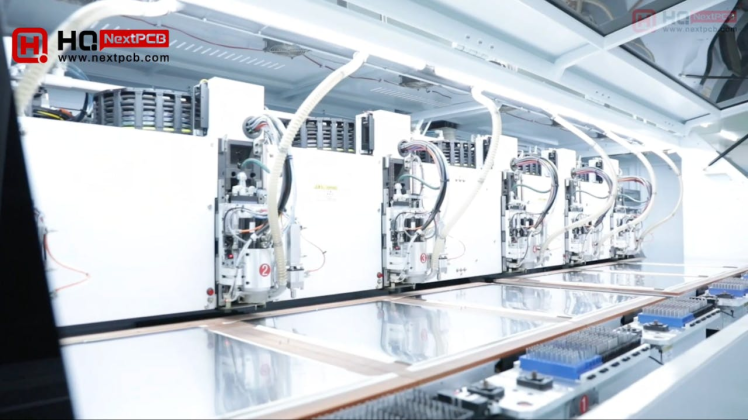
NextPCB: Your One-Stop Solution for PCB Manufacturing and Assembly1 / 2

This project is successfully completed because of the help and support from NextPCB -Reliable Multilayer PCB Manufacturer. NextPCB is one of the most experienced PCB manufacturers in Global, has specialized in the PCB and assembly industry for over 15 years.
- Order high-quality, reliable PCB starting at $1.9, multilayer starting at $6.9:
- Enjoy free PCB assembly for 5 boards.
- DFM free online PCB Gerber viewer.
NextPCB prides itself on offering high-reliability PCB solutions. With over 15 years of in-house fabrication expertise, they guarantee 100% quality on their products, promising to remake them free of charge if any issues arise. Their commitment to quality is reflected in their impressive 99.6% on-time delivery rate, ensuring that your projects adhere to the stipulated timelines without any hitches.
Comprehensive ServicesPCB Manufacturing
NextPCB specializes in manufacturing a wide variety of PCBs, including:
- Ceramic PCB
- Metal Core PCB
- Aluminum PCB
- LED PCB
- Flexible PCB
- Rigid-flex PCB
- Thick Copper PCB
- High TG PCB
- High-frequency PCB
- HDI PCB
Their manufacturing process utilizes high-end materials and equipment sourced globally, including Taiwanese electroplating lines and German flying probe testers, ensuring the production of durable and efficient PCBs.
Free PCB Assembly ServicesIn a bid to support engineers and enthusiasts in their endeavors, NextPCB offers free PCB assembly services, allowing individuals and businesses to experience reliable PCB assembly from NextPCB without any cost. This initiative stands as a testament to NextPCB's commitment to fostering innovation and supporting the PCB community.
Click here to Download the code for this home-automation project.
Let's break down the code step-by-step to understand how this project works:
Including Libraries

At the beginning of the code, we include two libraries: one for controlling the LED matrix and another for handling WiFi connections.
Defining Variables
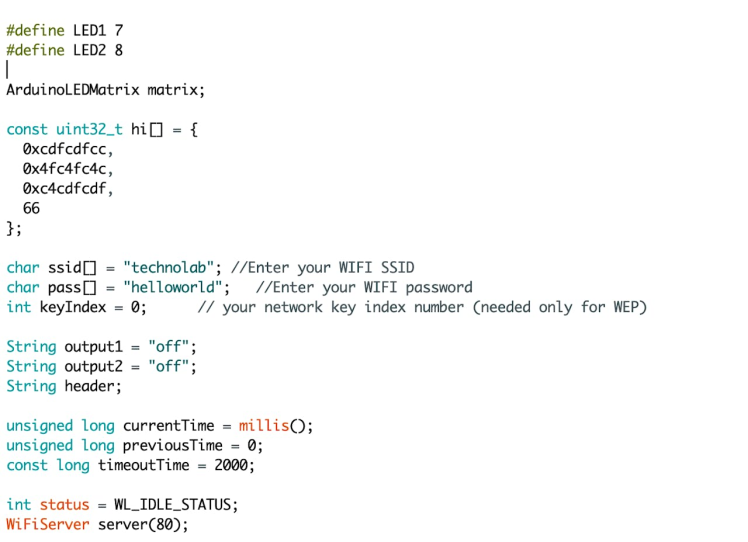
- LED1 and LED2 are the pins connected to the LEDs.
- matrix is an object to control the LED matrix.
- hi[] is an array storing data to display on the LED matrix.
- ssid and pass are the WiFi network credentials.
- output1 and output2 store the current states of the LEDs.
- header stores the HTTP request header.
- currentTime and previousTime help in managing the time in the loop.
- timeoutTime is the maximum time to wait for a client to connect.
- status stores the current WiFi connection status.
- server is an object to create a WiFi server.
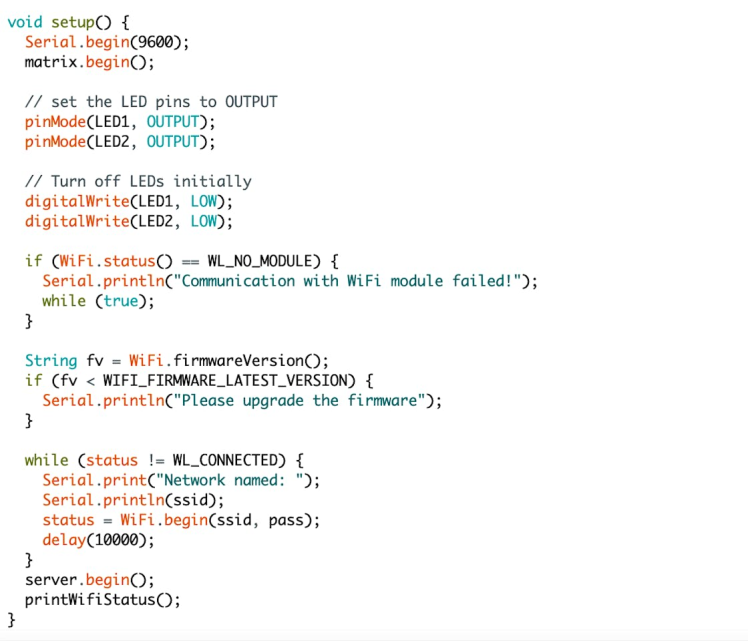
In the setup function, we initialize the serial communication, start the LED matrix, and set up the LED pins as outputs. We also initiate the WiFi connection and start the server.
Loop Function

The loop function continuously runs two other functions: webServer() and LEDMatrix().
LED Matrix Function
The LEDMatrix function displays a frame on the LED matrix using the data stored in the hi[] array.
Web Server Function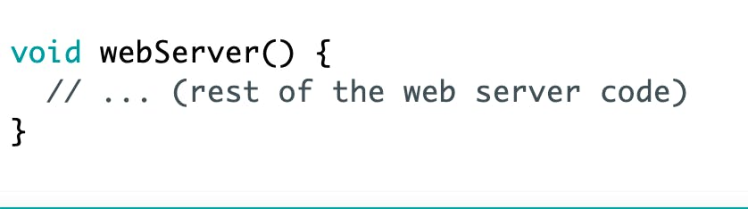
The webServer function handles incoming client connections. It reads the HTTP requests and controls the LEDs accordingly. It also serves an HTML page that allows users to control the LEDs through a web interface.
Print WiFi Status Function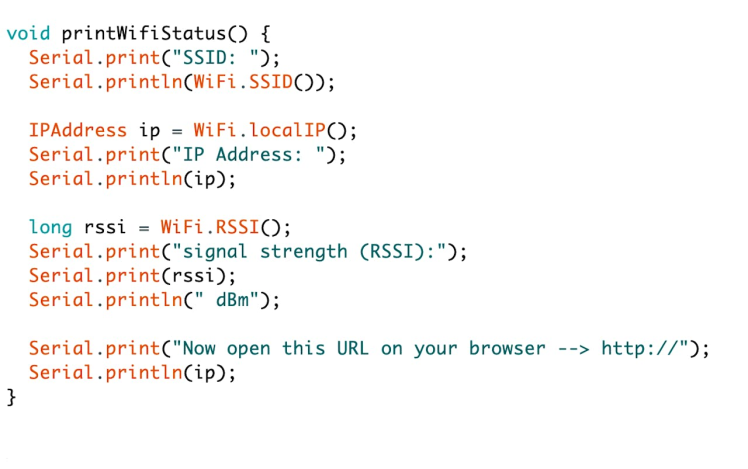
The printWifiStatus function prints the current WiFi connection details to the serial monitor, including the SSID, IP address, and signal strength. It also displays the URL to access the web interface.
Upload this Code into your Arduino UNO R4 Board.
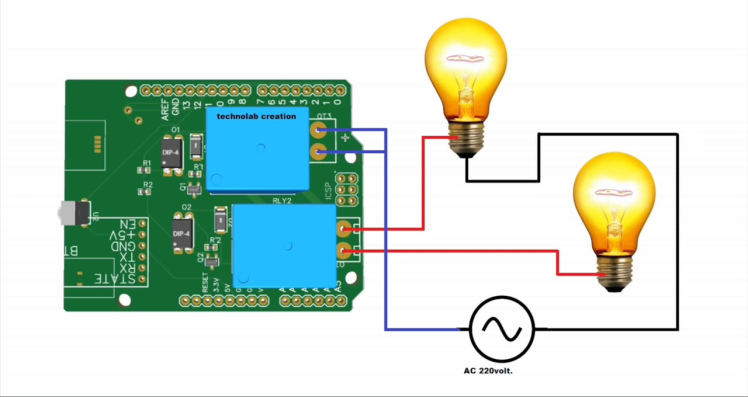
Connection Diagram.Now Connect your bulb or whatever device you want to control as per this connection diagram.
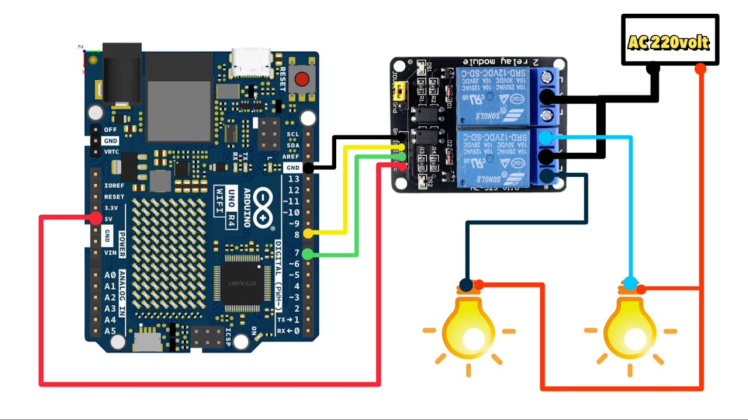
If you don't have Arduino shield and you want use relay then use this connection diagram for making the connections.
Now everything is ready install this Project in home or office wherever you want.
This project showcases the immense potential of the Arduino Uno R4 WiFi board in home automation. By creating a local web server, users can control devices remotely with ease. Coupled with the services offered by NEXTPCB, bringing such projects to life has never been more straightforward.
Embark on your journey of innovation with the Arduino Uno R4 WiFi board and NEXTPCB, and step into the future of home automation.
Video TutorialThank you so much for reading.
Code
Credits
Related products


Leave your feedback...