
Turn Everyday Objects into Interactive Gadgets with Arduino
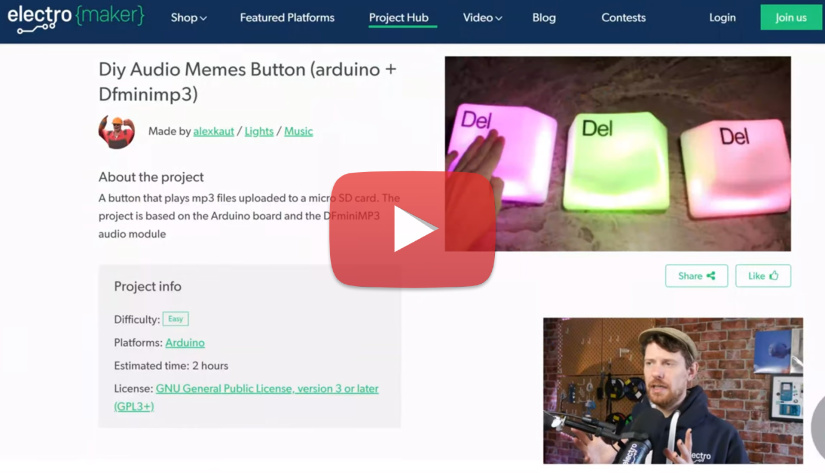
Originally showcased on the Electromaker project hub, this project of turning a giant keycap into an Arduino-powered meme machine exemplifies how a simple idea can be brought to life with a bit of creativity and technical know-how.
Watch Ian talk about this DIY Audio Memes Button in this episode of The Electromaker Show
Understanding the Giant Keycap Project
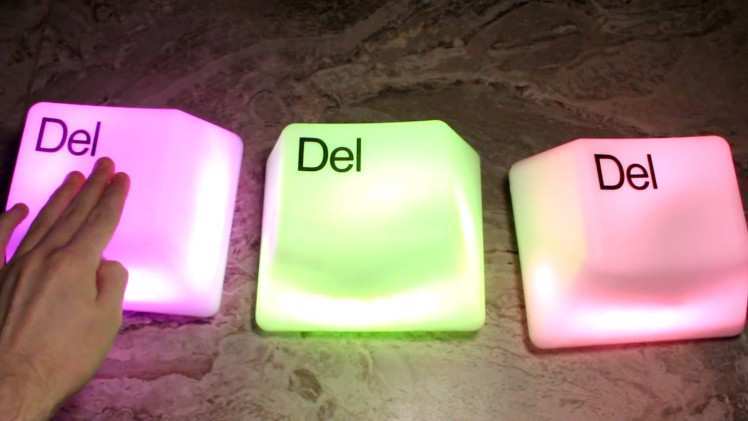
This project, conceived by Alex Cout and featured on the Electromaker project hub, showcases the versatility and fun of working with Arduino. This innovative project transforms an ordinary keycap lamp into a lively meme machine, capable of playing various sound clips at the press of a button.
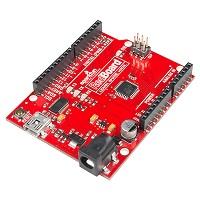
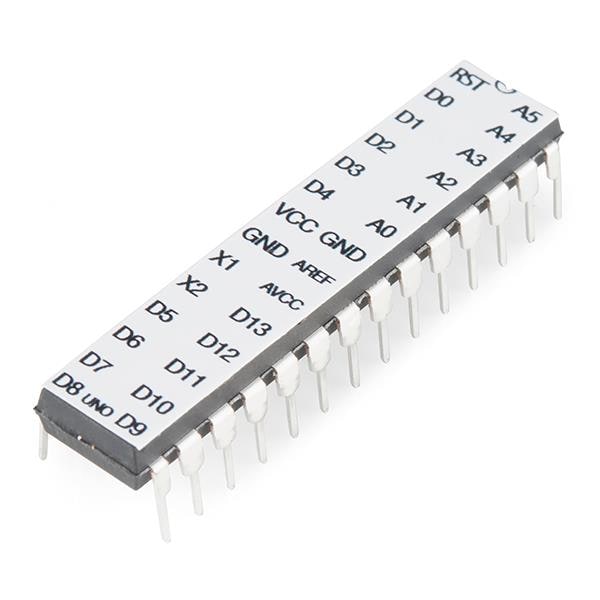
The core components of this project include an old keycap lamp, an Arduino Pro Mini, a DFminiMP3 audio module for sound playback, vibrant LED strips for visual effects, and a pair of 18650 batteries for power. These elements combine to create a customizable and interactive gadget.
One of the project's most appealing aspects is its simplicity, making it an excellent choice for beginners. It serves as a perfect introduction to electronics and programming, demonstrating that with a few components and some creativity, anyone can bring their ideas to life.
Step-by-Step Guide to Building Your Arduino Meme Machine
Creating your own Arduino-powered meme machine is a straightforward and rewarding project. Follow these steps to build a gadget that will not only serve as a great conversation starter but also introduce you to the basics of Arduino programming and electronics.
- Gather the Materials: Start by collecting all necessary components: an Arduino Pro Mini, a DFminiMP3 audio module, LED strips, 18650 batteries, and an old keycap lamp.
- Assemble the Circuit: Connect the Arduino to the DFminiMP3 module and LED strips according to the schematic. Ensure all connections are secure to prevent any short circuits.
- Program the Arduino: Upload the provided code to the Arduino Pro Micro. This code will control the playback of sound clips and the lighting effects of the LED strips.
- Load Your Sounds: Add your favorite meme sound clips to the micro SD card and insert it into the DFminiMP3 module.
- Final Assembly: Place all components inside the keycap lamp and secure them in place. Ensure the button is accessible for easy operation.
- Enjoy Your Meme Machine: Power on the device and press the button to cycle through different sounds and light patterns. Customize the experience by changing the sound clips and modifying the code as desired.
Expanding the Project: Ideas and Improvements
While the original Giant Keycap project offers a great starting point, there's always room for enhancement and personalization. Here are some suggestions to take your Arduino meme machine to the next level:
- Integrating Additional Sensors: Add motion, sound, or light sensors to trigger different memes or light effects. For example, a motion sensor could activate a specific sound clip when someone passes by, adding an element of surprise and interaction.
- Expanding to Other Objects: Don't limit yourself to keycap lamps. Consider transforming other items, such as toys, household items, or even furniture, into interactive gadgets. Each object offers unique opportunities for customization and functionality.
- Educational Uses: Use the project as a teaching tool in schools or clubs. It's an excellent way to introduce students to electronics, coding, and the maker culture. Encourage students to come up with their own modifications and uses for the meme machine.
By exploring these ideas, you can extend the life and appeal of your project, making it more engaging, educational, and suited to your personal or community needs.
Did you enjoy this article?
Make sure you subscribe to The Electromaker Show for similar content and subscribe to our monthly newsletter!


Leave your feedback...