
Programming WS2812B LEDs with ATtiny85
We introduced the remarkably cheap Arduino alternative, the ATtiny85 in another blog post so this tutorial assumes that you have taken the steps in that post to setup your ATtiny85 and the Arduino IDE.
In this tutorial, we shall delve a little deeper into what we can achieve using the ATtiny85 and the Arduino IDE. We shall create a script that will control any length or shape of neopixels and create a random light show for our entertainment, especially handy for Halloween, Thanksgiving and Christmas!
For this project, you will need
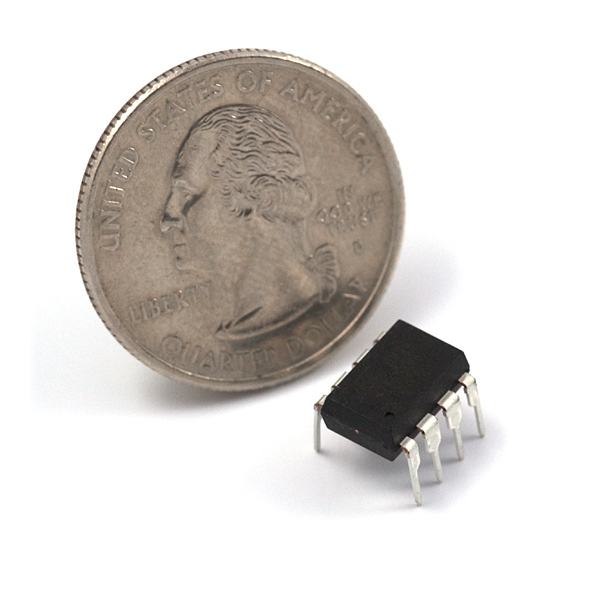
- An ATtiny85
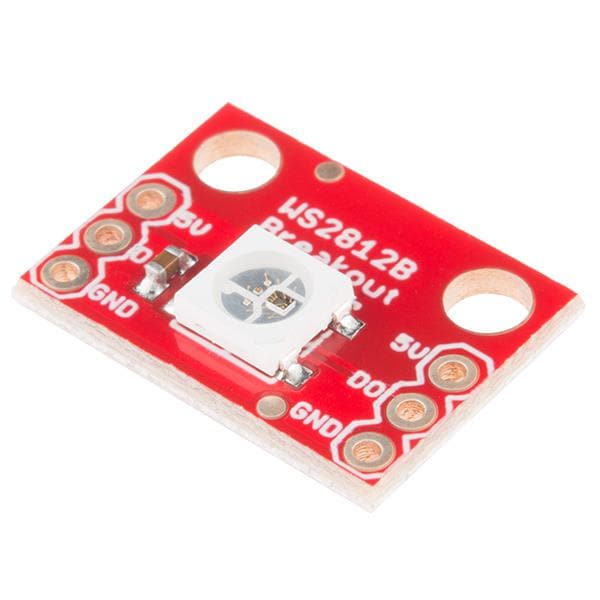
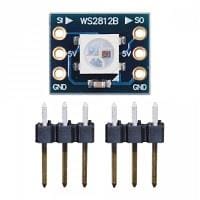
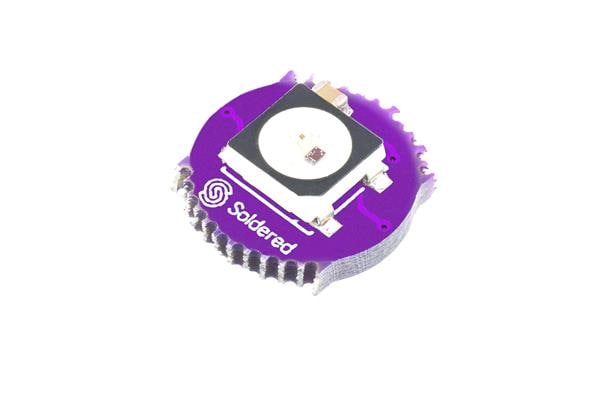
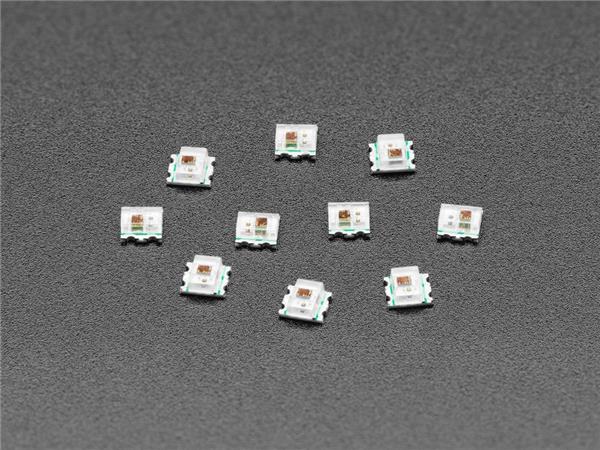
- Neopixels
- Jumper jerky to connect the ATtiny85 to Neopixels
All of the code for this project can be downloaded from our GitHub repository https://github.com/lesp/ATtiny85---Random-Pixels/archive/master.zip
Warning!
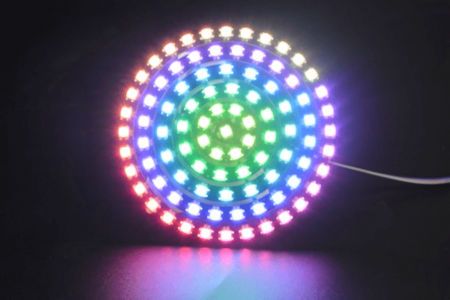
NeoPixels are very bright and may cause headaches if used for too long. Do not stare directly at them, use a piece of paper of a translucent material to diffuse the light. Anyone with photosensitivity or a form of epilepsy should not attempt this project.
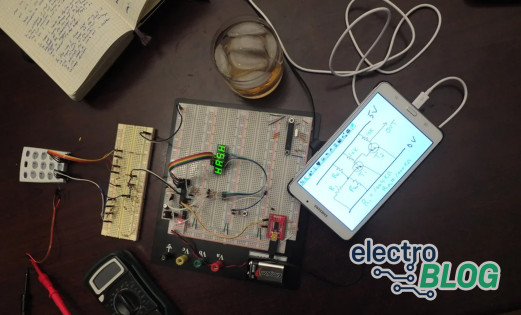
Hardware
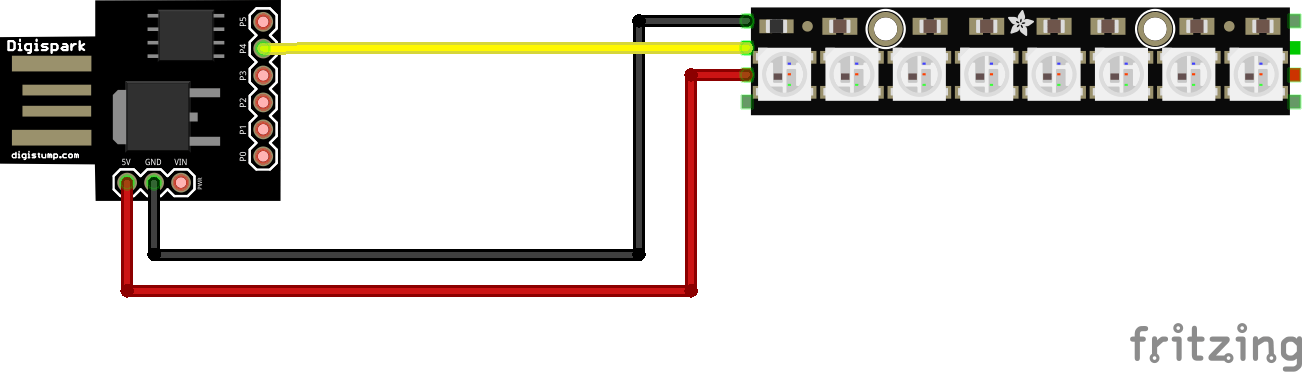
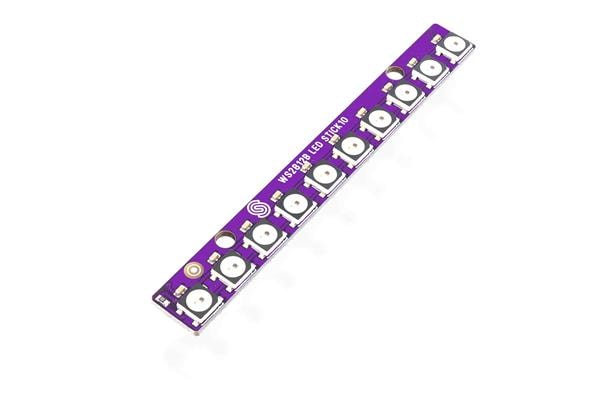
We start the project by building the circuit. Luckily there are only three connections to be made. We used a neopixel strip with only eight pixels, but this build can be applied to much larger builds, you will just need to apply an external 5V power supply to the neopixel length and ensure that the GND of the power supply is connected to the GND of the ATtiny85.
For our small build, we connected the circuit as so.
Software
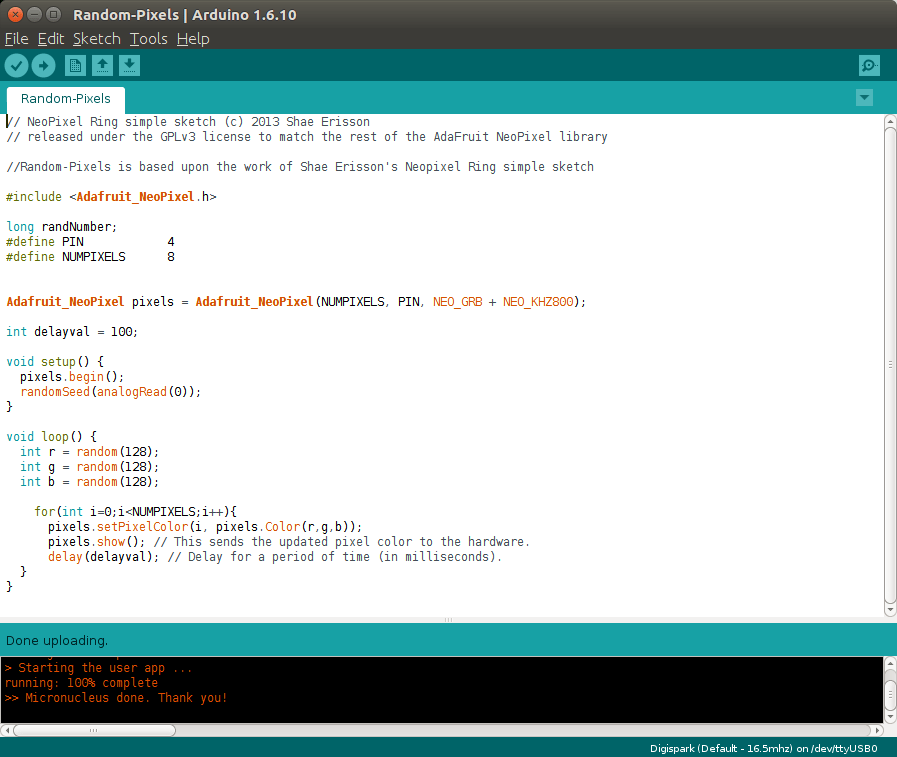
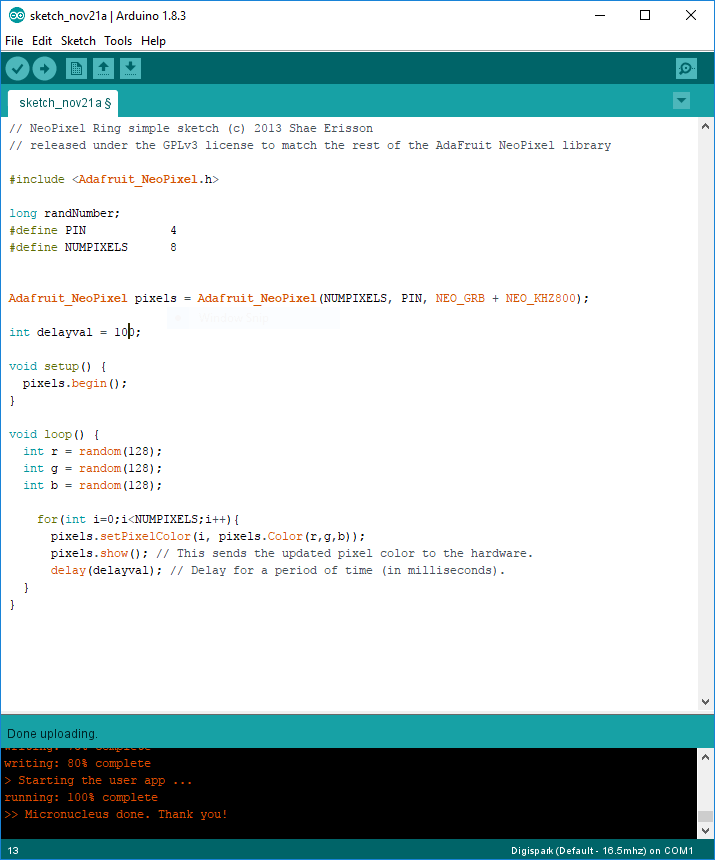
![]()
Open the Arduino IDE so that you have a fresh sketch to work with.
To use Neopixels (WS2812B) with the Arduino IDE, we first need to install their library, click Sketch >> Include Library >> Manage Libraries… to open the Library Manager. In the search box, top right of the window, type Adafruit Neopixel and then select Adafruit NeoPixel by Adafruit Version 1.1.2 or greater and install.
Once the install is complete, we can close the window and return to our sketch. Let's start writing the code for this project, and the first line we need to write is to include the Adafruit NeoPixel library.
#include
Now let's move on to create a long integer that will be our random number.
long randNumber;
Now let’s define the variables, pin to which our NeoPixels are connected, and then the number of pixels in the strip and save that to a variable.
#define PIN            4

#define NUMPIXELS      8
Using the variables that we have just created we now call the Adafruit NeoPixel function and pass it the details of our setup.
Adafruit_NeoPixel pixels = Adafruit_NeoPixel(NUMPIXELS, PIN, NEO_GRB + NEO_KHZ800);
For us to control the speed at which our NeoPixel strip will update, we create a variable that will store an integer which will be the duration in milliseconds that the code should pause between each pixel change. Here we set it to 1/10 of a second, 100ms.
int delayval = 100;
Moving on to the setup portion of the code, we now set up our NeoPixels ready for use, and then generate a random seed for our random number generator based up a value generated by an analog read on an unconnected pin, in this case, P0 of our ATtiny85. Why do we do this? Well, it enables us to reduce the chance of the same light sequence being run each time.
void setup() {

  pixels.begin();

  randomSeed(analogRead(0));

}
For the code to run autonomously we need to place it inside a loop, and the Arduino IDE provides us with a ready-made loop. Inside the loop we create three new variables called r,g,b and these store integer values generated by our random number generator. NeoPixels can use a value between 0 and 255 to control the brightness/intensity. The value 0 indicates that the particular colour is not lit, where as 255 indicates the colour is at full brightness/intensity. A value of 128 is a middle value that offers us plenty of light while being easy on the eye. Remember NeoPixels are very bright so be careful when using them.
void loop() {

  int r = random(128);

  int g = random(128);

  int b = random(128);
Still inside the loop and we now need to use a for loop that will iterate over every pixel in our string. For this, we use an integer, set to zero and store this in the variable “i”. Every time the for loop iterates, while it is less than the number of pixels, the value of i is increased by 1.
for(int i=0;i<NUMPIXELS;i++){
But what do we want the code to do inside the for loop? Well, firstly we would like to set the colour of each pixel (“i”) in the strip using the randomly generated values stored in our variables (r,g,b). Then we need to update the strip to show the colour change, but we introduce a delay using the “delayval” variable we created earlier.
    for(int i=0;i<NUMPIXELS;i++){

      pixels.setPixelColor(i, pixels.Color(r,g,b));

      pixels.show(); // This sends the updated pixel color to the hardware.

      delay(delayval); // Delay for a period of time (in milliseconds).

  }

}
Your code is now complete and ready to be flashed to the ATtiny. First click on the “tick” to verify the code is correct. Then click on the Arrow (or Sketch >> Upload) to upload the code to the board. Remember to plug in the ATtiny85 when instructed to do so, otherwise, you will receive an error.
We also tested the project on our Windows 10 machine and we can confirm that everything works as expected.
You can now power your project from a USB power supply/power bank or a spare USB port on your computer! Enjoy your new NeoPixel, ATtiny85 powered random light show!

Residing on the south coast of England, Rich has spent the last few years building Electomaker.io from the ground up. He is usually found behind a laptop coordinating the rest of the EM team and occasionally finding time to contribute articles to the blog. When not tapping away at a laptop, he can be found either paddleboarding, at the beach, playing golf (badly), or camping with his family.


Leave your feedback...