
Pimoroni Keybow powered by a Raspberry Pi Zero WH Review
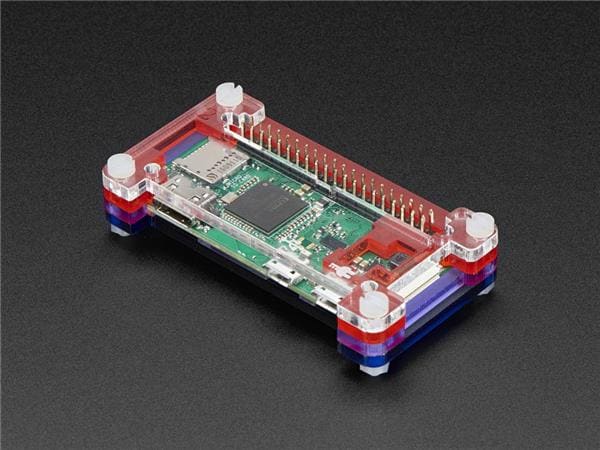
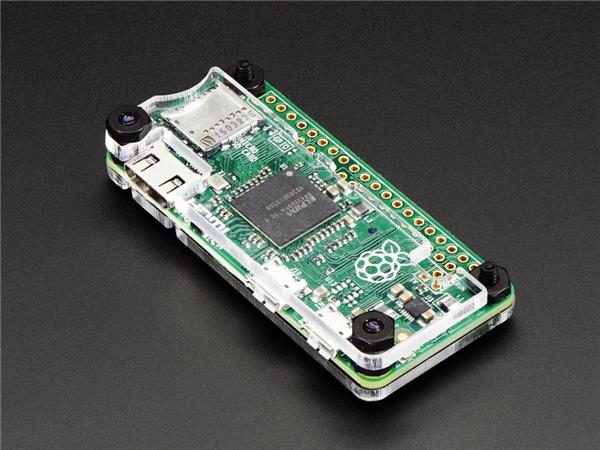
Coming as a kit, Keybow is powered by a Raspberry Pi Zero WH (pre-soldered GPIO headers), and all we need to build this kit is a cross head screwdriver.
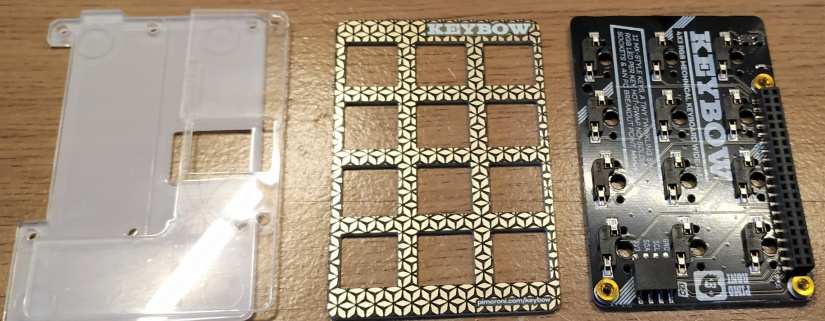
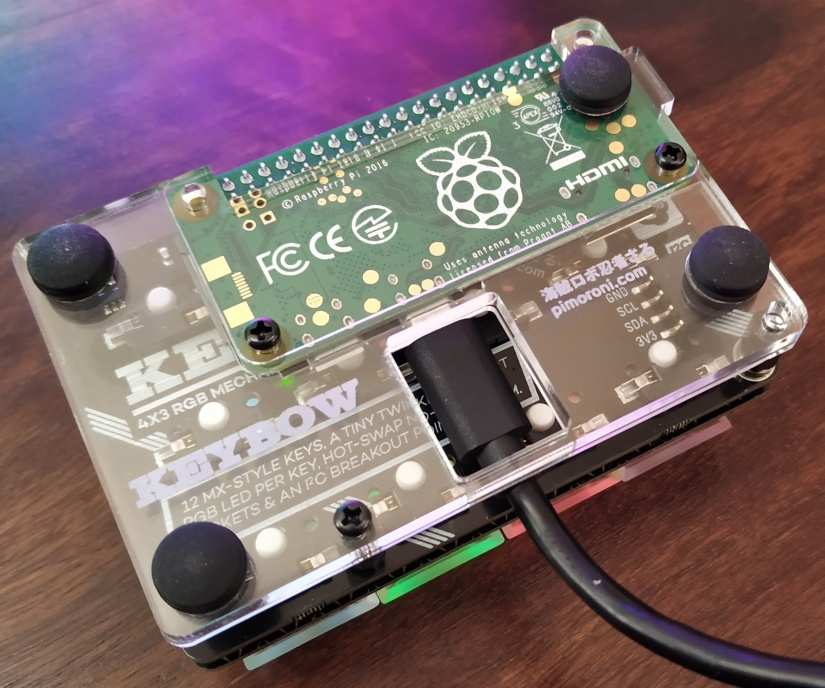
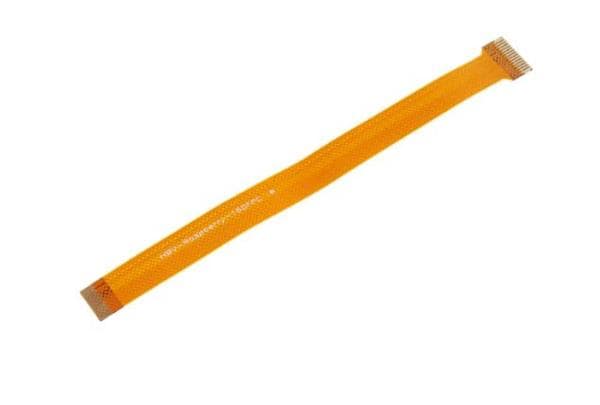
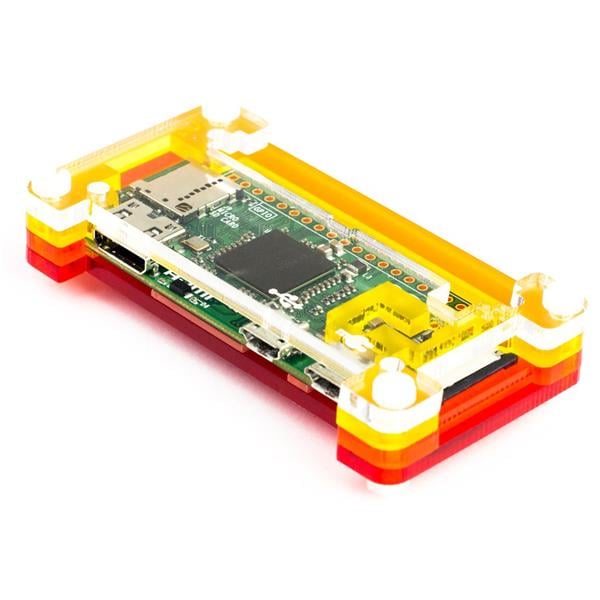
The kit is a mixture of laser-cut acrylic and two PCB structures. The laser cut pieces form the rigid structure of the Keybow, and the main PCB is used to connect the Pi Zero WH to an adapter plate which holds the mechanical keys in place.
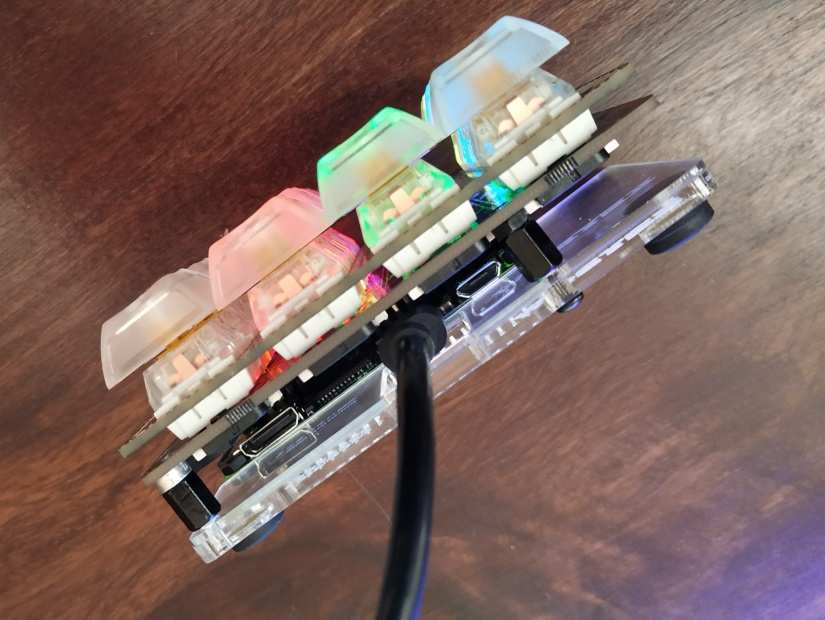
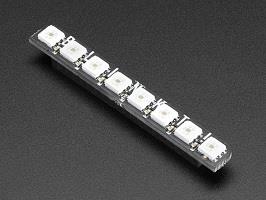
When it comes to keys, there is a choice between linear (non-clicky) and clicky. We chose the clicky keys as we love that sound. On top of the keys are twelve simple, clear plastic keycaps, but why are they clear? Well, they are clear as each key has an APA102 powered RGB addressable LED. Similar to neopixels, APA102 can be any colour, brightness and we can control animations across the device. LED animations can be made from PNG image files, or by writing code.
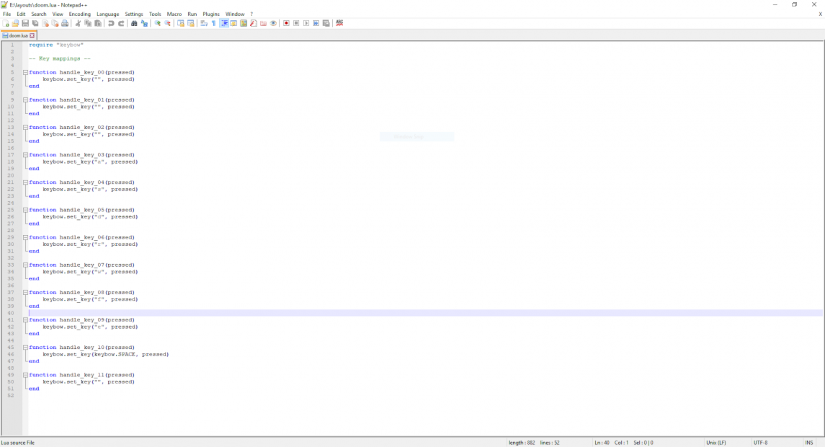
This leads us on to configuring Keybow which has its own Raspbian based operating system which fits on 1GB micro SD cards. The entire OS is loaded into a RAM on boot which reduces wear on the SD card. Keybow uses Lua to write configuration files, and if you are familiar with Python or another typed language, then you will easily understand the structure and syntax of Lua. To edit the files, we need to insert the micro SD card into a computer. Then using a text editor, write the code to control Keybow.
Keymaps are stored in a folder called ‘layouts’ and in there we create a layout for playing Doom, called doom.lua. We mapped the keys to the functions needed (jumping, moving, interacting etc.) and then saved the file.
But to use this new layout we need to edit a file in the root of the SD card. This file is called ‘keys.lua’ and it instructs Keybow to look for our Doom keymap.
require "keybow"
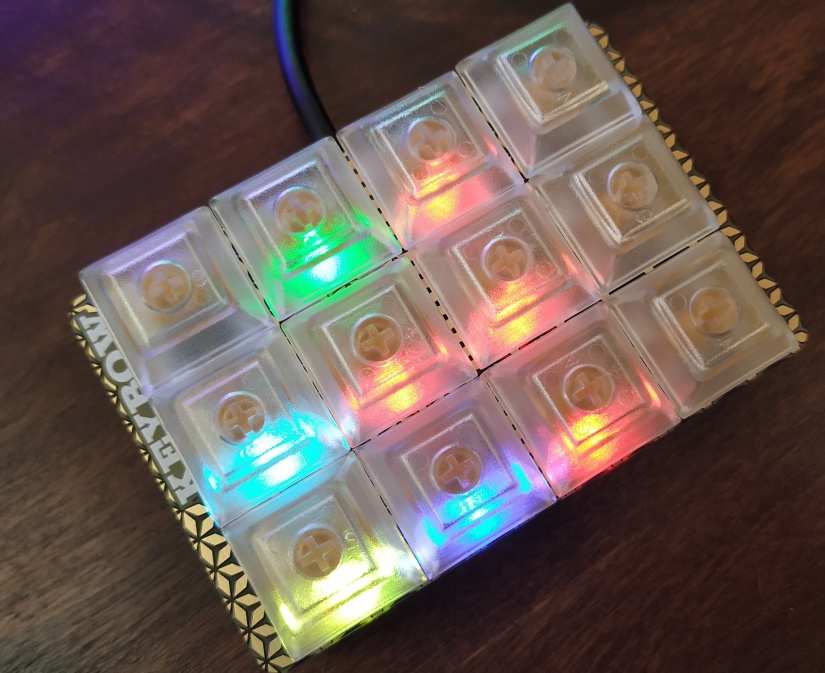
require "layouts/doom" -- Doom keymapWe also added a custom colour map to quickly identify the keys when playing Doom.
function setup() -- Set custom lights up
    keybow.auto_lights(false)
    keybow.clear_lights()
    keybow.set_pixel(0, 0, 0, 0) -- Off
    keybow.set_pixel(1, 0, 0, 0) -- Off
    keybow.set_pixel(2, 0, 0, 0) -- Off
    keybow.set_pixel(3, 255, 0, 0) -- Red
    keybow.set_pixel(4, 255, 0, 0) -- Red
    keybow.set_pixel(5, 255, 0, 0) -- Red
    keybow.set_pixel(6, 0, 0, 255) -- Blue
    keybow.set_pixel(7, 255, 0, 0) -- Red
    keybow.set_pixel(8, 0, 255, 0) -- Green
    keybow.set_pixel(9, 255, 255, 0) -- Yellow
    keybow.set_pixel(10, 0, 255, 255) -- Cyan
    keybow.set_pixel(11, 0, 0, 0) -- Off
end
Then we just save the code, eject the SD card, insert into our Keybow, and then connect to our PC. Twenty seconds later and we have a functioning controller, ready to help us do battle with the demons from hell, or edit a video.
Conclusion
Keybow is a solid piece of kit, in feel and function. The device is well put together and the build instructions are easy to follow.
Using a custom stripped down Raspbian based operating system and a Raspberry Pi Zero WH may seem a little ‘overkill’ by what is essentially just a keyboard, something that can be emulated by a Teensy or Arduino. But we get an easy to use workflow to make changes to the code and configure without the need for a full-blown IDE. Also, the ability to create animations and colour maps using PNG files enables even the novice coders to create dazzling displays.
This is a serious piece of kit for those that seriously work and play on their machines. But it can also be used as a simple interface for projects such as home automation, robotics and disability aids.

Electroscore: 4/5 ![Electroscore: 4]()

Pros:
- Easy to build
- Great instructions
- Easy to configure
Cons:
- Expensive
- Configuration cannot be swapped ‘on the fly’
Price: $5,300.00

Les Pounder loves hacking and tinkering with Arduino, Raspberry Pi and new technologies. He passes on his skills and discoveries to Electromaker readers via tutorials and reviews.


Leave your feedback...