
Connect an Arduino to Otto’s DIY Eurorack Prototype Boards
How to Connect an Arduino to Otto’s DIY Eurorack Prototype Boards
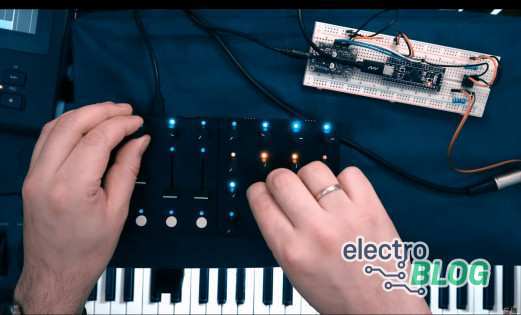
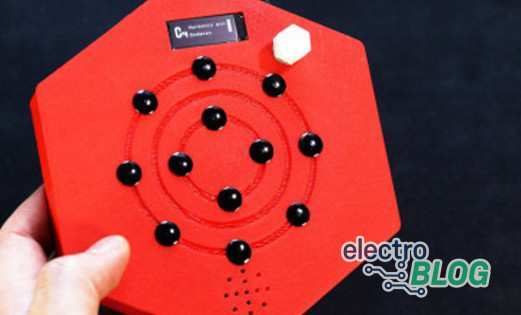
We’ve looked at a few music-based projects at Electromaker, of varying degrees of complexity. One that we’ve recently seen uploaded to our Projects page is this: Microclock, a modular synthesizer module with an Arduino.
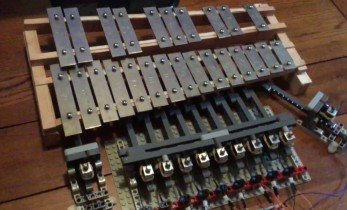
Enabling control of an Oktogon sequencer module, it relies on the remarkable Otto’s DIY Eurorack modules. This mechanical and electrical modular concept for synthesizers allows you to build functional component blocks one at a time. The end result is a synthesizer that you’ve built from scratch.
Here’s how it works.
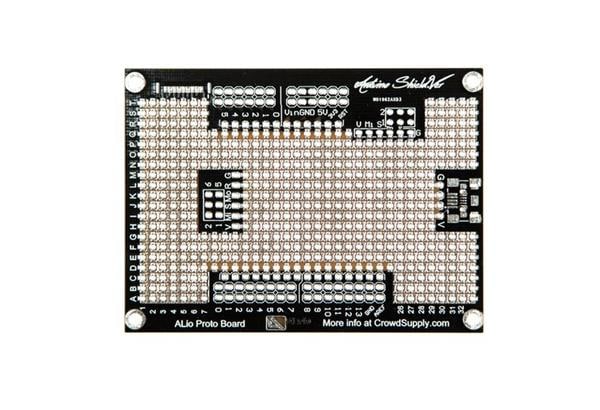
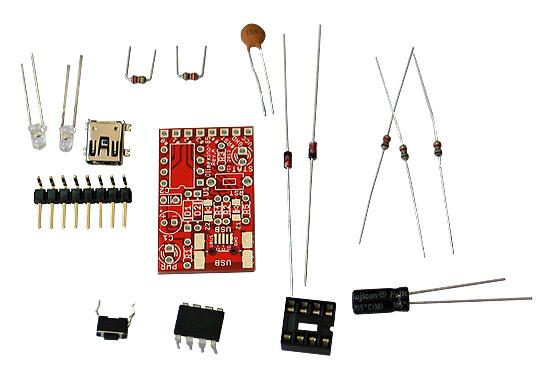
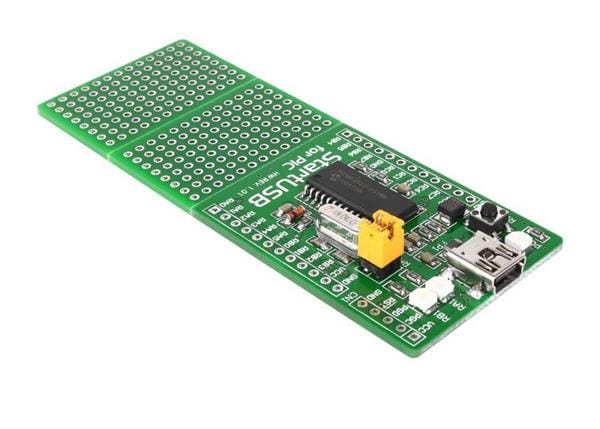
As you can see, the Otto’s DIY ecosystem is easy to use, consisting of Eurorack compatible prototyping PCBs, upon which you can mount components and parts. These components are carefully selected for compatibility with the boards. The boards themselves feature double-sided through-hole connections, have easy to solder square pads, and a breadboard-style strip layout. The result is that they’re easy to use, and give beginners a chance to start prototyping right away.
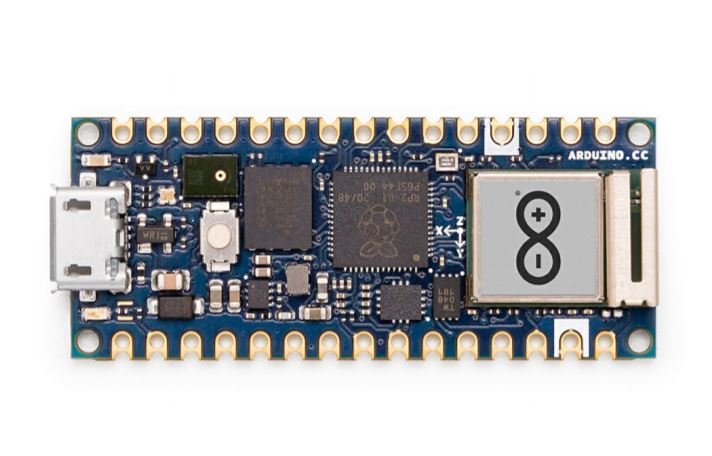
In the case of the project featured here, the Arduino makes it possible to control the speed of whatever sound is being produced. This is vital for synthesized audio! If you’re interested in your own version of this build, you’ll need some code. Fortunately, it’s been made available via this GitHub page.
Otto’s DIY has been developed by Intech Studio, and is overseen by project manager Kerti Kristóf and design engineer Sövény Gergely. They work to the principle that “the DIY community is ready for a powerful new way of prototyping, building fully functional Eurorack modules has never been easier.”
Meanwhile, you can find out more about Otto’s DIY Eurorack projects by joining their Facebook group. And if you want to buy a kit, check the Otto’s DIY Indiegogo page, where prices start from $20 for the core kit.


Leave your feedback...