
Using alternative software to control the laser cutter (Scorchworks Whisperer)
In the final part of this series, we finally start cutting things with the K40 laser cutter! We will transfer our designs created in Inkscape to an application called K40 Whisperer from Scorchworks. Now you might be thinking “But the K40 comes with its own software, can I just use that?” Well, yes you can, but I’ve found that K40 Whisperer is a lot easier to use, and it even runs on Linux devices. This is incredibly handy for my Makerspace as we are using an old Lenovo X61 laptop running Linux Mint to run the laser cutter.
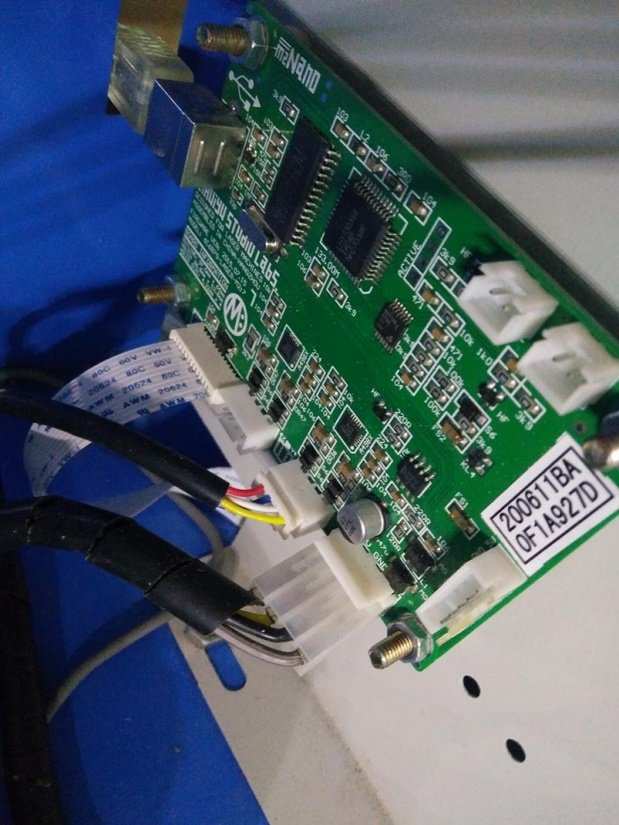
K40 Whisperer is designed to work with the stock control boards that come pre-installed, such as:
- 6C6879-LASER-M2 (M2 Nano)
- 6C6879-LASER-B1
- HT Master5
- HT Master6
- HT-XEON5
- HT-XEON-DRV
To check, open the control panel of your K40 and take a look!
Installing K40 Whisperer
To install K40 Whisperer, head over to the download section of their website and click on the relevant link. For those using Linux, you will need to download the source files and read the README_Linux.txt file, the same applies for Mac (README_MacOS.md)
With installation complete, connect the K40 to your computer via the USB lead and then follow this checklist to ensure a safe power-up.
Check there is water for the pump to cool the laser, if not top up now!
Turn on the water pump.
Check the exhaust fan is connected and turn on.
Ensure the cutting area is clear of debris and the laser unit is free to move.
Close the lid.
Power on the K40.
Plugin the USB lead to your computer.
The laser unit will “home” to the top left of the cutting area.
Set the power level to about 20% using the “Current Regulation” dial.
Place a “sacrificial” piece of laser grade plywood (2-5mm) in the cutting area, and ensure that it is in the top left of the area, use the “Test Laser” to locate the top left of the cutting area. Once found remember where it is, mark it using masking tape!
Your K40 is ready to cut!
Using K40 Whisperer
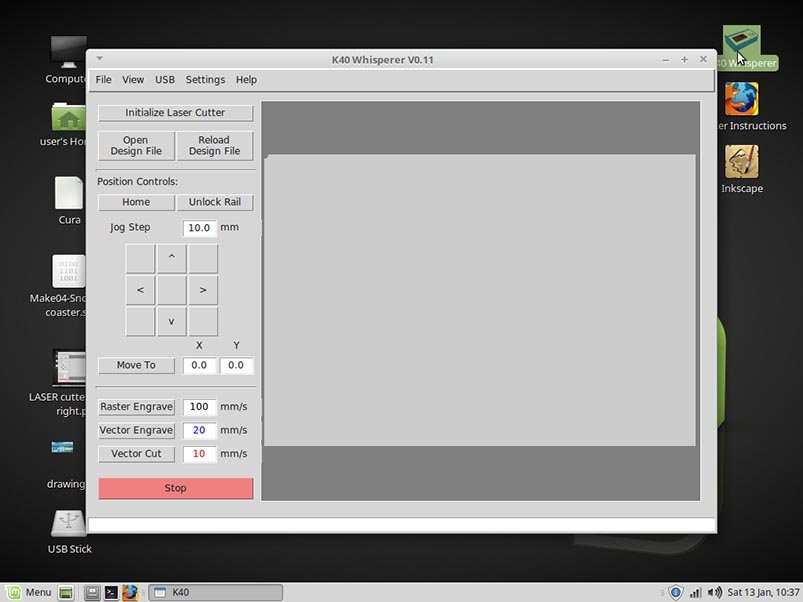
Open the Whisperer application, and then click on Initialize Laser Cutter. This will instruct the K40 to ensure it is in the home position and it confirms there is a connection between devices.
To open our file, created in Inkscape, we need to click on Open Design File and then locate the correct file. Once selected it will take a short while to open, as Whisperer is working out the design, and will try to render it correctly.
With the design open you will see all of the strokes, created in Inkscape and colour coded to instruct Whisperer as to how it should handle the job.
Remember!
Black: A raster engrave, similar to how an inkjet printer sprays dots across a page, left to right, top to bottom. (About 100mm per second, but can be increased to 180mm.)
Blue: A vector engrave, the laser unit traces the shapes drawn in the document to create fluid lines. (About 20mm per second, best to keep it at this speed.)
Red: A vector cut, a slower sequence that relies on power and speed to ensure a clean cut. (About 10mm per second, best to keep it at this speed.)
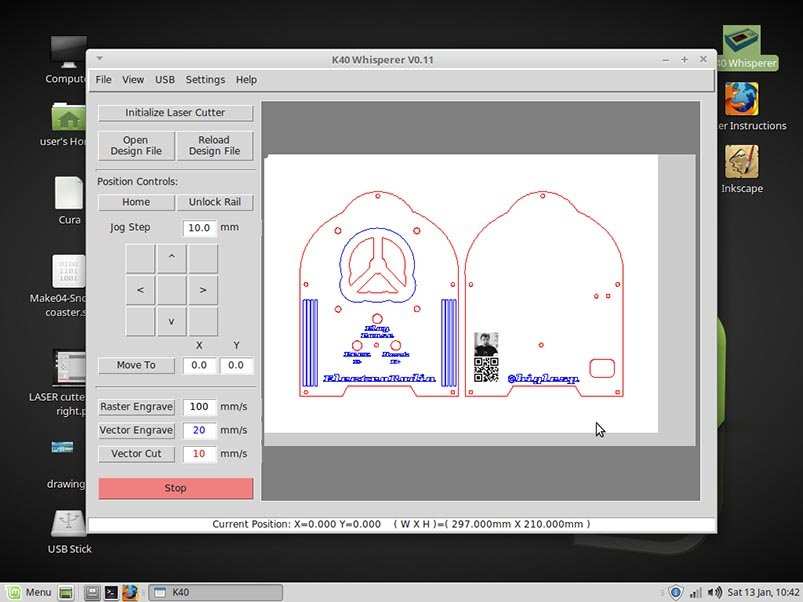
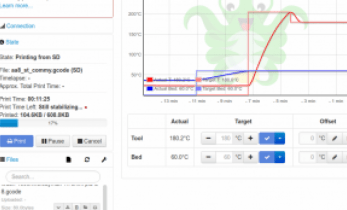
Caption: Every aspect of the cutting process can be controlled from here including the speed at which the laser moves around the project.>>
If the job looks ok, then run through the checklist one more time! The correct order to run the job is to.
Raster Engrave
Vector Engrave
Vector Cut
But why do we do it this way? Well, simply because if we were to cut the project out of the plywood first, there is a chance that the material may drop or move slightly, rendering the project useless. Always engrave and perform internal cuts before making the final cut around the project material.
So, click on each button according to the design. For our test file we need to engrave the QR (Quick Response) code and the image of me first. With the lid down, the checklist completed and the power set to around 20%, press the Laser Switch to arm the laser! Now make sure that the lid is closed, and when ready start the raster engrave process.
As there is only a small amount of raster engraving, it should be done relatively quickly.
![]()
Once completed, click on the vector engrave button to engrave the “blue” sections of the design (if any), then lastly click on vector cut to cut out any “red” sections of the project.
Your project will be completed after the red cut has finished. But leave the project in the cutting area. Gently poke the cut pieces to see if they come loose, but DO NOT move the material otherwise your next cut will be out of alignment. If the pieces to cut do not come out, close the lid. Increase the power to 50% and repeat the vector cut. Re-check and repeat as necessary. This is the part of laser cutting where a little patience, trial and error, and note-taking is required. I set up a GitHub page to log the materials cut with our Makerspaces cutter.
What do I do if it goes wrong?
There will come a time when everything goes wrong. It happens to us all. First rule when in this situation: DO NOT PANIC!
Turn the laser switch off, this will prevent the laser cutting any material.
In Whisperer, click on Stop and then click Ok to stop the job.
Wait for the laser unit to stop moving.
In Whisperer click on Home to return the laser unit to the top left of the cutting area.
If there is smoke in the cutting area, wait a few seconds for the extraction system to remove it, if there is a small fire, take steps to safely deal with it!
Remember: Never walk away from a running laser cutter! Watch it like a hawk!
Cutting Complete!
With the cuts completed, turn off the laser switch open the cover and remove the project. Admire your handiwork! You’ve made your first project using a laser cutter!
So what did I make?
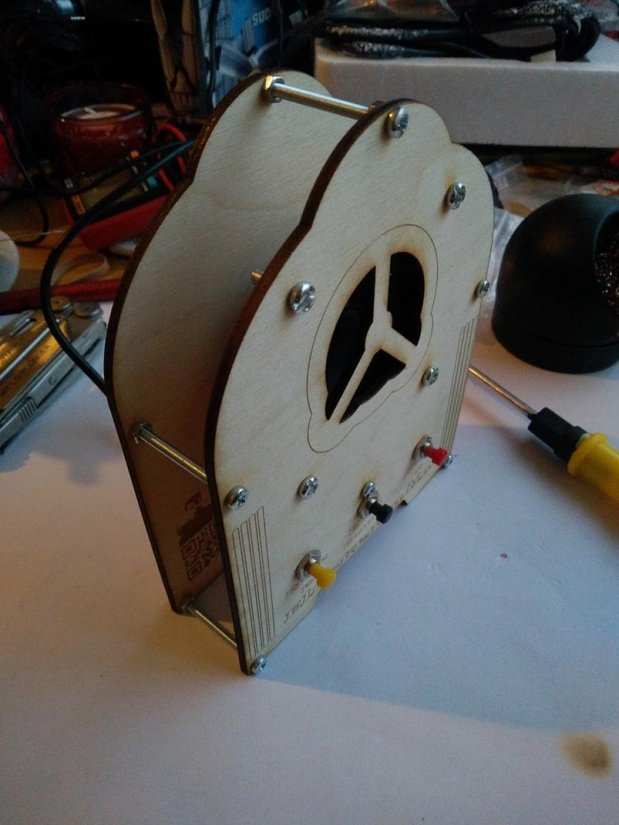
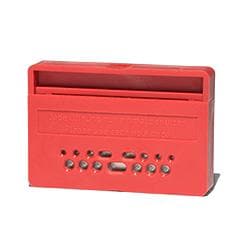
I wanted to test what the K40 could do, and so I designed a retro style MP3 player which incorporated raster and vector engraving, custom fonts, bitmap tracing and multiple vector cuts. The MP3 player is a $0.80 board purchased from Aliexpress.
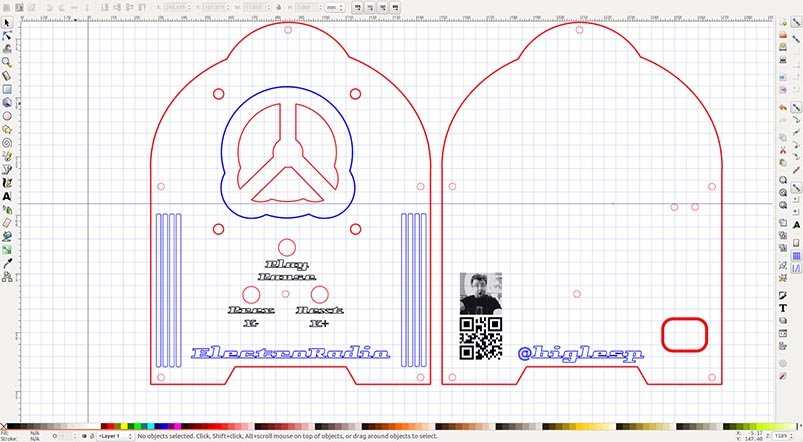
When sending this project to Whisperer I encountered an issue, namely the font that I used when I designed the project on my laptop, was not installed on the machine controlling the K40, so I installed the font and then reloaded the project, et voila! All fixed.
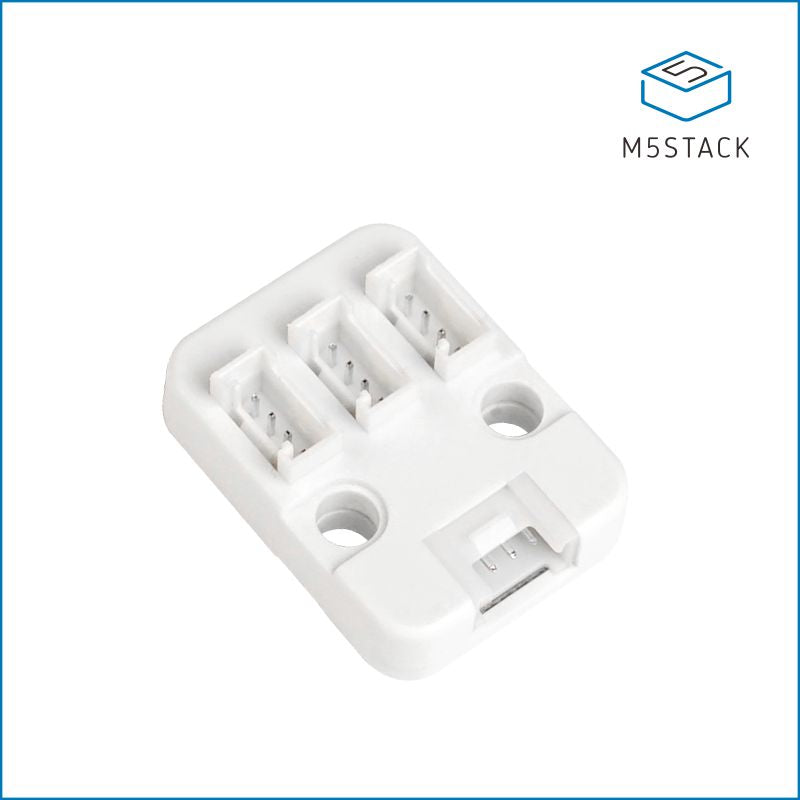
The project has multiple sized holes which are used to insert various sized machine screws used to support the frame, the speaker and to insert three momentary push buttons used to control the playback of audio via the MP3 player.
Parts for the build:
- 1 x 3mm A4 laser grade plywood sheet
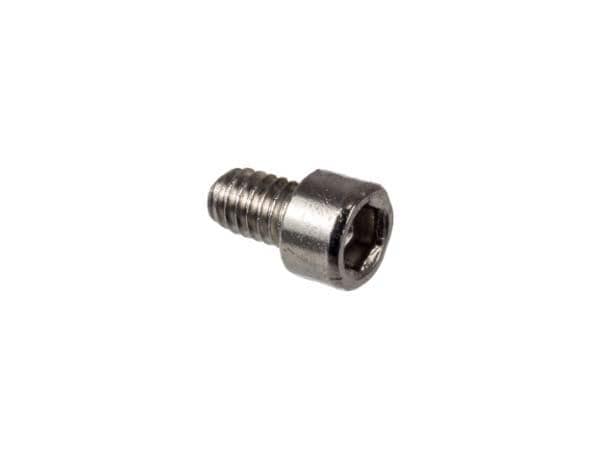
- 6 x 40mm M3 machine screws
- 18 x M3 nuts
- 3 x Momentary Pushbuttons
- 1 x 2W speaker
- 4 x M4 20mm machine screws and nuts
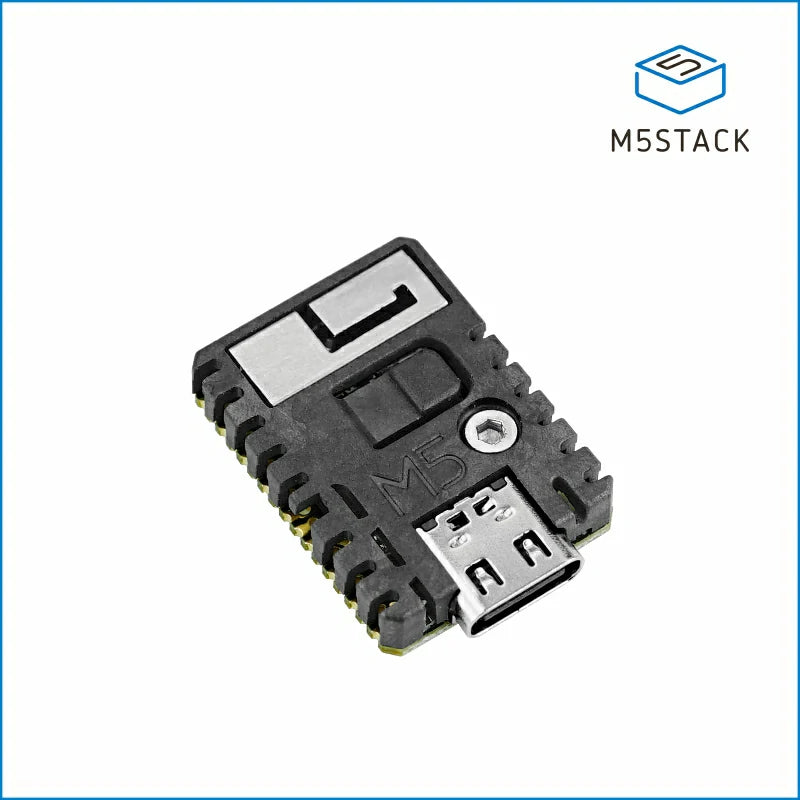
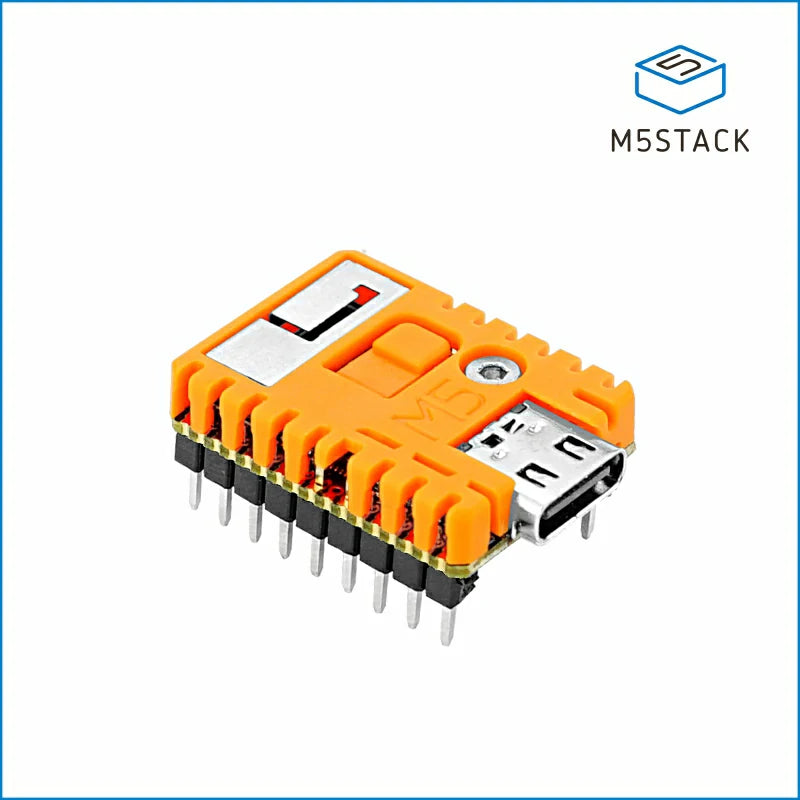
- 1 x MP3 player board (GPD2486a)
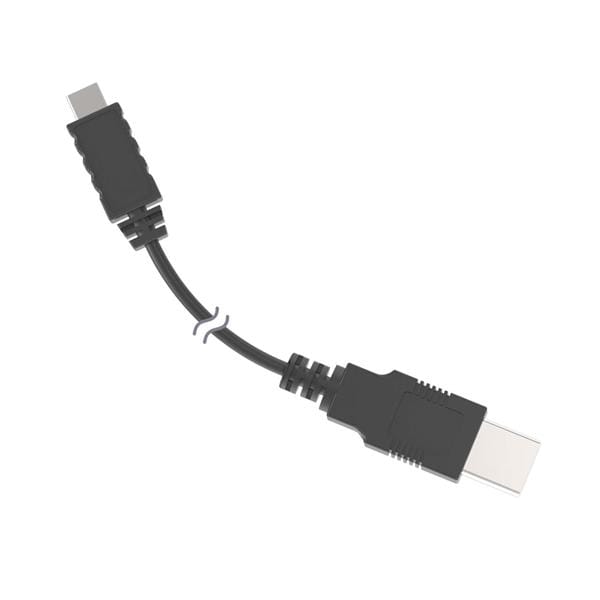
- 1 x Micro USB breakout
- 2 x M3 10mm machine screws and nuts
- Hot glue gun to fix the board to the frame
- Soldering equipment
- Cross head screwdriver
- Length of multicore wire
- Heat shrink
After cutting the frame from the plywood using the K40, I inspected the cutout sections to ensure they were clear of debris, if not a fine file or sandpaper can be used to smooth any imperfections.
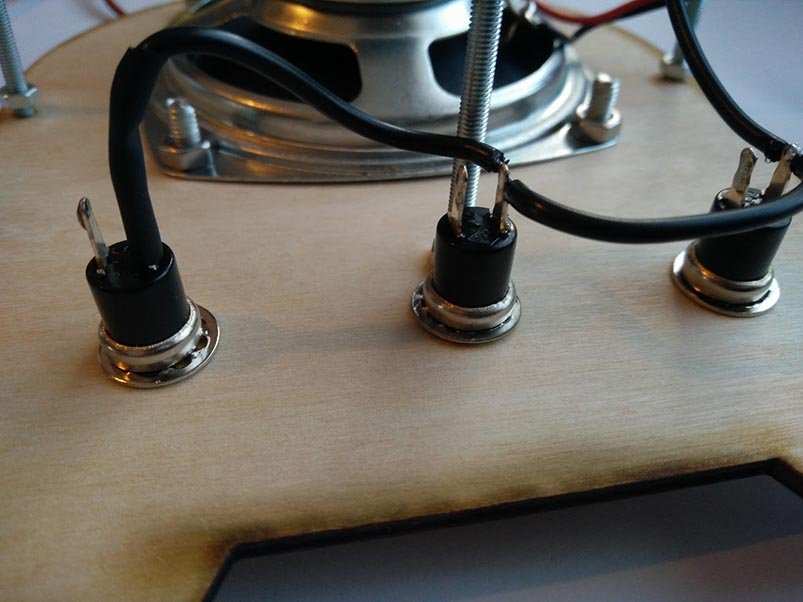
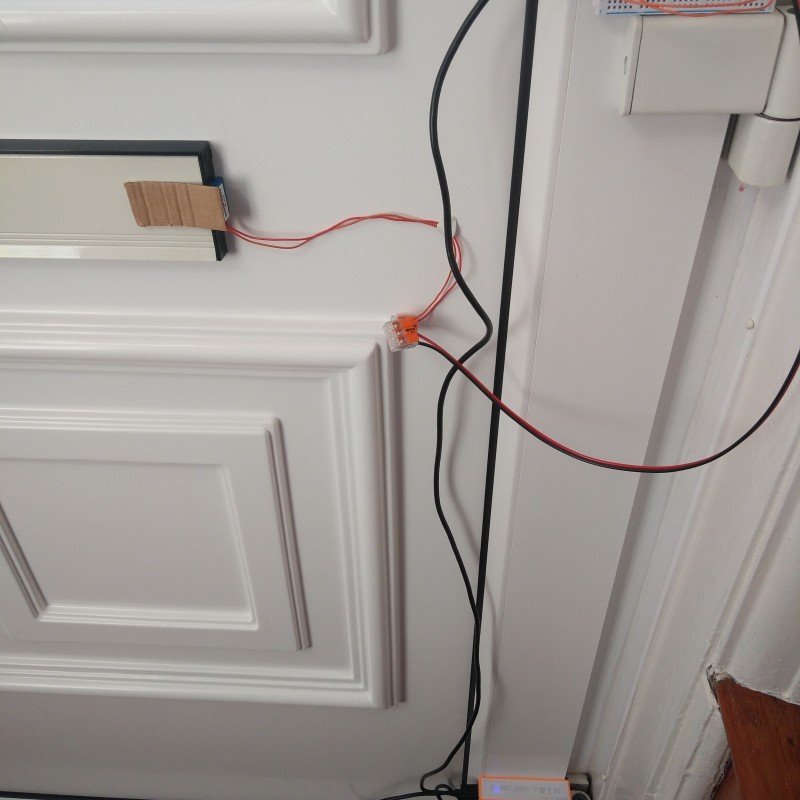
Next, insert the momentary push buttons and secure them using the included nuts then take a length of multicore wire and connect one leg of each button using solder. As you can see in the image, I used one length of black wire, to indicate a connection to the Ground and in the wire I made two small gaps using an automatic wire stripper to which I could solder the wires to the legs of the buttons. On the first button I slid a little heat shrink to reinforce the join and ensure no short circuits. Remember to keep enough wire left to connect to the MP3 player. For each button repeat the process for three separate wires that will also connect to the MP3 player.
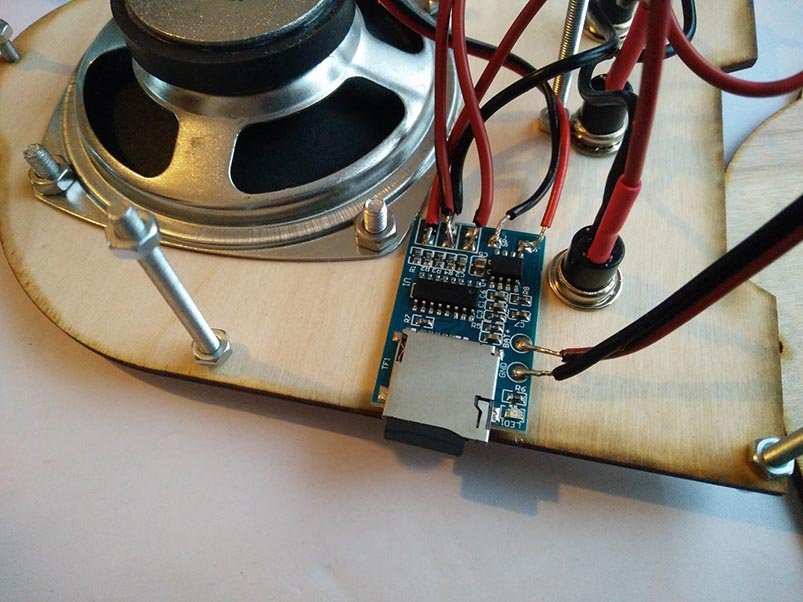
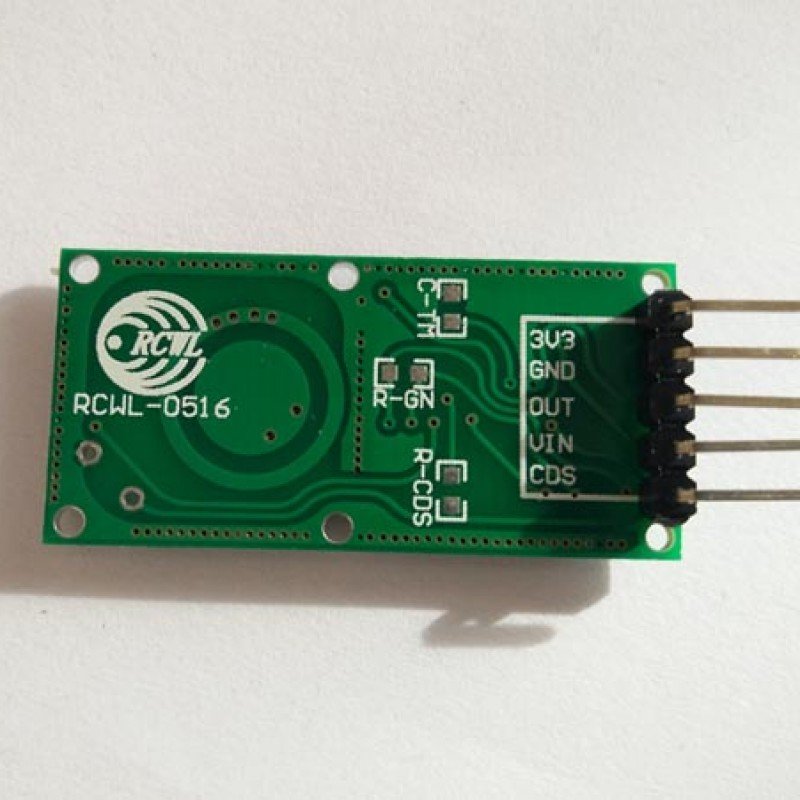
Now I made the connections from the buttons to the MP3 player.
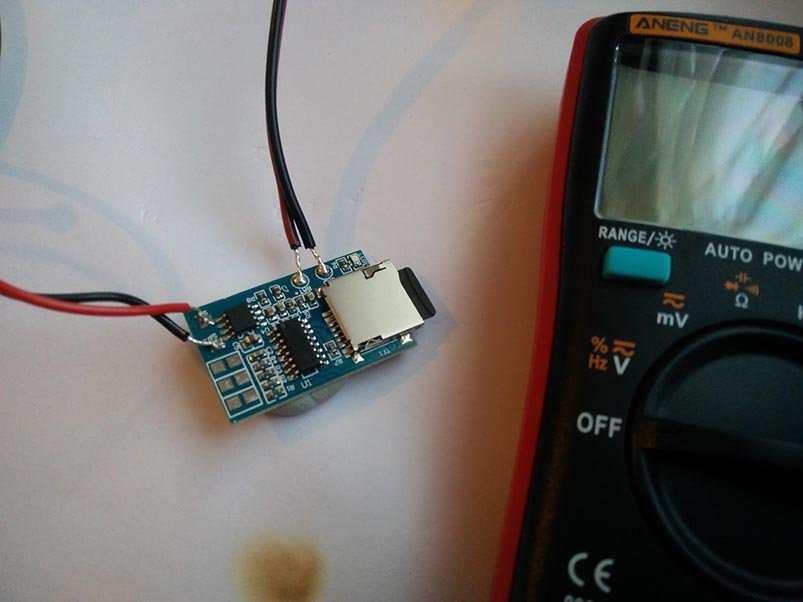
Looking at this image, you will see six solder pads. The left column of three solder pads are all Ground connections of which all we need is one, the next column of three solder pads are
Top: Next Track / Volume Up
Middle: Play / Pause
Bottom: Previous Track / Volume Down
So I connected the correct button to the solder pads.
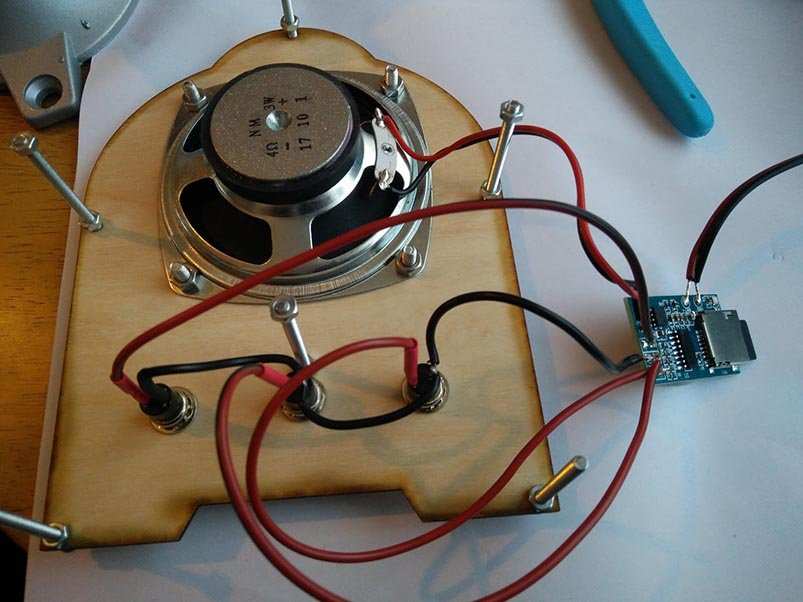
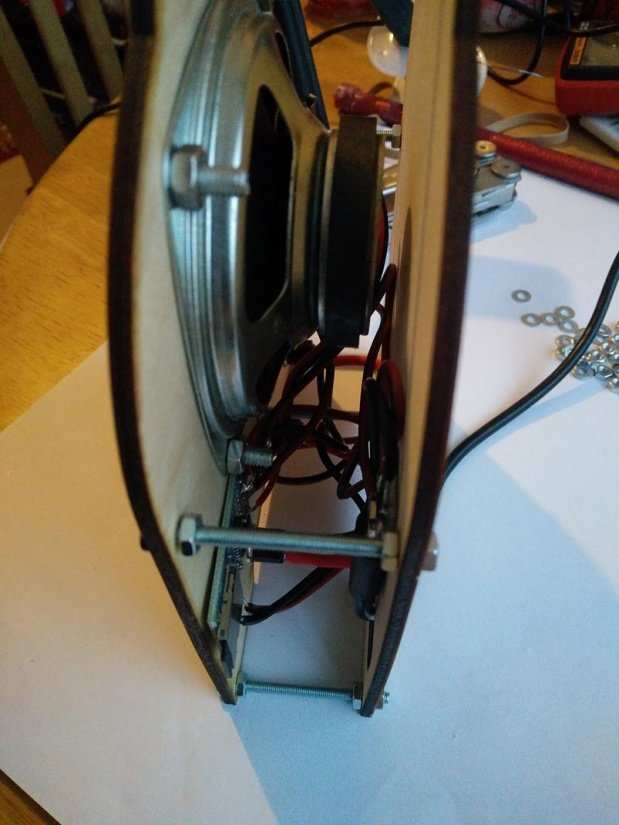
Then I secured the speaker and soldered the wires to the (Red Wire) SP+ and (Black Wire) SP- terminals. Next, I soldered the 5V VCC and GND pins of a micro USB breakout board and connected them to the MP3 player (5V VCC to BAT + and GND to GND)
I then routed the wires so that they would enable the MP3 board to be housed on one side, giving easy access to the microSD card used to store the music.
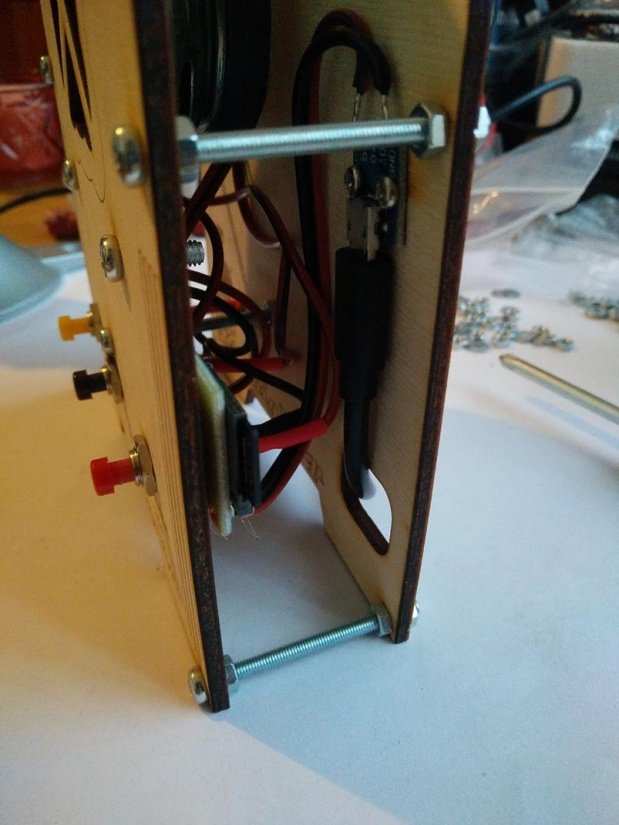
Lastly, it was just a matter of inserting all the screws and using the nuts to secure everything in place. It was here I realized that next time I would need to make the screw holes slightly larger as the K40 cut them a little too snug!
And there we have it, a completely homemade retro MP3 player using a little electronics, a lot of laser cutting, and plenty of new Inkscape design skills that we learned as we went along.

Les Pounder loves hacking and tinkering with Arduino, Raspberry Pi and new technologies. He passes on his skills and discoveries to Electromaker readers via tutorials and reviews.


Leave your feedback...