
Weather Simulating Desk Plant

Made by mukesh-sankhla / 3D Printing / Artificial intelligence / Environmental Sensing / Weather / IoT
About the project
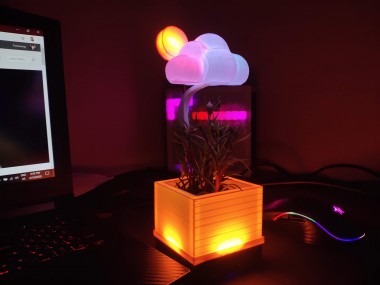
A Weather Station Which simulate the real-time weather of your location by changing the colors of the showpiece.
Items used in this project
Hardware components

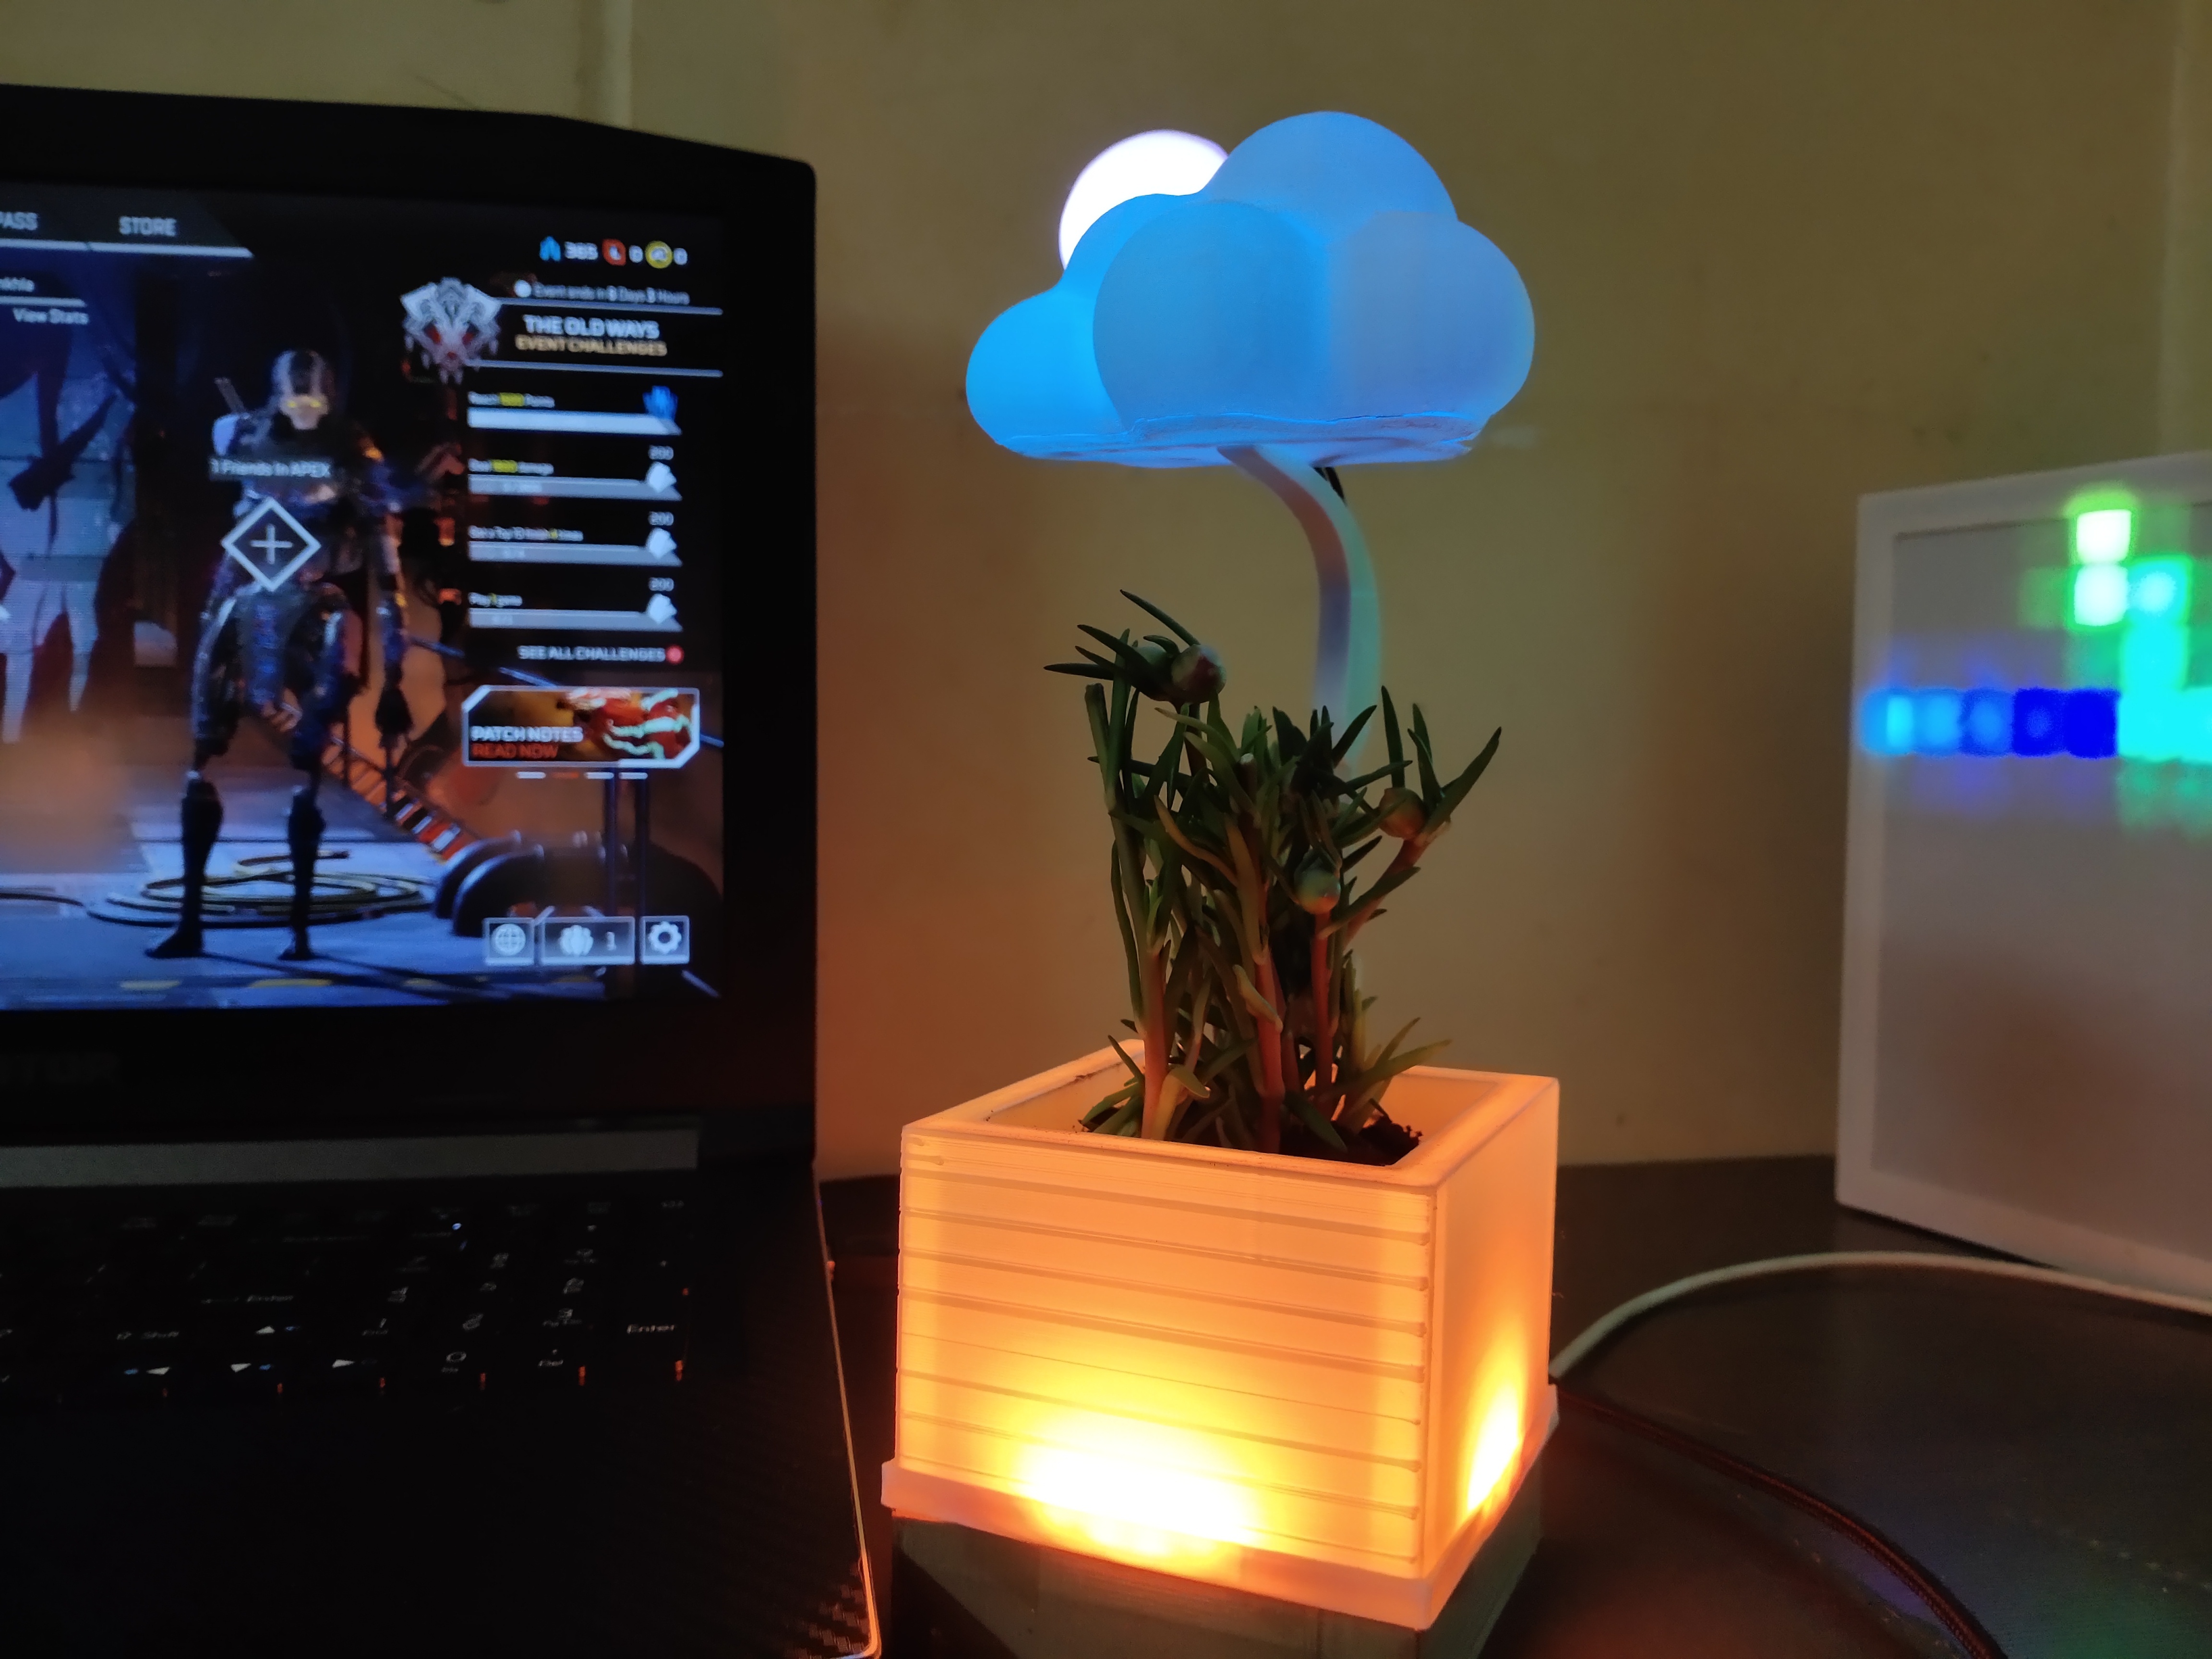
Story
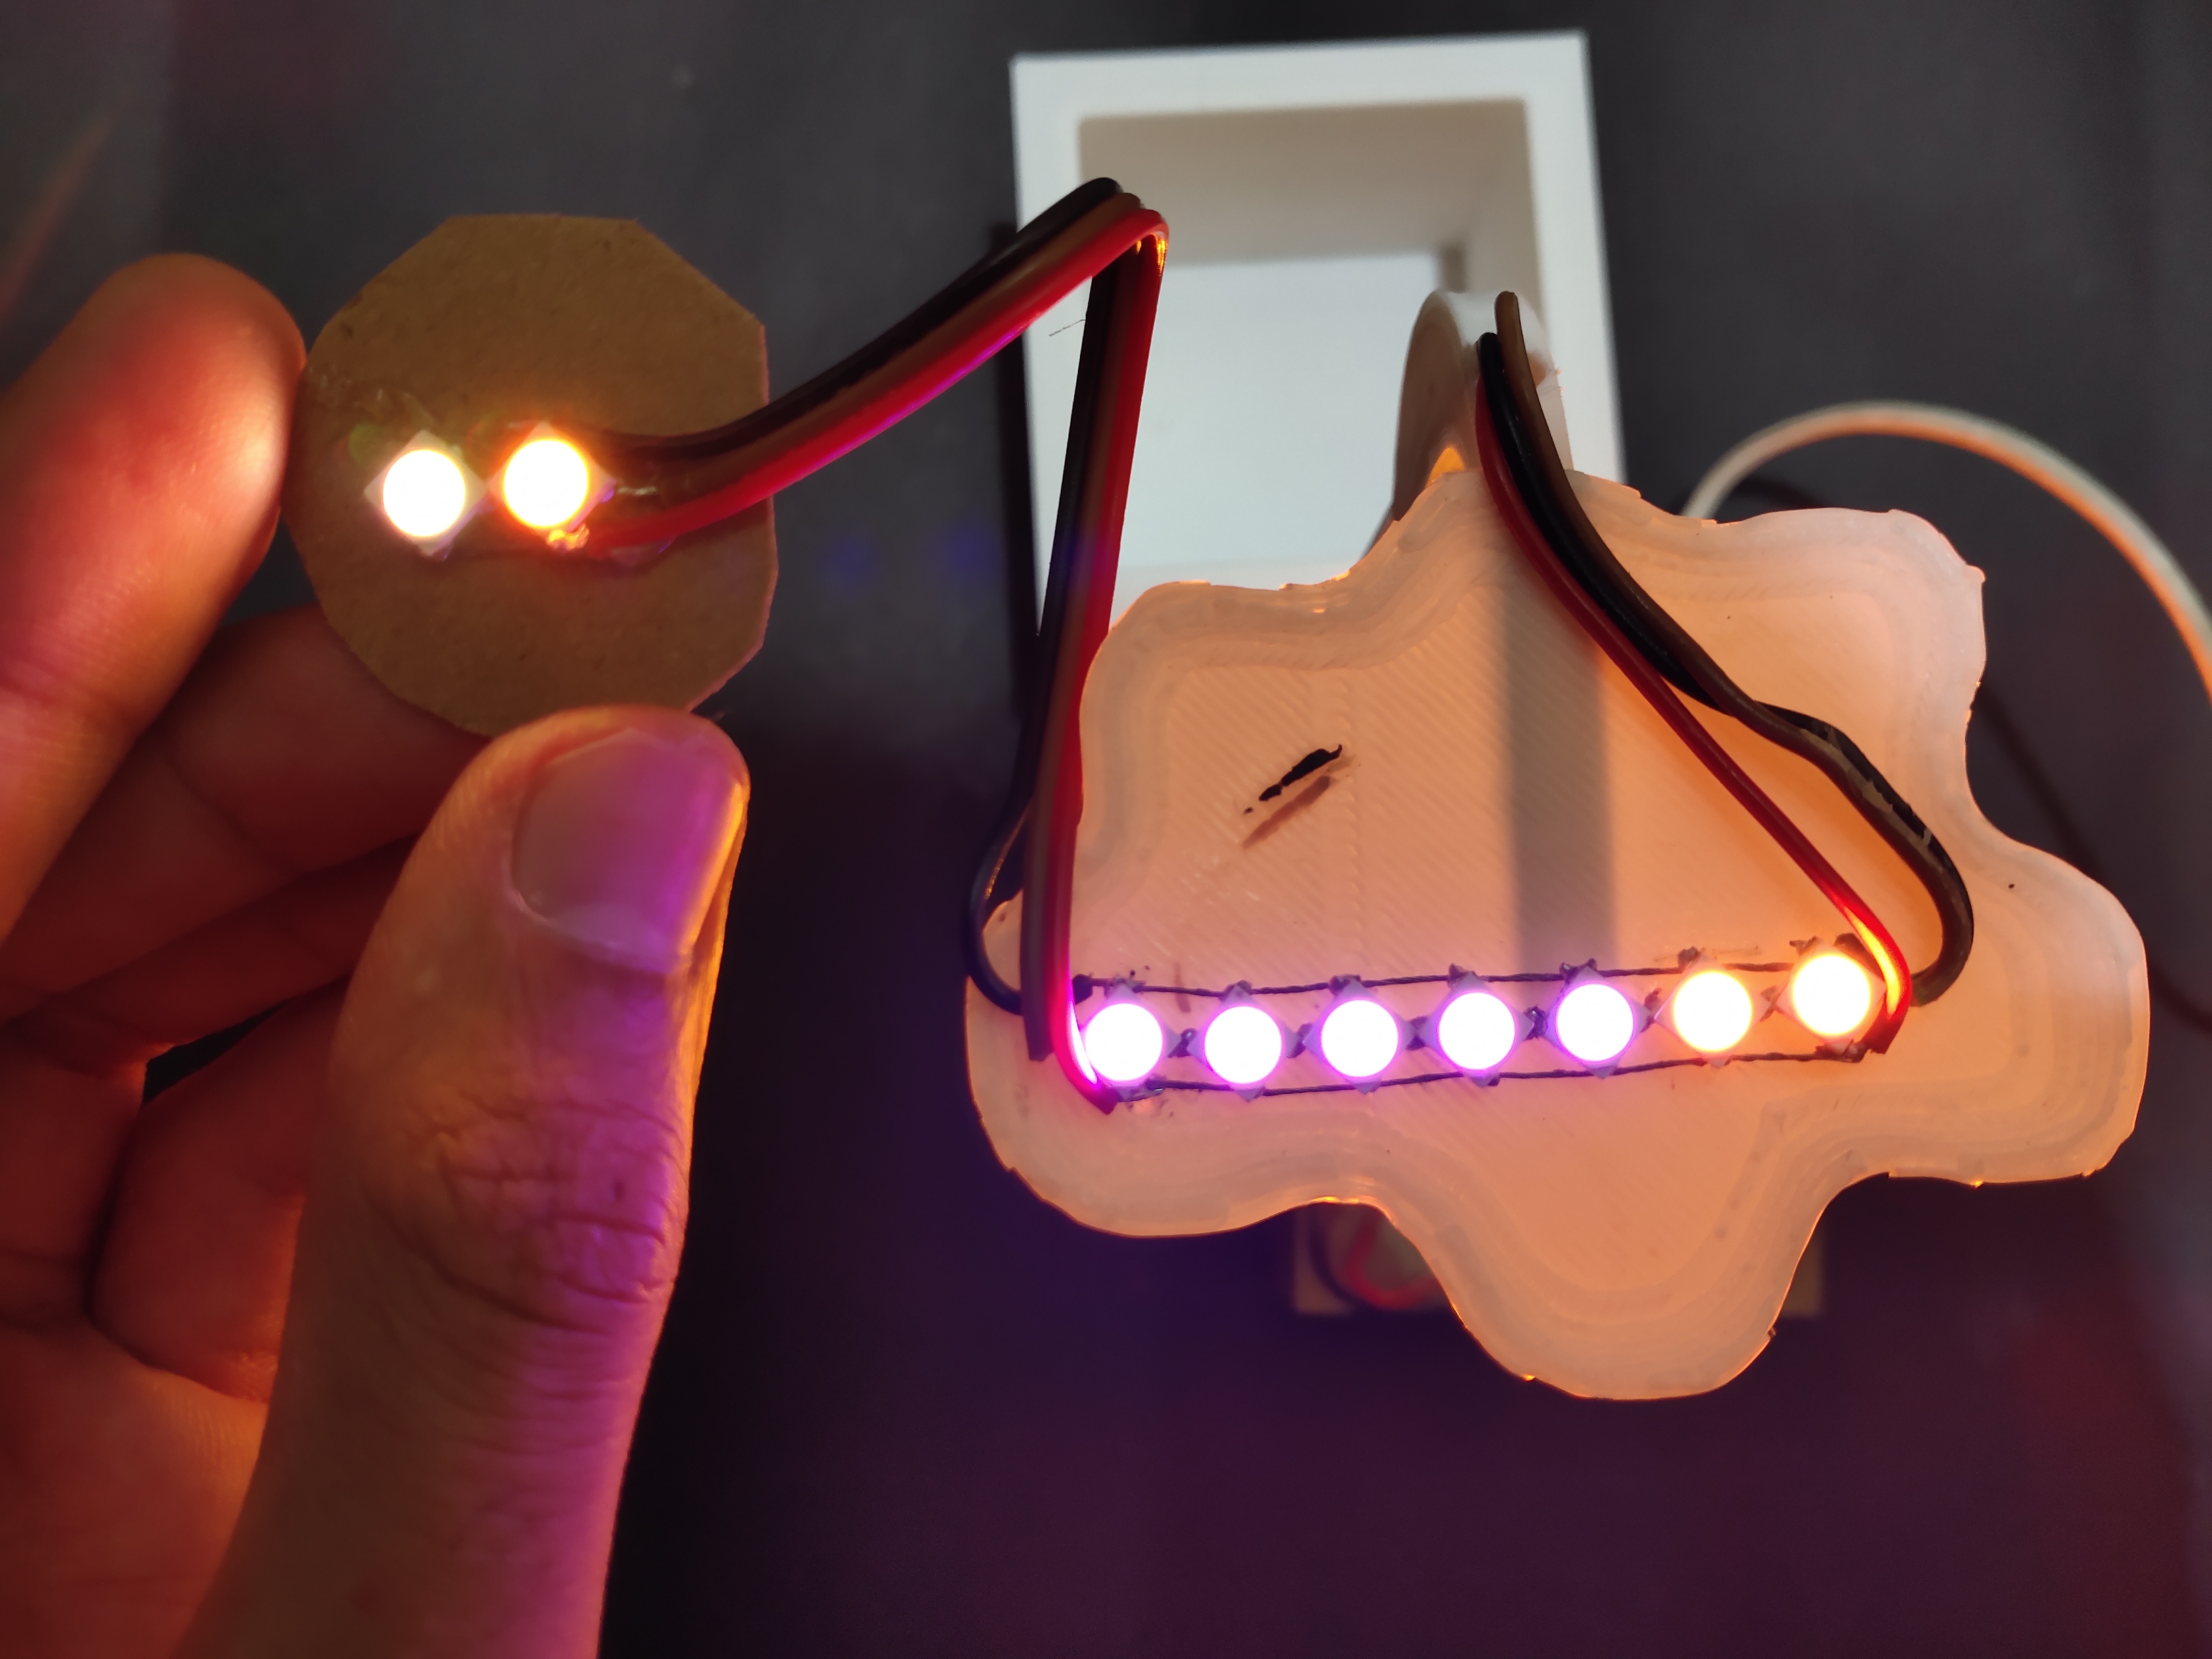
Weather station in the form of a Desk Plant or you can call it as a Desk Showpiece. This weather station fetches data into ESP8266 from a Website named openwethermap.org and changes the RGB colors in the showpiece. The showpiece got many different color combinations ,they changes according to Time and Climate. For example if its raining outside at evening time then the color of cloud becomes combination of red,orange,yellow and it shows that thunderstorm effect .Like this it has many different color combinations.
Step 1: Required Components
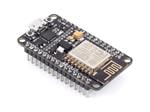
*Node MCU(ESP8266)
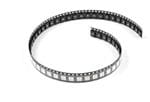
*WS2812 LED Strip
*5v Micro USB Power Supply
*3D printed parts: Click here for STL files
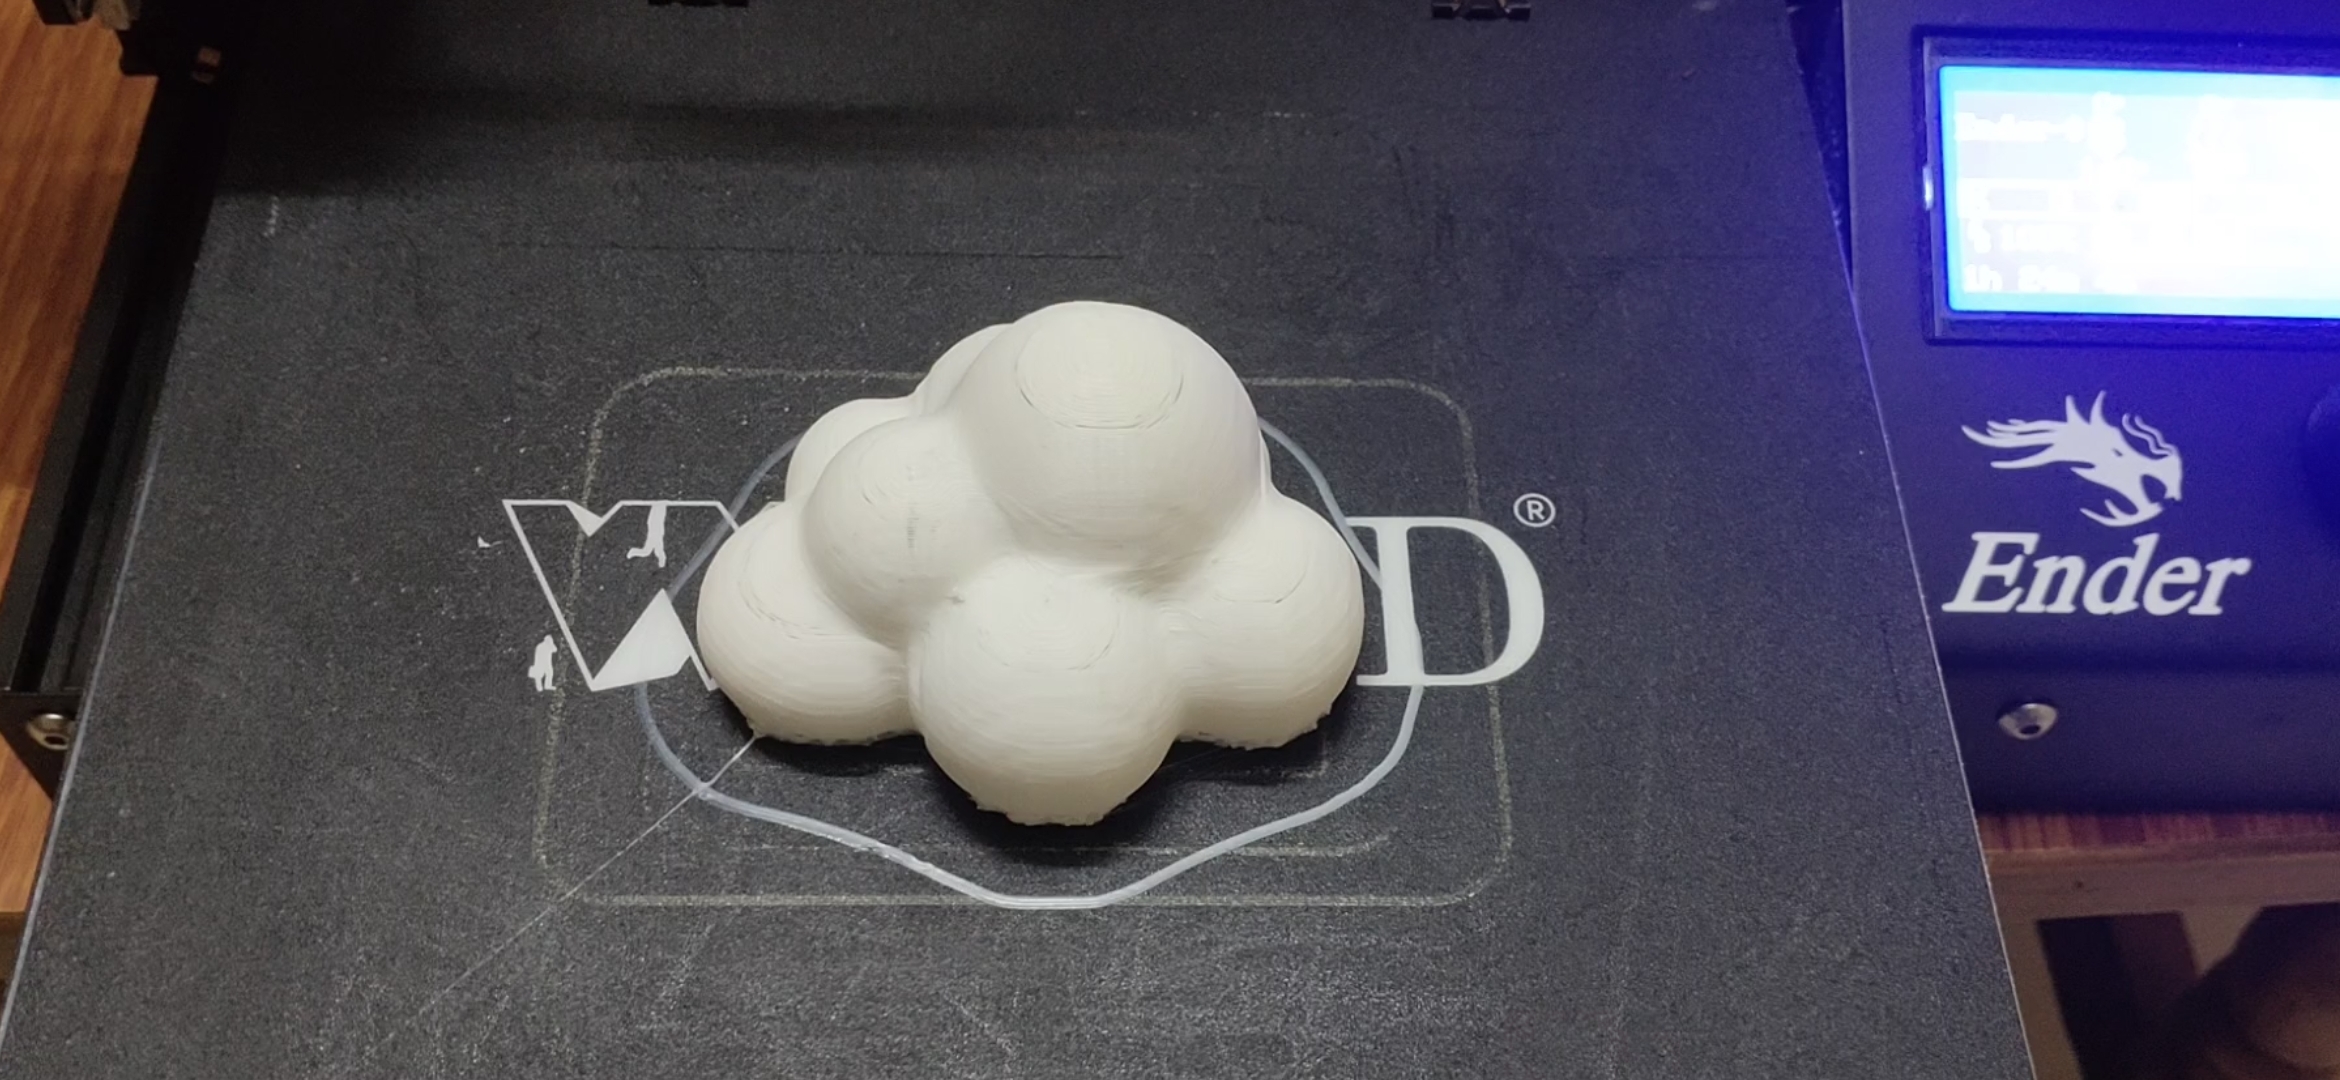
*Make sure to set the infill value to 0% for 3D printing cloud shape.
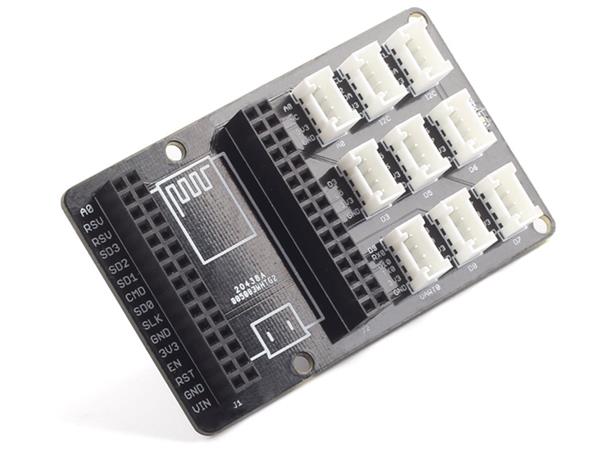
Step 2: Circuit Connection
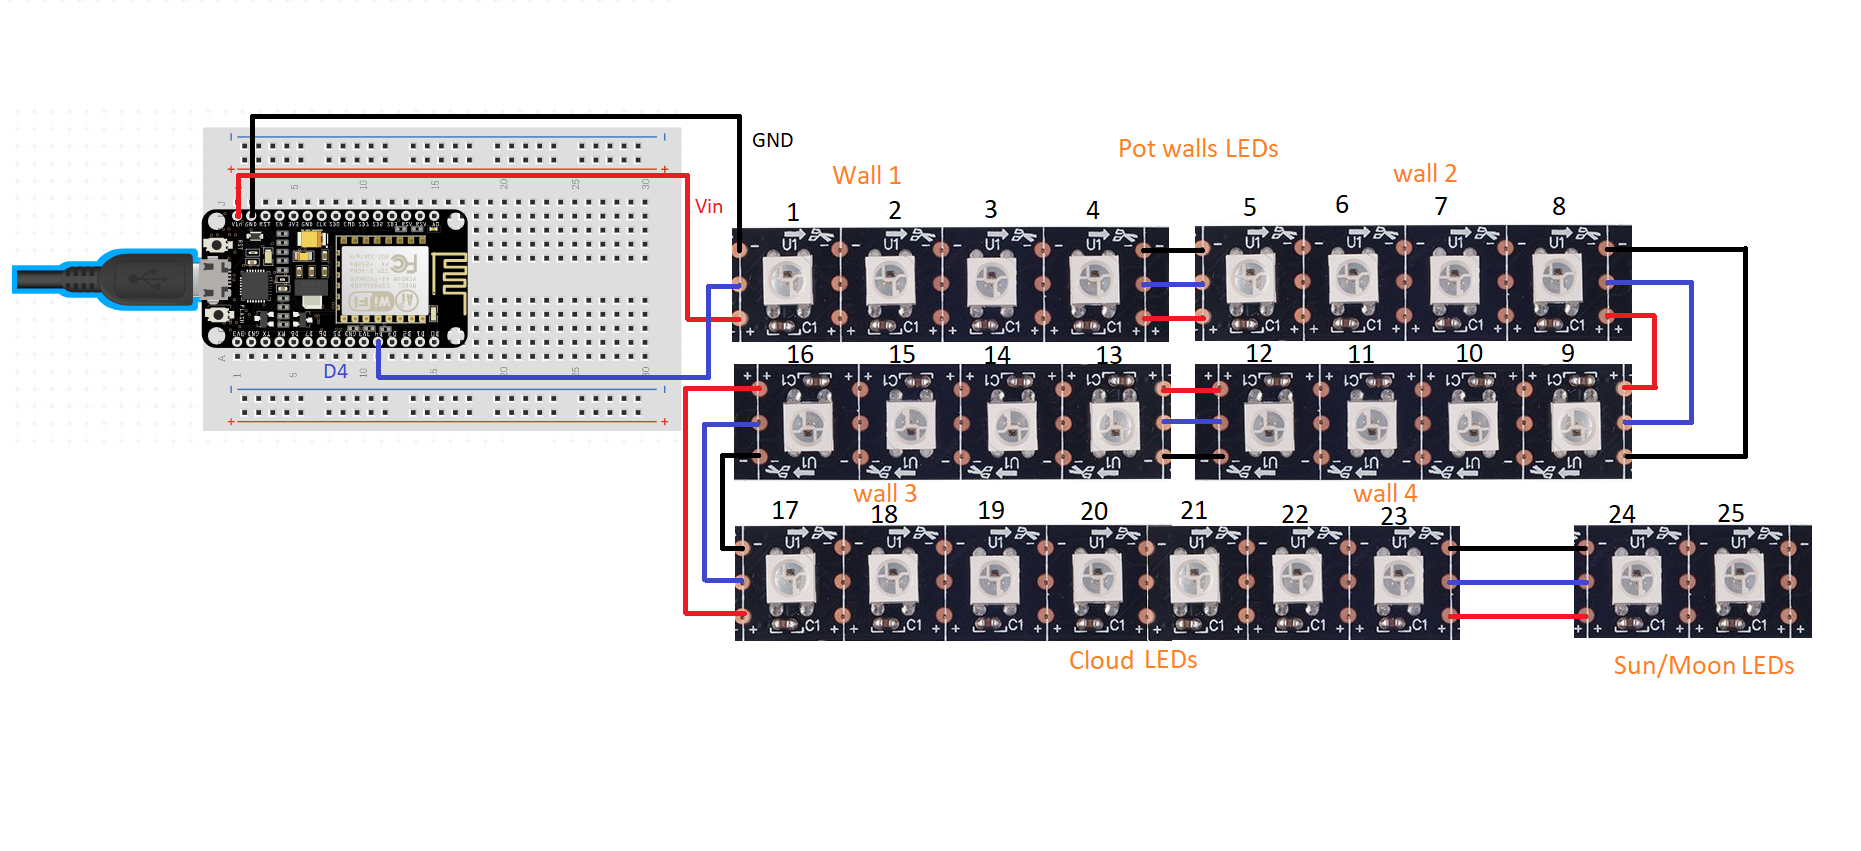

*Make the connections as shown in circuit diagram.
*You can use WS2812B LED Strip instead of individual LEDs.
*The Data pin is connected to pin D4 of ESP8266,GND to GND and 5v to Vin of the NodeMCU.
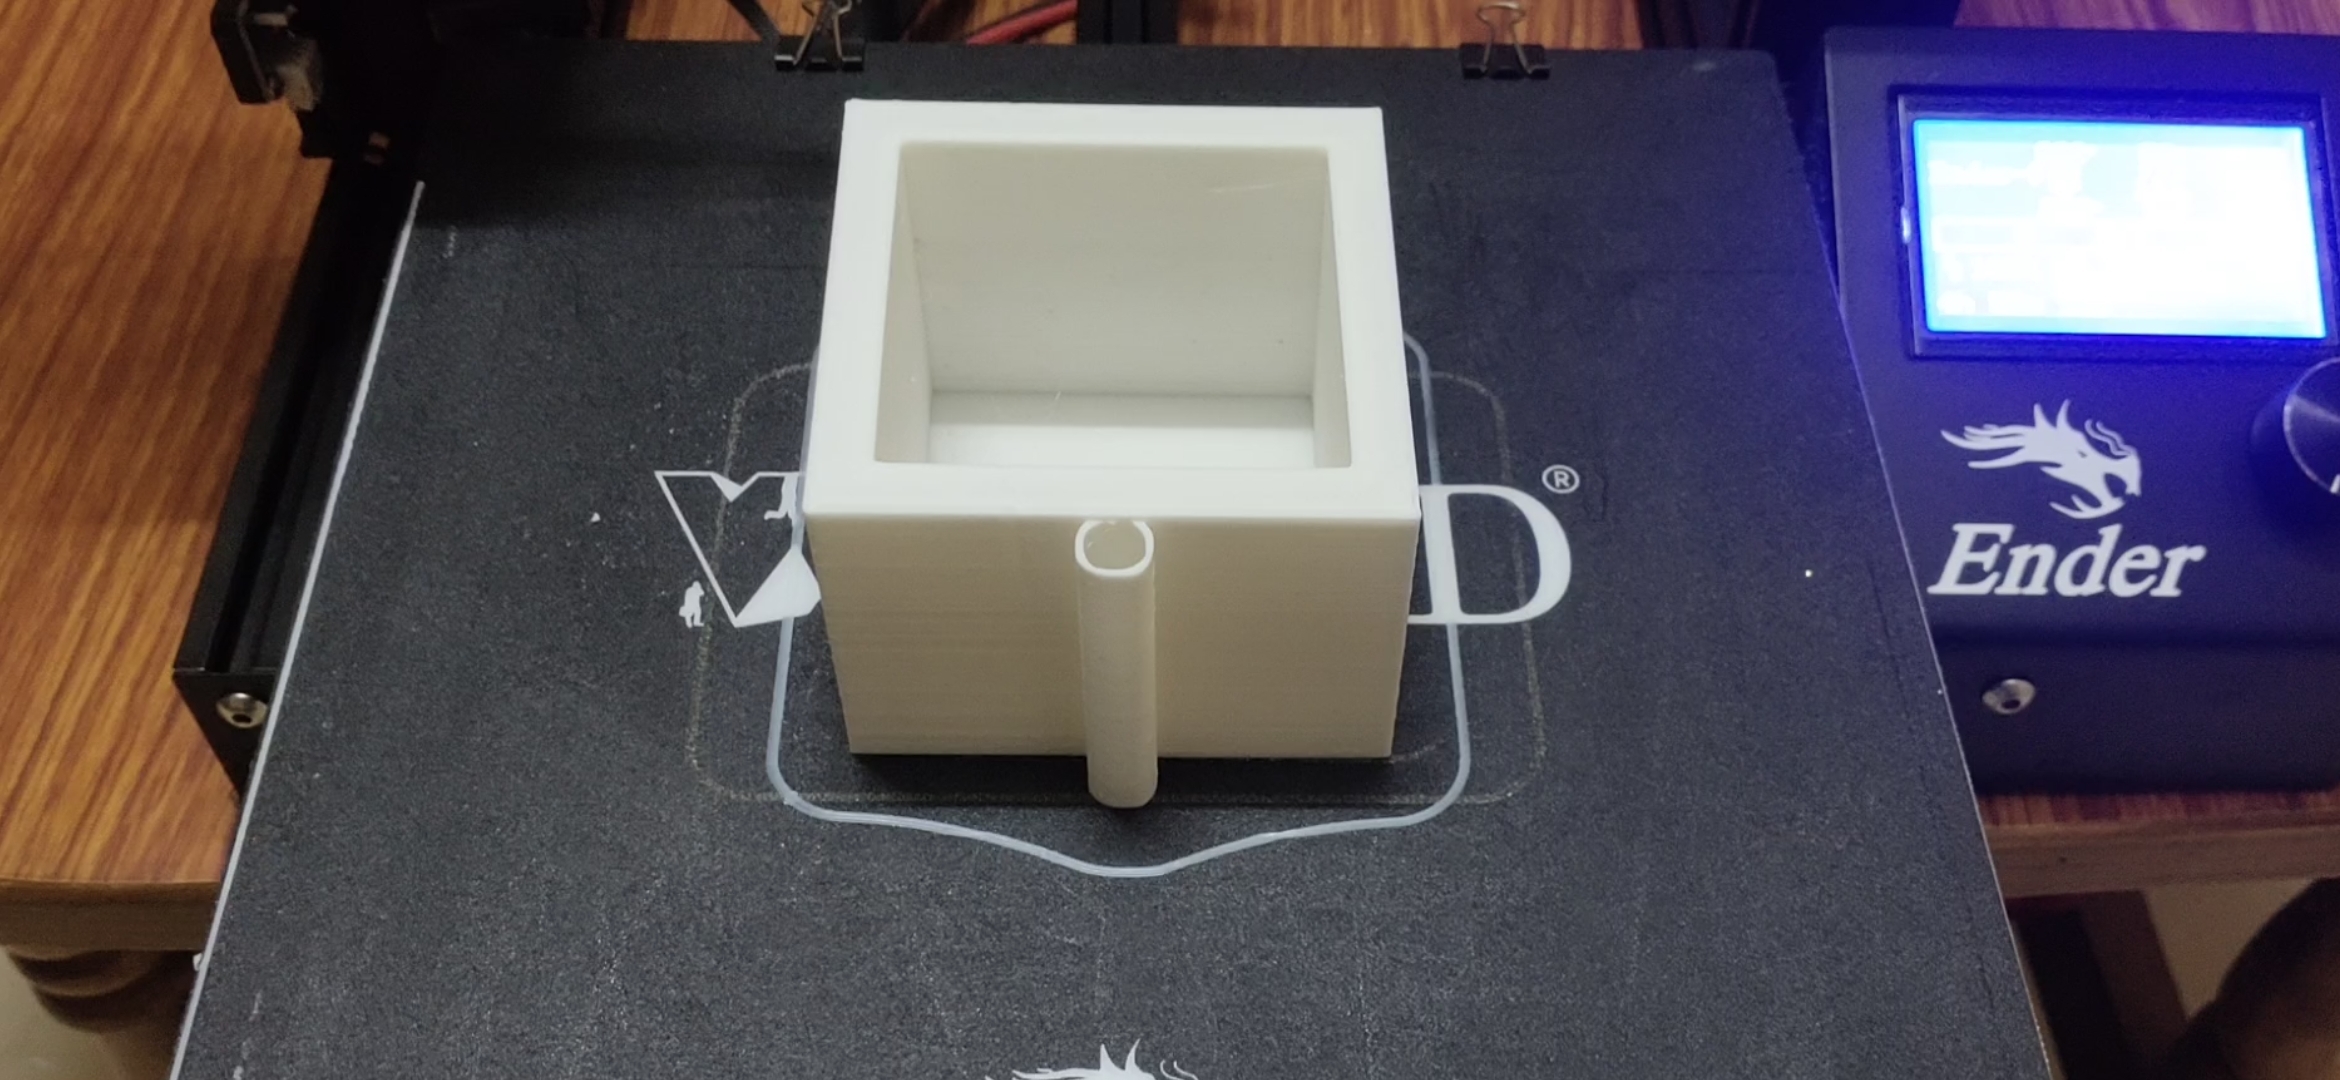
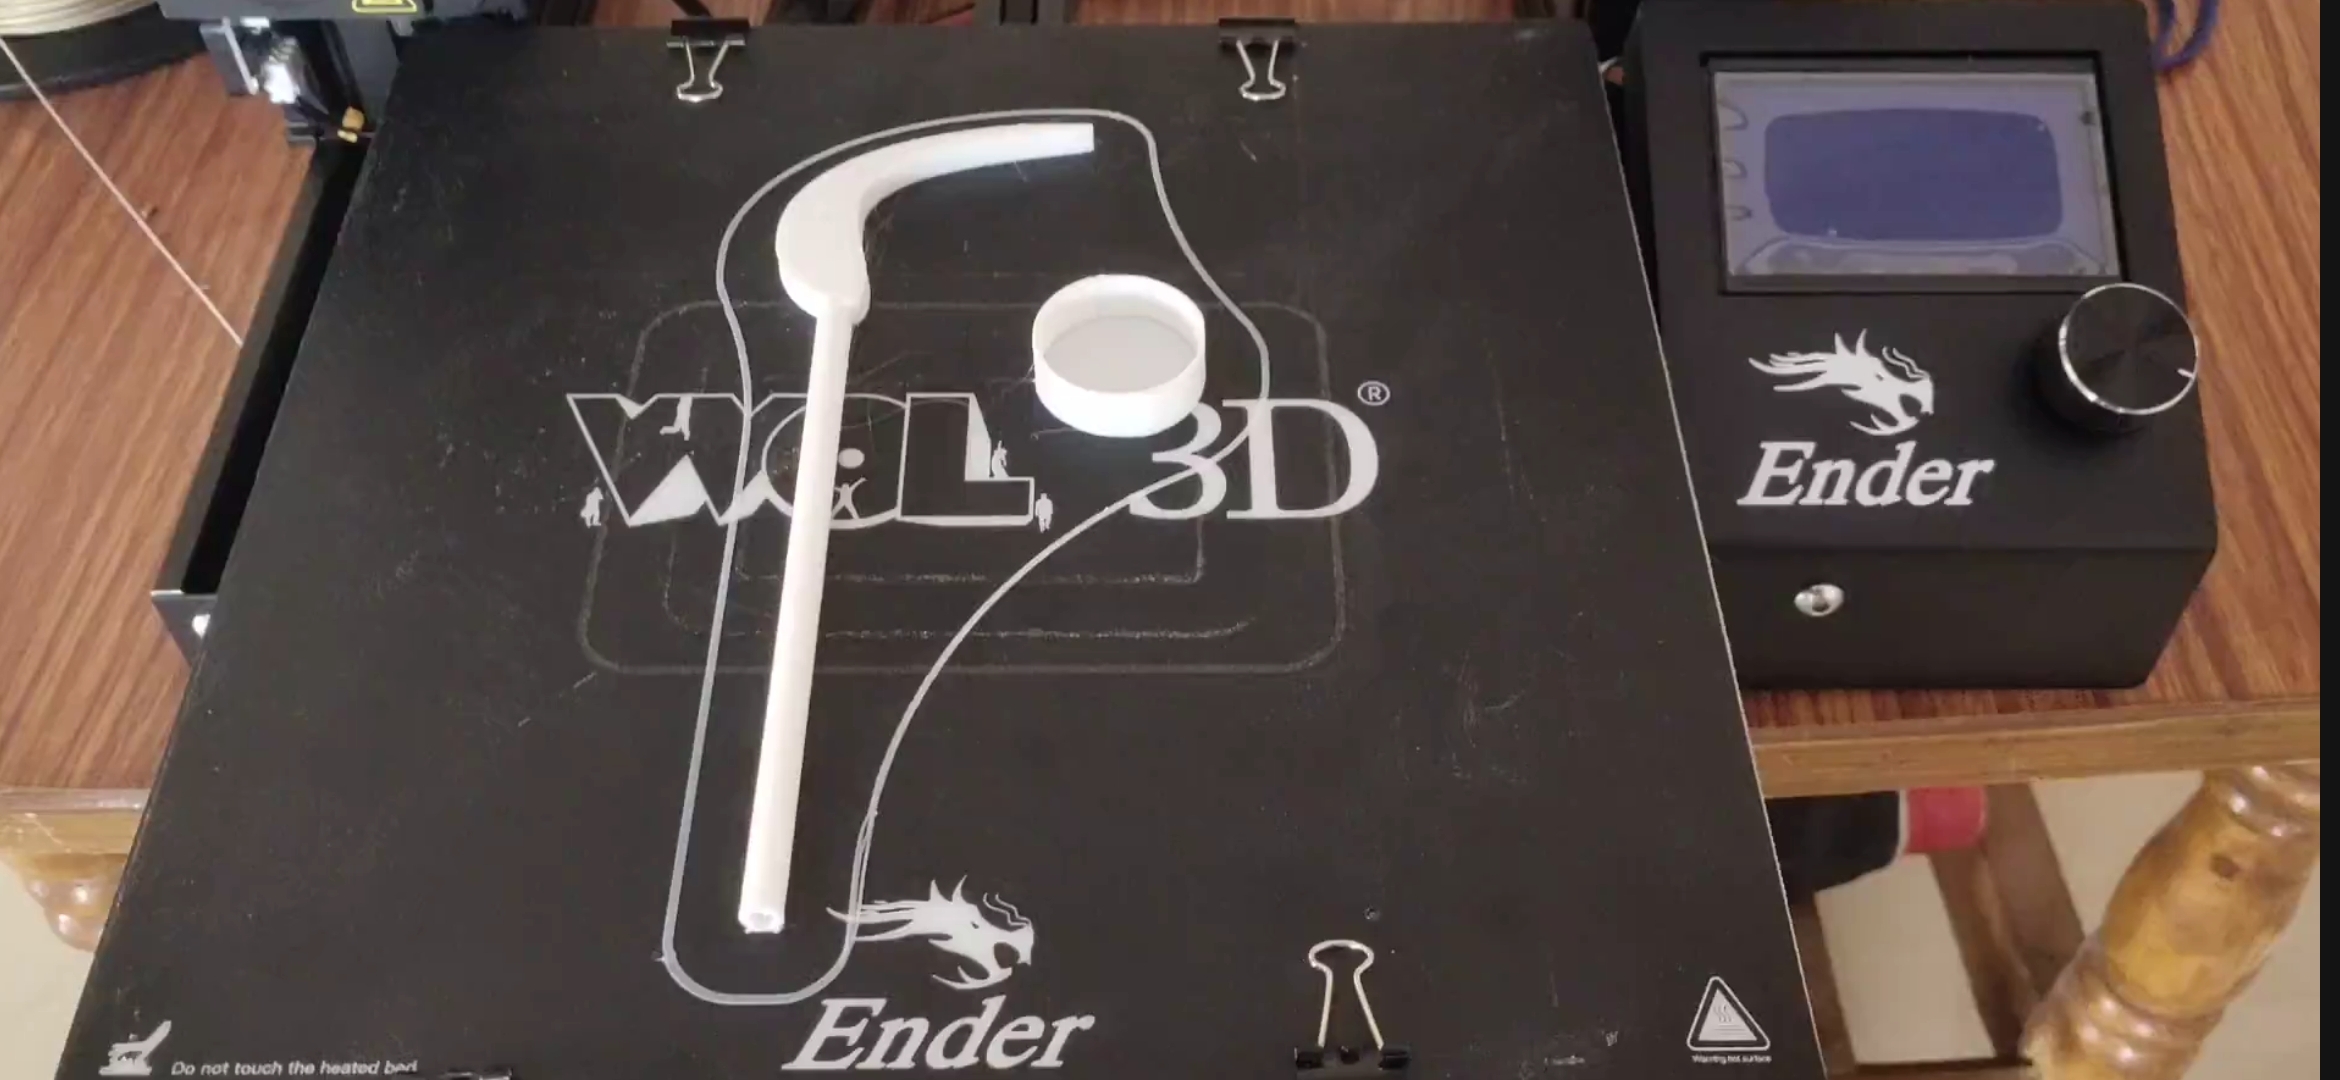
*Make sure that you use 4 LEDs for each wall(4 LEDs x 4 walls = 16 LEDs),7 LEDs for cloud and 2 LEDs for Sun/Moon(3D printed Small Circe).
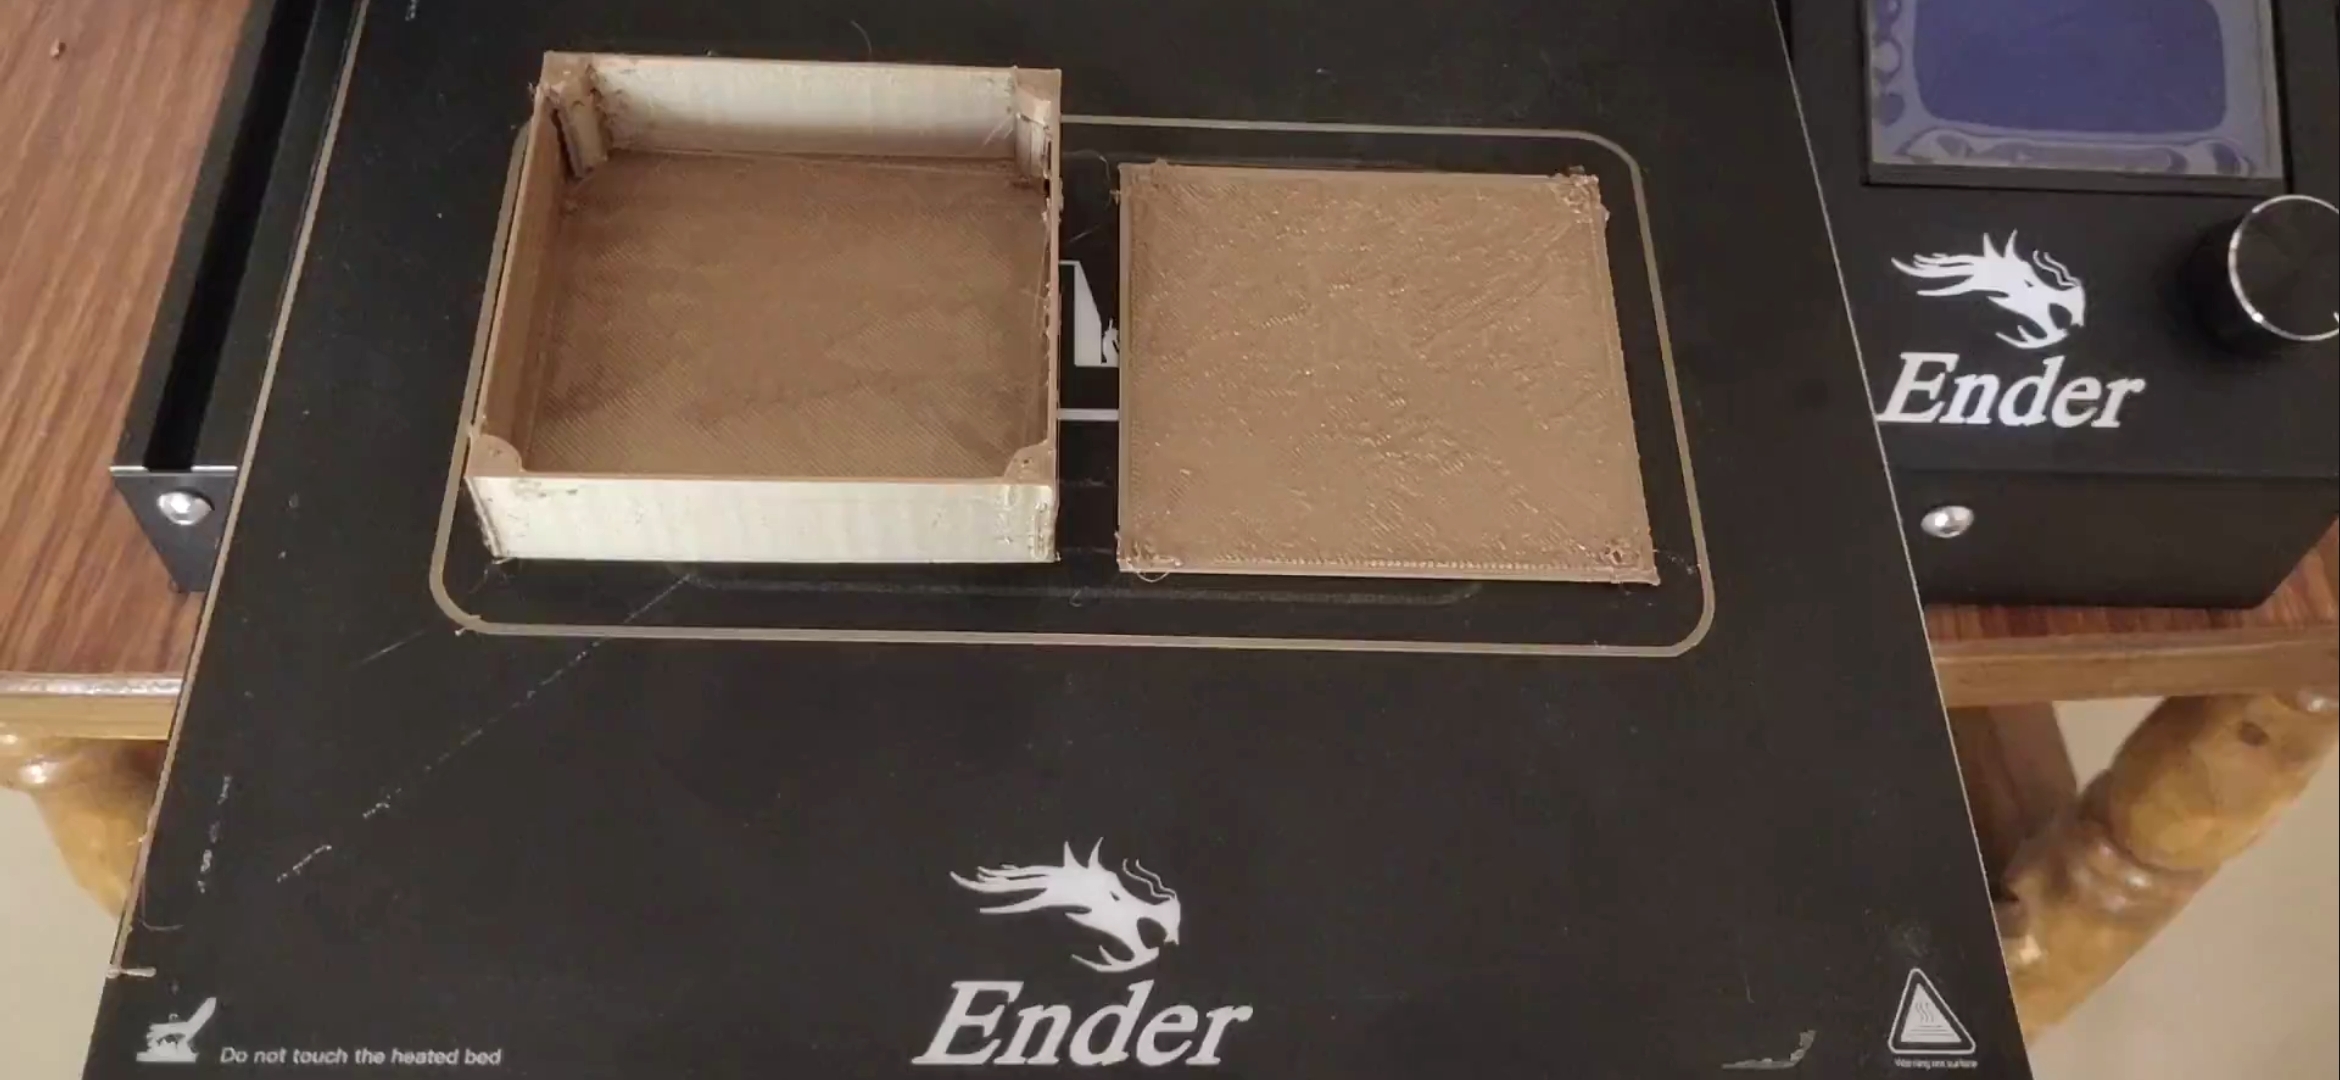
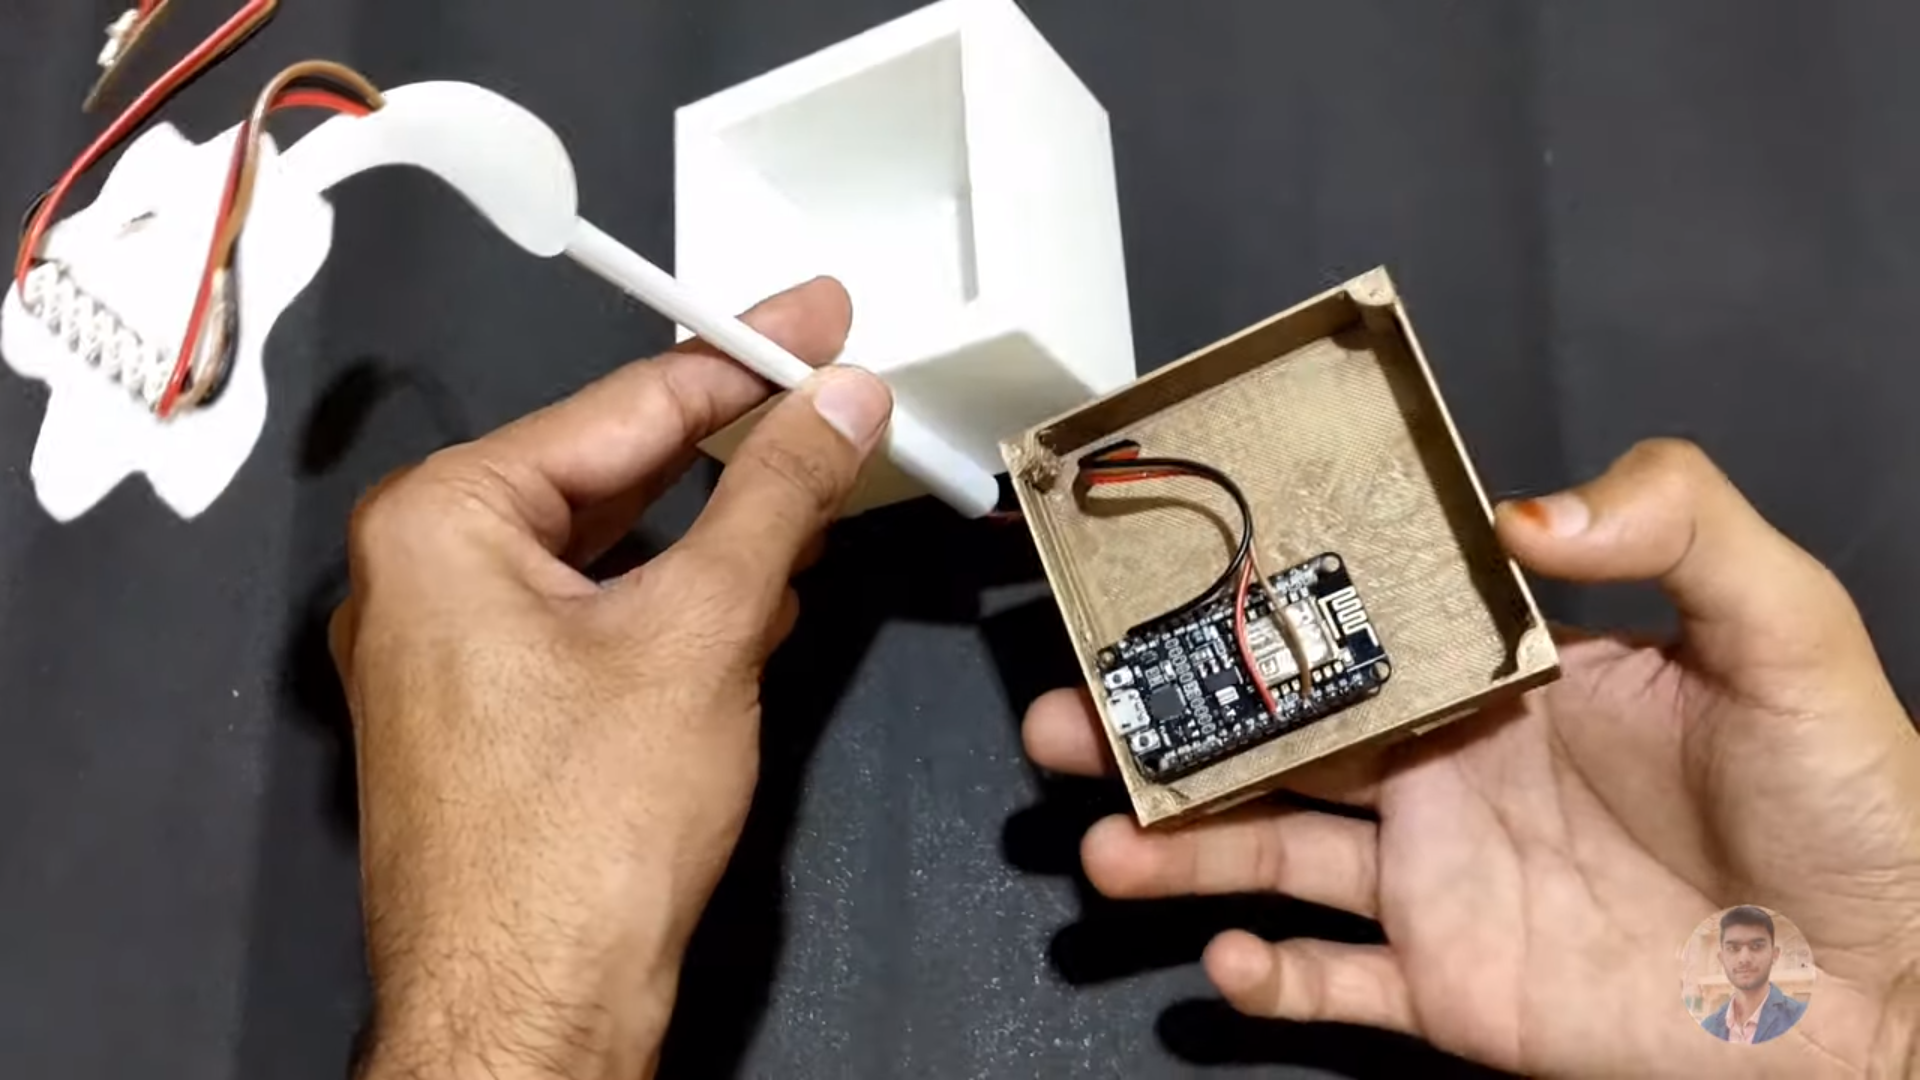
*The ESP8266 board is placed under the base , the base has a 3D printed cover to cover it.
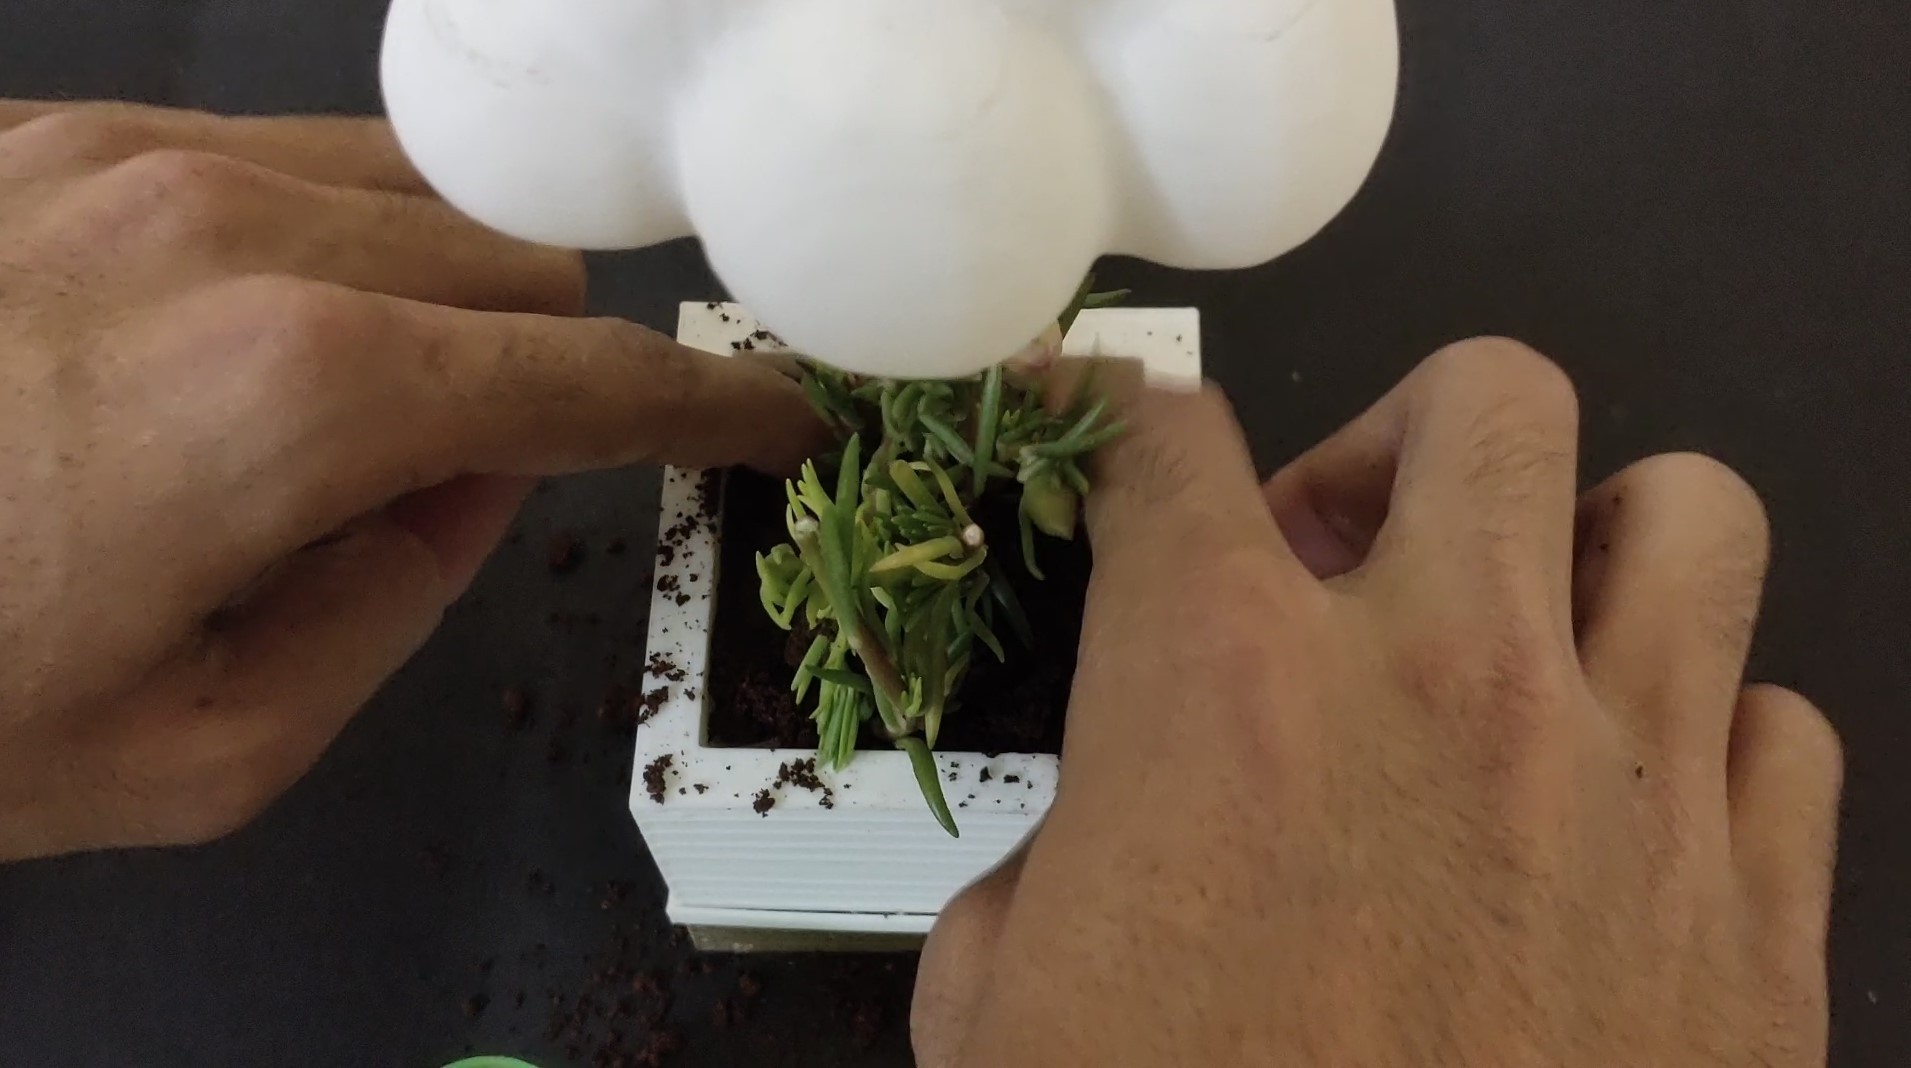
Step 3: Planting
*Put the Soil and pant into the box shaped pot.
*Put a polythene cover into the pot.
Step 4: Coding
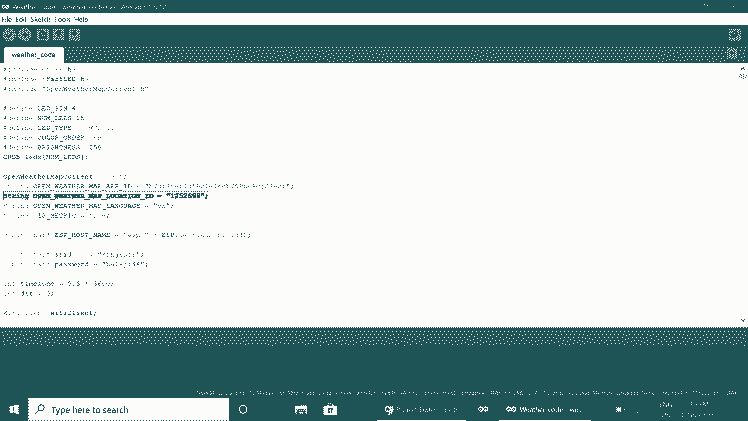
*Open the code given below in Arduino IDE.
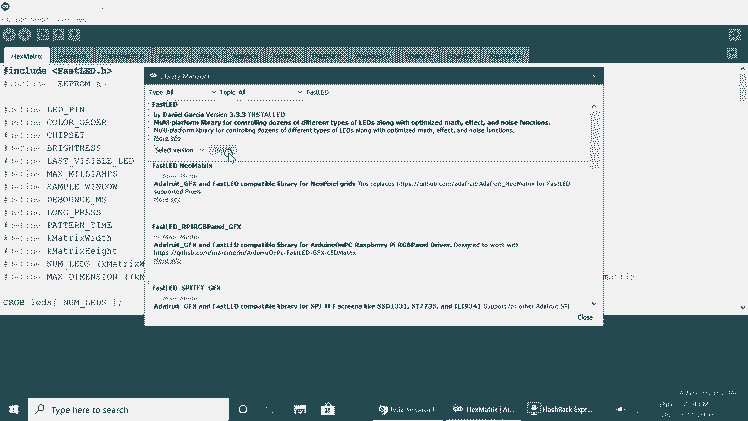
*Make sure that you have included every library's that are mentioned in the code.
*Code: Click here for code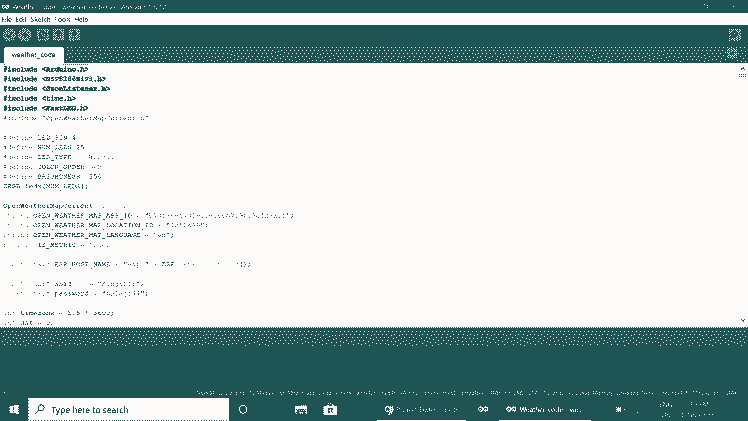

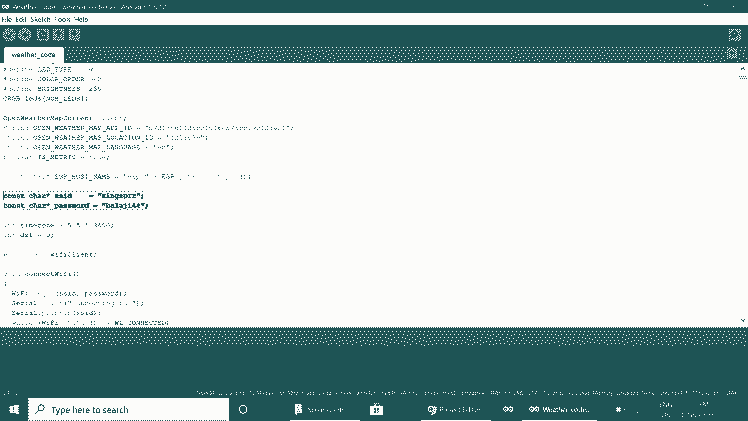
*Now you have to edit this
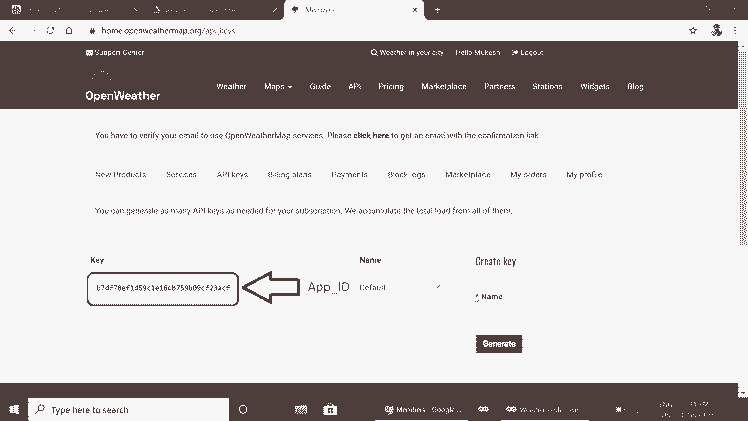
- String OPEN_WEATHER_MAP_APP_ID = "App_ID";
- String OPEN_WEATHER_MAP_LOCATION_ID = "Location_ID";
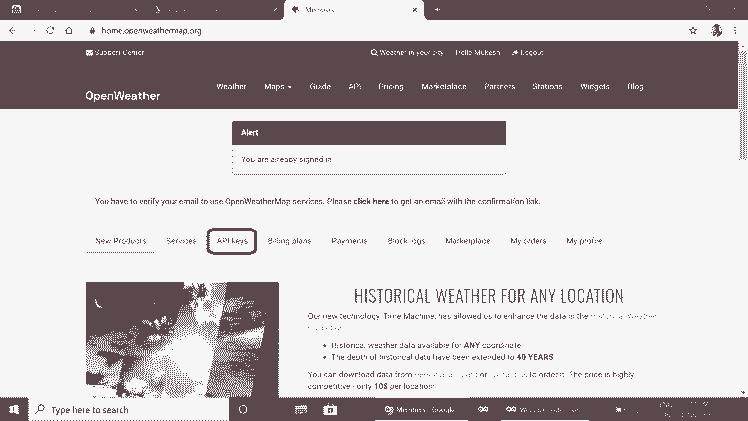
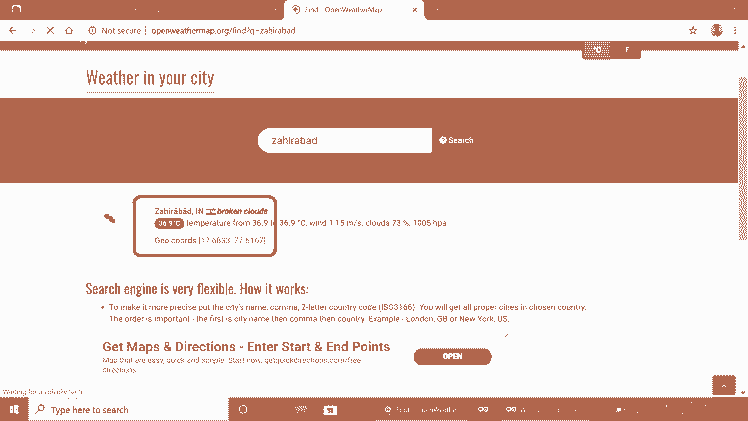
*Open the browser and search for www.openweathermap.org.
*Create a account and login into that website.
*Click on API keys copy the key and paste in the program at APP_ID.
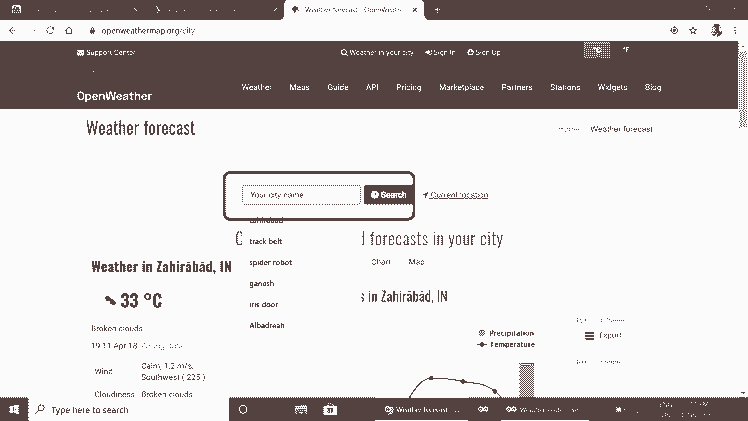
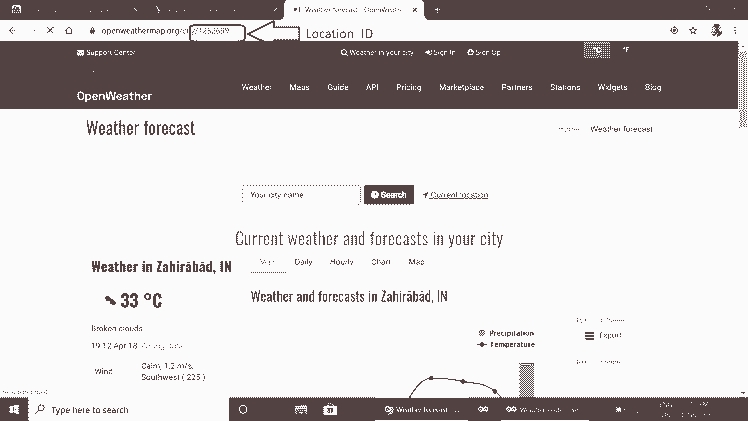
*In the same website search your location open the result and copy the last number from URL and paste it at LOCATION_ID.
*The MAP_ID and LOCATION_ID will be similar to mine.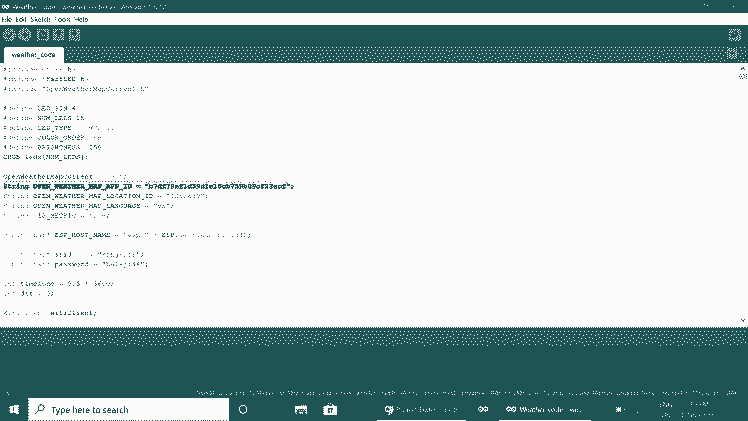
*Enter your Wifi_name at ssid and your Wifi password.
- const char* ssid = "Wifi_name";
- const char* password = "password";
 *Now change the Time zone as per your country Time Zone
- int timezone = 5.5 * 3600;
As per India the Time Zone is 5:30 so I have typed 5.5 similarly you can type your Time Zone.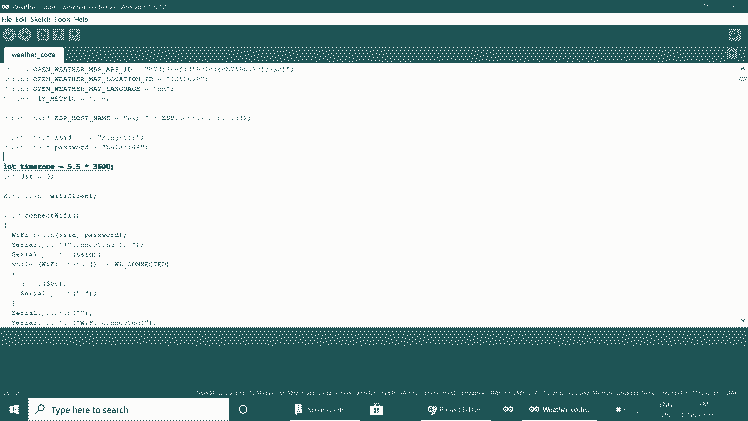
*Now connect the ESP8266 to your PC, select the port and upload the code.
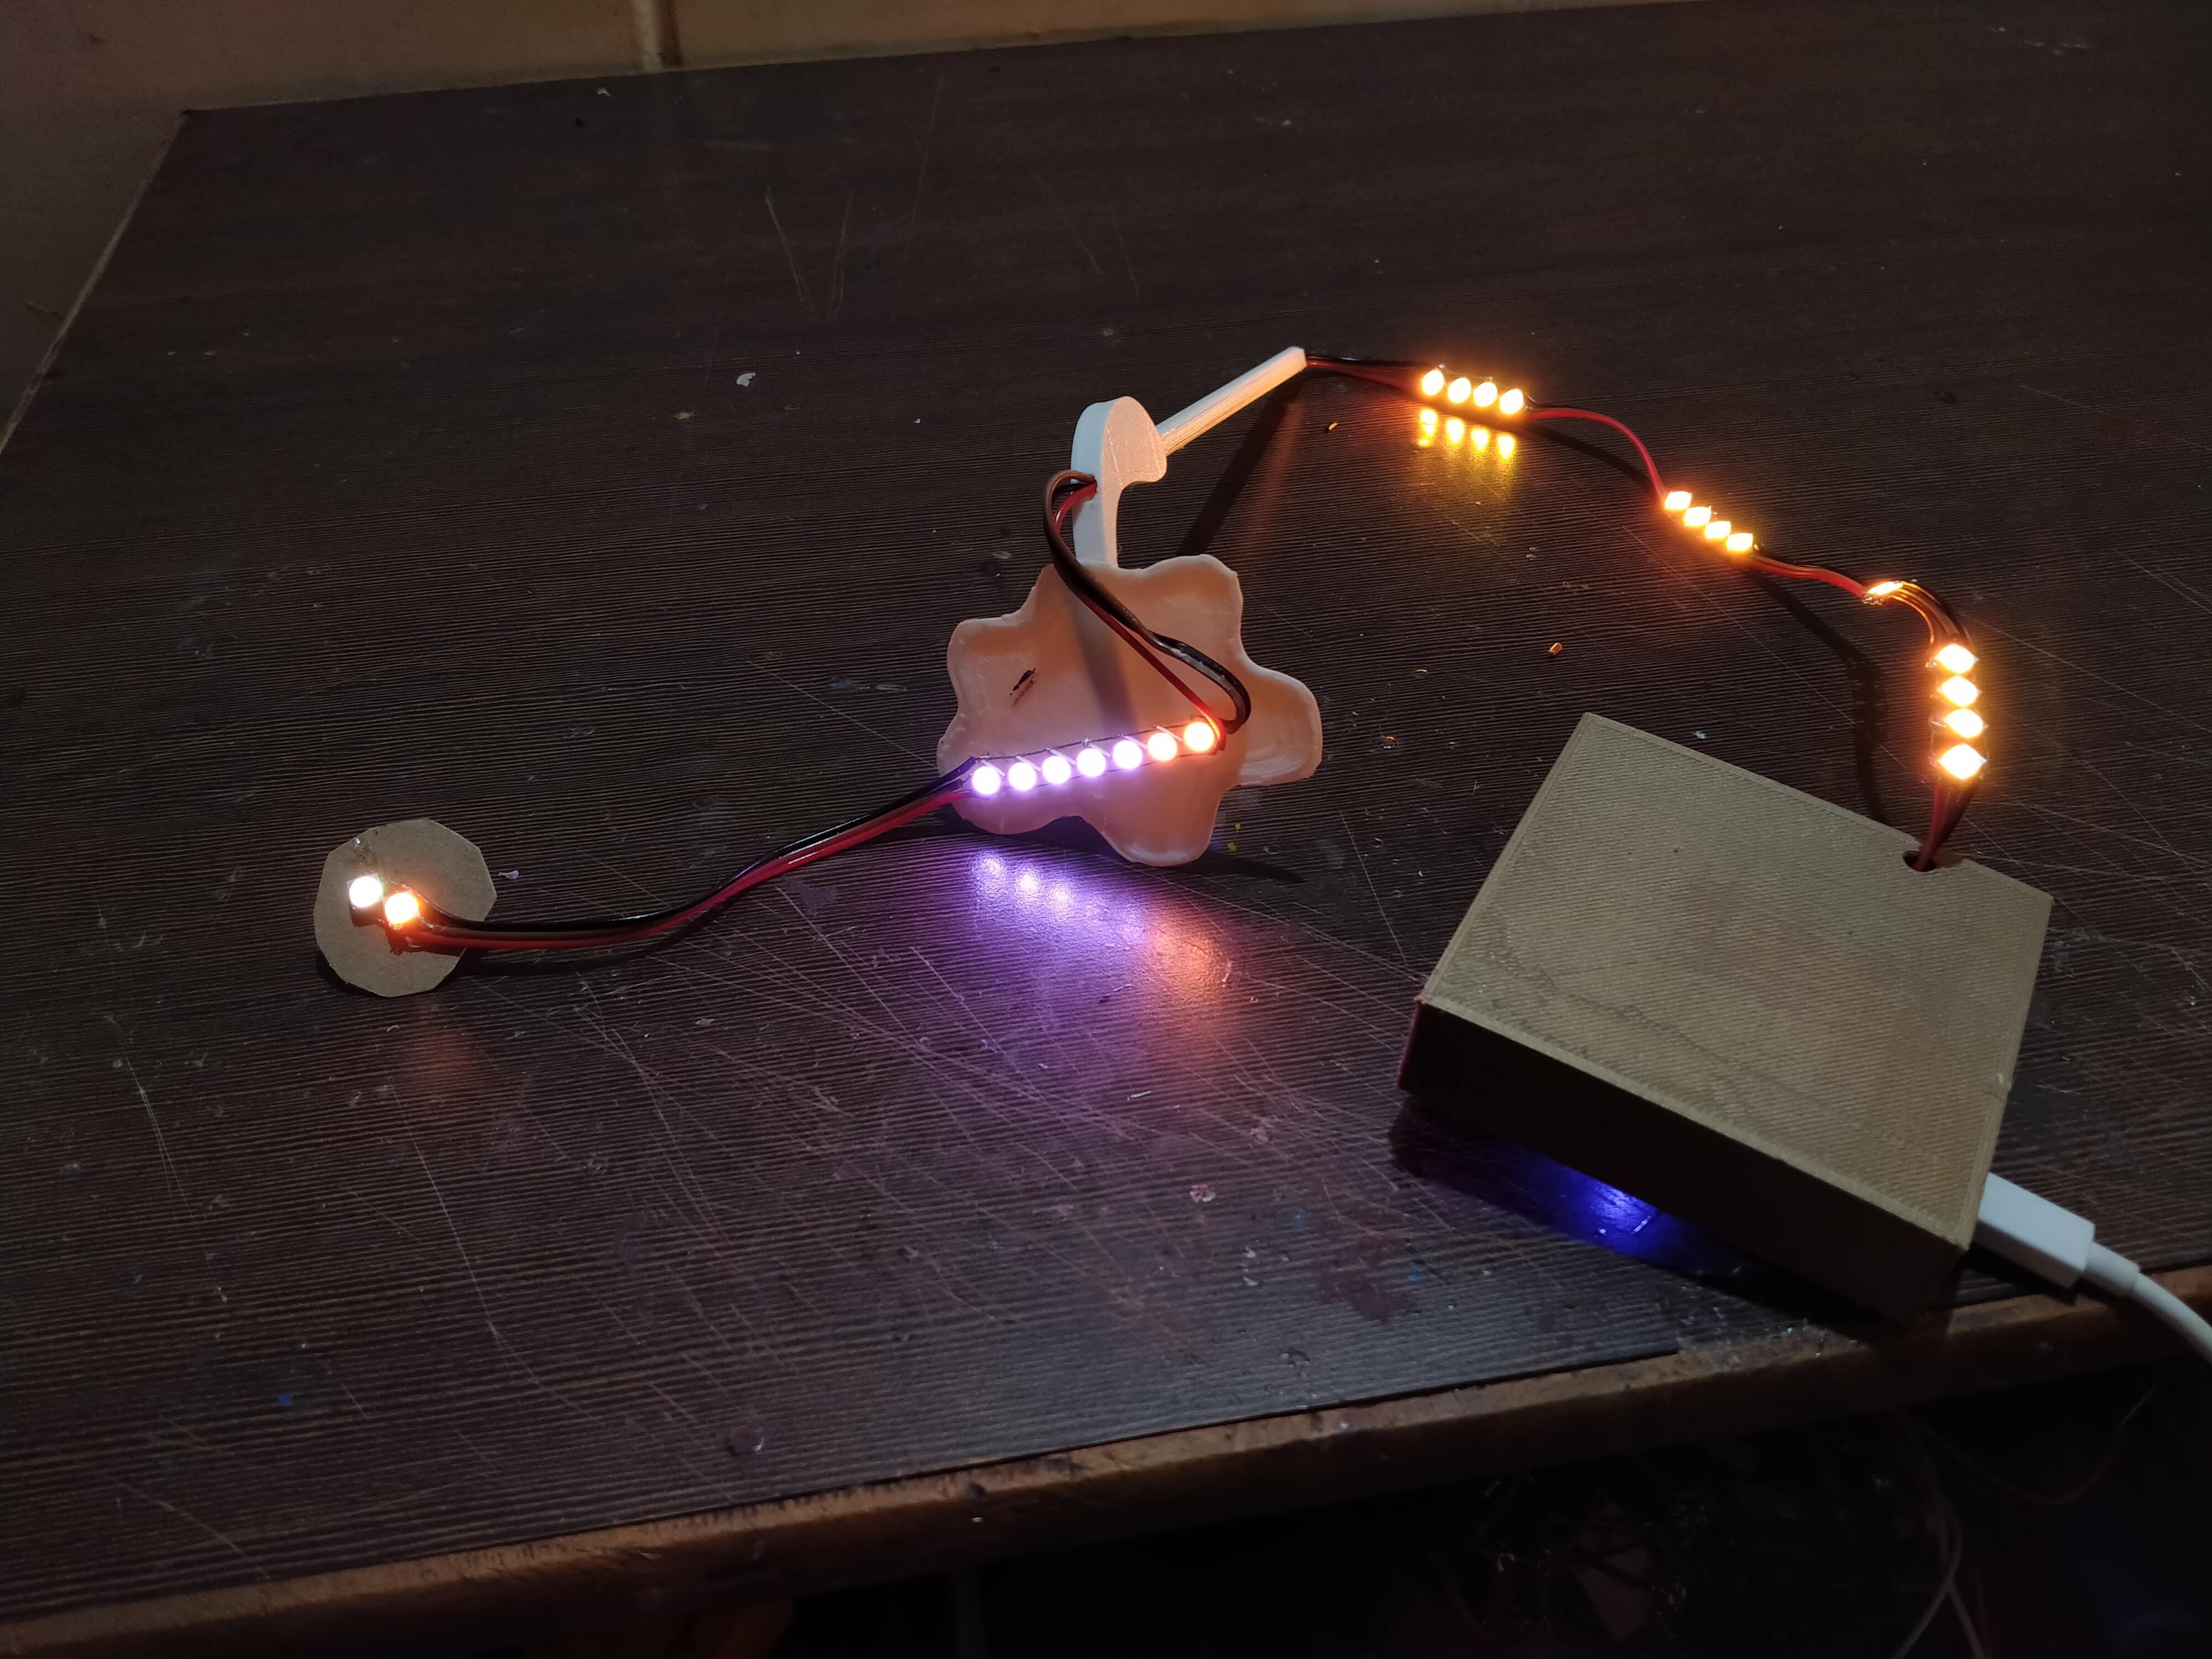
Step 5: Final
Plugin the Micro USB charger and you are done.
Thank You!
Credits
mukesh-sankhla
Tech Educator | Content Creator | Developer | Maker - Simplifying technology through hands-on learning. Creating high-quality tutorials, projects, and insights on electronics, IoT, robotics, CAD, 3D printing, and software development at Empowering students, professionals, and makers with practical, accessible, and inspiring content.

Leave your feedback...