
Diy Smart Bubble Machine

Made by Mellow_Labs / 3D Printing / Art / Home Automation / IoT
About the project
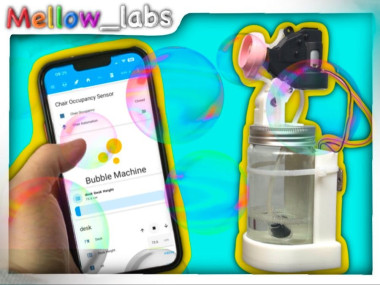
A bubble machine that can be controlled remotely for a home assistant, And also through my live stream chat.
Project info
Difficulty: Easy
Platforms: Arduino, SparkFun, Espressif
Estimated time: 2 hours
License: Creative Commons Attribution CC BY version 4.0 or later (CC BY 4+)
Items used in this project
Hardware components

Story
If you've been following my channel, you'll know that a week after posting a YouTube video, I host a live stream on YouTube. Recently, I added a fun feature that lets you guys adjust the height of my desk through the chat, which turned out to be a huge hit! Motivated by this success, I've decided to give you more control—this time with a bubble machine that you can trigger with chats commands.
The Quest for the Perfect Bubble MachineMy initial idea was to 3D print a bubble machine. Unfortunately, despite several attempts, the results were less than stellar.
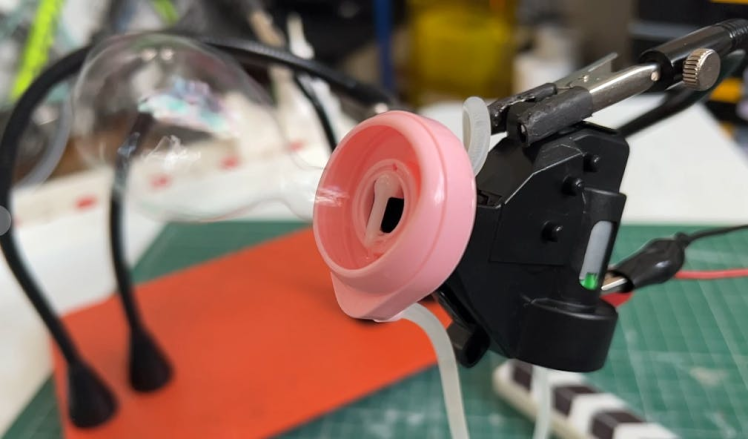
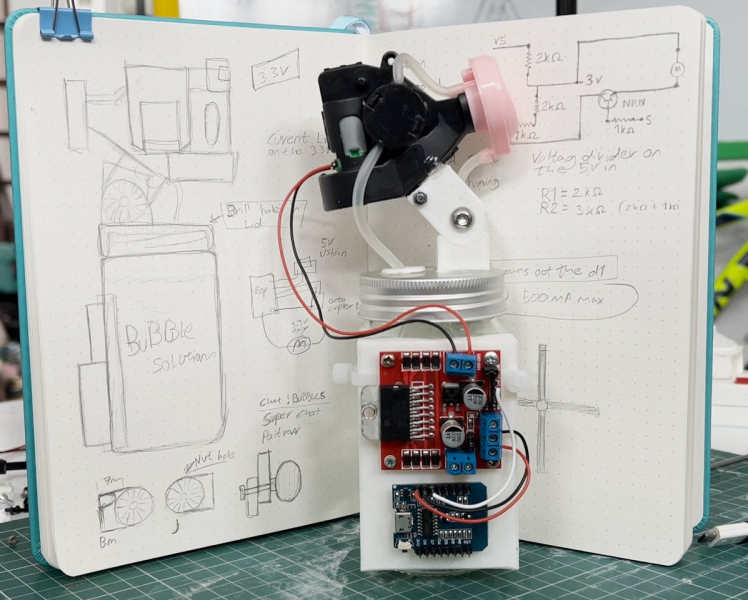
So, I pivoted to a simpler solution—I ordered a few micro bubble machines from AliExpress. These machines are quite ingenious. They come equipped with a blower fan to push air through and a peristaltic pump to drip bubble solution out front, all while recycling any excess back into the container. It's a compact, self-contained design that I really admire for its simplicity and effectiveness.
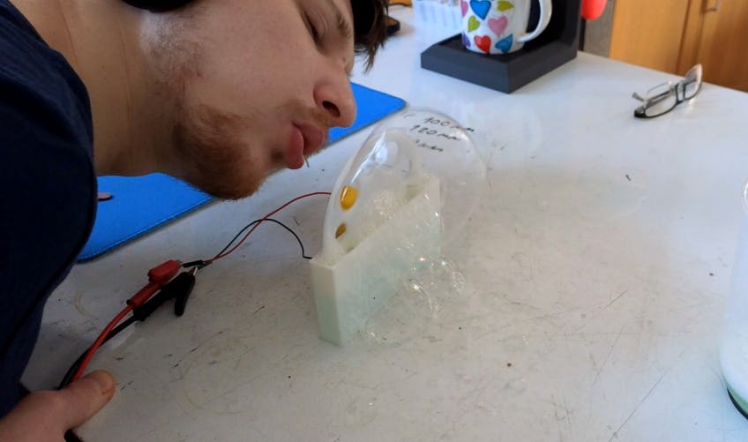
Upon receiving the bubble machines, my immediate task was to determine the best operating voltage. I started testing at one volt, gradually increasing until I found that 3 volts was the sweet spot for steady and effective bubbling.
Crafting the MountTo seamlessly integrate the bubble machine into my live streaming setup, I turned to my trusty tool, Fusion 360, to design a custom mount. The mount needed to securely attach to the side of the bubble container with an outlet positioned just right to maximize the visual effect on camera. After several hours of tweaking and iterating, I had a design that was ready for 3D printing.
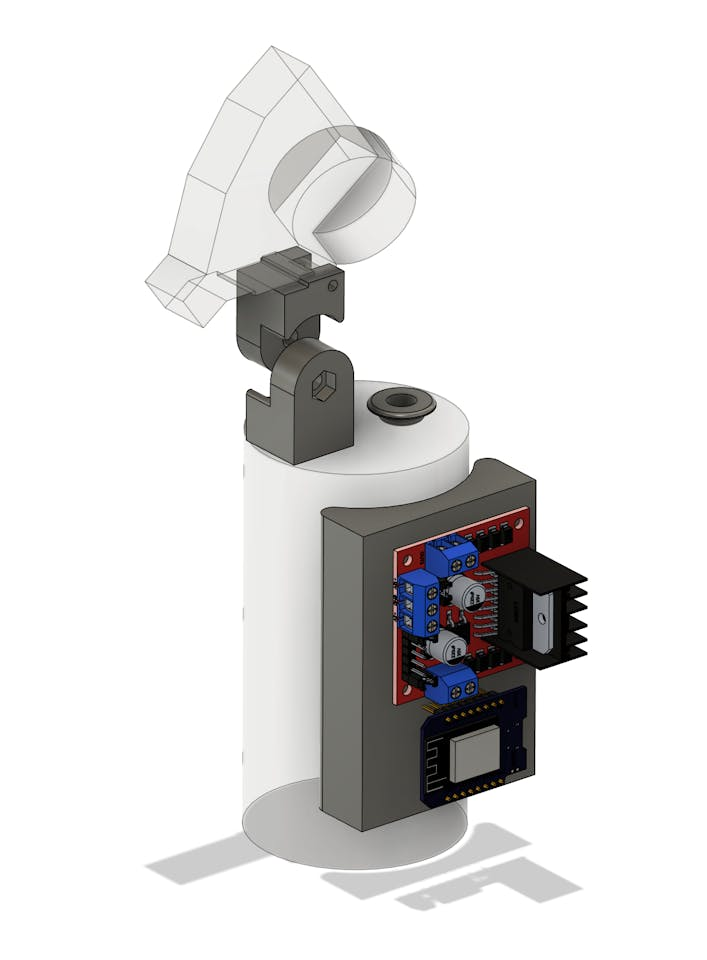
I chose the ESP8266 D1 mini clone paired with a motor driver for the control mechanism. This setup was ideal because it could easily integrate with my existing home automation system managed through Home Assistant. I then mounted the electronics on the 3D-printed base, which fit perfectly around the jar’s curvature.
output:
  - platform: gpio
    pin: D4
    id: Bubble
switch:
  - platform: output
    name: "Bubble Machine"
    id: bubble_machine
    output: Bubble

  - platform: template
    name: "Bubble Machine 10s"
    turn_on_action:
      - switch.turn_on: bubble_machine
      - delay: 10s
- switch.turn_off: bubble_machineAfter printing, I assembled all the parts, paying special attention to the placement of a safety cap over the tubing to prevent any cuts or damage. The final step was to test everything together, making adjustments where necessary to ensure that when you guys trigger the bubble machine during a stream, it works flawlessly without any hitches.
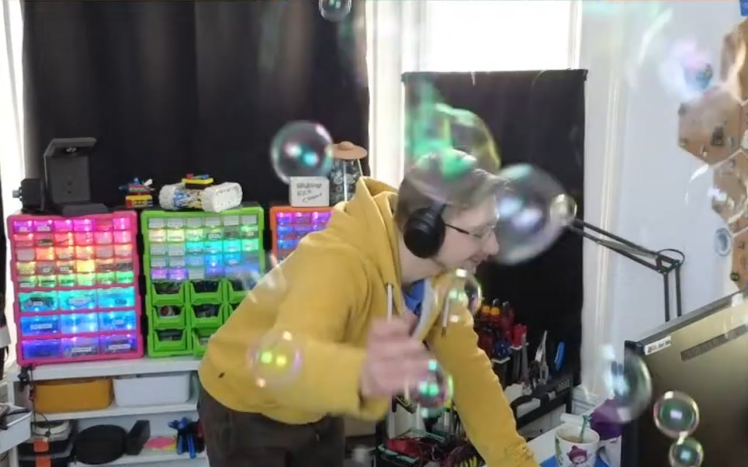
The physical setup was only part of the project; the interactive element was crucial. I wrote a script that allowed the bubble machine to be activated through chat commands in the live stream. Using Home Assistant, I linked these commands directly to the bubble machine's controls, enabling real-time interaction.
Next Live:
Credits
Related products


Leave your feedback...