
Diy Automated Blinds

Made by Mellow_Labs / 3D Printing / Home Automation / Robotics / Sensors / IoT
About the project
I designed and built my own Smart blinds, To maximise privacy And light coming in.
Project info
Difficulty: Difficult
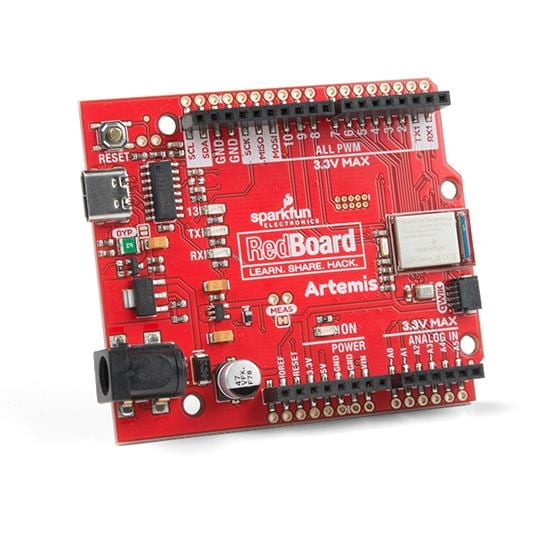
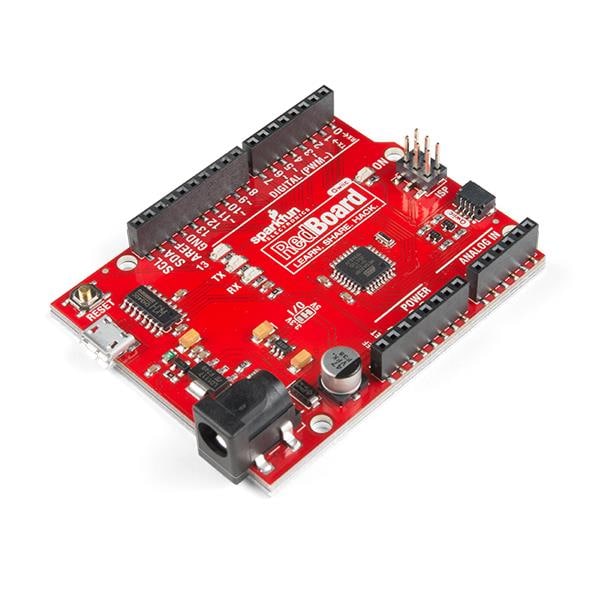
Platforms: SparkFun, Espressif
Estimated time: 7 hours
License: Creative Commons Attribution CC BY version 4.0 or later (CC BY 4+)
Items used in this project
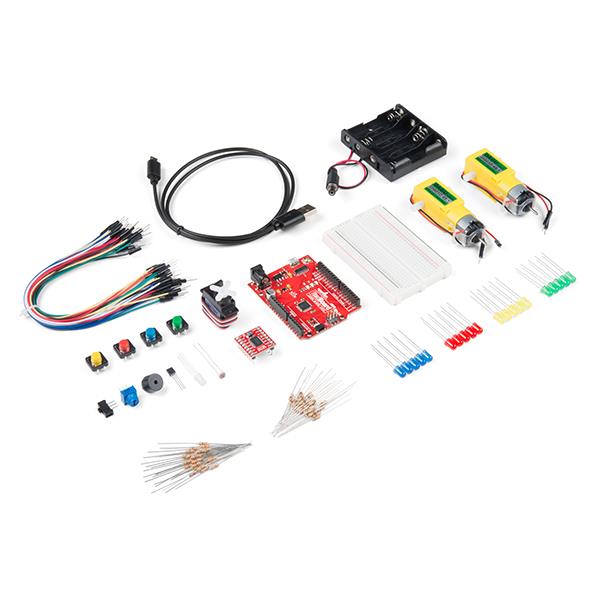
Hardware components

View all
Hand tools and fabrication machines
Story
Why spend more on expensive smart blinds when you can create your own for a fraction of the cost and tailor them to your specific needs?
After extensively researching various smart blinds, I realized that none of them met my needs. I wanted both privacy and natural light, but with traditional blinds, it’s usually one or the other. So, I decided to design my own blinds that rise from the bottom. This way, I can raise them to head height for privacy while still allowing plenty of light in from above. Here’s a draft of my design:
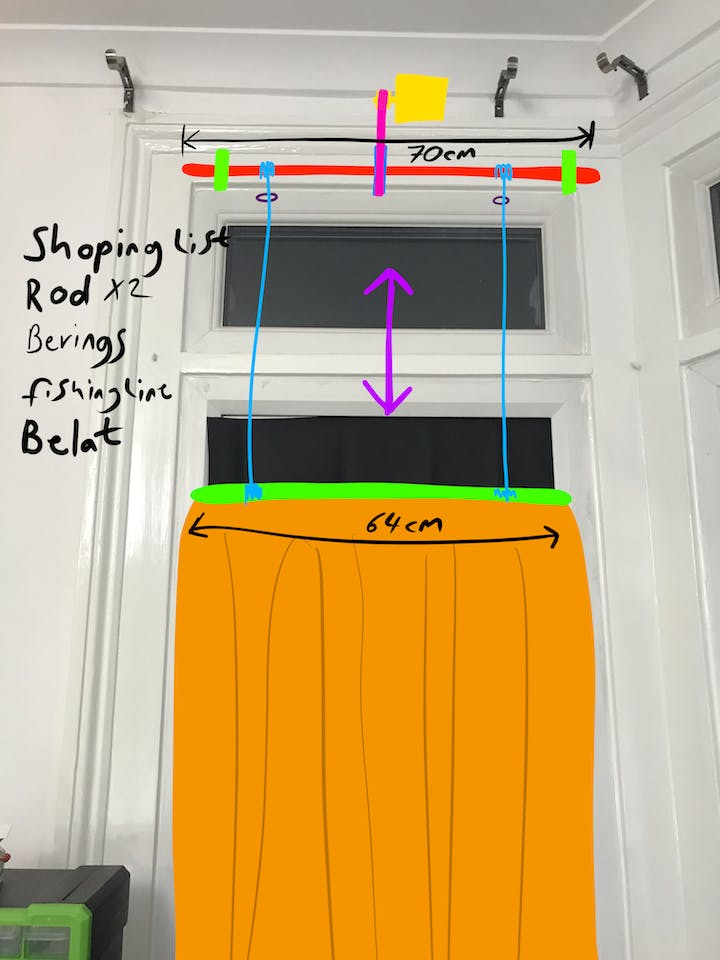
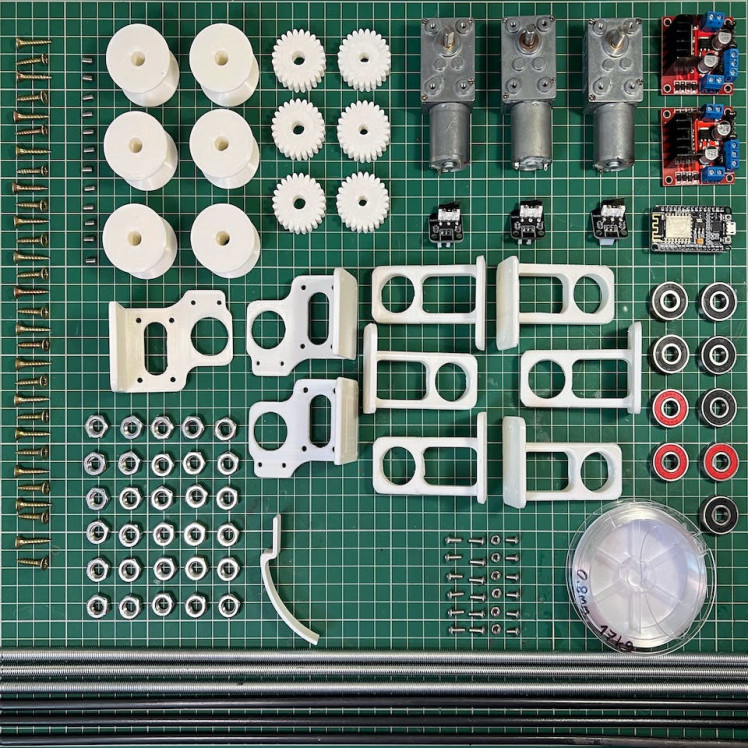
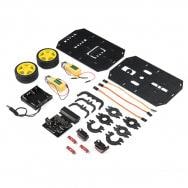
I gathered the necessary materials from my local hardware store and began planning. The main components are centered around an 8mm threaded rod and 3D printed parts. You can find links to all the components and 3D models above.
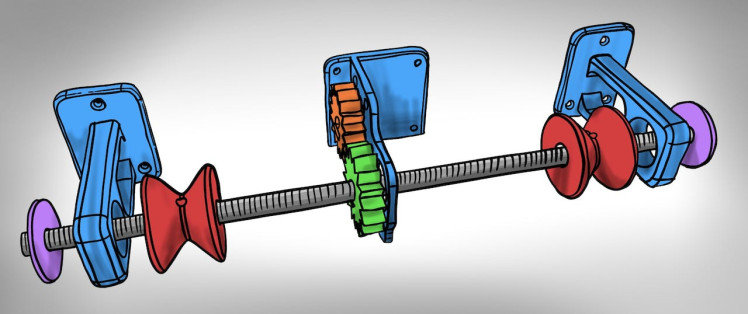
Here’s an illustration of the finished assembly
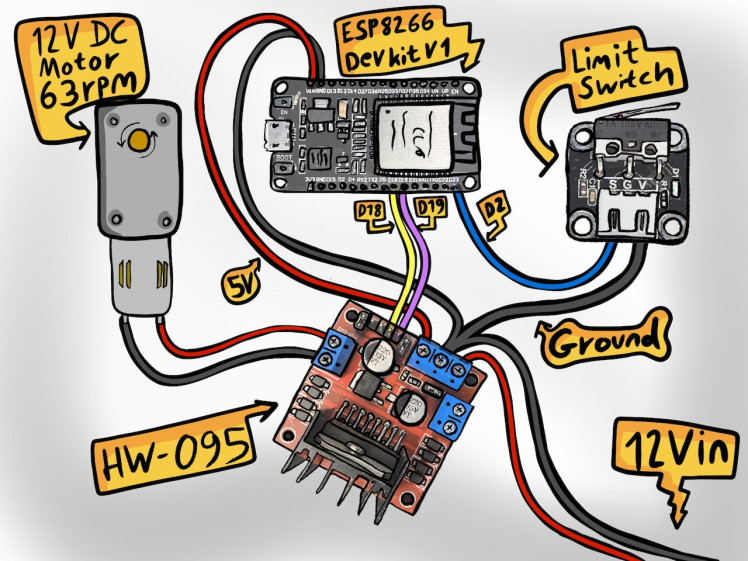
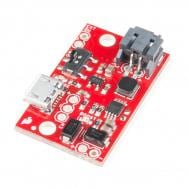
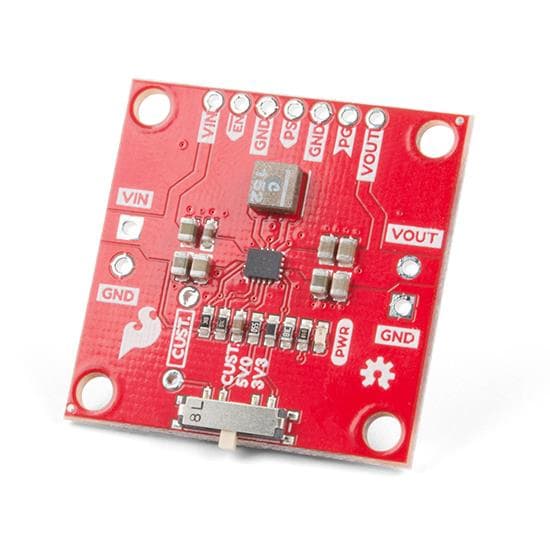
The electronics are relatively straightforward. The system is based on an ESP32 running ESPHome and controls a worm gear motor through an L298N motor driver. There’s also a limit switch at the top to indicate the default position. The blind’s descent is timed, so it needs to be calibrated accordingly. Here’s an illustration of the electronics assembly:
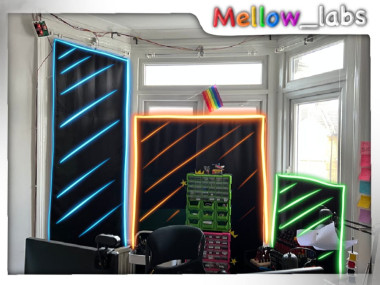
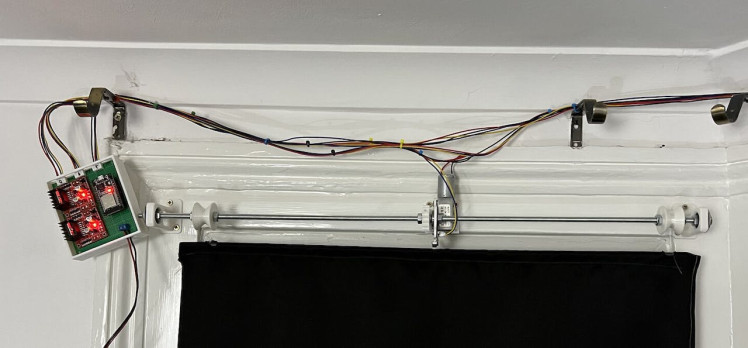
Here’s the completed build. I know it looks exposed and unfinished, but that’s intentional. I appreciate the aesthetic of transparent electronics!
1 / 2

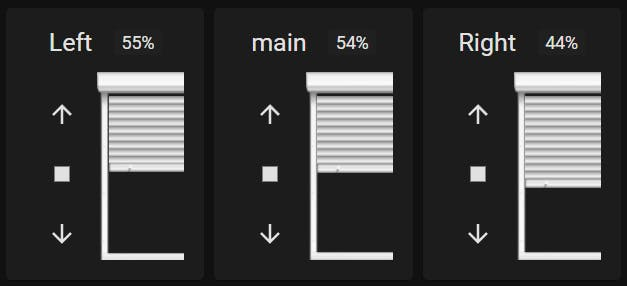
I’ve integrated it with my Home Assistant, which allows me to set the blinds to a specific percentage of openness.
If you enjoyed this project, please consider supporting me on Patreon. Your support helps me continue creating and sharing fun projects like this one.
You can find more cool stuff at https://www.patreon.com/Mellow_labs
Thank you for reading this blog post and watching my video. I hope you found it as enjoyable as I did creating it. Let me know your thoughts in the comments below and don’t forget to subscribe to my channel for more awesome DIY projects!
CAD, enclosures and custom parts
Code
Credits
Related products


Leave your feedback...