
Launch applications using an RFID card reader and Raspberry Pi
The humble keyboard and mouse are traditional forms of input that are used to control computers. But for those of us too young, or those requiring a computer to be adapted for their needs, these traditional interfaces are not suitable and we need to adapt how we offer an interface for the user.
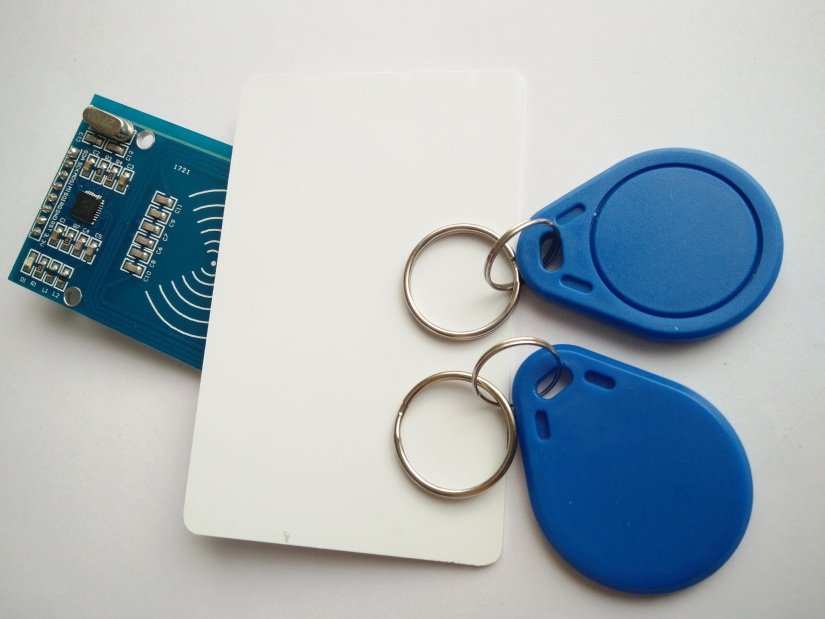
RFID (Radio Frequency Identification) uses cards or tags that come with a built-in chip and antenna that receives power from a reader device. Once powered these chips can send data, in many forms, to the reader which can then be used as a form of input. Typically an RFID tag will have an ID number, and in some cases, the tag can be written to and used to store small amounts of data, for example, website links and business cards.
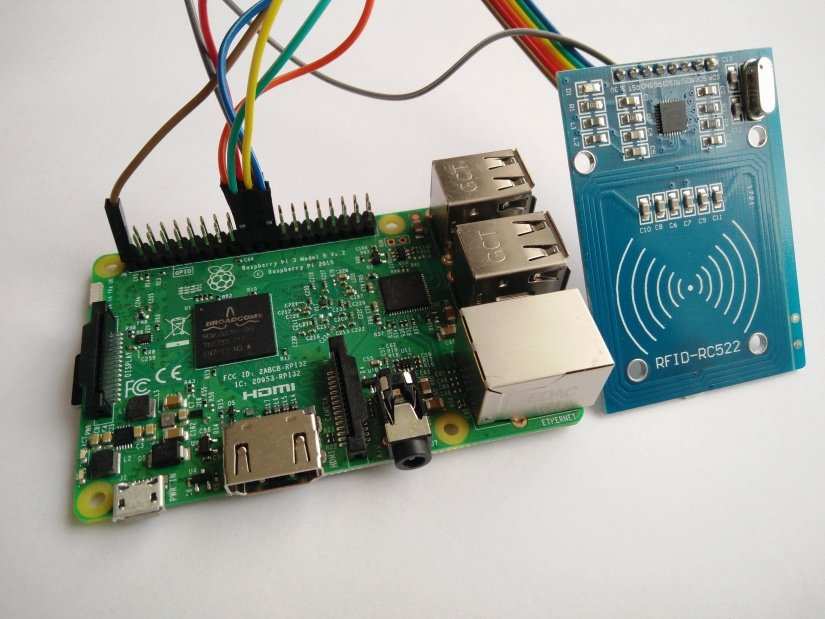
In this project we shall use an RFID card reader connected to our Raspberry Pi to read card details and use the ID number of a card to trigger an application to open, or a task to be completed.
For this project you will need
- A Raspberry Pi (any model)
- The latest Raspbian operating system
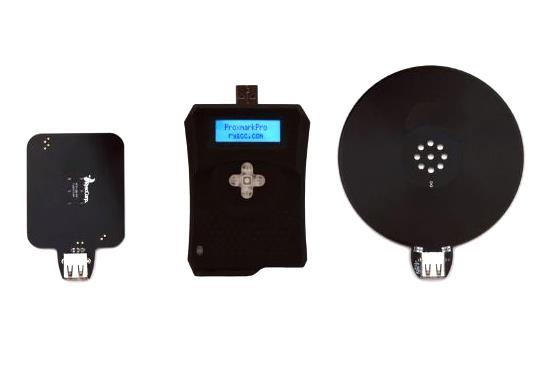
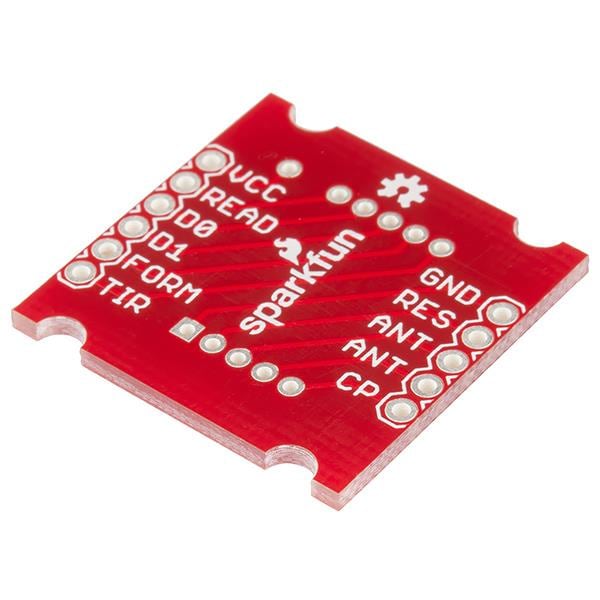
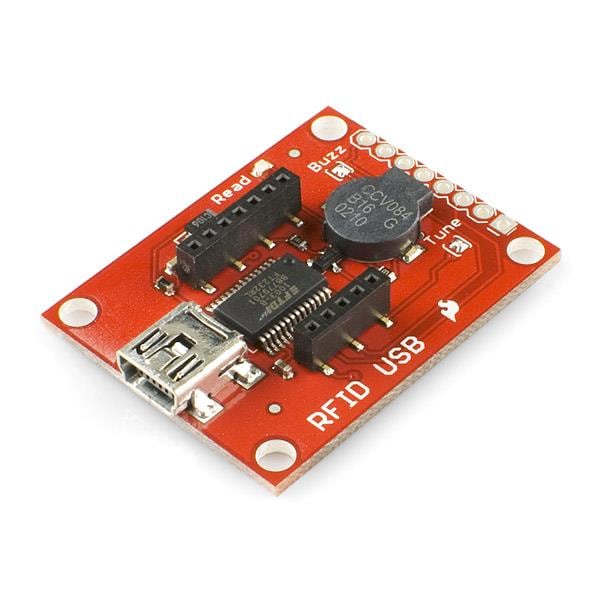
- A Monk Makes Clever Card Kit
- All of the peripherals needed to connect and use your Raspberry Pi
- An Internet connection for your Pi
- All of the code for this project can be found and downloaded here
We are using the Monk Makes Clever Card Kit ($20/£15) as it contains everything we need to build the project and it comes with a great book that contains further projects.
Building the Hardware
With the Raspberry Pi turned off we need to connect our RFID reader to the GPIO as per this diagram.
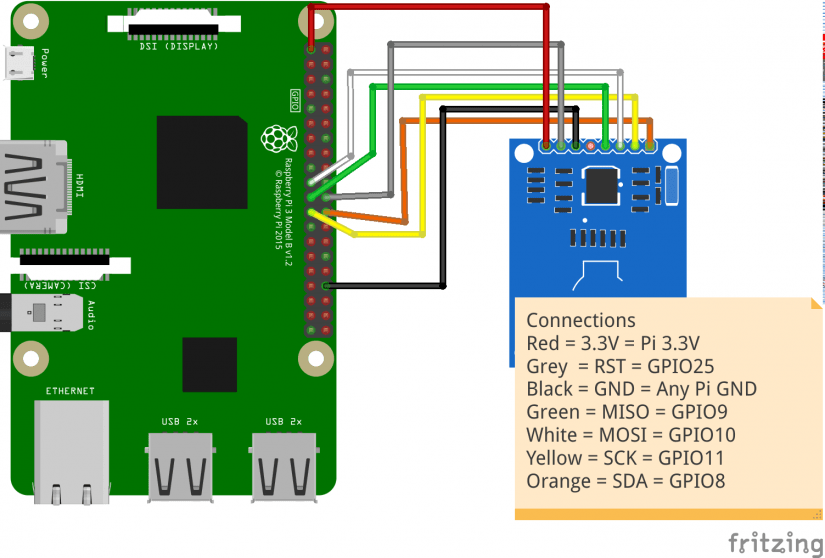
The connections are as follows
| Colour | RFID Reader | GPIO |
|---|---|---|
| Red | 3.3V | 3.3V |
| Grey | $80 | 25 |
| Black | GND | Any GND |
| IRQ | Not Used | Not Used |
| Green | MISO | 9 |
| White | MISO | 10 |
| Yellow | SCK | 11 |
| Orange | SDA | 8 |
Once the connections are made, we can now connect the rest of our accessories and power up the Raspberry Pi to the desktop.
Setting up the Raspberry Pi

Our first software setup task is to enable the SPI interface on our Raspberry Pi. This interface is used to enable our RFID reader to talk to the Pi. On the Raspbian desktop we need to click on the Raspberry in the top left of the screen and next move the mouse to Preferences and then click on Raspberry Pi Configuration. We next click on the Interfaces tab and then enable the SPI interface, click Ok and now would be a great time to reboot the Pi to ensure the SPI interface is configured correctly.
With the Pi rebooted and back to the desktop we can now start setting up the software that will power the project. To make this easier I have written a small installer application that can be downloaded via the terminal, the icon for which is in the top left of the screen.
In the terminal type the following code to download.
wget https://raw.githubusercontent.com/lesp/Electromaker-RFID/master/installer.sh
This will download a copy of the file to your Pi. To run the file, in the terminal type this line, followed by the Enter key.
bash installer.sh
The install process will take a few minutes to complete, but once completed it will return control back to you. We can now close the terminal and start writing the Python code for the project.
Coding the project
Reading the tags
Let's start by creating some code that will read the RFID tags and then save the tag ID to a text file. Open the Python 3 Editor found in the Programming menu. Once the application is open, click on File >> New to create a new blank file, now immediately save the file File >> Save as ID-Reader.py
Remember to save often!
We need to know the ID number of the tags for us to check if the correct tag has been presented to run the corresponding code. The ID-Reader.py code will read the tag and then save it into a text file called ID.txt, saved in the same location as the ID-Reader.py code.
To start the code for the reader, we first import three libraries, the RPi.GPIO library to use the GPIO, SimpleMFRC522 which is the RFID library for Python, and lastly, we import the sleep function from the time library. We use this to control the pace of the code. Add this code to your project before moving on.
import RPi.GPIO as GPIO
import SimpleMFRC522
from time import sleep
Now let’s create an object that we can use in the code as a reference to the RFID reader connected to the GPIO. Add this code to your project before moving on.
reader = SimpleMFRC522.SimpleMFRC522()
To save the tags to a file, we need to tell ID.txt to create/open a file called ID.txt and set the file so that we can append, which means to add data to the end of the file. Add this code to your project before moving on.
file = open("ID.txt", "a")
Now we instruct the user to hold a tag to the reader. Add this code to your project before moving on.
print("Hold a tag near the reader")
We now move on to the main body of the code that will run in a loop, constantly checking to see if a tag has been presented. We use a try...except structure to handle the process and to cleanly close the application once the user presses CTRL + C
The first line of the structure is try and this is the code that will run to check for the RFID tag. Inside try we use a while True loop to constantly run the code contained within. Add this code to your project before moving on.
try:
    while True:
Now the code that runs inside the loop starts off by creating two variables, the ID of the RFID tag and the text (data) contained on the tag. We then print the ID data to the Python shell. We can optionally print the contents of the text variable by removing the # at the start of the line but for this project we do not need it. Add this code to your project before moving on.
       id, text = reader.read()
        print(id)
        #print(text)
Now to write the ID number to the external file we need to tell Python to do just that but to also convert the ID number into a string, as we shall be using an escape character \n to create a new line after each ID number is appended to the file. The code then sleeps for one second, reducing the risk of reading the tag multiple times. Add this code to your project before moving on.
       file.write(str(id)+"\n")
        sleep(1)
That is all of the code for the try part of the structure, and now we move on to handling an exception, in this case, it is a Keyboard Interrupt (CTRL+C) which can be used to exit the application. Once the user triggers this action the code will print that it is cleaning up, then it will clean up the GPIO pins, returning them to their default status. We lastly close the open file to which we have been writing the ID tags. Add this code to your project before moving on.
except KeyboardInterrupt:
    print("cleaning up")
    GPIO.cleanup()
    file.close()
Save the code, and then click on Run >> Run Module to run the code. Now present an RFID tag/card to the reader and you will see the ID printed to the Python shell, and if you look in the folder where you saved your code, there will be a file called ID.txt that is filling up with the tag IDs, handy for copy/pasting into our code in the next step.
The main project!
Still in the Python editor, let’s create a new file File >> New and then save the file (File >> Save) as RFID-Applications.py
We start the code by importing five libraries of pre-written code, the first three RPi.GPIO, SimpleMFRC522 and time we covered in the previous project. The final two are subprocess, used to enable our Python code to talk to the Linux file system and open applications, and webbrowser which is used to open the system default web browser.
Add this code to your project before moving on.
import RPi.GPIO as GPIO
import SimpleMFRC522
from time import sleep
import subprocess
import webbrowser
The next section of code is a little vain, in that it takes a string of text and rather than dumping all the text out in one big dump, it prints the text character by character to emulate an old-school terminal. Not necessary really, but cool. The function is called slow_type and it takes one parameter, which is the message (text) that you wish it to type out. This is then printed character by character by a for loop that will iterate over every character in the string, with a 0.01 second gap between each print. When all of the characters have been printed, we then break out of the for loop and tell Python to print an escape character to create a blank line ready for the next time it is used.
Add this code to your project before moving on.
def slow_type(message):
    for character in message:
        print(character, end="")
        sleep(0.01)
    print("\n")
We next create an object to act as a reference to the RFID reader. Add this code to your project before moving on.
reader = SimpleMFRC522.SimpleMFRC522()
Then we call the slow_type function to print out a string of text, in this case something to look like the tool is booting up, notice that there are extra \n new line escape characters where I would like the string to break and create a new line to make it easier to read. Add this code to your project before moving on.
slow_type("Electromaker RFID User Interface V1.0\n********************\nHold a tag near the reader to start an application\n")
Moving on and we reuse the same try..except structure that we previously created to create a loop that will constantly check for RFID tags every 0.1 seconds. We can also print any tags out to the Python shell, but in this instance I have commented out the option using a #
Add this code to your project before moving on.
try:
    while True:
        id, text = reader.read()
        #print(id)
        sleep(0.1)
Inside the loop we have three conditional tests these are identified by if..elif..elif and they work by checking the presented RFID tag ID against the hard-coded value. In this case, our if condition has a value of 629717360455 and if the value of our RFID tag matches that value then the if condition is proven to be True and the code contained within is run. So this will call the slow_type function and slowly type text to the Python shell. Then it will use subprocess to call the Libreoffice application. Then the code sleeps for 0.2 seconds to reduce repeatedly opening Libreoffice.
Add this code to your project before moving on. Remember to change the RFID tag number to one that you have!
if id == 629717360455:
            slow_type("Create documents with Libreoffice")
            subprocess.call(["libreoffice"])
            sleep(0.2)
Now if the previous if condition were False then the next condition elif is tested. If this is True, then it slowly types a message to the user before opening a new web browser session, straight to the Electromaker website. The code then sleeps again for 0.2 seconds.
Add this code to your project before moving on. Remember to change the RFID tag number to one that you have!
       elif id == 572050203913:
            slow_type("Opening web browser")
            webbrowser.open_new("https://www.electromaker.io/")
            sleep(0.2)
So if that condition were False, we now need to check if this final elif is correct. And if it is then it will slowly type a message in the Python shell, and then using the subprocess library it will call the lxtask task manager application, before sleeping for 0.2 seconds.
Add this code to your project before moving on. Remember to change the RFID tag number to one that you have!
       elif id == 866687919239:
            slow_type("Opening Task Manager")
            subprocess.call(["lxtask"])
            sleep(0.2)
We now break out of the try part of the structure and move on to handling exceptions in the form of the user pressing CTRL + C to interrupt the code. This will trigger the application to exit, printing a message to the user, before cleaning up the GPIO ready for future use.
Add this code to your project before moving on.
except KeyboardInterrupt:
    slow_type("Exiting the application, bye!")
    GPIO.cleanup()
That’s it! Save the code and when ready click on Run >> Run Module to start. You will see the text slowly type on screen and when ready show the reader one of your RFID tags and watch as it triggers the application to life!
If you wish to change any of the applications in the subprocess.call([]) then please do, popular ones include Minecraft, Sonic Pi and the File Manager.
subprocess.call([“minecraft-pi”])
subprocess.call([“sonic-pi”])
subprocess.call([“pcmanfm”])
So there we have it, our own method to enable users to call applications, play sounds, open web pages using nothing more that RFID tags!

Les Pounder loves hacking and tinkering with Arduino, Raspberry Pi and new technologies. He passes on his skills and discoveries to Electromaker readers via tutorials and reviews.


Leave your feedback...