
Creating digital signage using Screenly and Raspberry Pi
Digital signage is everywhere. From your local school to Leicester Square, London there are adverts and information radiating to onlookers. How can we make our digital signage for an event? Well using any model of Raspberry Pi a spare monitor, Internet connection and most importantly software called Screenly we can make our very own digital signage system. Screenly https://www.screenly.io/ is a fantastic piece of software that enables any model of Raspberry Pi to become an HD capable digital signage device which can be managed remotely using another computer. Content can be scheduled for playback at certain times, shuffled to order playback of media. It plays media such as images (animated GIF, JPG, PNG), YouTube videos (which are processed for playback on the Raspberry Pi) and even live web pages. It is handy for corporate offices and “information radiators”, displays that show the status of servers, web traffic, environmental sensors, used in production offices and data centres.
There are two versions of Screenly available. The Open Source Edition (OSE) which we shall be using and a paid for service that enables deployment across multiple machines which can all be managed and controlled from a central point. Extremely useful for use in large offices/shopping malls.
For this project, you will need
- Any model of Raspberry Pi
- An Internet connection
- HDMI to connect your Pi
- Display
- PSU
- Screenly OSE software
- A blank microSD card
- A computer/tablet connected to the same network
We set up our screen using a Raspberry Pi 3 and an Ethernet connection. If you are using a Pi Zero W, for this project you will need to manually configure the WiFi from the terminal and to do that you can follow this official resource.
Creating the Screenly micro SD card
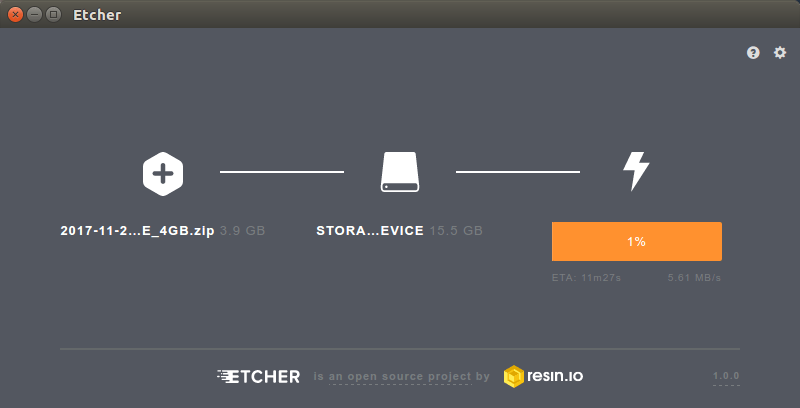
The Screenly application sits upon a modified version of Raspbian. The best and fastest way to get up and running is to download the Screenly OSE (Open Source Edition) disk image and then use an application such as Etcher to write the image to a blank SD card. Depending on the speed of your computer, this may take a few minutes.
Once the card is complete, eject and then insert the card into your Raspberry Pi. Connect up your HDMI to the display and then power up the Raspberry Pi. On first boot, the Screenly application will advise you of the IP address to which we can connect to from your computer.
Getting to know Screenly OSE
On your computer, open a web browser and go to the IP address specified on the Screenly display.

You will be greeted by the overview screen. In here we can see the “Assets”, the pictures/videos/web pages that we wish to display on the Screenly digital signage.
Assets come in two states, active and inactive. Active assets are displayed on the signage and inactive are not. We can turn assets on and off using the toggle button.
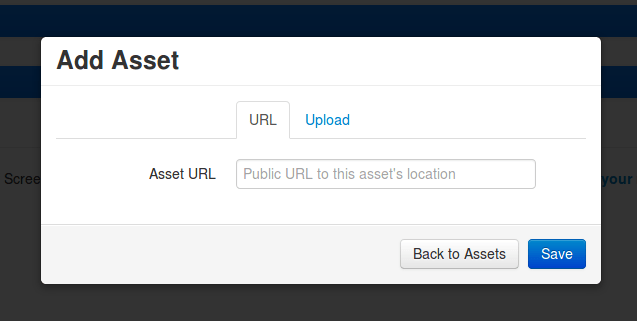
We can add assets by clicking on the Add Asset button

This will trigger a pop up asking us to supply a web location (URL) which can be used for images, videos (including YouTube videos) and web pages. Or we can upload content to the Pi for use without an Internet connection.
Assets such as YouTube videos will require processing and will remain inactive until they are processed.

Once an asset has been added it will automatically be made inactive. So, to make it active, we need to turn it on. Then it will move to the active assets and it can be shuffled to create a playlist/sequence.
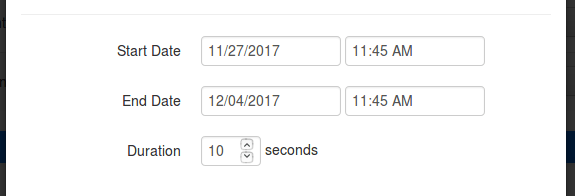
Assets can also be edited, by clicking on the “pen” icon for each asset. Assets can be set to start and end between certain times/dates and their durations edited, except videos which will have the duration set to the length of the video.
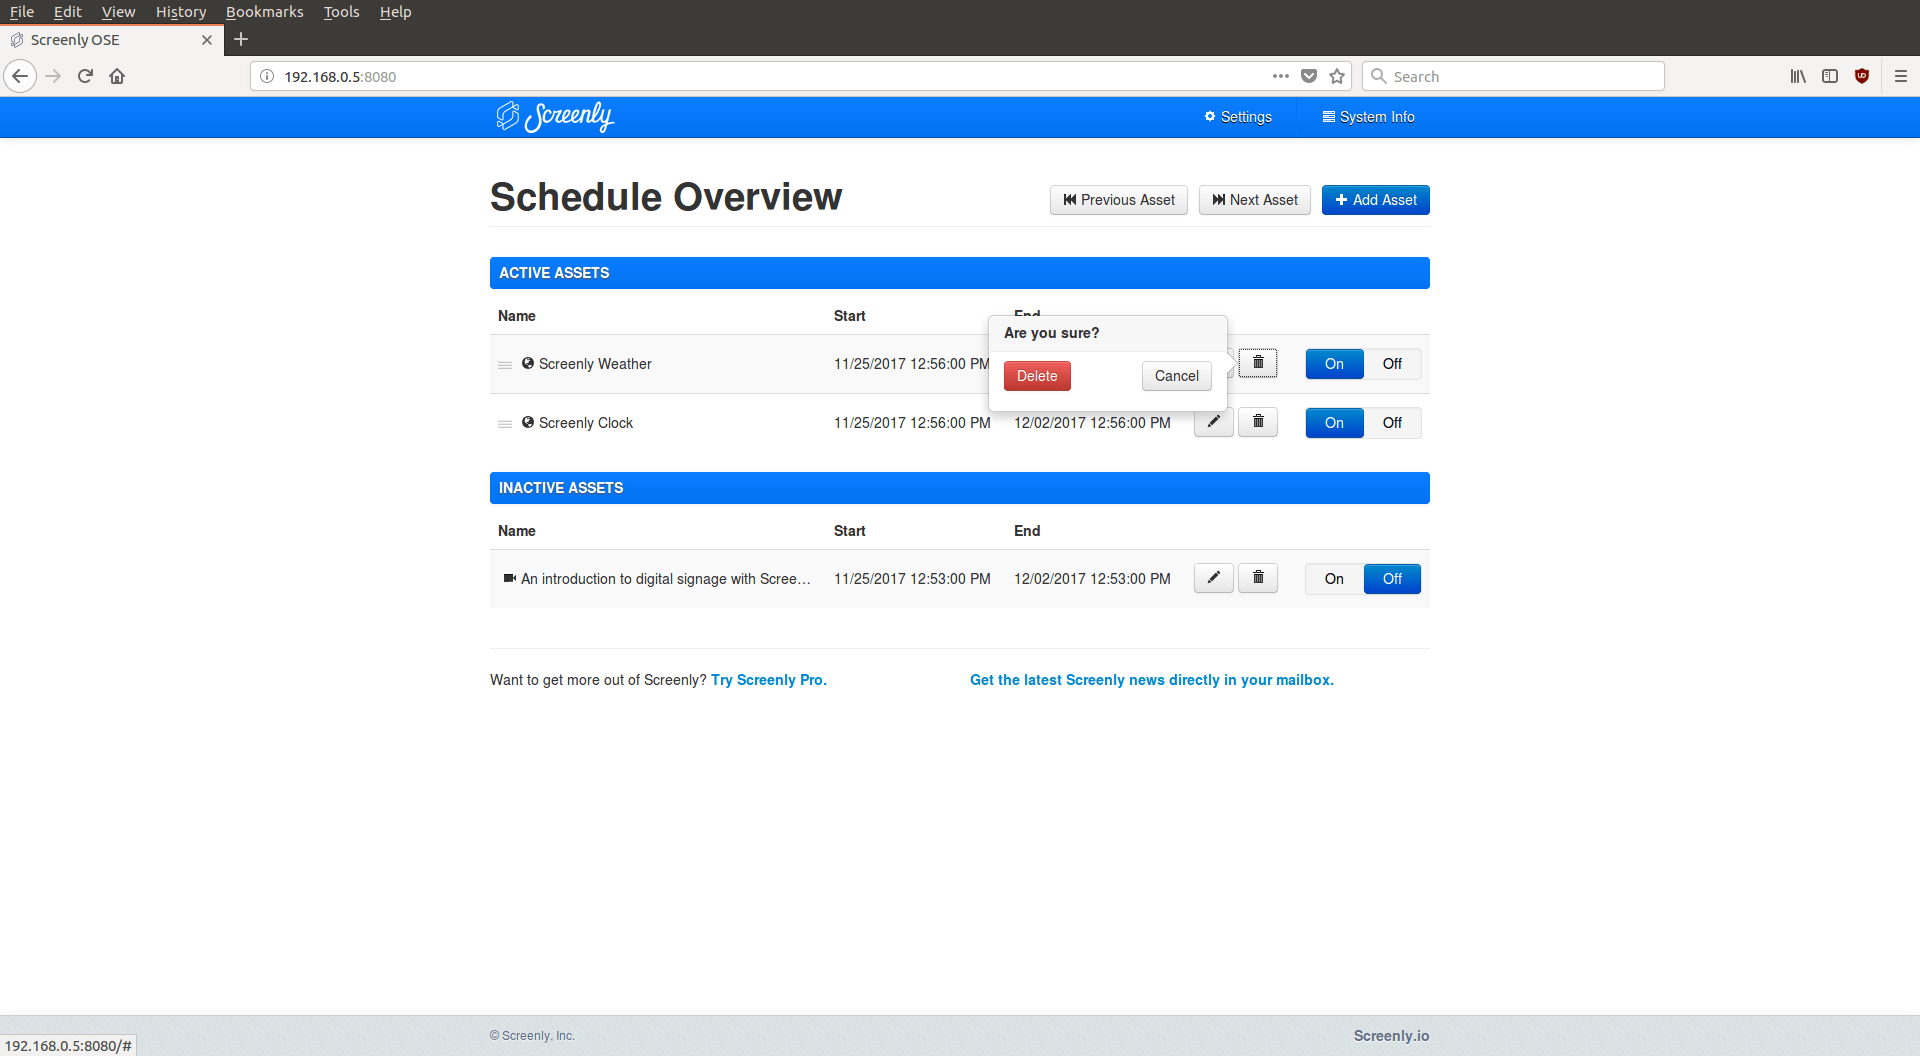
Assets can also be deleted by clicking on the “Trash Can” icon.
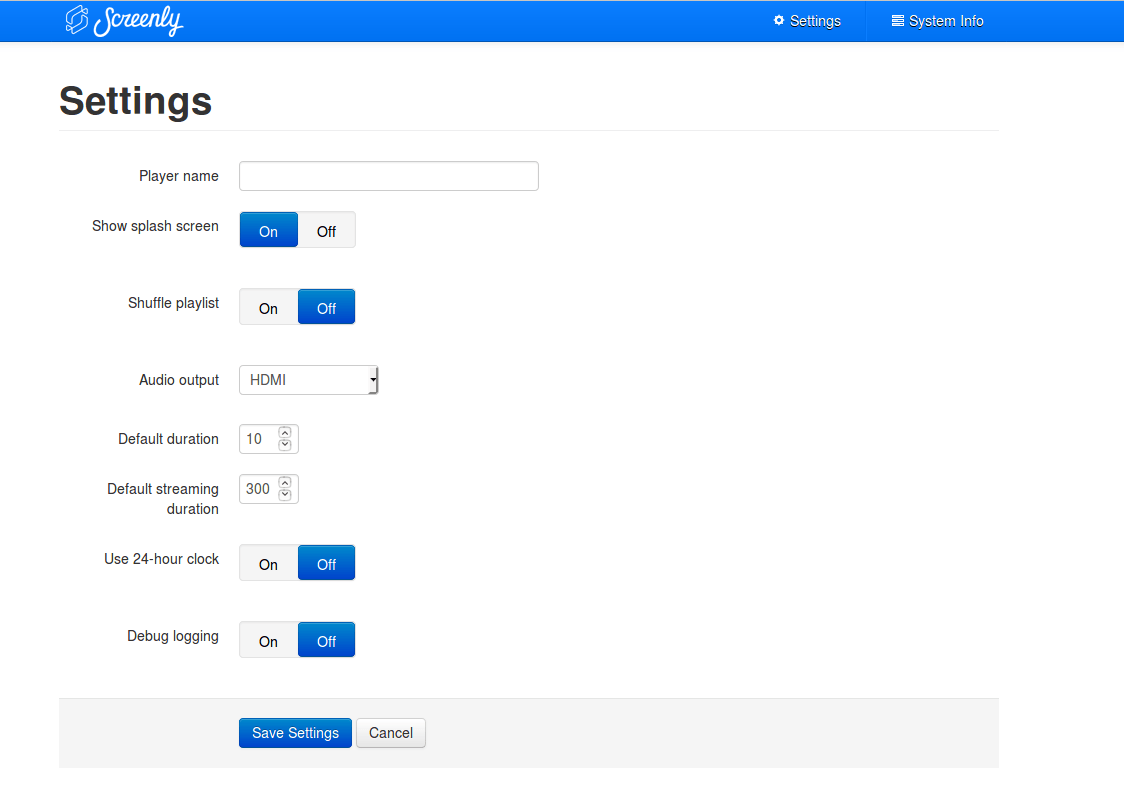
If you would like to name your digital signage or tweak the settings, then all of these options are found in the Settings menu, found in the top right of the screen.
Quick showcase of media types
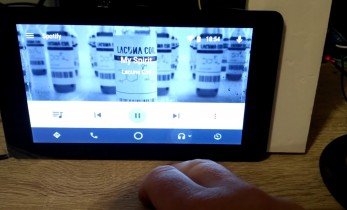
Screenly OSE has come a long way and now it can easily replace much more expensive and power hungry installations. In this YouTube video, we see Screenly showing a web page, then play an animated GIF, then a processed YouTube video, followed by another live web page.
Building a schedule for our Raspberry Jam
Blackpool Raspberry Jam meet once per month and they need digital signage to advertise their sessions in the local library. After securing the equipment and permissions to do so, they create a simple digital signage schedule to advertise what goes on at the library.
After gathering their assets, they use Screenly to schedule them.
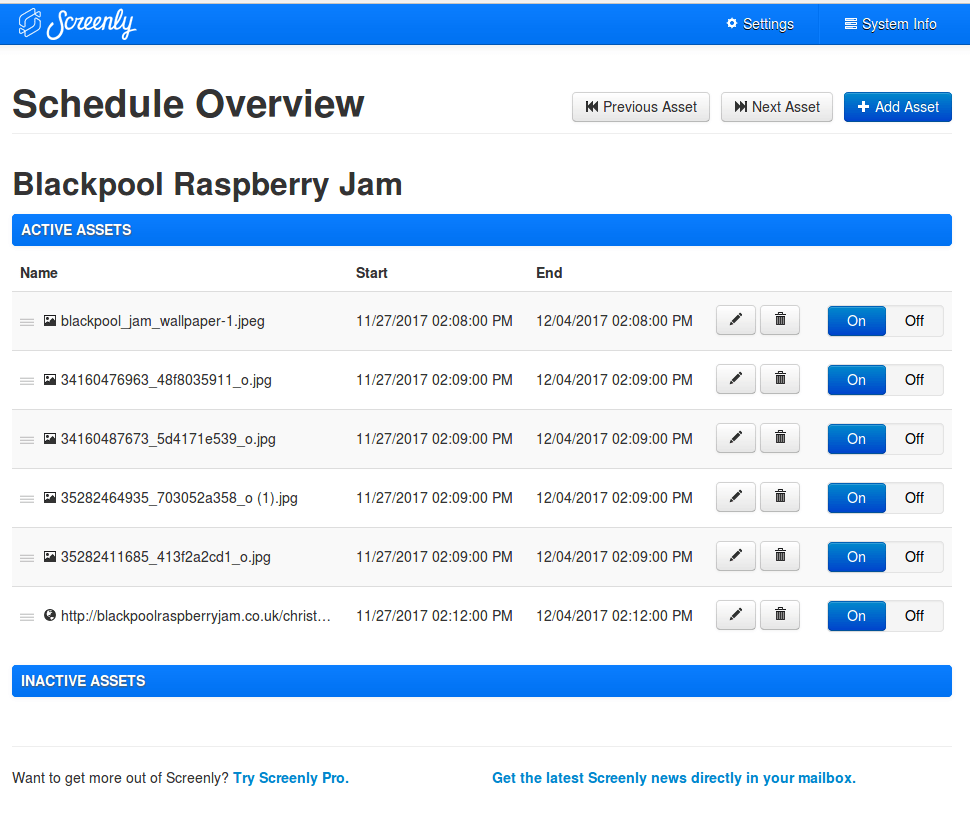
With all of the assets made active, shuffled and scheduled accordingly, the digital signage shows the following sequence.
Conclusion
There you have it, all of the skills and knowledge needed to make your digital signage for your club, business or school. All powered by the Raspberry Pi and the Screenly OSE signage software. Screenly is easy to use and has a great interface, enabling anyone to quickly and creatively produce their digital signage. Add to this the low cost of the Raspberry Pi Zero W and we have a remarkably flexible platform for advertising and sharing information for very little outlay.

Les Pounder loves hacking and tinkering with Arduino, Raspberry Pi and new technologies. He passes on his skills and discoveries to Electromaker readers via tutorials and reviews.


Leave your feedback...