
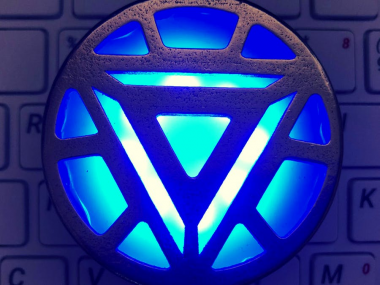
Wearable Mk Iv Arc reactor

Made by 314Reactor / 3D Printing / Lights / Wearables
About the project
With the recent Sony/Disney disputes, what better time to make a wearable Arc Reactor from Iron Man 2?!
Project info
Difficulty: Easy
Platforms: Adafruit, Digispark, Pimoroni
Estimated time: 1 hour
License: GNU General Public License, version 3 or later (GPL3+)
Items used in this project
Hardware components


View all
Story
New Element
With the recent mix-ups between Sony and Disney about Spider-Man and hopefully the resolution, I thought it was a good time to make an Arc Reactor Project; I had the Mark IV chassis 3D-printed thanks to Shapeways and I used this design off of Thingiverse, which was made by Thingiverse User: andi1024.
3d Printed part (no changes made): https://www.thingiverse.com/thing:321658
From user: https://www.thingiverse.com/andi1024/designs
Under the creative commons attribution license: https://creativecommons.org/licenses/by-sa/3.0/
Then got to work!
Key Goals:
- Make an aesthetically pleasing Arc Reactor from Iron Man 2
- Make it wearable
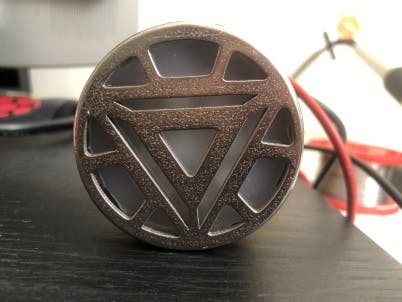
Let’s have a look at the parts…
Monaco Drive
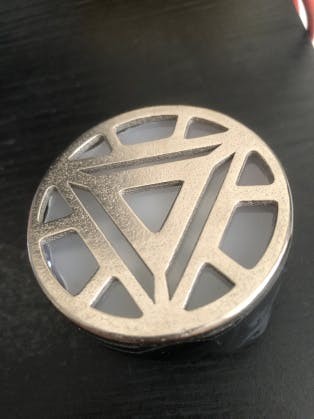
- Arc Reactor
- Backplate
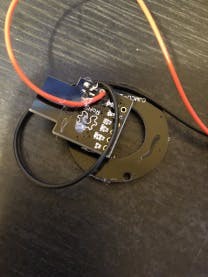
- Digispark ATtiny85
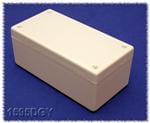
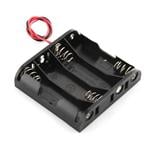
- Battery holder
- 2x coin cell batteries – CR2032
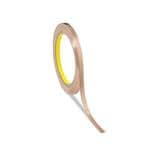
- Wire (and the empty spool)
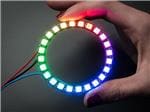
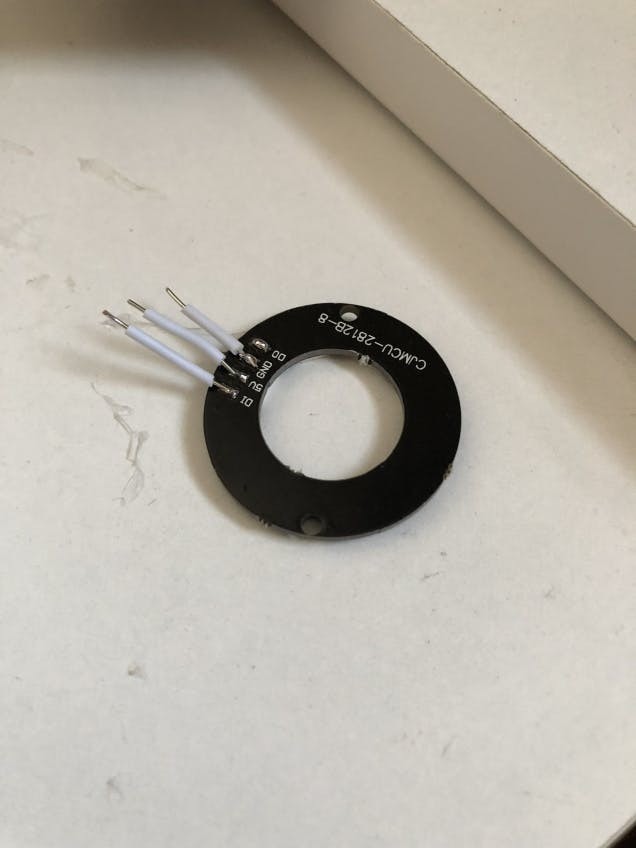
- Neopixel ring
- Sugru magnet pack
- Generic necklace chain
- Disc of plastic from Simplyplastics
- Electrical tape
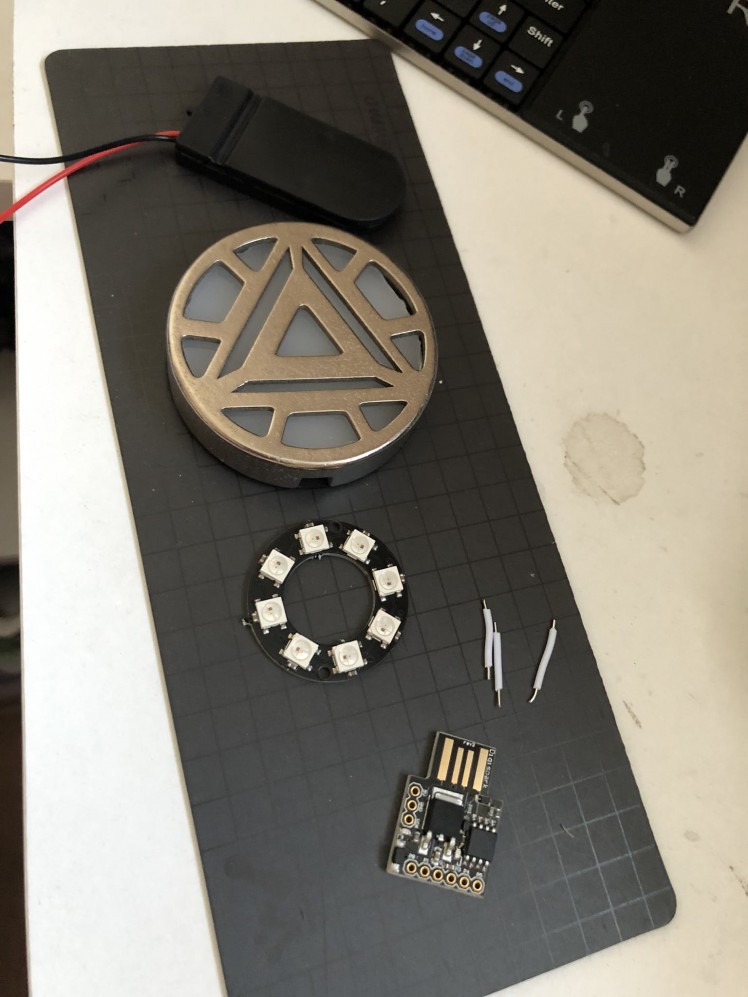
I chose the Digispark for its small form factor and the fact it has a USB programmer on board.
These boards tend to have less I/O than something like a Pro Mini but as the Neopixel ring only requires 1 data pin it’s no issue and worth the trade off for convenience and size.
Sledgehammer
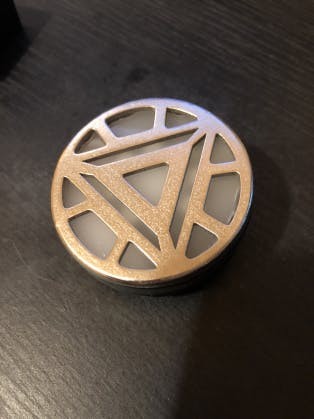
First off I put the translucent disc from Simplyplastics into the front of the 3D-printed reactor, this will help spread the glow out:
 IMG_5092
 IMG_5113
Then I wired up the Neopixel ring:
And attached it to the Arduino – with 5v to 5v, GND to GND and data pin 1 to data in, then attached the Arduino and ring to the backplate:
 IMG_5087
 IMG_5089
 IMG_5090
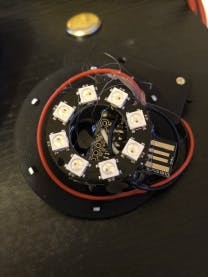
Then attached the battery holder:

At this point I did a quick test and uploaded the code to the Arduino (code will be below):
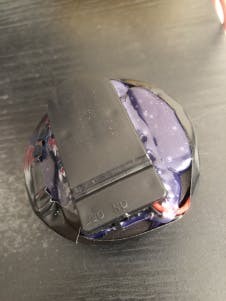
Then I fully glued the Arduino to the backplate, glued the battery box on the back and then put in a ton more glue in-between the backplate and the front:
 IMG_5115
 IMG_5114
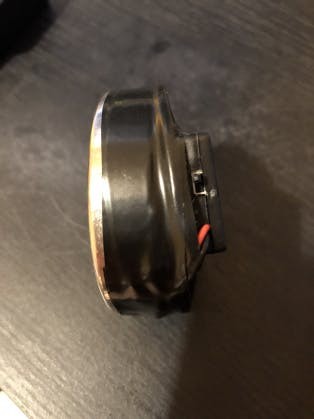
I also put some electrical tape around the sides to secure it more:
 IMG_5093
 IMG_5094
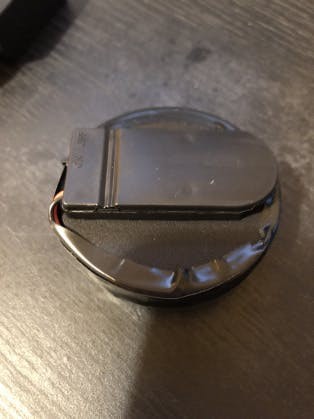
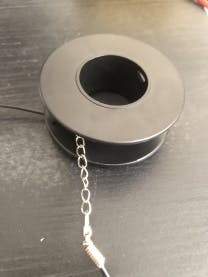
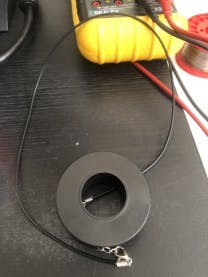
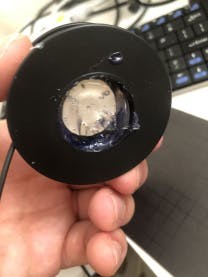
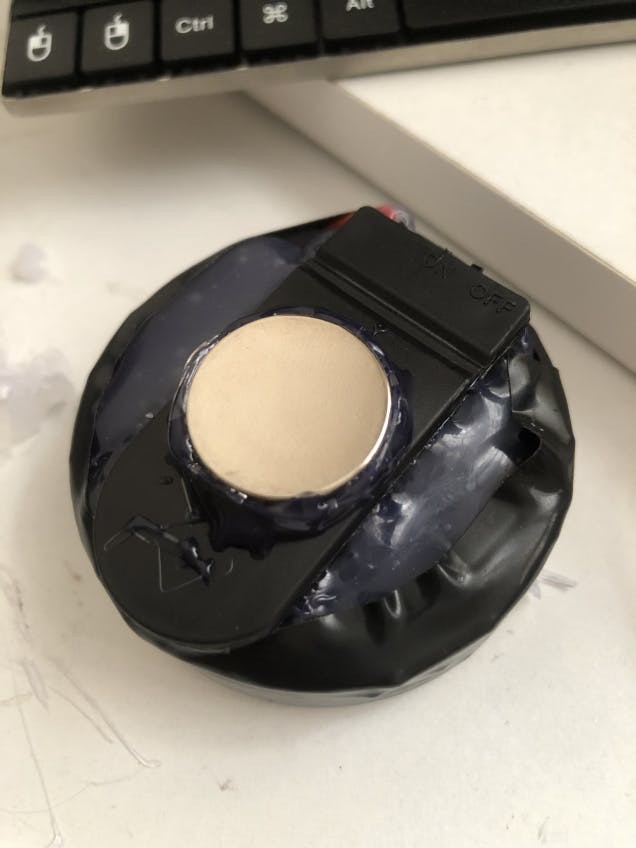
I wanted it to be wearable around the neck and also detachable from the main necklace – so I made a separate part that would be attached to a generic necklace chain; allowing the Reactor to be snapped on and off freely from the main necklace.
This used the empty wire spool with a magnet through the middle, some Sugru and a load of hot glue:
 IMG_5118
 IMG_5119
 IMG_5125
Then glued the other magnet to the back of the Reactor itself:
And that’s the hardware side of things:
Now for the software side…
Particle Accelerator
You can grab the code from my GitHub – it’s quite simple, it just pulses up and down from 180 brightness to 100 and back on a loop; I tried going to full 255 brightness on the Neopixels, but the small coin cell batteries couldn’t handle it.
This will require the Neopixel library for Arduino.
In terms of uploading to the board you’ll need to do some setup – check out this link for getting the board config for the Arduino IDE.
Then it’s just a case of uploading to the board like any other.
Now to have some fun with the finished product.
To the Expo
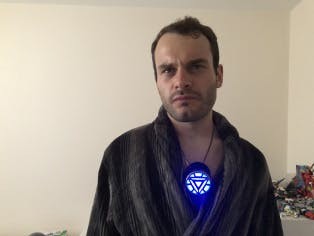
So obviously the first thing I was going to do was re-create a bit of the scene where Stark installs the new Arc Reactor from Iron Man 2 – This scene right here.
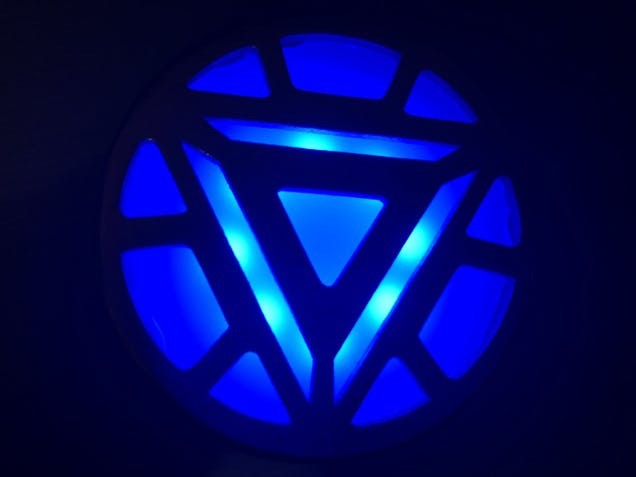
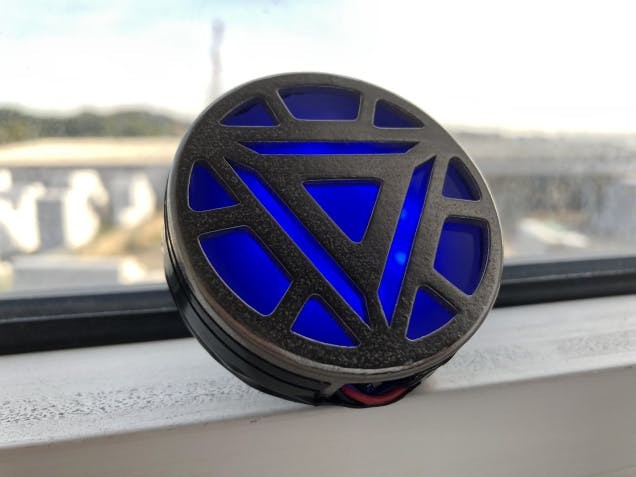
And so here’s my version and some good views of the Reactor:
What a nerd I am. That took like 37 takes before I was happy with it.
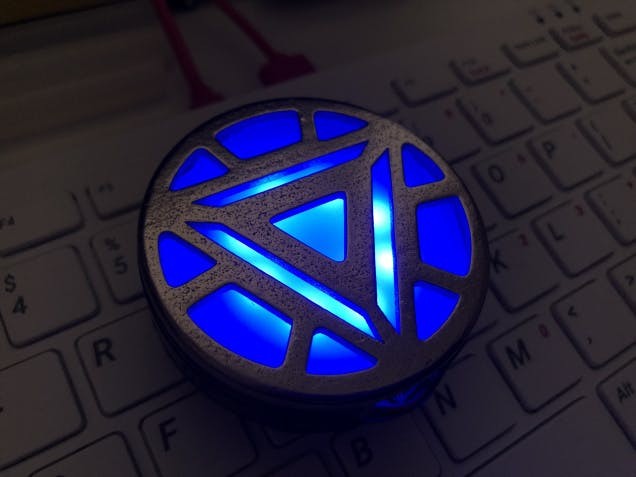
The glow effect is really neat – I’m very happy with how the Neopixel ring shines through the plastic and the outer casing.
The 3D-printed shell was a little smaller than I thought it would be but this is my fault for doing poor real-world measurements, but it looks so awesome overall it’s no issue.
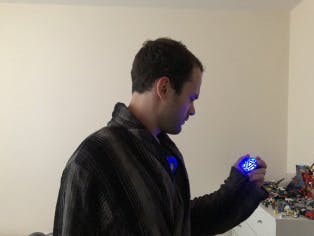
The way it snaps into the necklace is great and was very helpful in the re-create scene – although it does tend to angle down a little bit; I’ll have to look into a way to secure the main magnet attachment to the necklace more securely so that the weight does not bring it down.
 IMG_5210
 IMG_5221
 1 / 4
1 / 4
Looks great alongside the E.D.I.T.H. Glasses!
Making Pepper CEO
Overall I’m very happy with this project, it was a lot of fun to make and a lot of fun to play around with – as you can probably tell from the video.
Next time I will get a bigger 3D-printed version and improve the holding mechanism, I will also try and get a better glow affect; perhaps get it to appear like there is energy circling the Reactor rather than just simply glowing.
I hope you liked this project – I think it’s so nice looking, I intend to 3D print a lot more for my projects going forward; to really enhance the aesthetics of them.
Any ideas for improvements or models for another version? Let me know!
As for Sony and Disney, play nice guys.
See you next time…
 So much awesome.
CAD, enclosures and custom parts
Code
Credits
Related products


Leave your feedback...