

Vox: The Google Assistant

Made by electrouser829 / Communication / Home Automation / Sensors / Voice / IoT
About the project
Are you interested in learning Google Assistant API? Do not know where to start? Assemble It Yourself (AIY) Google Voice kit is an answer!
Project info
Difficulty: Easy
Platforms: Google, Microsoft, Raspberry Pi
Estimated time: 2 hours
License: MIT license (MIT)
Items used in this project
Hardware components


Software apps and online services
Story
Introduction
I decided to get experience and some starting expertise with Google Assistant API and SDK. And I found a great solution to start with your personal Google Assistant and to play with its API. This kit saves a lot of time and effort building hardware solution to interact with Google Assistant. However you can always build your own solution, the minimum hardware you need: Raspberry Pi, SD card, USB microphone and power source for Raspberry Pi. However this tutorial about just AIY Voice Kit but how to use it for home automation and other great things you can achieve with your Google account and Google Assistant.
Assemble The Kit
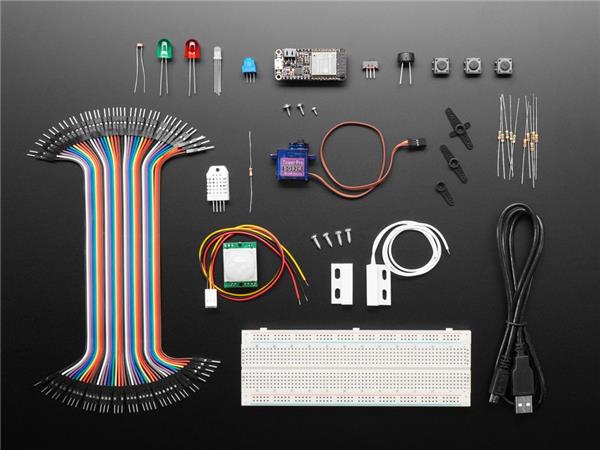
Let's take a look on our AIY Voice Kit. Currently there are two versions of voice kit, I used first version however you probably are going to use new version. You can use Raspberry Pi Zero WH, however I recommend to use Raspberry Pi 3 as there are some limitations related to Raspberry Pi Zero.
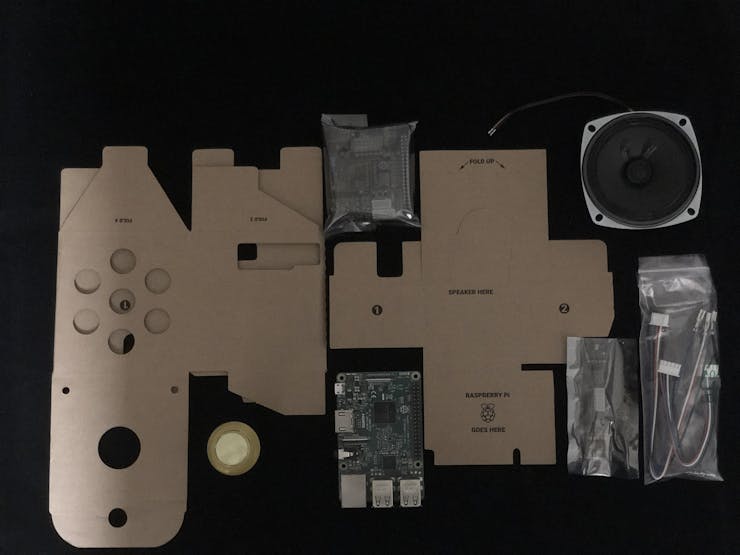
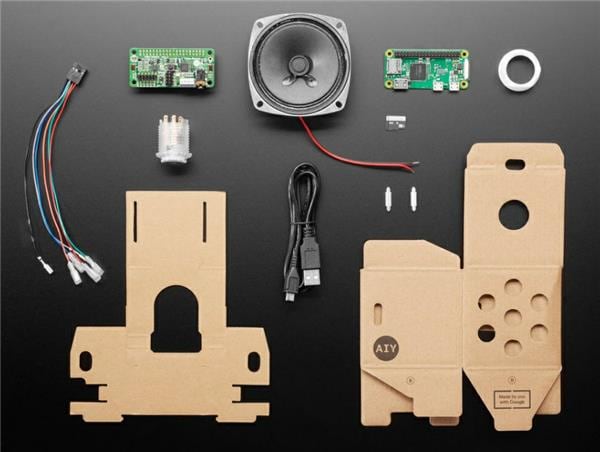
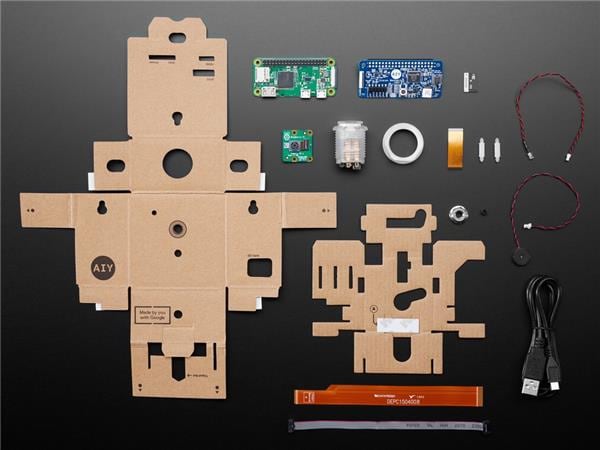
Unboxing, here we get:
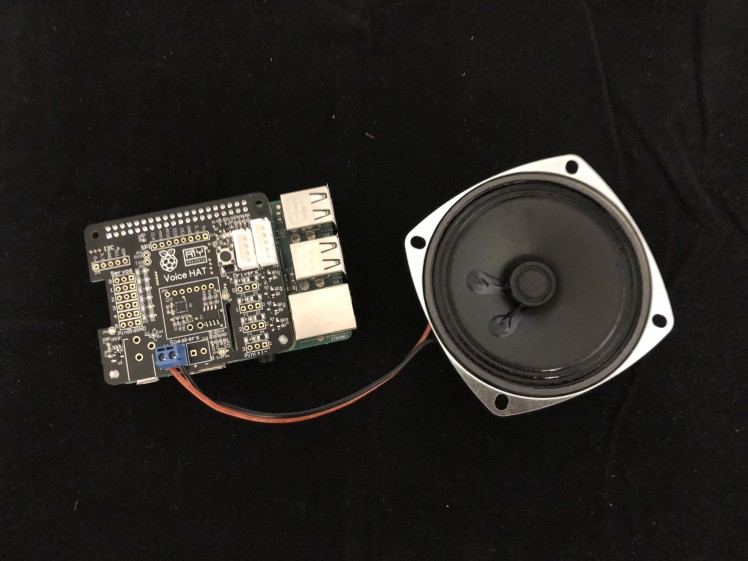
Now let's assemble the carton case and connect all peripherals (button, voice hat, dynamic, microphone etc.) to Raspberry Pi.
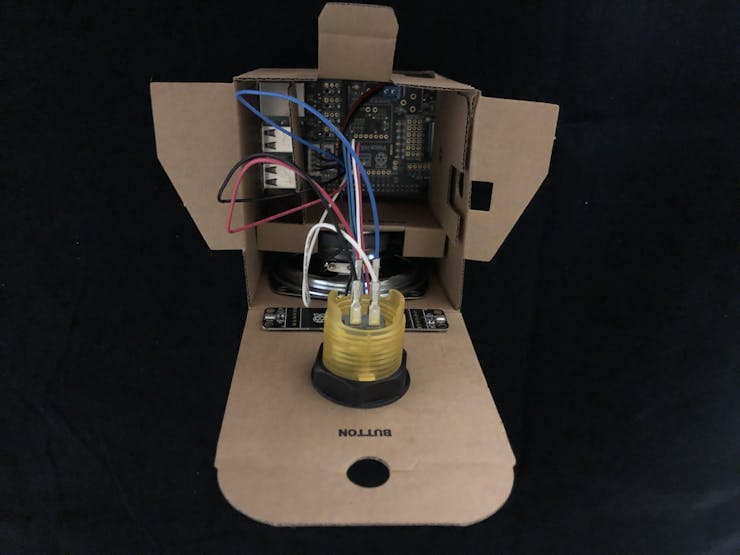
And finally we get...

There is great assembly guide for V1 and V2 accordingly.
Install Software
You have two options:
Please use Etcher.io to write an image, I experienced issues using other image writing tools.
If you are new to Raspberry Pi and Google Assistant I would recommend to proceed with the first option as it has all required libraries and software to run Google Assistant SDK and AIY Voice Kit hardware. If you proceed with the second option you need to install required libraries and software by yourself which can be a bit tricky for new users.
After you burn the image on the SD card you need to make few more changes. We want to enable ssh and provide the wireless connection details before we insert the media in the Raspberry Pi.
- Enable SSH by creating a blank file named ssh in the boot partition. When the sd card image is created, it creates 2 partition on the media. One partition is labelled as boot and the second partition is the root Raspbian partition
- Setup the WiFi. Go to the root partition of the media and navigate to etc/wpa_supplicant. Add the WiFi configuration to the wpa_supplicant.conf file as per the following format. Append the following text in the configuration file by replacing the appropriate values of ssid, password and key_mgmt.
network={
    ssid="SSID"
    psk="password"
    key_mgmt=WPA-PSK
}
Setup Google Assistant
Now let's boot out assistant, put SD card in Raspberry Pi and turn the power on. If you did everything correctly you will be able to connect to your Raspberry Pi via SSH after it boots. To connect via SSH you need SSH client, I use PuTTY and IP address of your Rapberry Pi, you can get it listing devices connected to your network, your WiFi router should have list of all connected devices.
By default Raspberry Pi uses pi as username and raspberry as password. So you might change them, at least password :)
After you successfully connected to your Raspberry Pi, let's check we assembled our voice kit correctly by running simple script provided by AIY Voice Kit image:
/home/pi/AIY-projects-python/checkpoints/check_audio.py
Confirm audio is working:
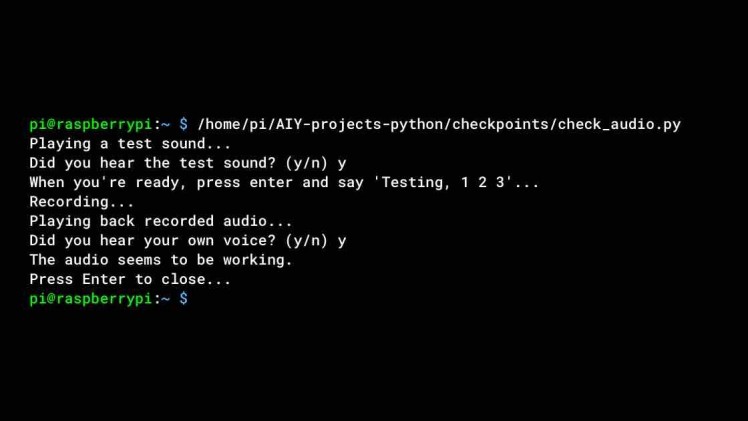 Testing Audio
If you experience any issues connecting to your device, please check the official guide.
Now let's setup Google Cloud Platform credentials, there is list of simple and routine steps, which are greatly covered here. After you create new project and get credentials double check you copy them into assistant.json file under the home folder!
Let's have some demo! Move to the demos folder (if you used predefined image):
cd AIY-voice-kit-python
Run the assistant demo:
/src/examples/voice/assistant_grpc_demo.py
For the first run you will be asked to grant permissions:
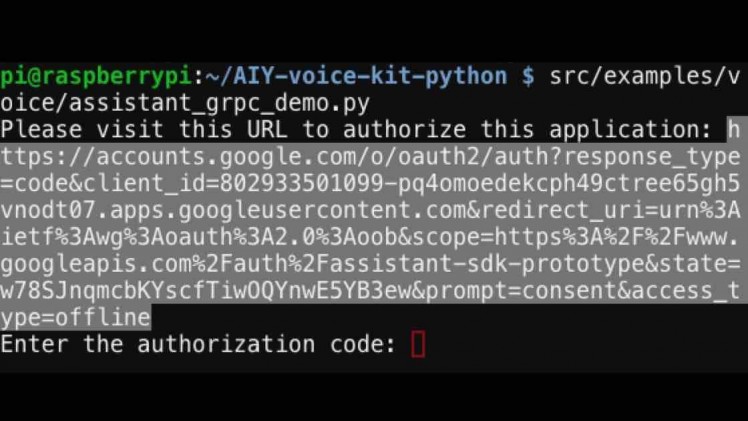 Grant Permissions Link
Copy and paste the link you see in the terminal into your browser. If you have multiple Google accounts I would recommend to use one you expect to provide the most related to you data (time to get to work, weather in your location etc.)
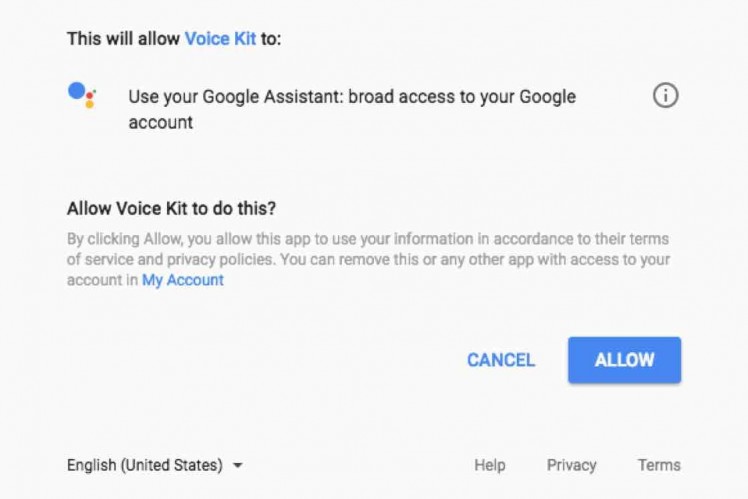 Grant Access to Voice Kit
To allow the project to access your account, click Allow.
Copy and paste the code line back in terminal:
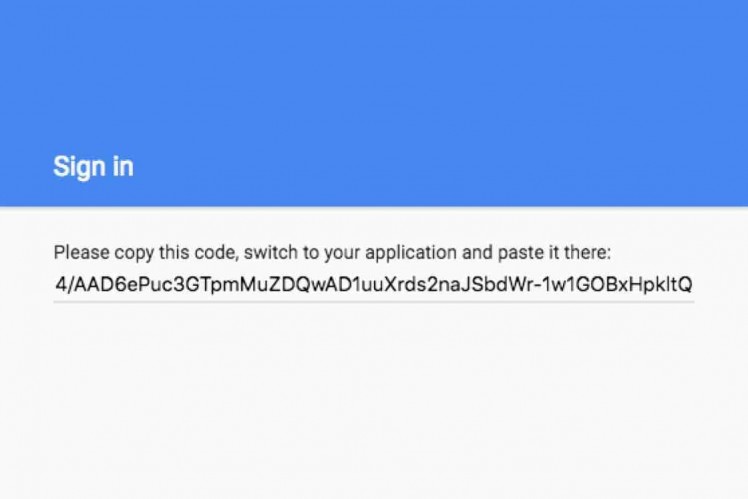 Sign In Link
If you never interacted with the Google Assistant, voice kit tells you Give me permission, you need to give it permission to work with your account. Download the Google Assistantapp on a device (it supports both Android and iOS devices) and run it.
Now the demo is running:
Google Assistant: Commands in context of your Google accountWhen you’re done testing the demo, press the button and say “Goodbye” or press Ctrl-C to interrupt and stop the demo.
Advanced Usage
I attached skeleton Python script (assistant.py) which I use to work with my other IoT projects to get their readings and >Weather Station project, Surveillance Camera and for general interactions with my Google account: to get traffic conditions, calendar reminder etc. It has couple examples how to reboot raspberry pi and handle custom commands.
Google Assistant: Custom commandsYou can make this script to run automatically. First as you can see it starts with:
#!/usr/bin/env python3
It makes Raspbian OS know what program (in our case it is Python 3) to use to run this script.
Then make it executable:
sudo chmod +x assistant.py
Now let's set lxsession to start it automatically:
sudo nano ~/.config/lxsession/LXDE-pi/autostart
IMPORTANT:
I would not recommend using rc. local and services autorun solutions for this case, because they have several drawbacks: either providing different path to assistant.json or having display connected.
And add the following line (this example uses /home/pi as path for our script):
/home/pi/assistant.py &
Ampersand here is very important, it means our script runs at background. Reboot your device and that is it! Please use safe way to reboot Raspberry Pi, it is small but computer and it likes when you care about it :)
sudo reboot
Other solutions and cases to run scripts on startup can be found in this article.
You can also take a look on many different examples how you can use and extend your personal Google Assistant here.
Schematics, diagrams and documents
Code
Credits
Related products

Leave your feedback...