
The Sanity Check
Made by 8BitsAndAByte / 3D Printing / Art / Communication / Lights
About the project
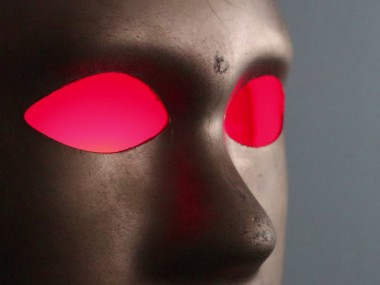
A mask that randomly glows its eyes red. Often enough so it's noticeable, but sparsely enough to make people doubt their sanity.
Project info
Difficulty: Easy
Estimated time: 1 day
Items used in this project
Hardware components


Story
This project is all about sanity, or making sure it's regularly checked. The best way to make this happen is to build a mask that randomly glows its eyes red. Often enough so it's noticeable, but sparsely enough to make people doubt.
Project Video Mask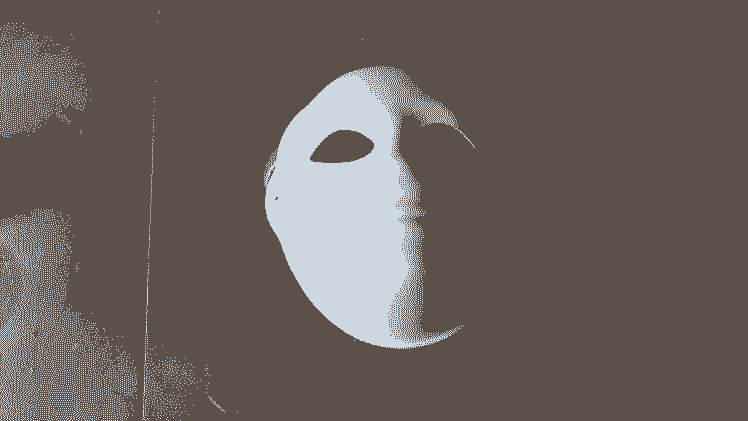

First things first, we need a mask. This one comes from a well known furniture shop, but any mask will do. To give ours the right look and feel we add a little colour, bronze to be precise.
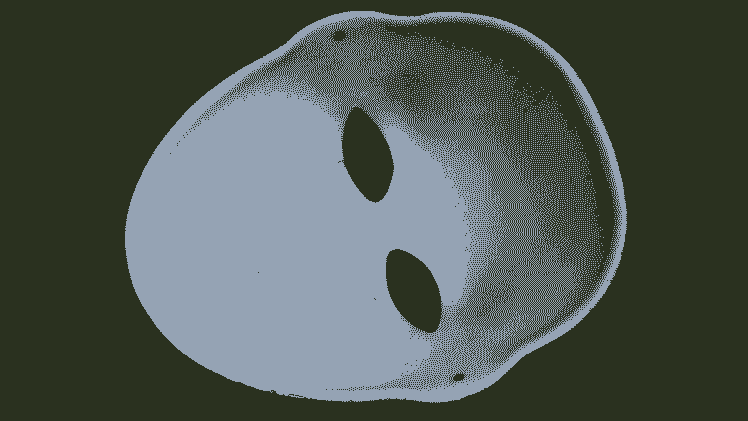
After the paint has dried, we add the soft side of the hook and loop to the inside of the mask. This will be used to attach our electronics in a later step.
Electronics & Code
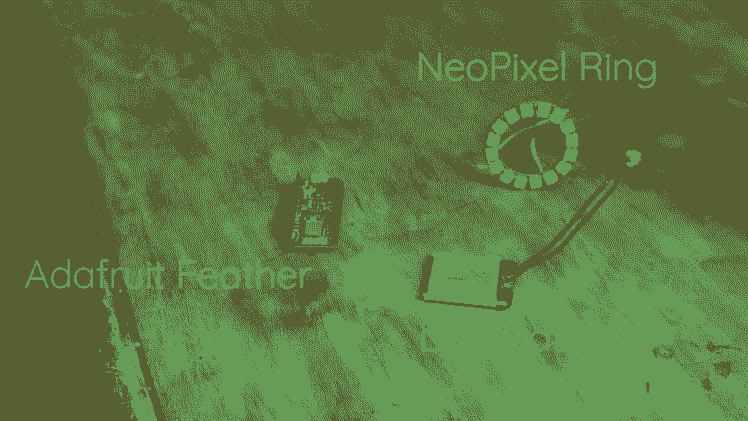
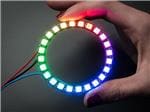
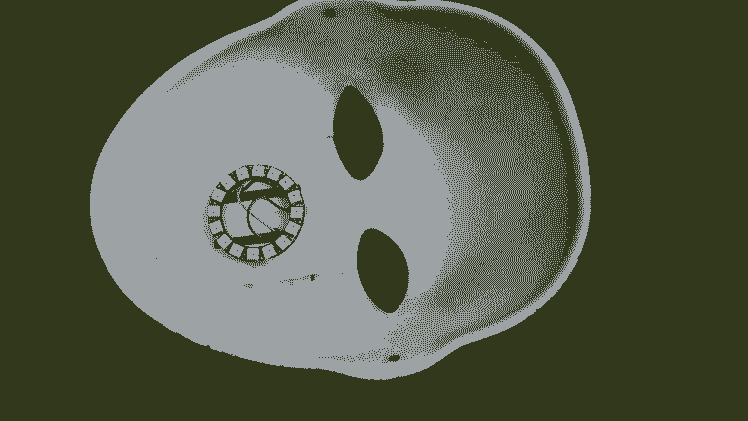
With the mask ready to go we move on to the electronics.There is a great guide on how to work with an Adafruit feather and another one on the NeoPixel Ring.
We also need to write some code. The full script is attached to the article, so here's a quick overview of how it works:
- Initialize the NeoPixel
- Flash the NeoPixel red for 500 milliseconds
- Turn off the NeoPixels, and wait for a random amount of time (between 0 and 30 seconds)
That's it, you can tweak script to change the delays and colour to create your very own flavor of madness.
CaseTo neatly hide the hardware we've already added one half of the hook on loop to the inside of the mask. Now it's time to create that attaches to the other half.

Adafruit has a collection of cases for their Feathers on Thingiverse. After 3D printing all the parts and assembling them, we attach the rough side of the hook and loop to the bottom of our newly created casing.
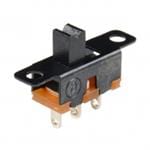
Note, we also added a switch between the battery and Feather, this is optional, but makes it easy to turn our device on and off. Their tutorial on these casings shows all the possibilities and steps.
Result!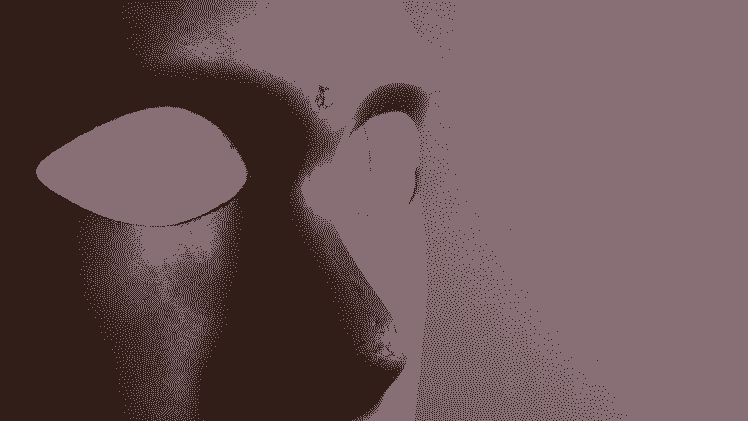
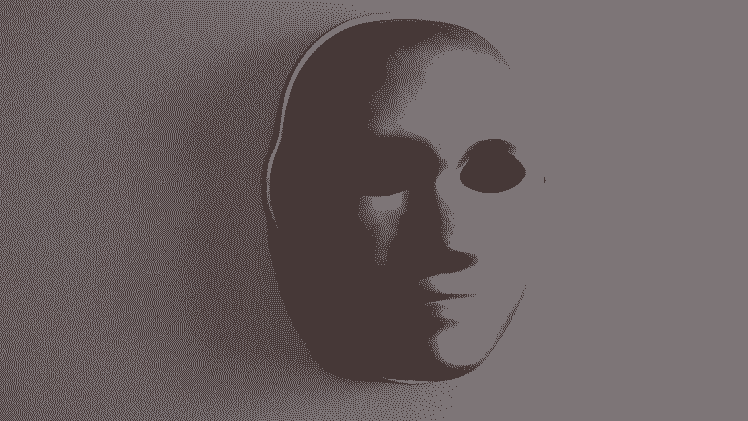
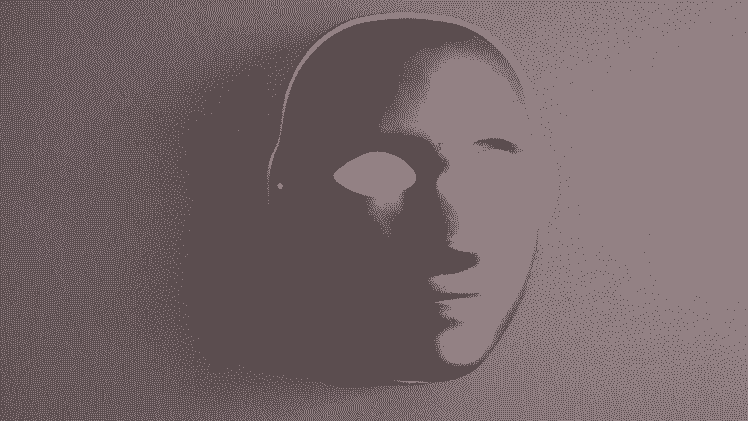
Our project is complete, our mask is ready to shine! Switch it on, put it on a wall, and enjoy the ensuing chaos.
Code
Credits
8BitsAndAByte
We’re Dane & Nicole, two makers that create tremendously terrible tech, which we happily share with you on our channel! https://www.youtube.com/c/8bitsandabyte
Related products


Leave your feedback...