
The Internet Controlled Bubble Machine

Made by 8BitsAndAByte / Communication / Games & Gaming / Garden / Home Automation / Robotics / IoT
About the project
Blowing bubbles is a lot of fun, but it can be hard work. We can fix this problem by simply building an internet controlled bubble machine
Project info
Difficulty: Moderate
Platforms: Raspberry Pi
Estimated time: 2 days
License: Creative Commons Attribution-ShareAlike CC BY-SA version 4.0 or later (CC BY-SA 4+)
Items used in this project
Hardware components


Story
Everybody knows that blowing bubbles is a lot of fun, but it can be hard work. We can fix this problem by simply building an internet controlled bubble machine, delegating the effort whilst reaping all the rewards.
For the inpatient, you can check out the robot here.
Project Video Hardware
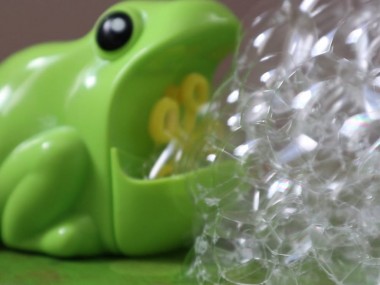
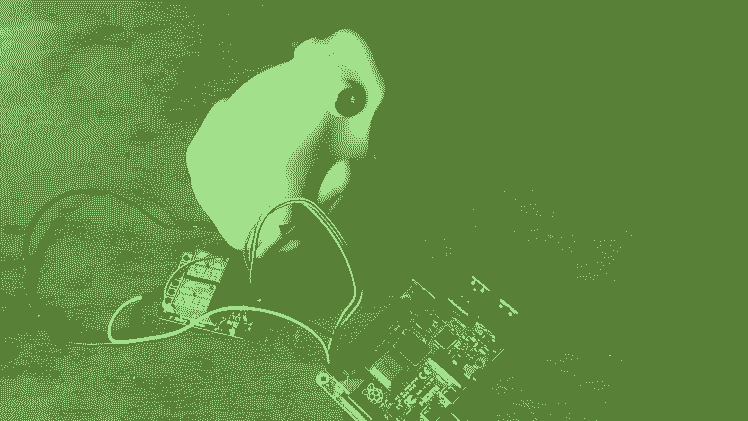
First we need a bubble machine, we chose a small one in the shape of a cute frog. Any will do, but a device running on two AA batteries makes it easier to adapt.

Now our creation has its starting point, we can remove all the screws and take a look at its inner workings, in short: A switch controles the power provided by the batteries, running to the motor.
This means we have two scenarios:
- The switch is set to 'OFF', the power can't reach the motor, nothing happens.
- The switch is set to 'ON', power can reach the motor, the wheel spins and air is blown to create bubbles.
Armed with this intimate knowledge we can modify our croaker. Hardware-wise we need:
- A Raspberry Pi
- 5V relay module
- Jumper wires
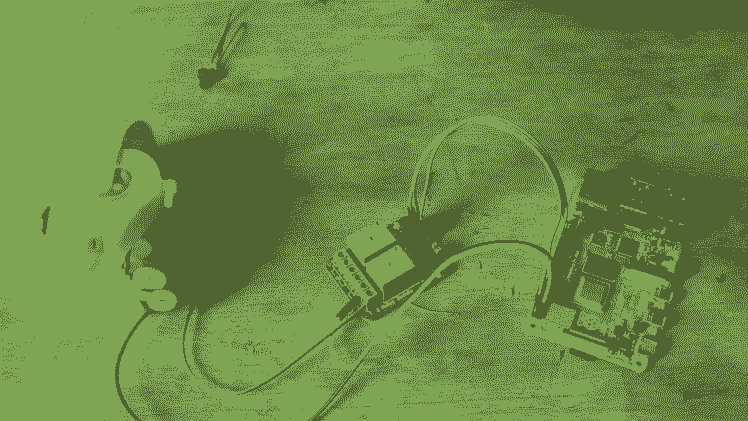
The idea is that the Pi will both control and power our robot. Here's a great tutorial on connecting a relay module, in our project the external circuit is the GND and 3.3V going to the frog's motor (see pictures)
With the hardware setup complete, all we need to do is reassemble our adorable amphibian and hop on to the next step.
Internet Controllable

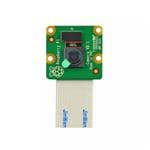
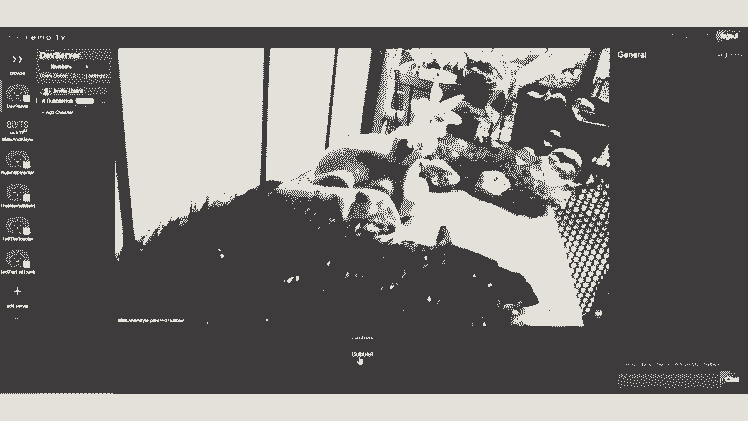
We want our contraption to be controlled by the internet. All we need to make that happen is a Raspberry Pi Camera and the robot streaming platform called Remo.tv.
As usual, here's a guide on connecting the Raspberry Pi Camera and another for connecting a robot to Remo.
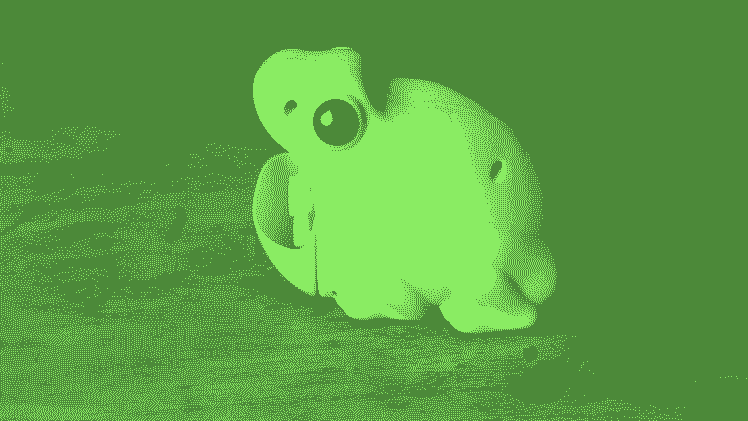
An important task is setting the right scene. Some fake grass, felt and real rocks make sure that our beloved Shrek look-a-like feels right at home.
Last but not least we fill the reservoir with bubble soap and turn on the bionic frog.
Result

Our work is done, we have a delightful little project spreading bubbles without requiring any effort, win-win!
You can check out the robot here and we'll leave you with our favorite frog saying:
"Frogs have it made, they get to eat what bugs them." - Anonymous
Credits
8BitsAndAByte
We’re Dane & Nicole, two makers that create tremendously terrible tech, which we happily share with you on our channel! https://www.youtube.com/c/8bitsandabyte
Related products


Leave your feedback...