
Soil Moisture Monitoring System With Esp32 And Toit

Made by JayeshRajam / Environmental Sensing / Garden / Home Automation / Sensors / IoT
About the project
IoT enabled Soil Moisture monitoring system with ESP32, Soil Moisture Sensor, SSD1306 OLED display and Toit.
Project info
Difficulty: Easy
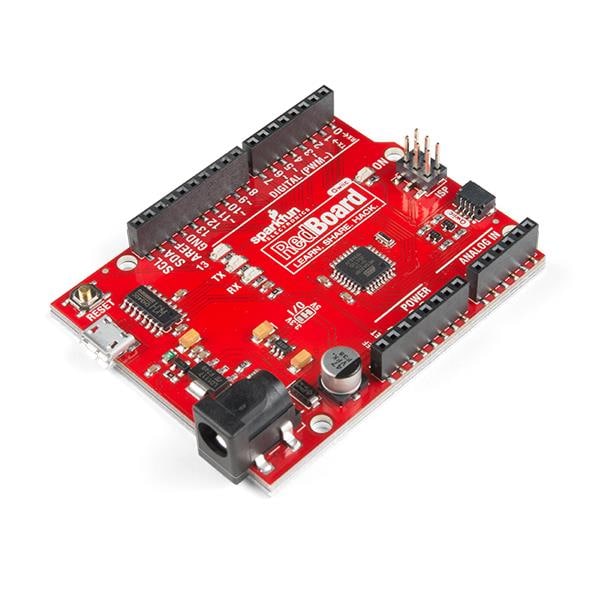
Platforms: SparkFun
Estimated time: 1 hour
License: GNU General Public License, version 3 or later (GPL3+)
Items used in this project
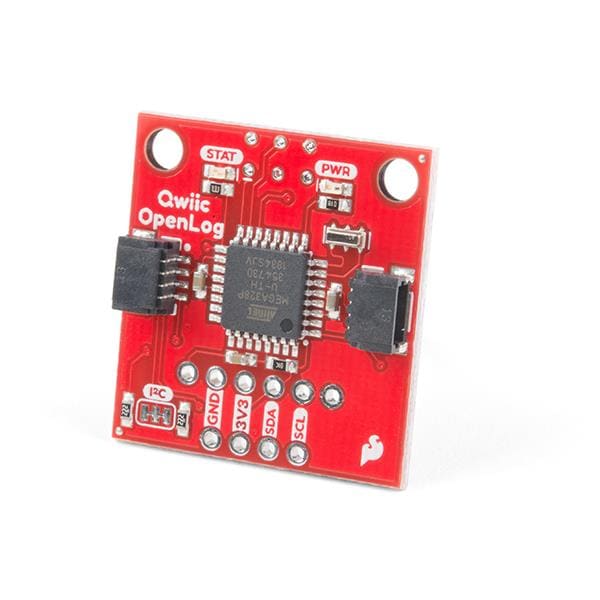
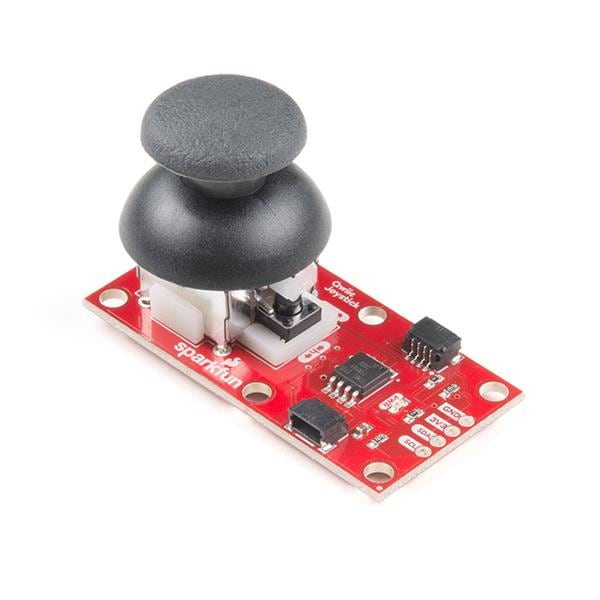
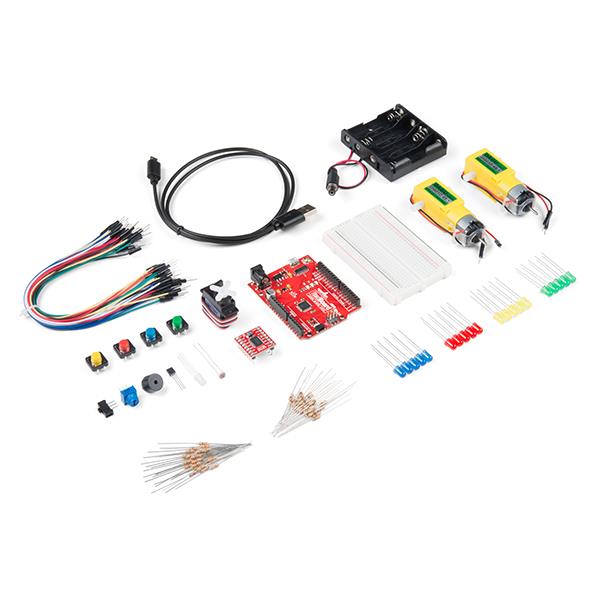
Hardware components

Story
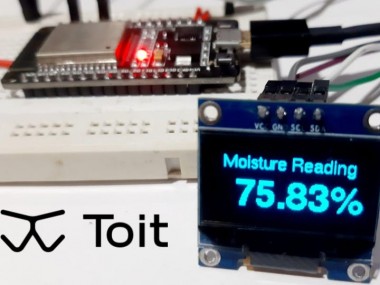
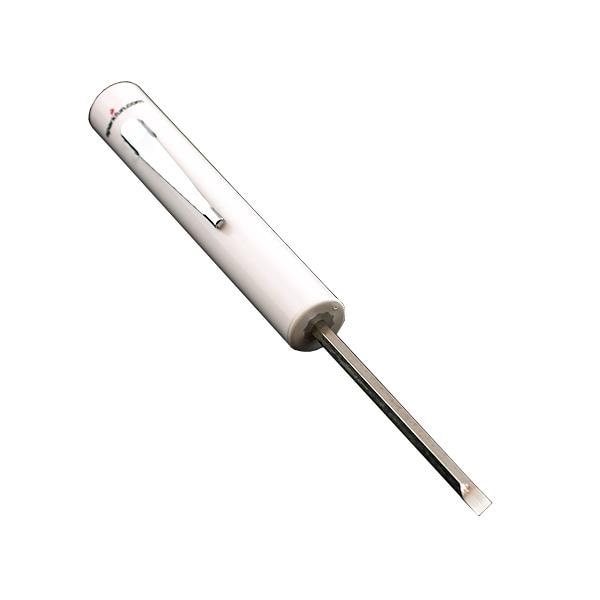
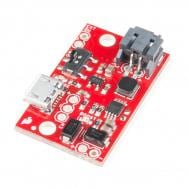
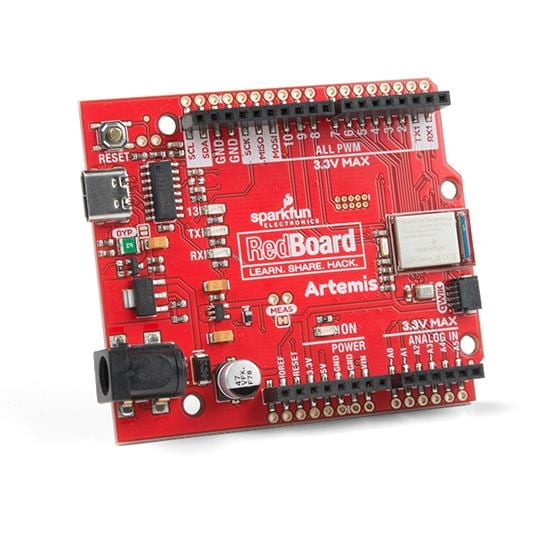
In this article, we will develop a soil moisture monitoring system using an ESP32. In addition to the ESP32 board we will use a moisture sensor and an SSD1306 OLED display. The moisture sensor will send an analog signal to the ESP board. The board will process this signal based on the App/Code developed on the Toit platform and will display the output on an OLED display, thus giving us real-time soil moisture content values on the display. The value is displayed in percentage.
GitHub Link:https://github.com/JayeshRajam/Soil-Moisture-Monitoring-System-Toit.git
We are assuming that you are already familiar with the Toit platform and have your ESP board hooked up with your PC and account. If not, refer to the Quick Start Guide from Toit.
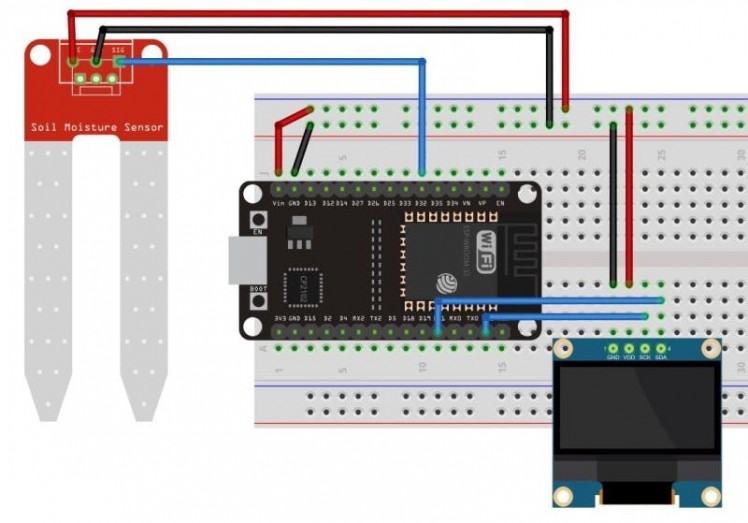
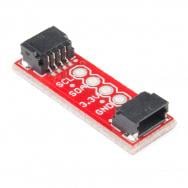
The ESP32 board is placed on a breadboard. The soil-moisture sensor is connected via analog mode to pin 32 of the ESP board. The OLED display is set on an I2C bus with SDA and SCL connected to 21 and 22 pins of the ESP board respectively. The required power inputs of 3.3V and GND are given to both the sensor and the display unit.
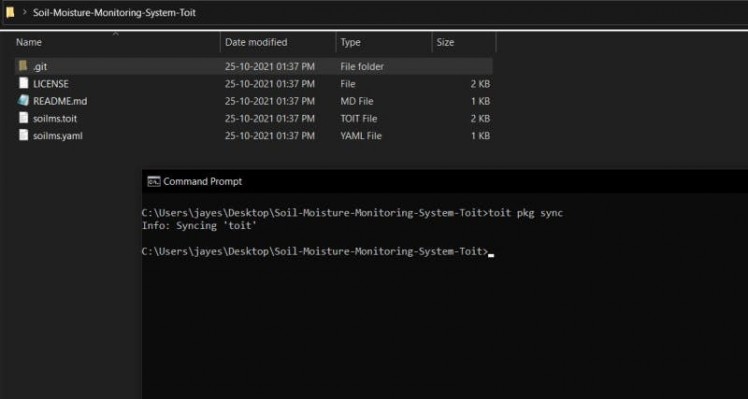
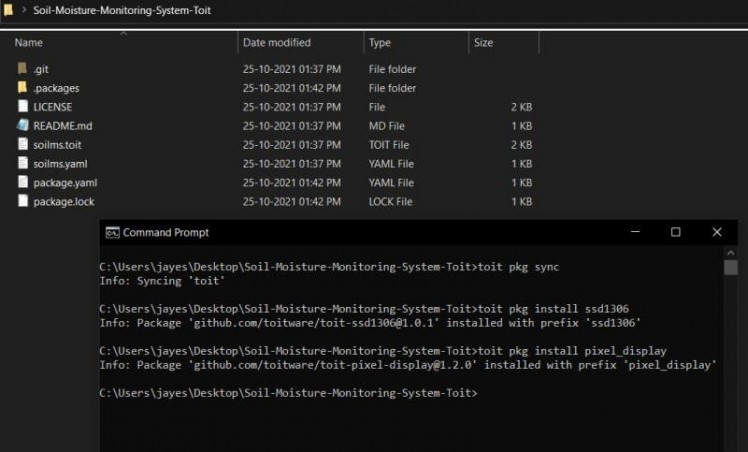
From the Toit CLI, you first need to install the driver for the SSD1306 OLED display provided in the Toit package registry.
For that, in Toit CLI, open your application directory and run the commands
$ toit pkg install ssd1306
$ toit pkg install pixel_display
Next up, we use Visual Studio Code to implement and deploy the application. The program first imports all the necessary libraries. The gpio.adc is required for processing analog inputs from the moisture sensor whereas the i2c library is required for SSD1306 OLED display’s I2C bus output. We also import some fonts needed for our display output.
// Import libraries
import gpio
import gpio.adc
import serial.protocols.i2c as i2c
import i2c
import font show *
import font.x11_100dpi.sans.sans_24_bold as sans_24_bold
import pixel_display show *
import pixel_display.texture show *
import pixel_display.two_color show *
import ssd1306 show *
Next, we initialize signal pins for our sensor and the I2C bus. We scan the bus for connected devices and if no SSD1306 display is found the program will throw an error and put the board to sleep. And if the display is found with that address, the program will initialise it.
MOISTURE_SENSOR ::= 32
SCL ::= 22
SDA ::= 21
main:
// Set up the I2C bus for the OLED display.
    bus := i2c.Bus
        –sda=gpio.Pin SDA
        –scl=gpio.Pin SCL
    devices := bus.scan
    if not devices.contains SSD1306_ID: throw “No SSD1306 display found”
    oled :=
        TwoColorPixelDisplay
            SSD1306 (bus.device SSD1306_ID)
    oled.background = BLACK
    sans := Font.get “sans10”
    sans24b := Font [sans_24_bold.ASCII]
    sans_context := oled.context –landscape –font=sans –color=WHITE
    sans24b_context := sans_context.with –font=sans24b –alignment=TEXT_TEXTURE_ALIGN_RIGHT
    oled_text := (oled as any).text sans24b_context 130 55 “0.0”
    //”oled as any” is necessary
SSD1306_ID points to the address of 0x3c. If it’s different for your display, then replace the variable with your address.
Now, we initialize some variables to store the input signals from the moisture sensor and convert it to percentages.
    pin := gpio.Pin MOISTURE_SENSOR
    sensor := adc.Adc pin
The following code lines run in a loop and what they do is collect the analog input signal from the moisture sensor, make a linear conversion of it to percentage value and display it on the OLED display. In the next loop cycle, the value is again fetched and updated on the display.
    while true:
        val := sensor.get
        per := (-41.66666667*val) + 145.833333334 // Linear conversion to percentage.
        oled.text sans_context 10 20 “Moisture Reading”
        print “Moisture: $(%.2f per) %”
        oled_text.text = “$(%.2f per)%”
        oled.draw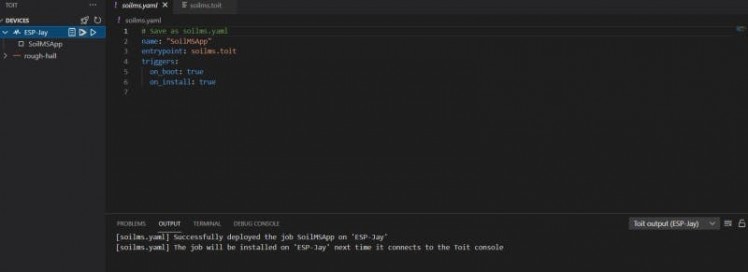
sleep –ms=500Toit’s VS Code extension has made it super easy to deploy applications to the ESP board on the go. Just navigate to your application directory, open the.toit/.yaml files, click on deploy/run buttons, select your device and you are done!

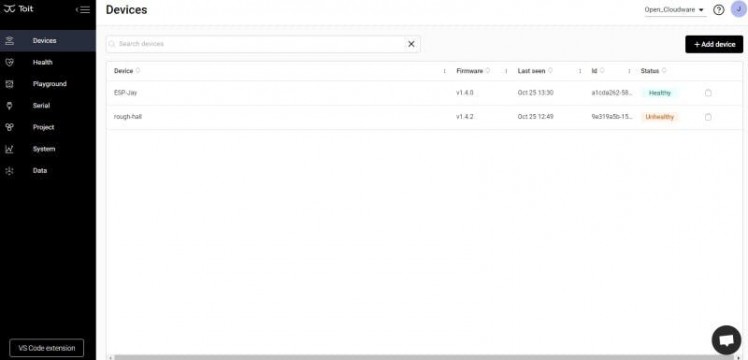
See the output on the Toit output (device_name) and Toit logs (device_name)

Application Video:
Code
Credits
Related products


Leave your feedback...