
Nerf Gun Ammo Counter / Range finder

Made by 314Reactor / Environmental Sensing / Lights / Sensors
About the project
Why? Because ammo counters are cool and range finders are also pretty cool and Nerf is cool – mix them together and it's ice cold.
Project info
Difficulty: Moderate
Platforms: Adafruit, Raspberry Pi, Android Things, Pimoroni
Estimated time: 3 hours
License: GNU General Public License, version 3 or later (GPL3+)
Items used in this project
Hardware components


View all
Story
 Oh yeah.
Why?
Because ammo counters are cool and range finders are also pretty cool and Nerf is cool – mix them together and its ice cold.
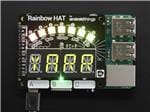
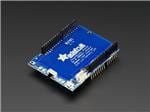
I had the idea for this a while back but have only now just decided to build, with the release of the awesome Rainbow Hat from Pimoroni.
This would give me the display needed for the range in CM and a clear display for the ammo counter itself.
Key Goals.
- Make a device that can measure distance from the barrel of a Nerf gun.
- That can also count down remaining ammo in a clear way.
- Make it modular.
Parts.
Beginning.
First its best to wire up the battery and the Powerboost 500, for instructions on this refer to my previous project.
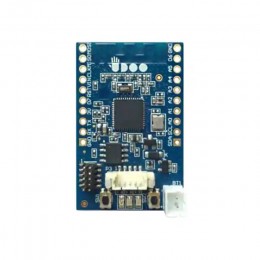
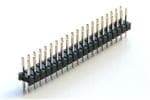
Next job is to solder the Pi Zero 40 pin header onto the Pi itself – see here for an introduction into soldering.
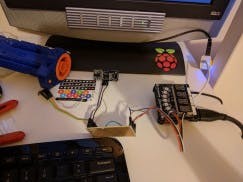
Next you’ll want to put the Pi Zero together with the Case purchased from above, this is pretty simple, you can then put the Rainbow Hat on top.
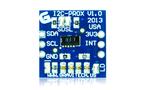
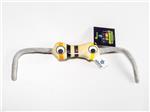
The hat and the proximity sensor
 IMG_20170809_091704
 IMG_20170809_094511
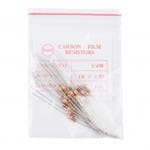
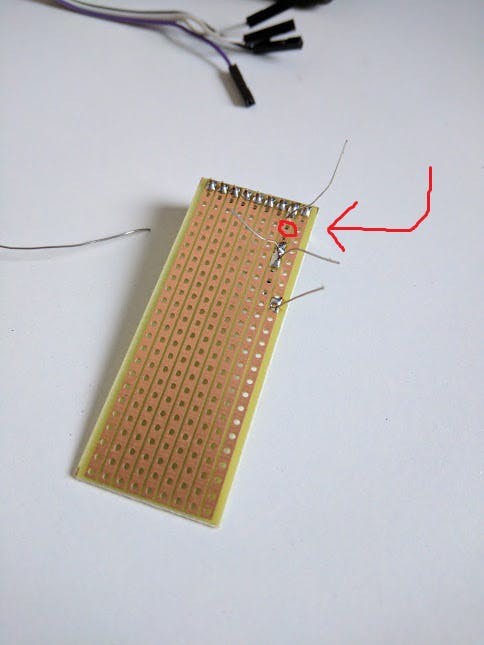
Next grab the veroboard, snap the male header from above into 2 parts of nine and solder them into either side of the board as such, with the top resistor being a 1k and the lower one being a 2k, this will attach to the GND pin and form the voltage divider as per the tutorial on modmypi:
 Veroboard is nice
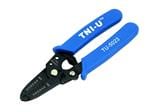
You will then want to drill the gap between the resistor in the area marked below so that it will function correctly, using the veroboard cutter listed above:
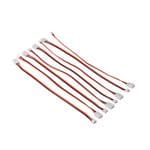
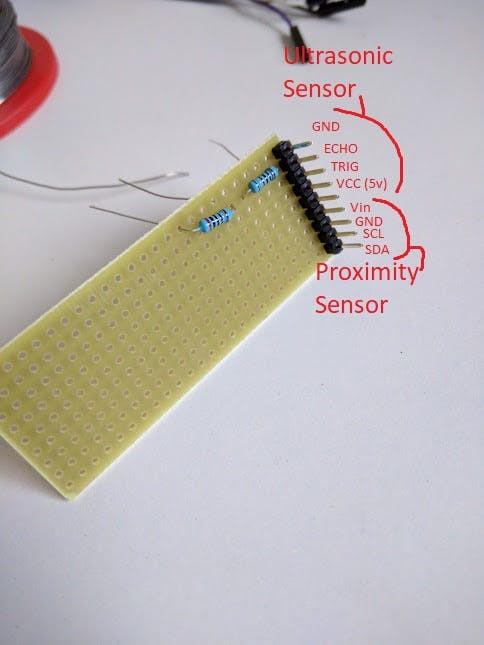
Once both ends have headers and the resistors are soldered in attach the jumper cables to the sensors and plug the cables into the headers on the side of the resistors making sure that the wires are as such:
 Middle pin is unused
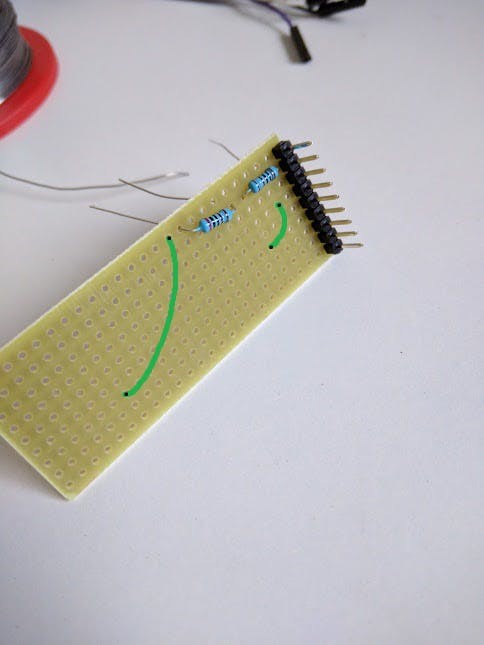
Now to save Pins, we will wire GND and VCC to share the same lines on both sensors, solder in wires as such:
 Paint skills
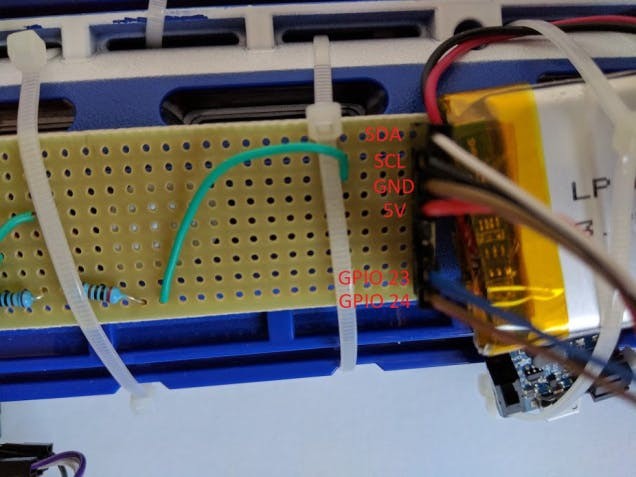
While the hat has a number of breakout pins on it it does not have pinouts for GPIO 23 and 24 which are needed for the ultrasonic range sensor as per the above tutorial so I soldered in direct to the pins using this pinout (soldered from the underside is easiest).

The top 4 wires there go to the breakouts on the Rainbow Hat from the Proximity Sensor, the bottom 2 go to the pins direct on the Pi mentioned above:
When all is connected up it should look something like this:
 IMG_20170814_192451
 IMG_20170814_194207
 IMG_20170814_202759
Now go to the awesome PiBakery and configure this and burn to an SD Card:
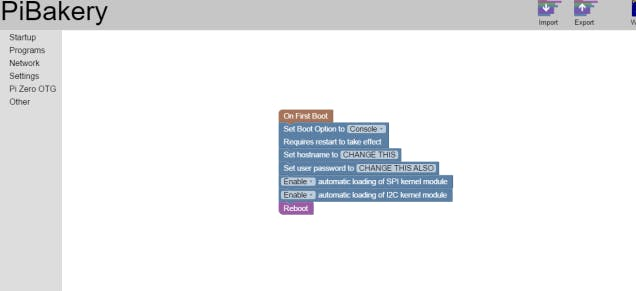 Everyone should use PiBakery! Everyone.
Hook the Pi up to Ethernet using a USB hub from the parts section with a KB/Mouse put the SD in and power it up!
Once it has configured and rebooted, log in and run through the following tutorials/installations:
Now go to your IDE of choice and download the following test scripts:
Run the range finder python code and point it somewhere within a few meters:
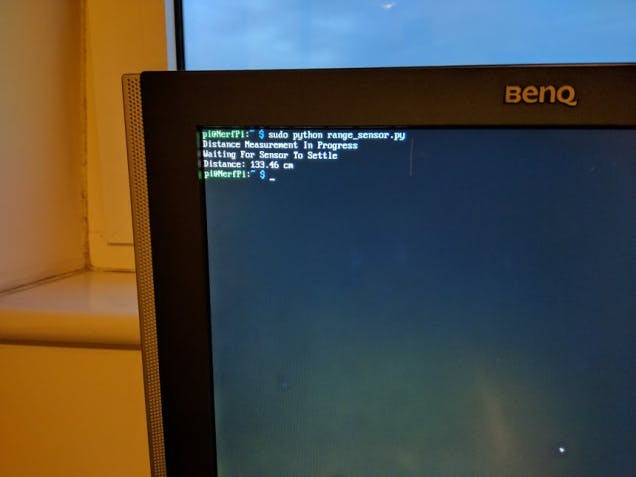 Nothing went up in smoke!
Now load the proximity sensor test and move the sensor around and it will output the ambient light and distance.
Functionality.
The range finder is simple enough, I want it to run and simply measure the distance in CM from the barrel every couple of seconds or so, nothing complex in the functionality here.
As for the ammo counter, I pondered ways to get it to read the ammo in the magazine dynamically but I could not think of a way to get this done – if someone has an idea for accomplishing this it would be awesome – please let me know if you manage to improve this project.
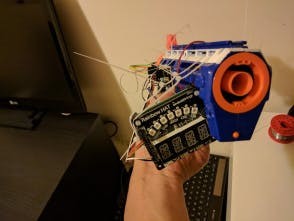
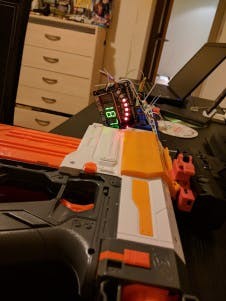
In lieu of this function I came up with the idea that the ammo per magazine being used should be set manually and then ‘loaded’, as shots are fired this will count down eventually to zero, then when changing magazine the user hits the ‘reload’ button on the hat and the ammo per magazine amount is loaded again.
When manually changing the ammo per magazine by another button on the hat it will show the ammo selection for a second and then return to the current ammo residing in the inserted magazine – there will be a video linked below that will show this clearer.
Code me up.
Now the sensors are checked to be working we can get onto the code for the shot detector (make sure the following scripts go into your home folder):
 IMG_20170810_184944
 IMG_20170810_184208
Code for the range finder can be found under attachments.
Code for the ammo counter is again under attachments.
Now we need to configure /etc/rc.local to launch the scripts on boot, also found under the attachments of this project.
Save, reboot and watch as the Rainbow Hat lights up!
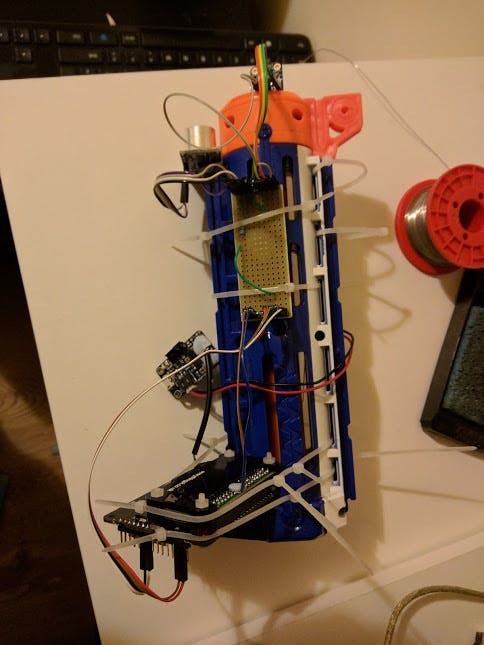
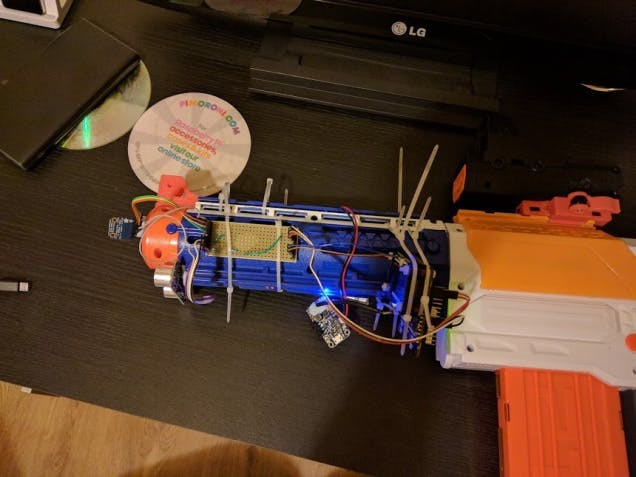
Cable tied.
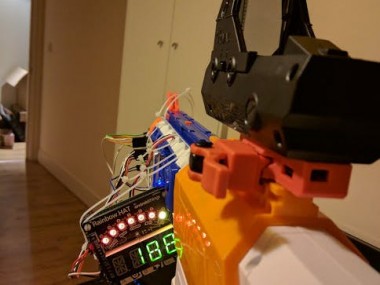
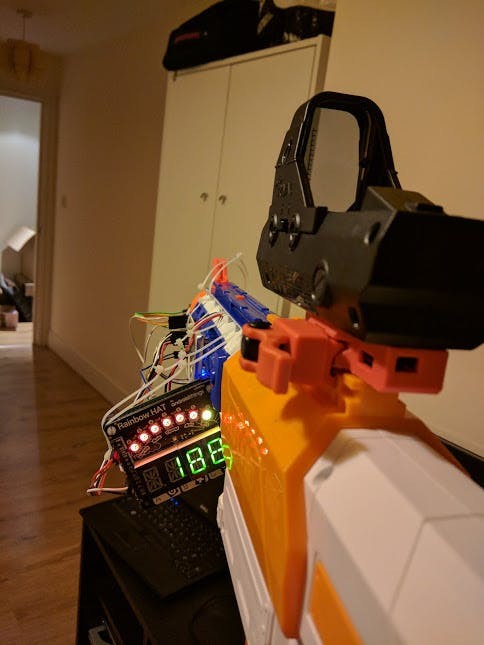
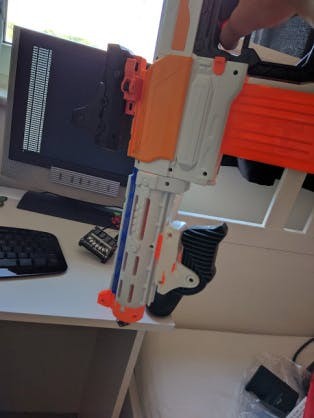
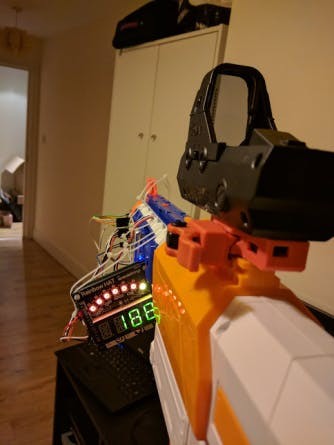
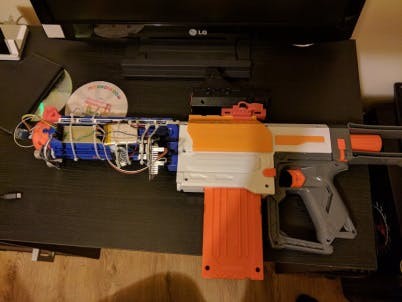
Now its time to attach it all to the modulus-compatible barrel of the Retaliator, being that the electronics will be on the barrel only this will mean it can be connected or disconnected to or from any modulus Nerf gun.
I ran cable ties through the tiny slits just below the top rail:
I used blu-tak to hole the PCB, the ultrasonic sensor and the proximity sensor in place (for temporary positioning/testing, Sugru can be used later for a more permanent solution):
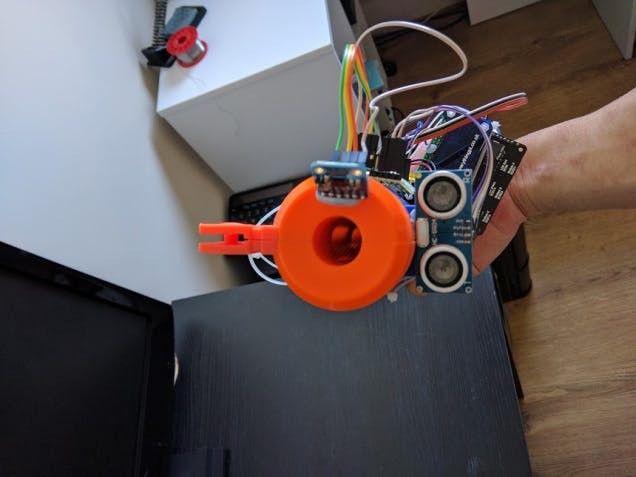
The proximity sensor needs to be angled as such so it does not pick up on the proximity of the end of the barrel itself, but will still pick up shots as they leave the barrel.
Wrap the cable ties around the veroboard, the Powerboost, the battery and the Raspberry Pi/Hat assembly itself and pull the ties tight – it is probably best to tighten this one at at a time using hands to hold them in place (4 cable ties were enough to reach around the barrel for each loop):
Now cut off the loose ends of the cable ties and check the stability of the construction and attach to the Nerf gun of choice (mine being the Recon MKII):
; ; 1 / 2 • IMG_20170814_211046
 IMG_20170814_212350
 IMG_20170814_211427
 IMG_20170814_212253
Operations.
Here is a YouTube video showing the device in action.
In the video you can see the following:
- Me switching the device on and the range sensor eventually measuring the range to the door in the background.
- I then set the number of rounds per magazine being used to 2.
- I then load the Nerf up and fire off a round and the counter responds accordingly.
- I then hit the ‘reload’ button to simulate a new mag with 1 Nerf dart in it.
- Next part of the video I switch the device on and show it actively measuring the distance to the door as I get closer / further away from it.
- I fire off the 2 darts in the current mag and put in a new mag with 6 rounds, as the default mag size was set to 6 when I hit reload the LED’s reflect this.
- I then fire off the remaining 6 rounds and the LED’s count down 1 per shot.
Conclusions.
So it works quite nicely I think and the aesthetic design lands somewhere between Half-Life 2 and Metro Last Light, with some Titanfall sprinkled on.
The next logical step would be to find a way to actively and automatically measure the number of rounds in an inserted magazine and reset accordingly; I am hoping that someone has found or will find a solution to this and improve my design or use this as a jumping point for an entirely better project – please do let me know I would love to see this idea be improved upon as mine is rather, rustic.
Let me know if I’ve missed anything in this guide or if you want some more info and I shall provide it!
Code
Credits
Related products


Leave your feedback...