
Introduction To Visuino

About the project
Visuino is a visual programming based om OpernWire Technology for Arduino & other Boards where you can make projects without the coding.
Project info
Difficulty: Easy
Estimated time: 1 hour
License: GNU General Public License, version 3 or later (GPL3+)
Items used in this project
Hardware components

Story
What is Visuino?
Visuino is a visual programming based om OpernWire Technology for Arduino & other Boards where you can make Arduino projects without the coding. If you’ve been exposed to the existing Arduino IDE you may be overwhelmed by the complexity of designing the code to run your hardware components.
To create a simple LED blinking project using the code is one thing, but once you start adding sensors and Displays to your project things can become a bit complicated and here is where the Strong Visual programming software comes in handy. With the Visuino all you need to do is drag and drop components, set properties, connect them together and upload directly to your board. With Visuino you can create a wide variety of projects, and it supports all the popular boars like Arduino and all its compatible boards, ESP series and even SBCs like Raspberry Pi. With the PRO version you can create quite complex projects without having to learn coding. Visuino Professional allows users to connect to a wide range of PLCs, I/O systems, networks, and devices, using variety of industry adopted protocols including Modbus, MQTT, REST, CANBus and many others.
Create Multiple SubDiagramsCheck each aspect of the code using Live Code windowModbus Client/Master and Server/Slave componentInject your own code by using Custom Code componentForward Fast Fourier (FFT) componentInverse Analog Fast Fourier (IFFT) componentInverse Complex Fast Fourier (IFFT) componentThere are 3 Versions of Visuino: 1. Free (Limited to 20 components, enough for beginners) 2. Standard paid (Also available 15 days Trial) 3.Professional (Also with a Trial option)
Step 1: Download Visuino Software
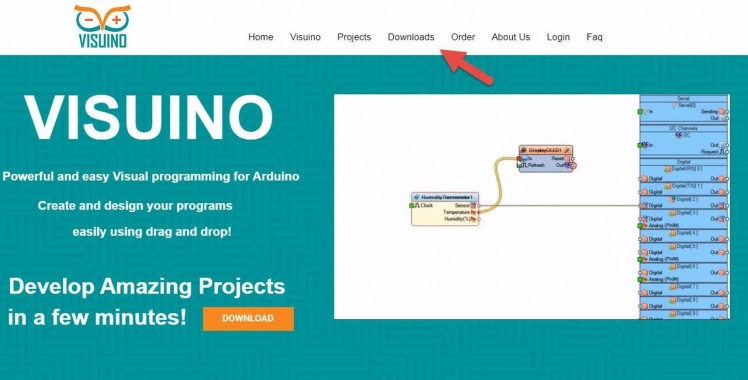
Go to https://www.visuino.eu and Download Free version or register for a Free Trial.
Step 2: Start Visuino
1 / 3

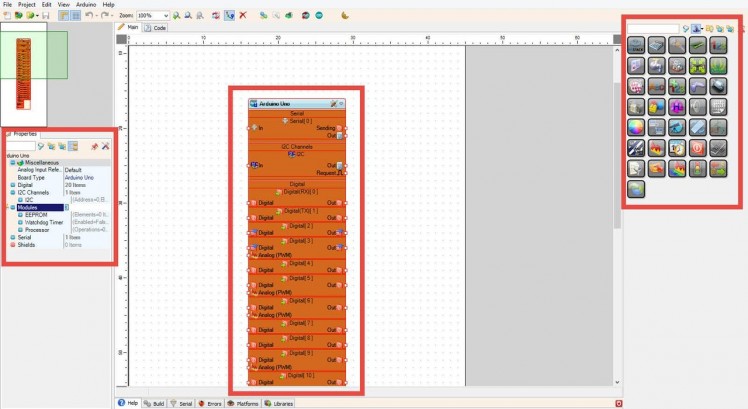
After installing and launching Visuino, we will get an interface like in the image above.
In the center we see the main block which represents the actual microcontroller.On the right side we find all the component blocks like Sensors,Displays,Math, Logic, Digital, Analog and so on.
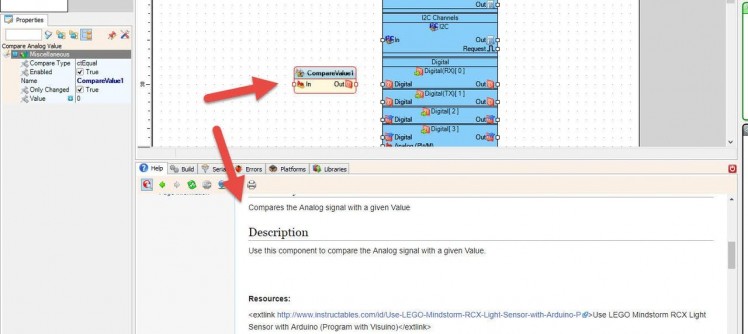
On the left side we can edit the properties of the selected component.
On the bottom we can see a description of each component that we click on. We can upload the project directly there and check the Serial Monitor.
Step 3: Selecting Board
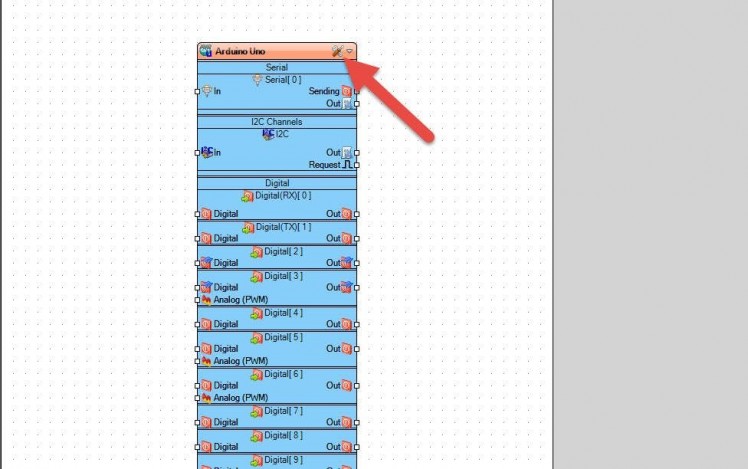
Start Visuino as shown in the first picture Click on the "Tools" button on the Arduino component (Picture 1) in Visuino When the dialog appears, select "Arduino UNO" as shown on Picture 2
Step 4: First Project Blinking LED
1 / 6

In Our first Project we will make a LED blink.
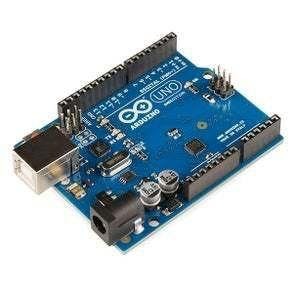
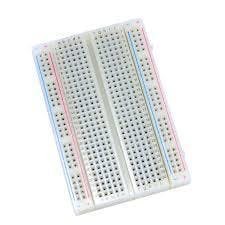
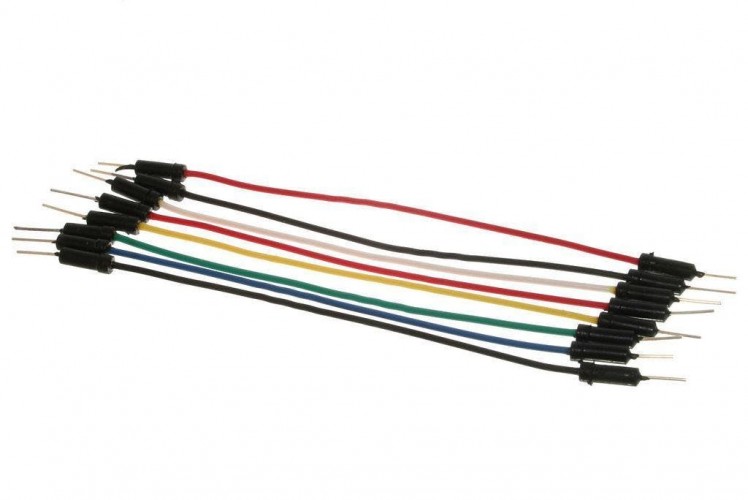
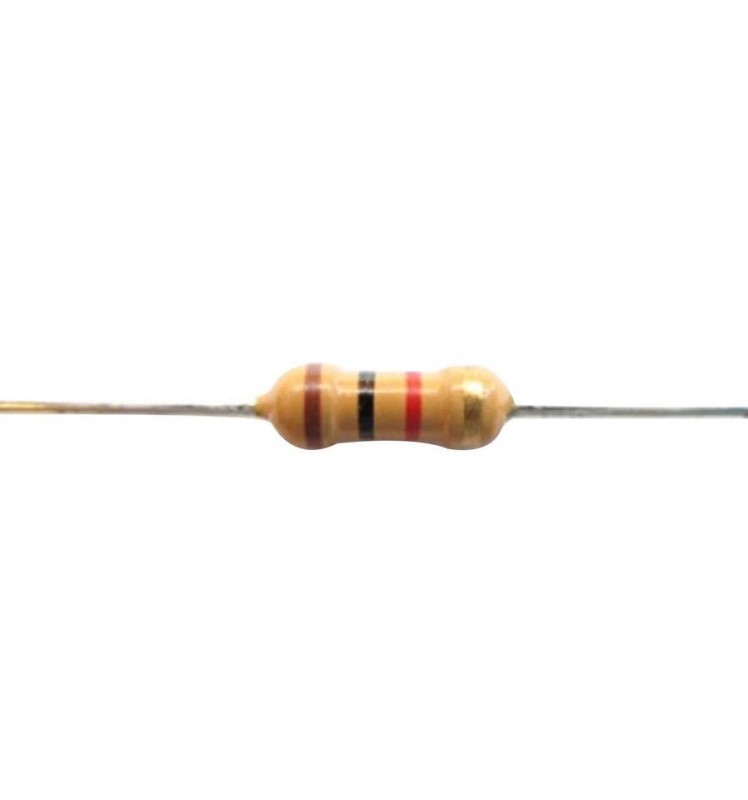
For this project you will need a:
- LED
- 1Kohm Resistor
- Breadboard
- Jumper Wires
- Arduino UNO
- Visuino Software
Step 5: The Circuit
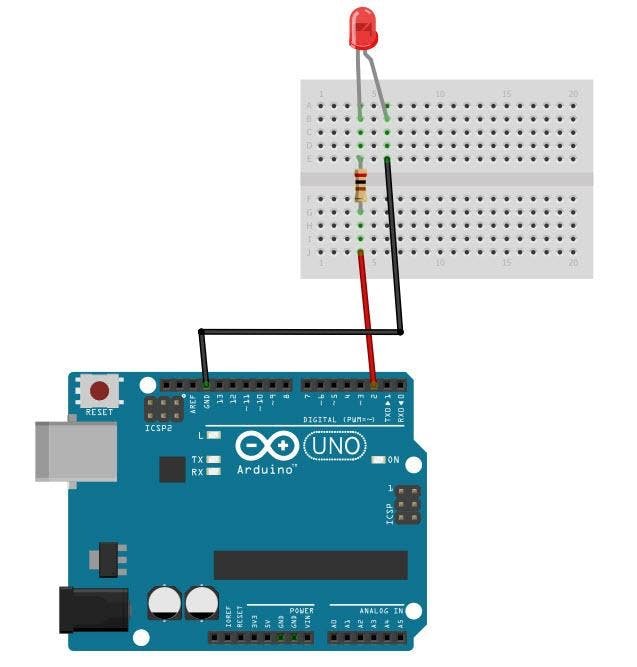
- Connect Arduino pin [GND] to breadboard where LED pin [GND] is located.
- Connect Arduino digital pin [2] to breadboard where resistor pin is located.
- Connect Resistor pin to LED positive pin
Note: if you dont have the LED and the resistor you can just use the Builtin LED on the Arduino board, in this case in Visuino connect the "Pulse generator" to digital pin [13] not [2]
Step 6: In Visuino
1 / 2
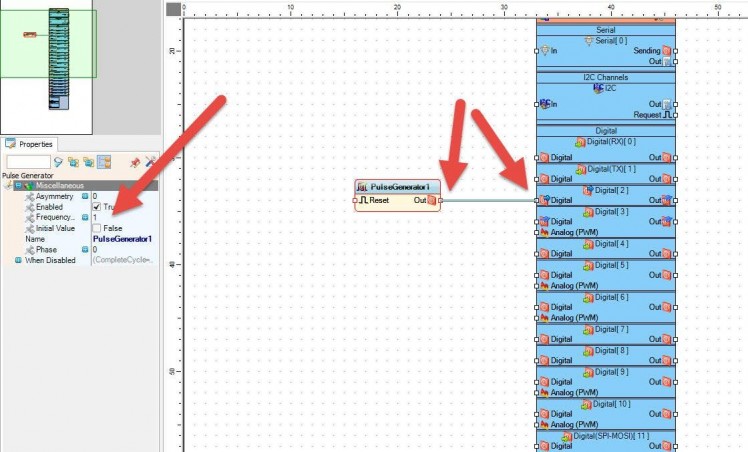
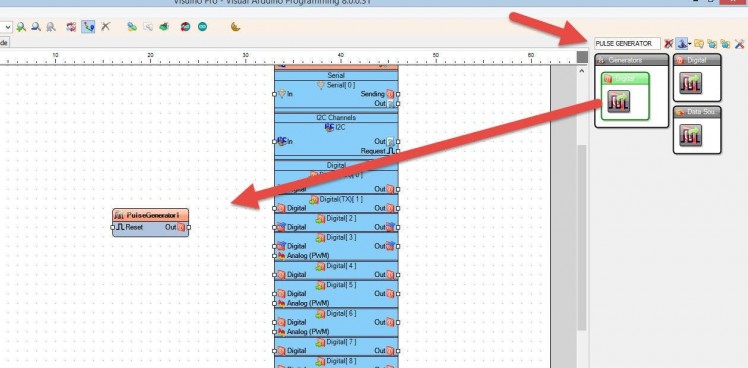
- Add "Pulse Generator" component from the left side (see the picture)
- Connect "PulseGenerator1" pin [Out] to Arduino board digital pin [2]
- If you select "PulseGenerator1" then you can set the frequency of the blinking in the properties window (see the picture)
Step 7: Generate, Compile, and Upload the Arduino Code
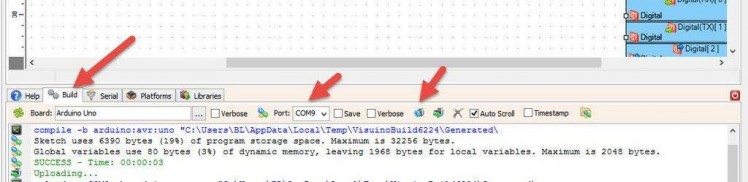
Connect your Arduino board to the computer.
In Visuino, at the bottom click on the "Build" Tab, make sure the correct port is selected, then click on the "Compile/Build and Upload" button.
Step 8: Play
If you power the Arduino module, The LED will start to blink!
Congratulations! You have completed your project with Visuino. Also attached is the Visuino project, that I created for this tutorial, you can download it and open it in Visuino: https://www.visuino.eu
Schematics, diagrams and documents
Code
Credits
Related products


Leave your feedback...