
Harold The Undead

Made by 8BitsAndAByte / Animals / Environmental Sensing / Robotics / Sensors / IoT
About the project
An internet controlled and tracked zombie hamster!
Project info
Items used in this project
Hardware components


View all
Story
Overview
Below a quick overview of the content.
- Introduction and showcase video
- Creating the internet controlled Hamster
- Setting up the internet tracked Hamster wheel
- Challenging the Internet - Can you run more than a hamster?
Introduction and showcase video
Our hamster Harold has passed away, and we miss him very much. Instead of getting a new hamster, we've decided to build one, but this time he will be controlled and tracked by the internet!
TL;DR
You can control him here on LetsRobot, and you can find the live data here on Thingspeak.
Creating the internet controlled Hamster
Unlike Frankenstein, our little monster should smell pleasant, and only spread a small amount of fear. To achieve this, we will use his original hamster wheel, powering it with a stepper motor, making it look like he is still happily running along.
The hamster wheel is very smooth, so attaching a bit of toothed belt makes sure our second belt will have enough grip.
This setup works, but the belt can slide to the side, so gluing some 'railings' next to the first belt helps.
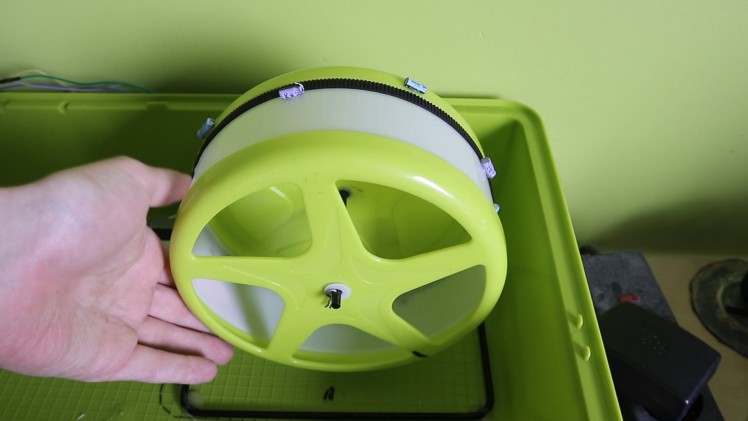 A toothed belt and railings on the hamster wheel
With the wheel ready, we can secure it to the cage flooring, placing the stepper motor right next to it, and finally running the driving belt around both.
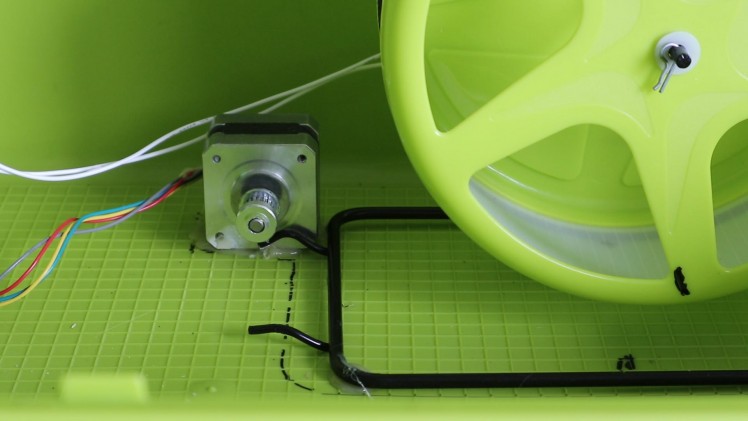 The stepper motor and hamster wheel are glued inside the cage
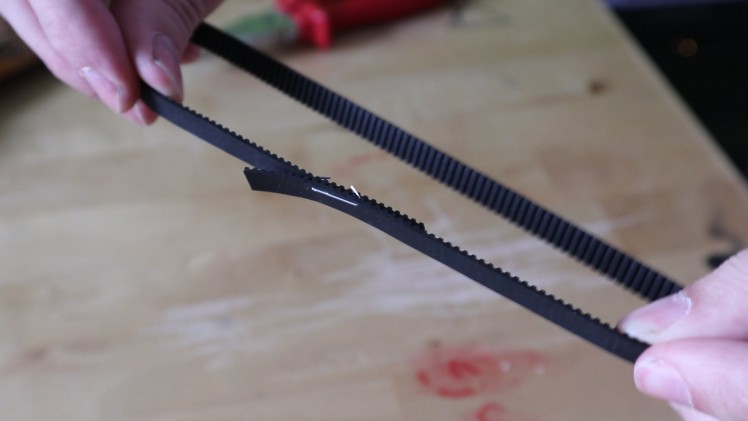 A nicely looped toothed belt
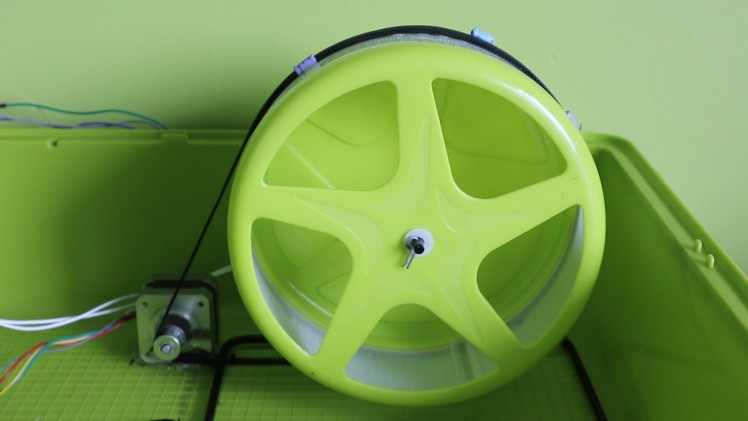 The toothed belt is placed around the hamster wheel and the stepper motor
Wiring the stepper motor, attaching the motor hat and running the example code brings our creation to life!
Undead hamster running in his wheel, check! Let's move on the the internet controlled bit. We're not going to reinvent the hamster wheel, so here's a neat guide on setting up a Pi Camera, and connecting everything to Let's Robot, the internet controlled robot platform.
 Let's Robot
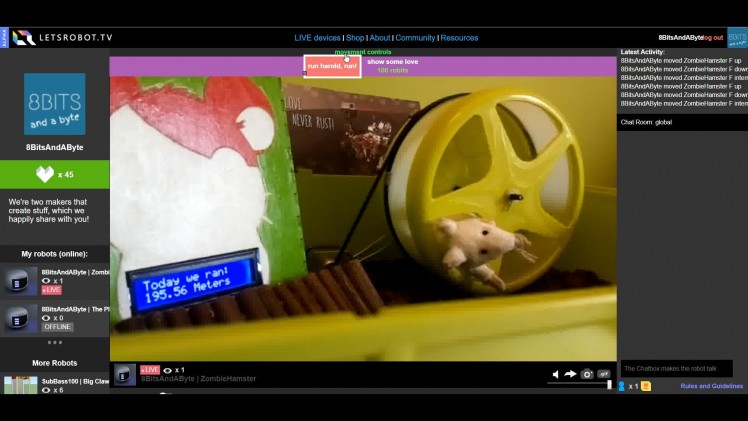 Control Harold the Undead via Let's Robot
Setting up the internet tracked Hamster wheel
Next step, tracking how far our less-than-living pet runs. This setup is very much based on our previous project: An IoT Hamsterwheel made using a Raspberry Pi and a magnetic door sensor.
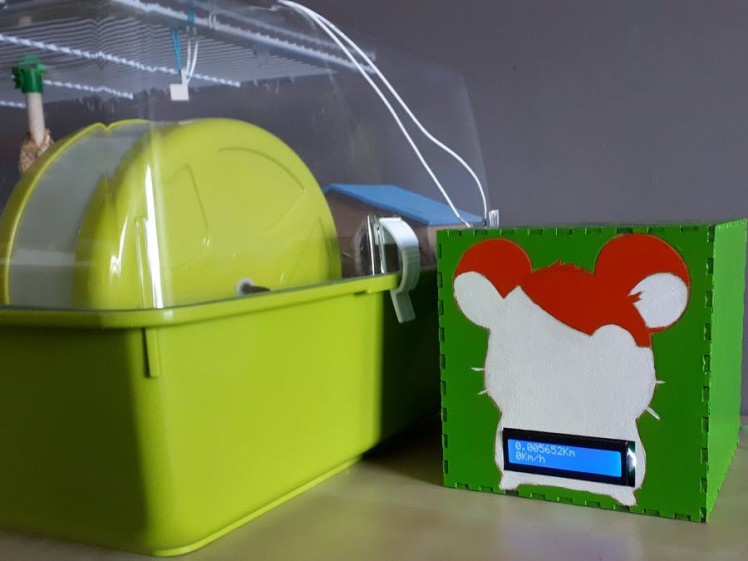 Project Floofball: an IoT hamster wheel
-- Challenging the Internet -- Can you run further than a hamster?
Let's find out! The controls are right here.
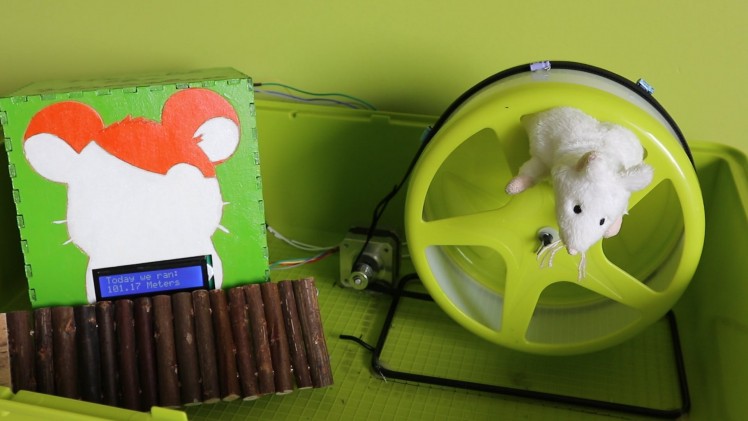 Look at how fast he's running!
Credits
8BitsAndAByte
We’re Dane & Nicole, two makers that create tremendously terrible tech, which we happily share with you on our channel! https://www.youtube.com/c/8bitsandabyte
Related products


Leave your feedback...