
Diy Rgb Tube Lights

Made by mukesh-sankhla / Games & Gaming / Holidays / Home Automation / Photos & Video / IoT
About the project
RGB Tube Lights made using Arduino Nano and WS2812B LEDs.
Project info
Items used in this project
Hardware components

Story
Details:
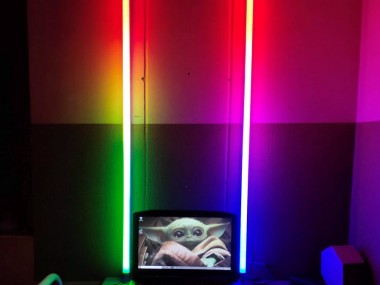
DIY RGB Tube light is a multi functional tube light which can be used in photography, light painting photography, film making, gaming, as a VU meter and more. The tube light can be controlled by Prismatik software or by a push button. These tub lights are made using a Arduino Nano and WS2812B LED strip.
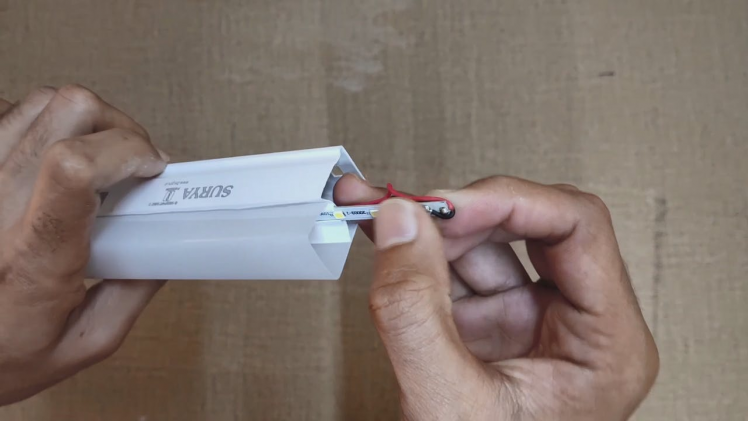
Build instructionsStep 1:
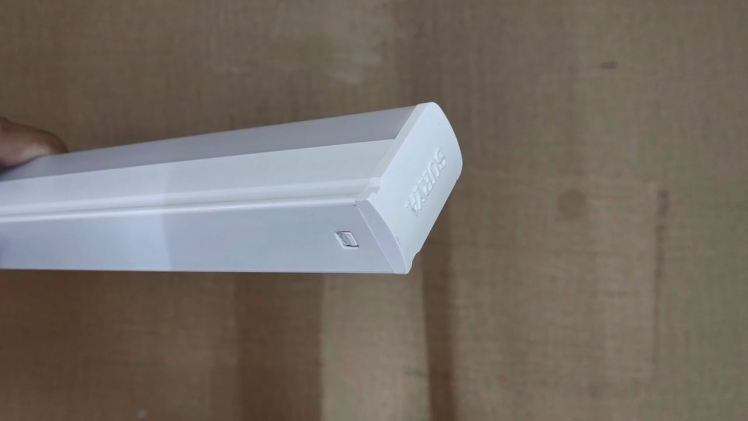
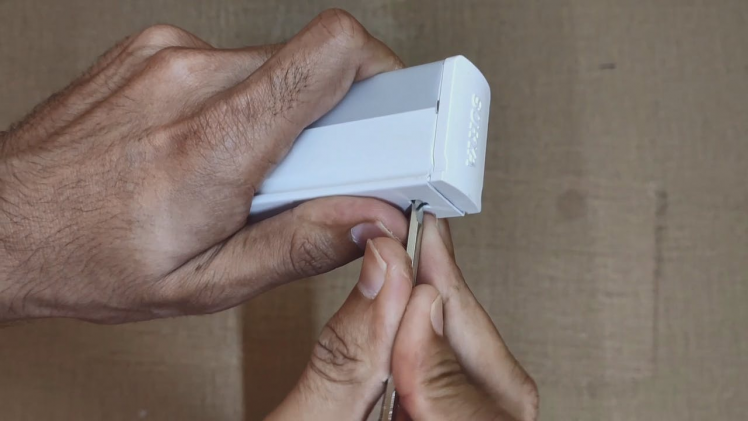
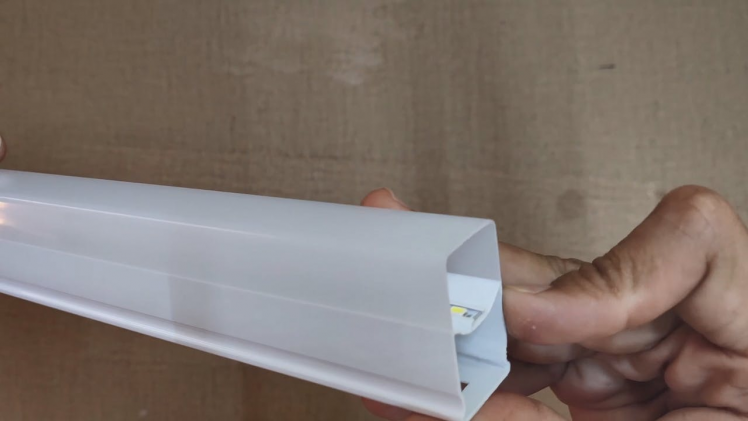
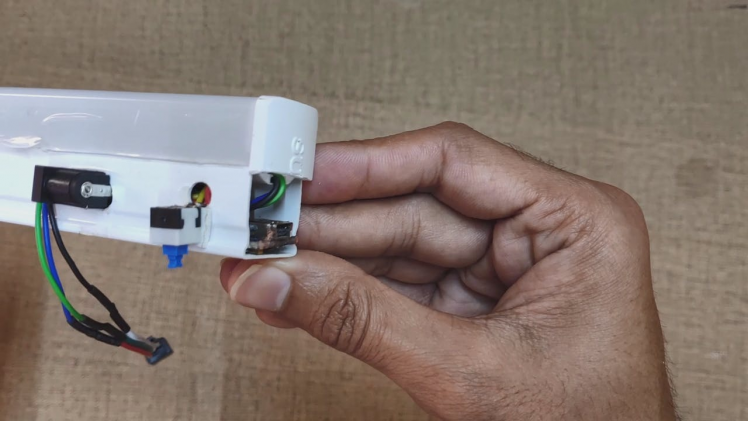
- Disassemble the tube light by removing end caps, separating diffuser and removing whites LED strip from the tube.

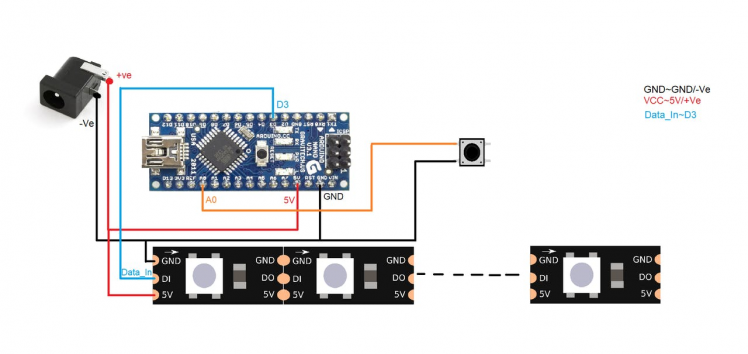
Step 2:
- Make all the connections as shown in circuit diagram.
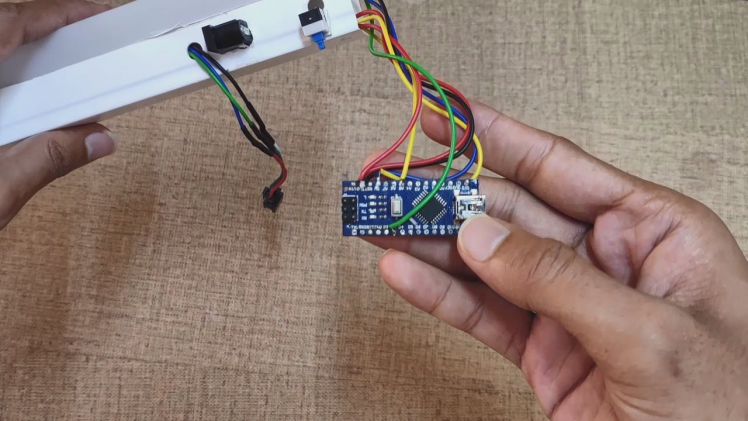
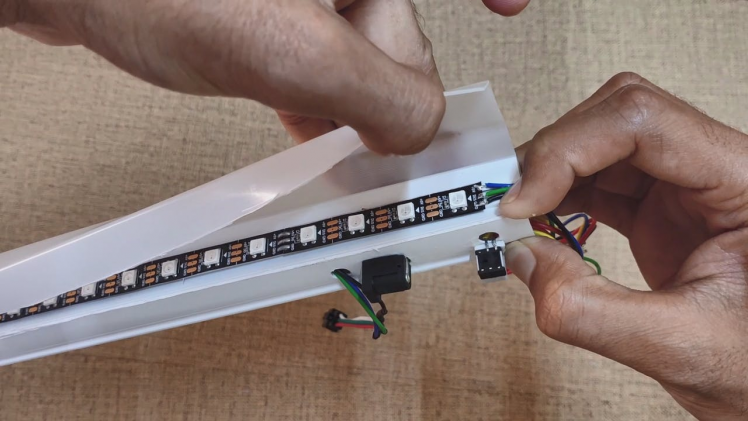
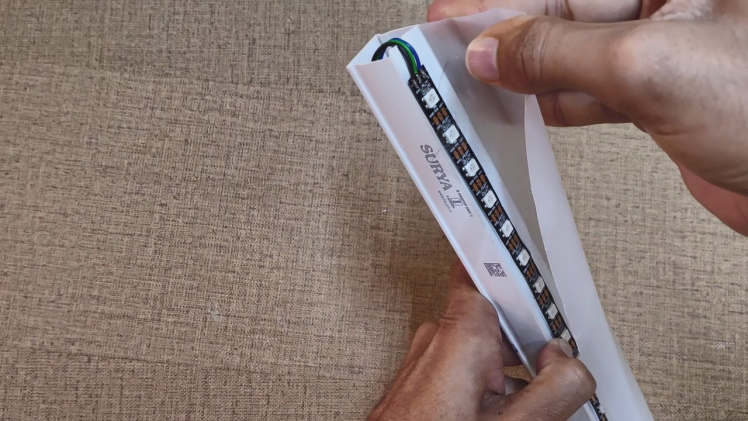
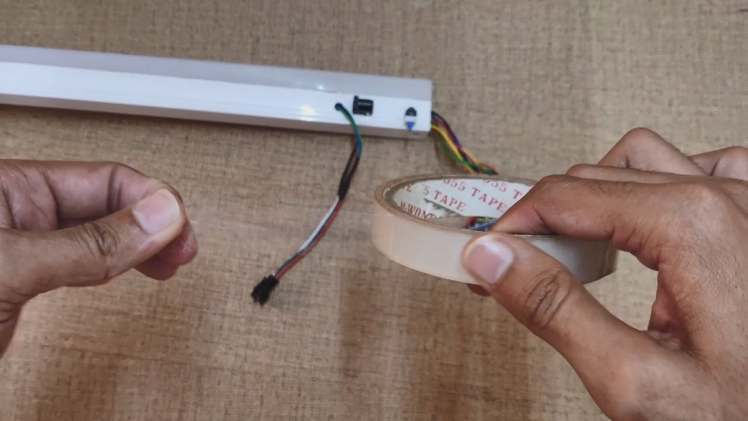
Step 3:
- Put all the electronics in the tube, put back the end caps and seal the diffuser using clear tape.
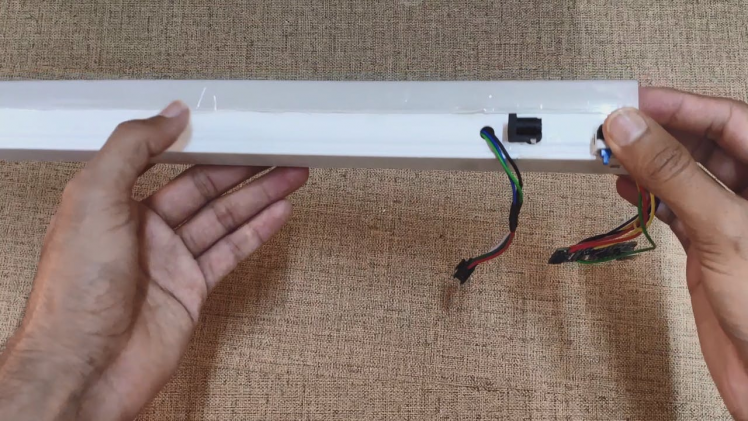

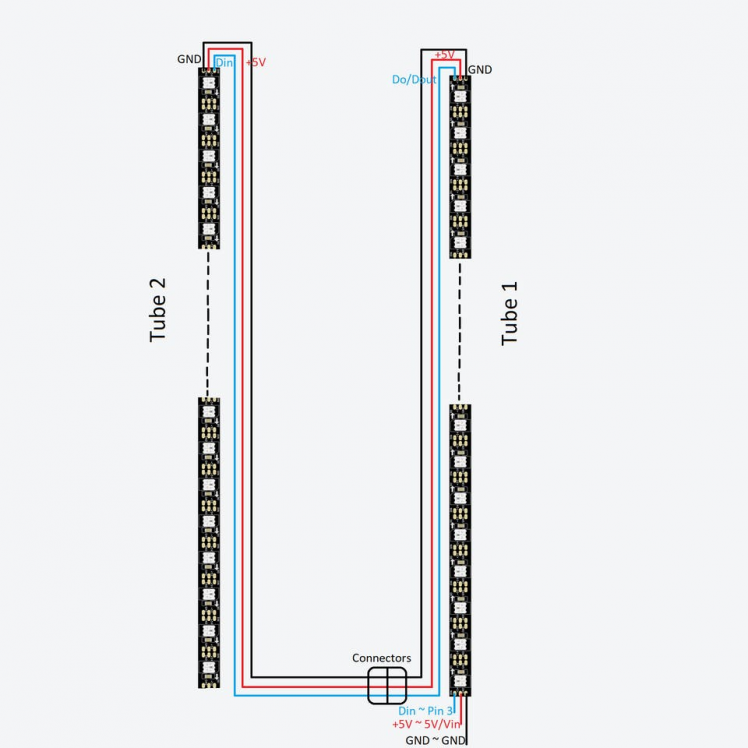
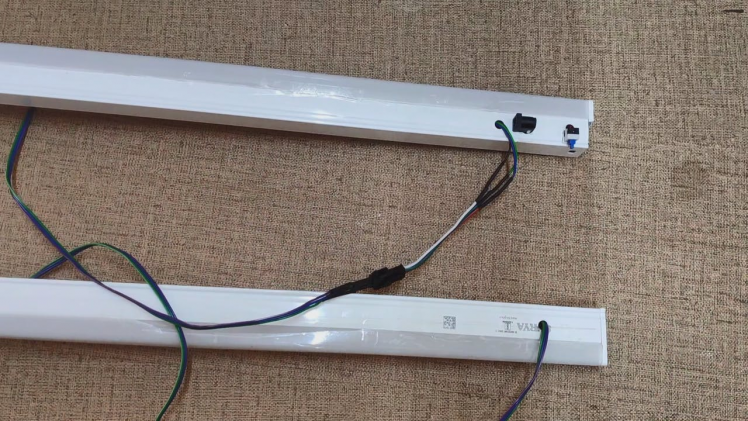
Step 4:
- Similarly make the second tube but this time use only WS2812b LED strip, connector, wires and connect the tube lights.
Step 5:
- Download the given zip files and extract them.
- Files:
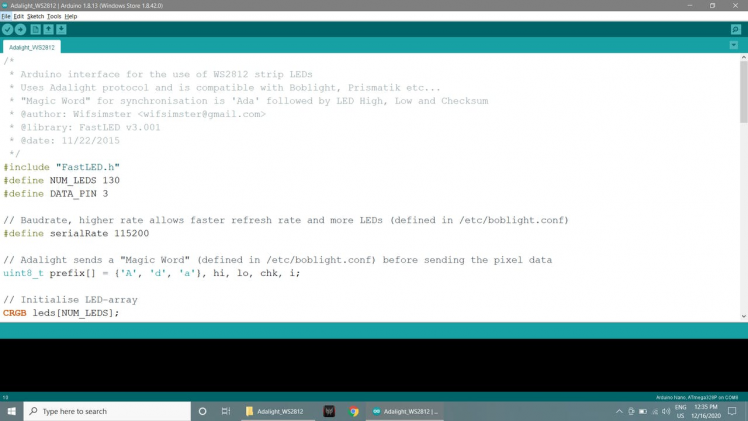
- Open the RGB Tube code & software file, open the code given in Arduino IDE.
- Install the FastLED library in Arduino IDE.
- You can enter the number of LEDs you used in your tube lights, I used 65 LEDs in each tube lights, i.e. 130 LEDs in both tube lights.
#define NUM_LEDS 130- Remember the port number. (for example: com8)
- Connect the Arduino to your PC, select the board type, select the port and upload the code.
Step 6:
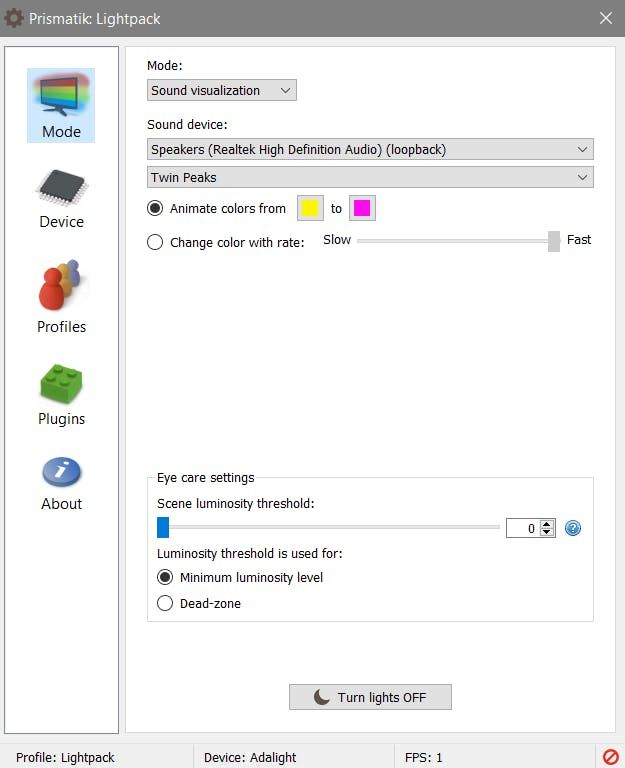
- Install the prismatik software in your PC.
- Open the software and click on device.
- Click on Run configuration wizard and simply click on Next -> Next.
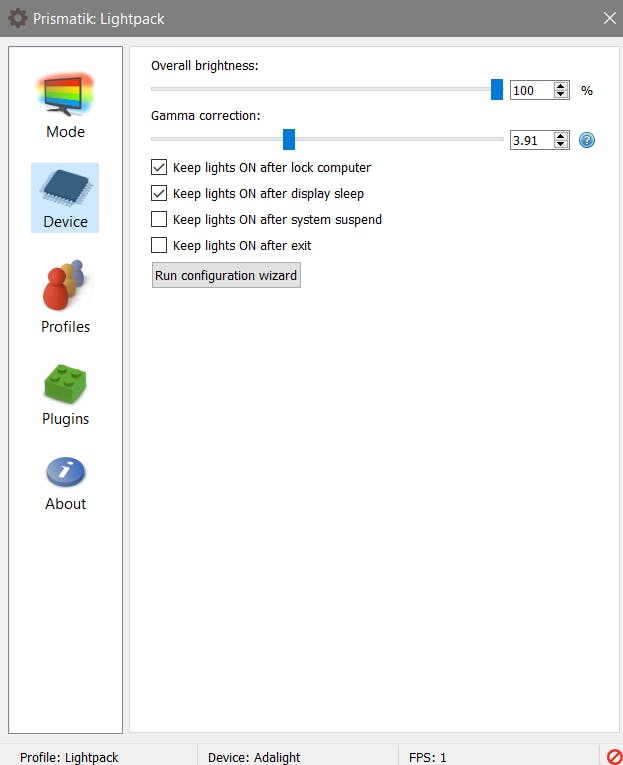
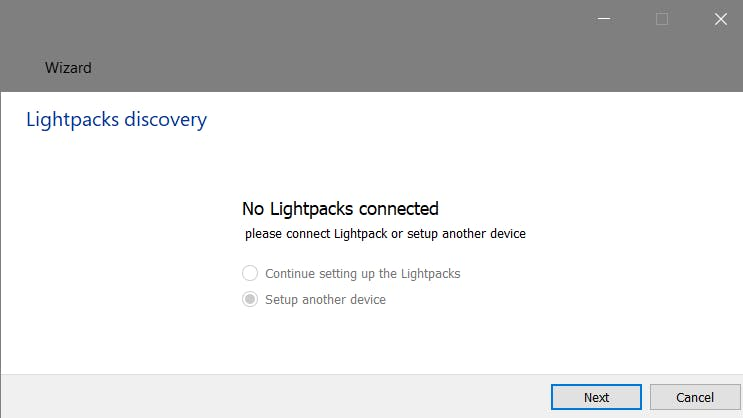
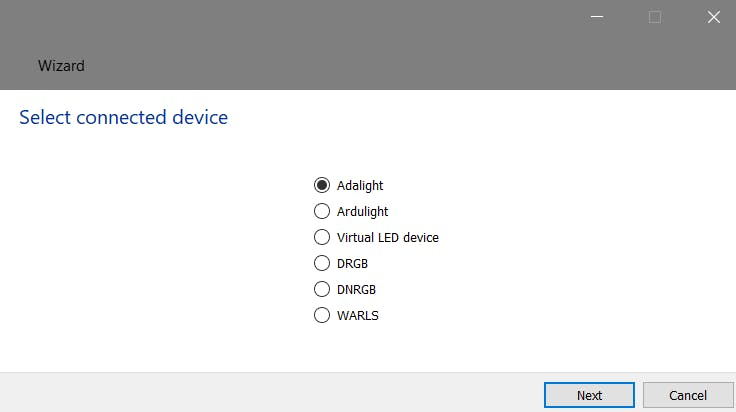
- Enter the Serial Port number and click Next -> Next

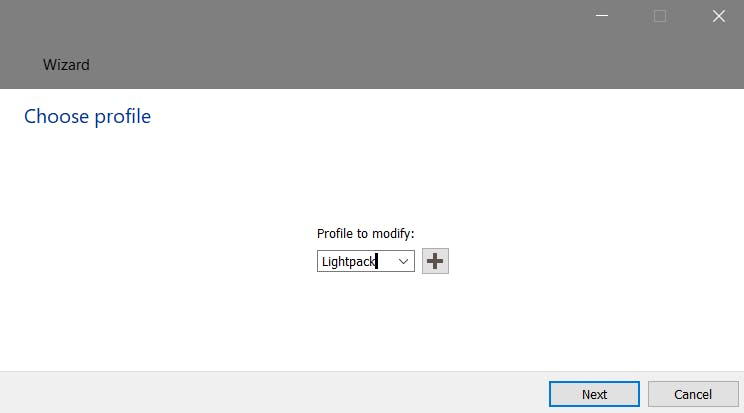
- Enter the number of LEDs at sides (i.e. in my case top=0, side=65, bottom=0) and click on custom -> Next
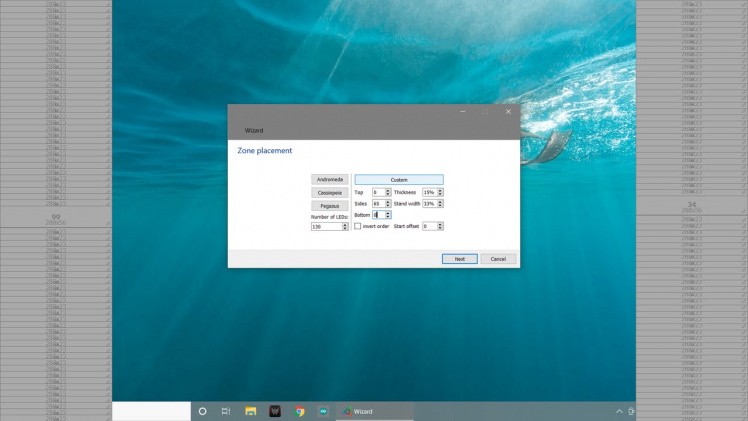
- Adjust the sliders to get white color on the tube lights and click on finish.

- Now you can choose different mode in the software and display on tube lights.
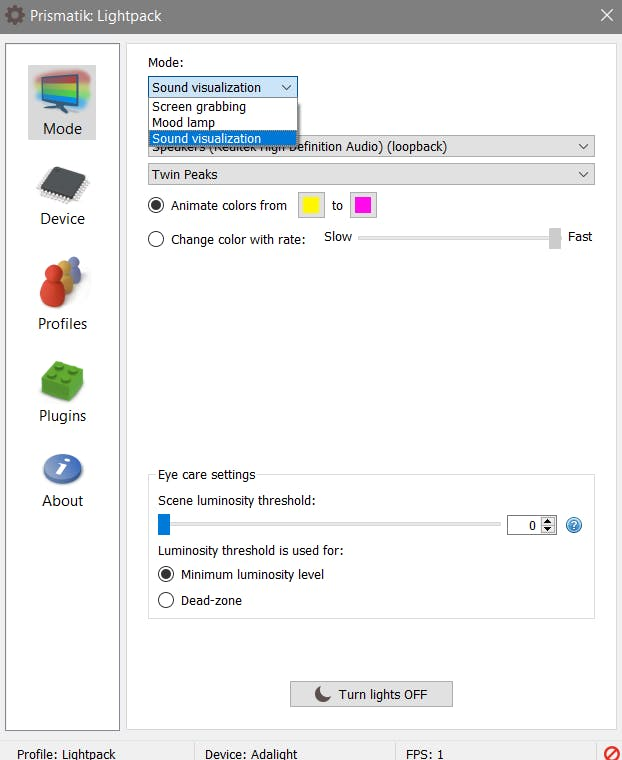
NOTE: The Arduino should be connected to the PC.
Step 7:
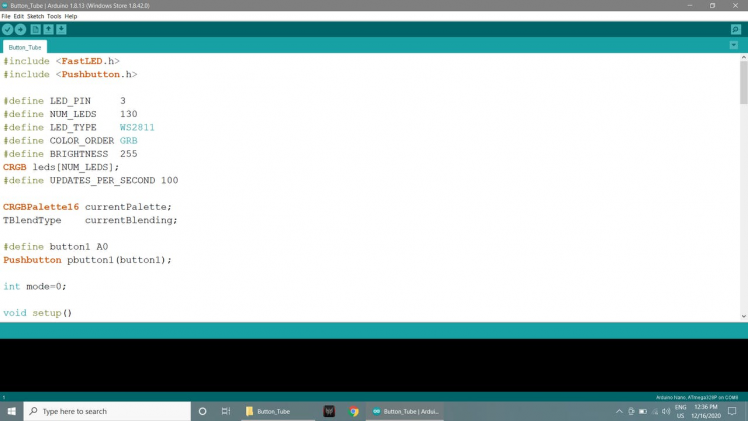
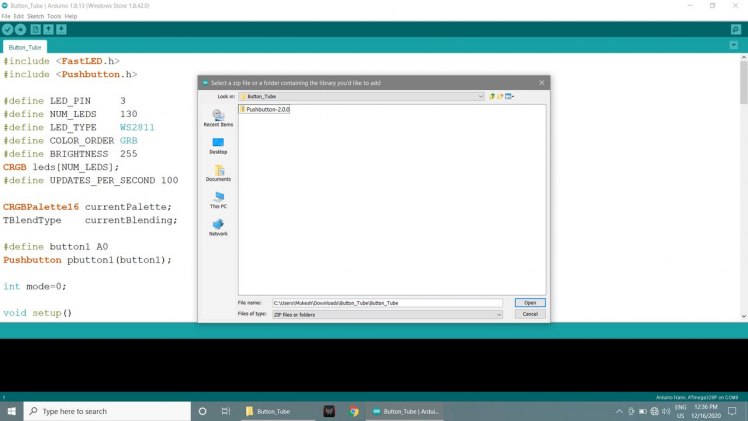
- Open the Button_Tube code in Arduino IDE.
- With this code you can change the color of the Tube Lights with the push of button.
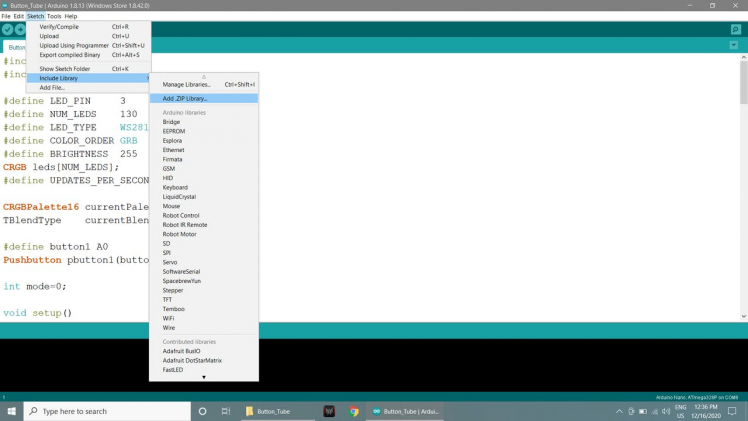
- Install the Pushbutton library by clicking on sketch ->Include library -> Add zip library and select the Pushbutton-2.0 zip file in Button_Tube file.
- Enter the number of LEDs
#define NUM_LEDS 130- In this code you can enter the values of the colors at CRGB(----, -----, -----)
for(int i = 0; i < NUM_LEDS; i++){ leds[i] = CRGB(0, 100,255); FastLED.show();- You can copy paste the color values from color picker

- Connect the Arduino to your PC, select the board type, select the port and upload the code.
Note:
- You can make this lights portable by using a power bank or some batteries.
- By using any Wi-Fi board like ESP8266 or ESP32 you can change the colors of the tube lights with a mobile app.
Credits
mukesh-sankhla
Tech Educator | Content Creator | Developer | Maker - Simplifying technology through hands-on learning. Creating high-quality tutorials, projects, and insights on electronics, IoT, robotics, CAD, 3D printing, and software development at Empowering students, professionals, and makers with practical, accessible, and inspiring content.
Related products


Leave your feedback...