
Diy Magic Mirror And Photobooth - Arduino Powered

Made by Al Linke / Art / Communication / Home Automation
About the project
An Arduino/sensor controlled Magic Mirror with characters that speak the weather, Stock and Bitcoin performance, Tweets along with novelty Breathalyzer, Photobooth, and X-10 control functions
Project info
Difficulty: Moderate
Platforms: Arduino, Seeed Studio
Estimated time: 2 days
License: Creative Commons Attribution-NonCommercial CC BY-NC version 4.0 or later (CC BY-NC 4+)
Story
An assembled kit for this project is now available from http://diymagicmirror.com/kit_assembled.html
The Magic Mirror shield / kit makes the wiring easier but it's also very straight forward to do this project with an Arduino Uno, see Arduino Uno Setup Guide along with the wiring schematic.
More info at this project at http://diymagicmirror.comThe software for this project is open source
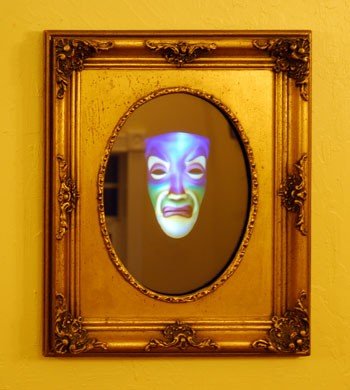
Who's the fairest of them all. Make your own Magic Mirror and find out. The Magic Mirror can read the weather, tell you how your stocks did, can be wired to your doorbell with an IP camera video feed, turns lights & appliances on and off using X-10 control, and even has a Breathalyzer that tells you when you've had too much to drink. The Magic Mirror plays pre-recorded animations based on input from various sensors. Featuring four characters, each character responds to the sensor inputs with its own personality. Characters include a skull for your next Halloween party, a pirate, a princess character, and a really mean pumpkin who disses you New York cabbie style.
Magic Mirror Features:
- Breathalyzer with optional Tweeting
- Photobooth Mode (Link to Separate Instructable on Photobooth Mode)
- Speak your Tweets from Twitter
- Weather Forecast
- Money Performance (Bitcoin or Stocks)
- Sends X-10 CommandsDoorbell input with IP camera feed
- Picasa based slideshow
- Princess, Pirate, Halloween, Insult Characters
- Text to Speech Mode
- Personalize it with your own Videos
- Runs as a native application on the PC, Mac, and Linux
Parts
El Cheapo PC or Laptop (Windows 7 or Windows 10)
Arduino Micro-Controller - $30
Used 15" LCD monitor - $50
Dielectric Glass TV Mirror 4mm (2-Way Mirror) 12x12 Sample (Optional) - $20
Magic Mirror Kit with Software
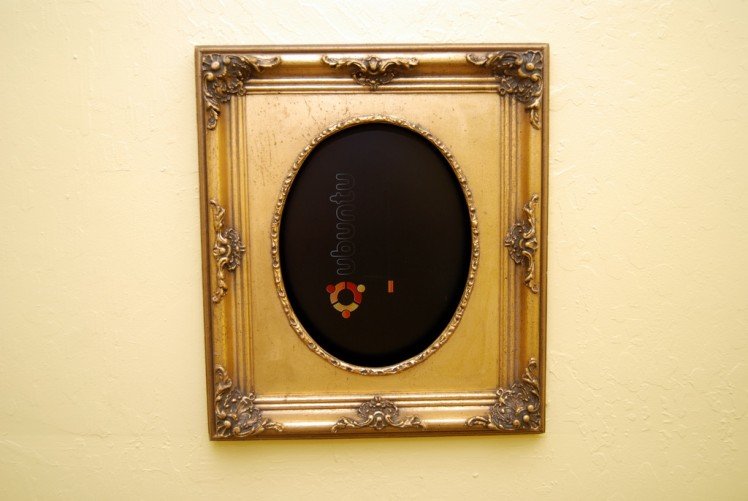
Picture Frame with Oval Matte (Optional)
Sensors (Pick and choose the sensors based on your installation)
Maxbotix Promixity SensorSeeedstudio or Phidgets Touch Sensors (3) - $7 eachAlcohol Sensor (1) - $7Reed Switches (2) - $5 each
See here for all supported sensors
X-10 Components and LEDs (Optional)
X-10 Firecracker - $5 on eBayX-10 Transceiver Module - $20X-10 Dimmer Switches (2) - $12 eachLEDs - $5
Step 1: Arduino and Adobe Flash
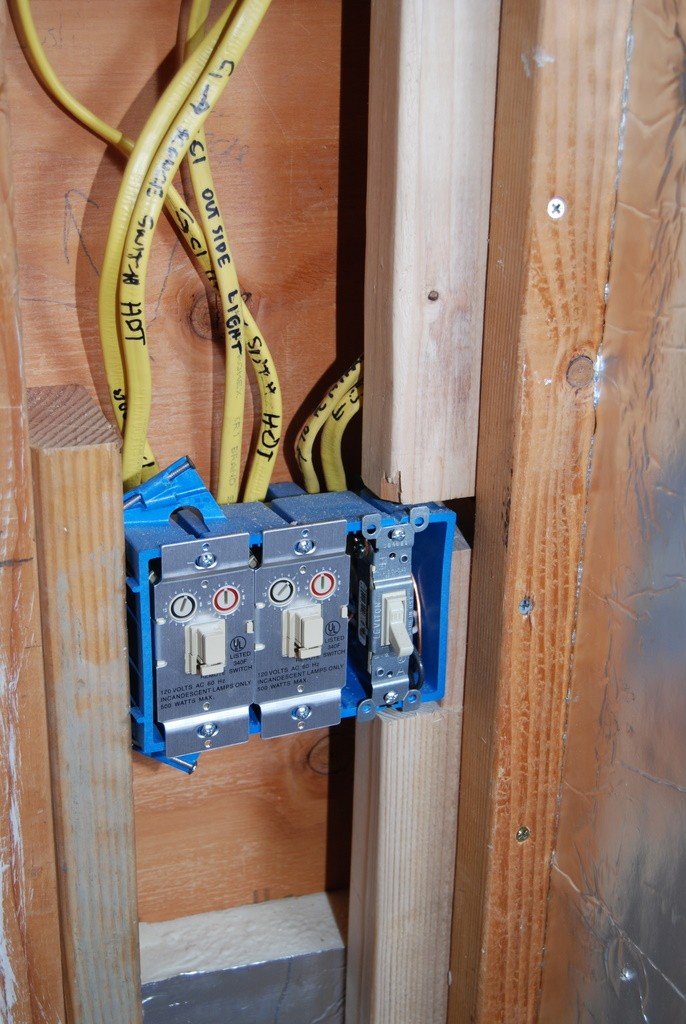
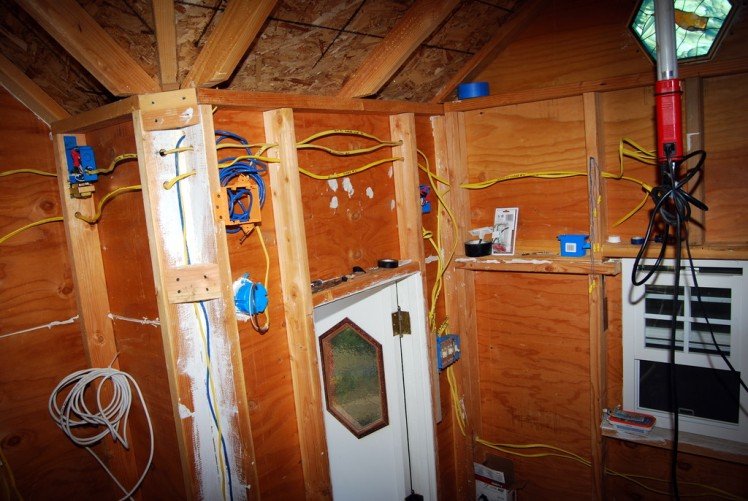
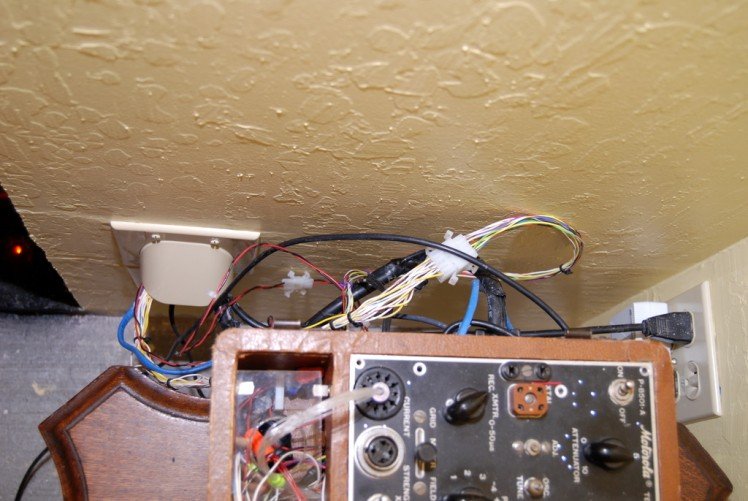
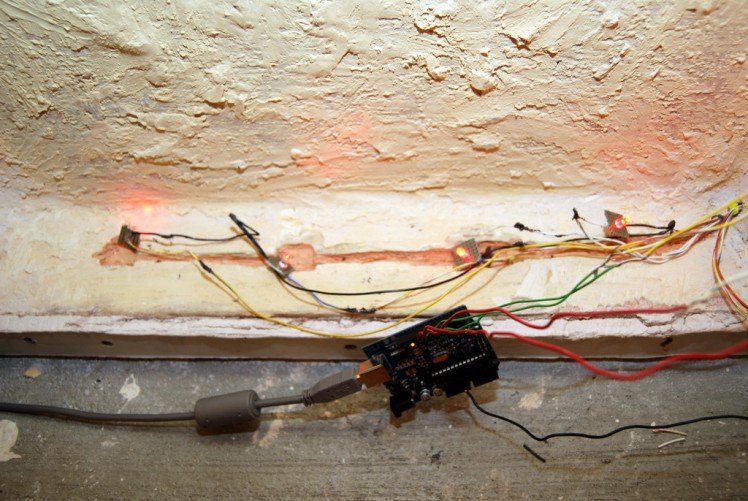
 The basic concept is the Magic Mirror plays pre-recorded videos (Adobe Flash format) based on input from various sensors (proximity, touch, switches). I chose Flash because there is an open source Flash library available called AS3Glue that talks to the Arduino. On the Arduino, you have to load a program called Firmata which let's you control the Arduino from Adobe Flash (specifically Action Script 3.0). There are multiple versions of Firmata out there so be sure to use the one that comes with the Magic Mirror software download. You also have to run a serial server (included in the software download) which acts as a middleman converting serial rel="nofollow">proximity sensor, I have the first video set to go off when the subject is standing at a specified distance from the sensor (the distance can be changed from the configuration program). The Video then tells the subject to come a little closer and then a second video plays. There is also a stealth mode setting where the Magic Mirror appears as a normal mirror and then gives people a surprise when within range of the proximity sensor (good for Halloween parties). I mounted the touch sensors behind the drywall.
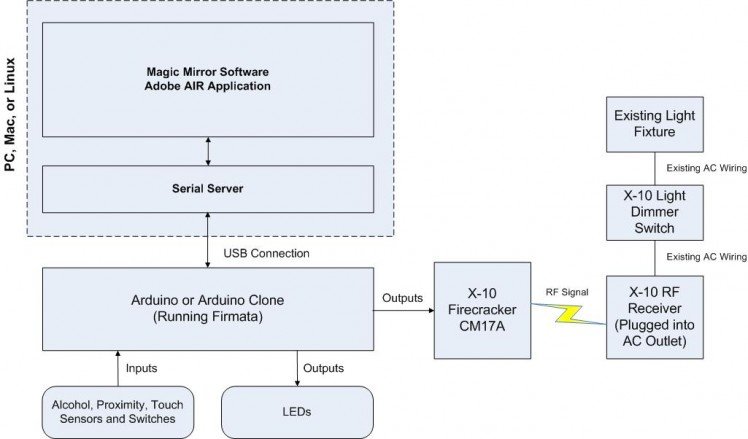
 Connect the sensors per this schematic below.
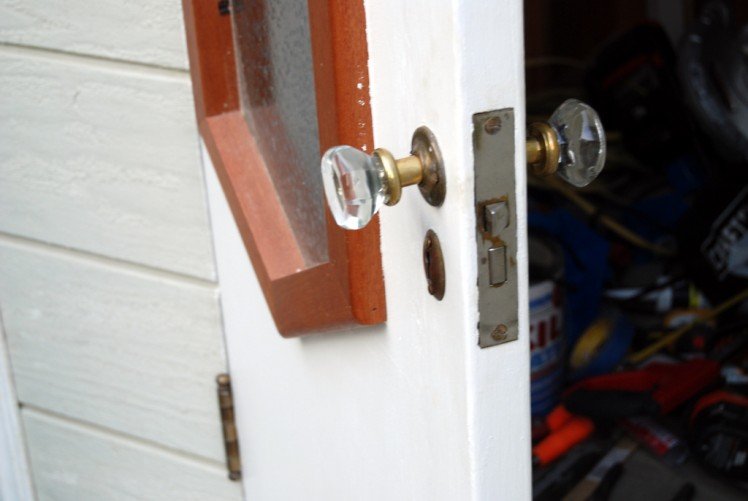
The door and window reed switches are the same ones used in home alarm systems. I got mine from www.hometech.com.Step 3: Configuring the Software
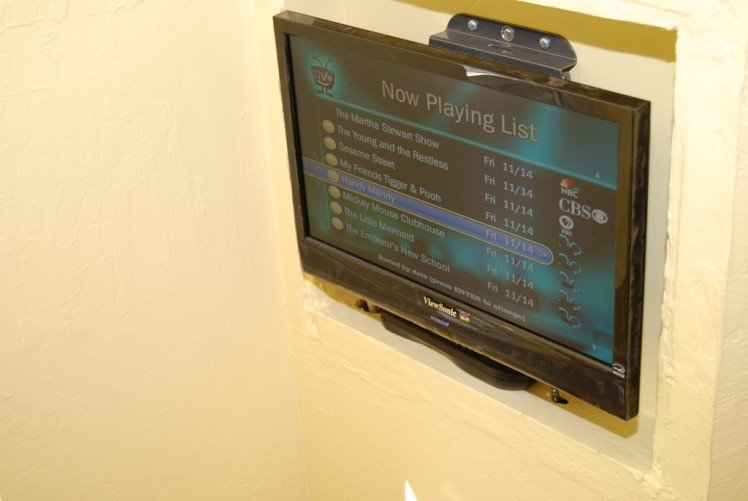
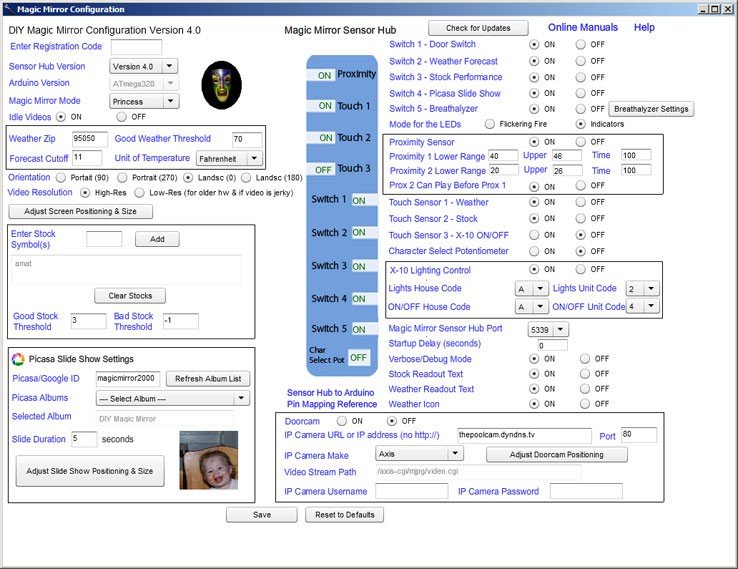 After connecting the sensors, you'll then launch the Magic Mirror configuration program which tells the Magic Mirror software what sensors are hooked up as well as other configuration parameters like your zip code for the weather forecast, your stock portfolio, your Picasa album, IP video camera stream if using that option, the Arduino port, and X-10 addresses. You can also adjust the size and orientation of the video to suit your installation (ex. if you rotate the monitor to a portrait orientation).
Step 4: Controlling the Lights
 I also wanted to have the video events turn the lights and appliances on and off using X-10 control. After quite a bit of research, the best solution I could find was to use the x-10 Firecracker which is a dis-continued serial port (DB9) dongle that you can find on eBay for $5. Unfortunately, there was no built in Flash/Arduino interface for this device so I wrote my own which turned out to be fairly easy in Action Script 3.0 using the Timer class. This website was great and has everything you need to know to interface the Firecracker.
 Step 5: The Installation
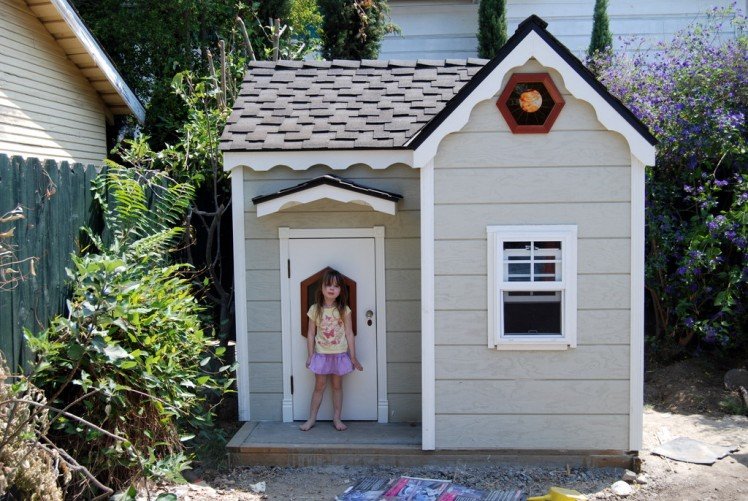
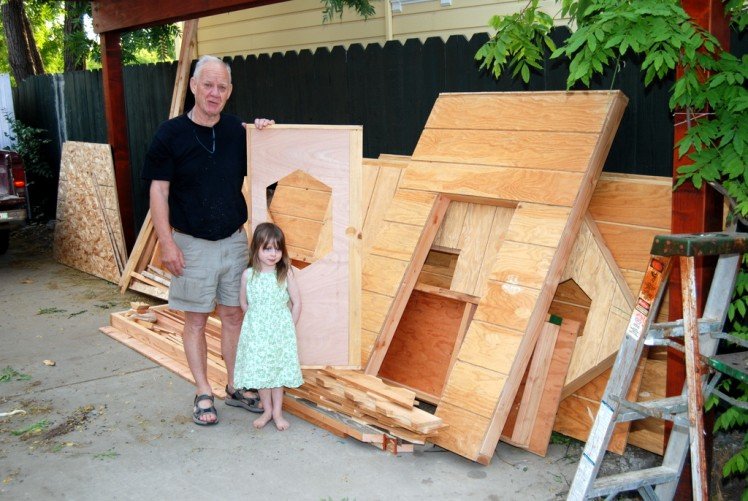

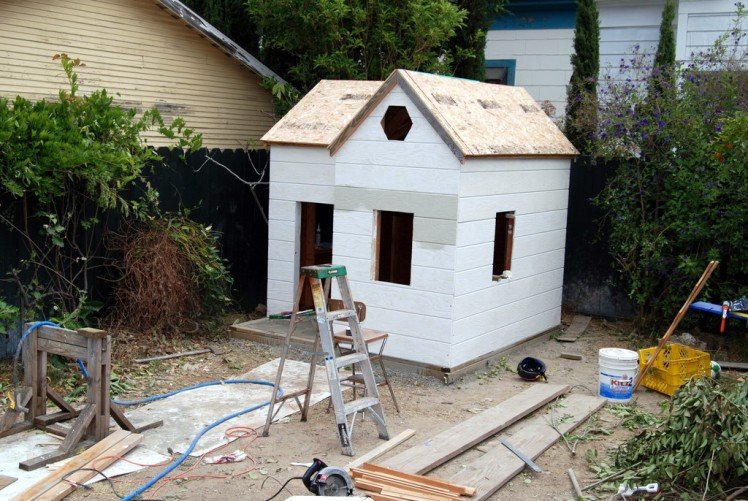
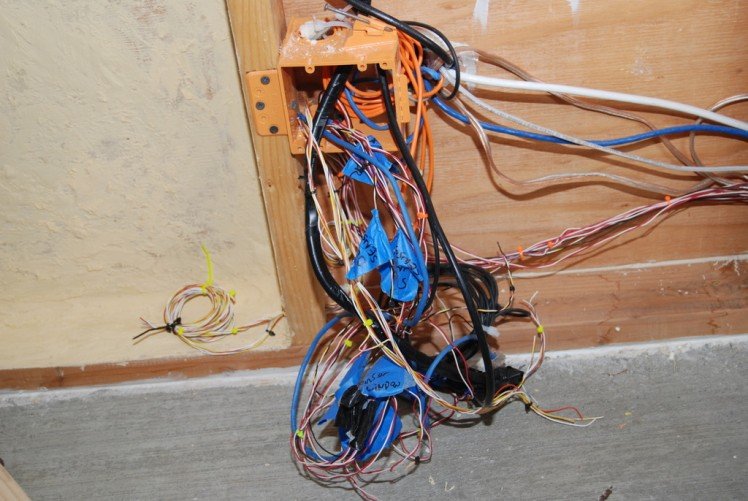
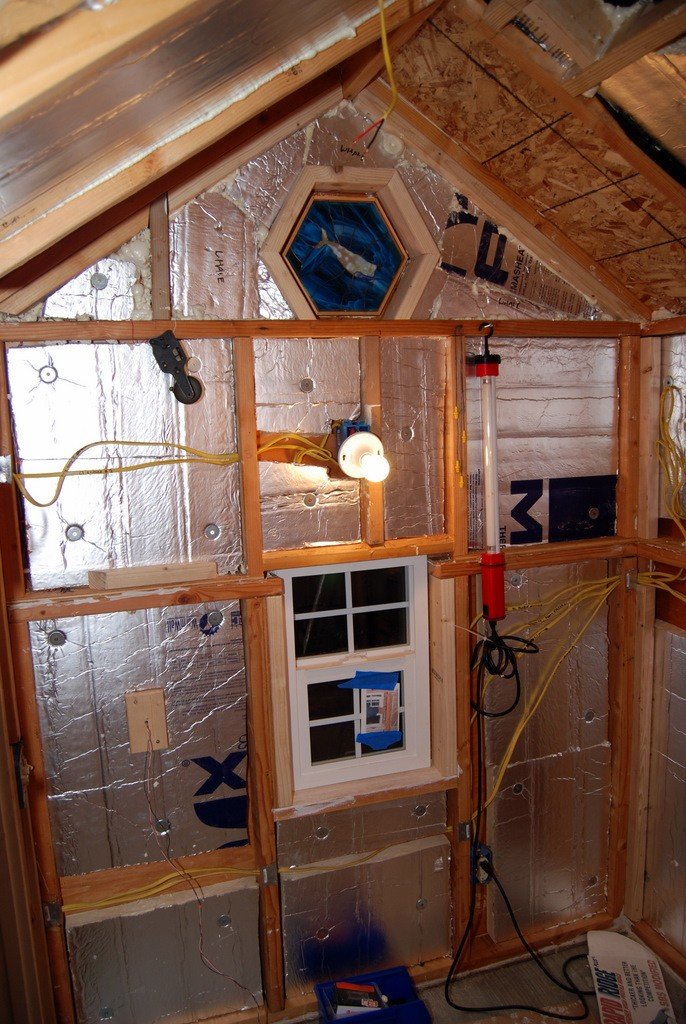
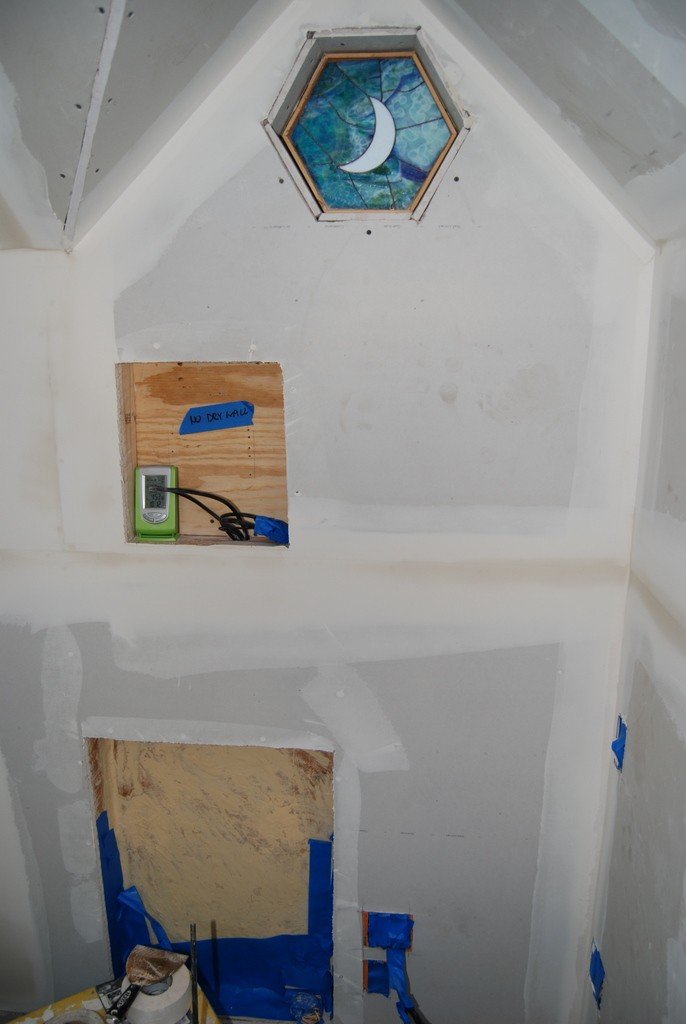
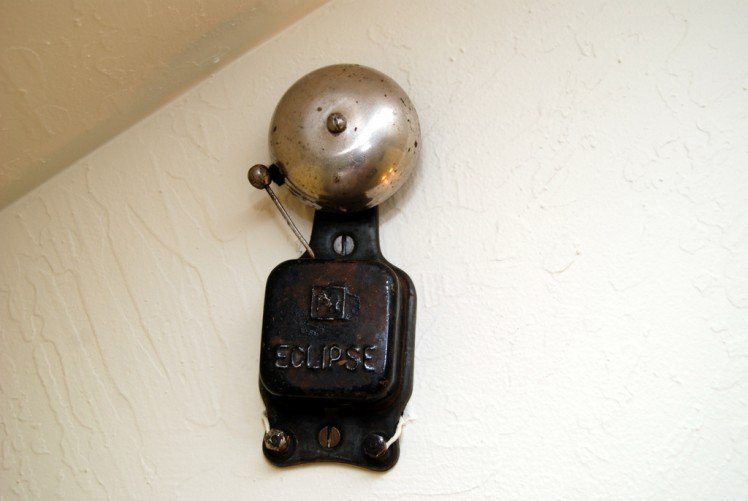
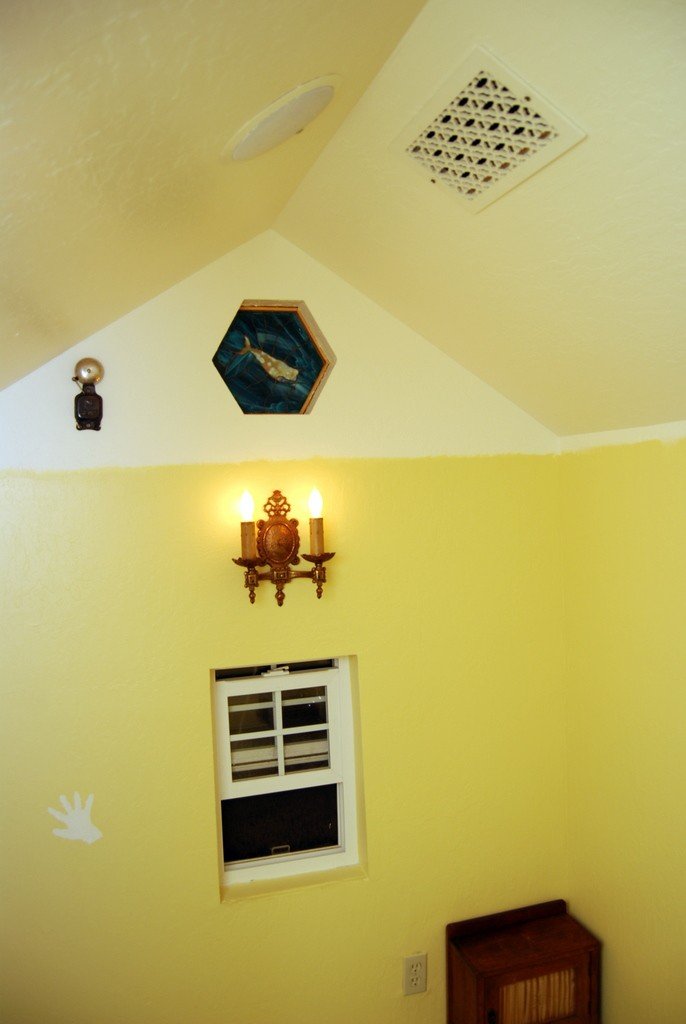
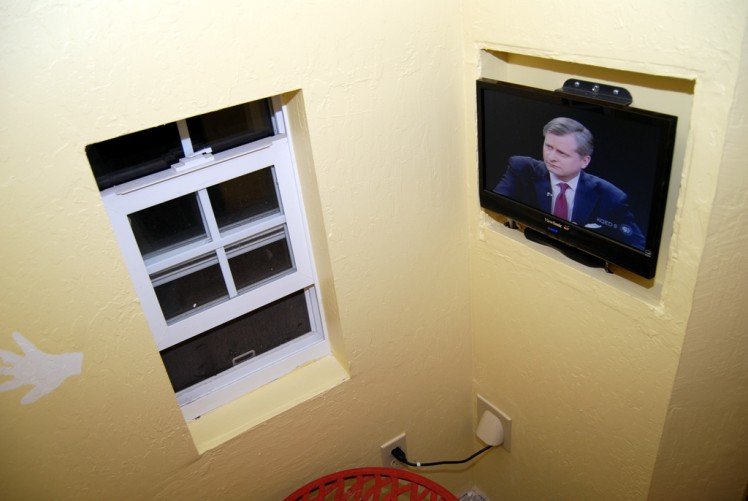
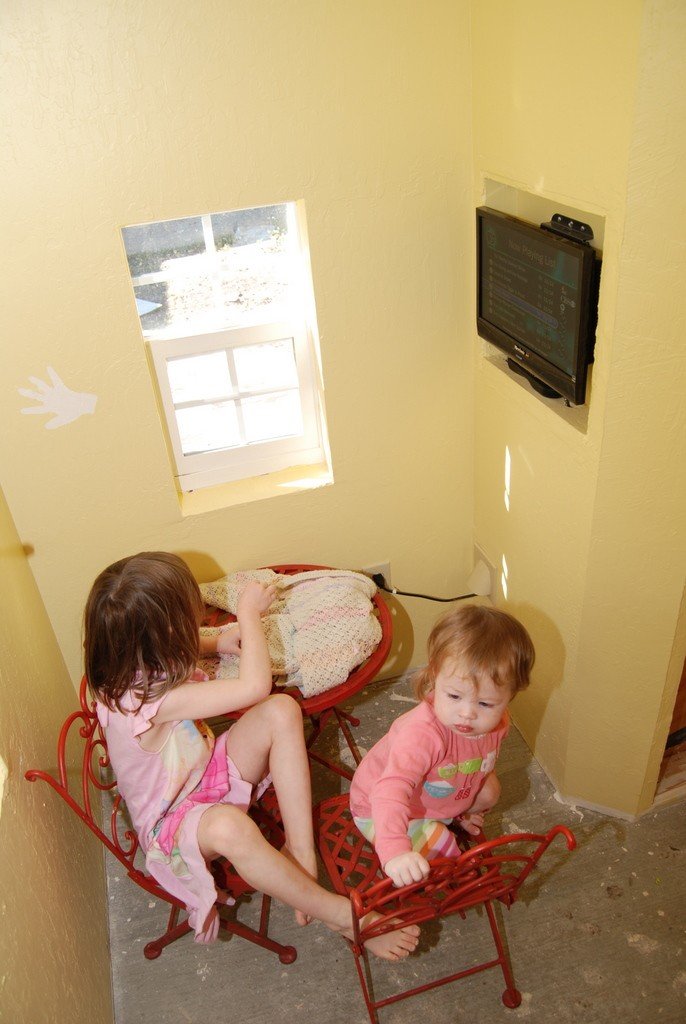
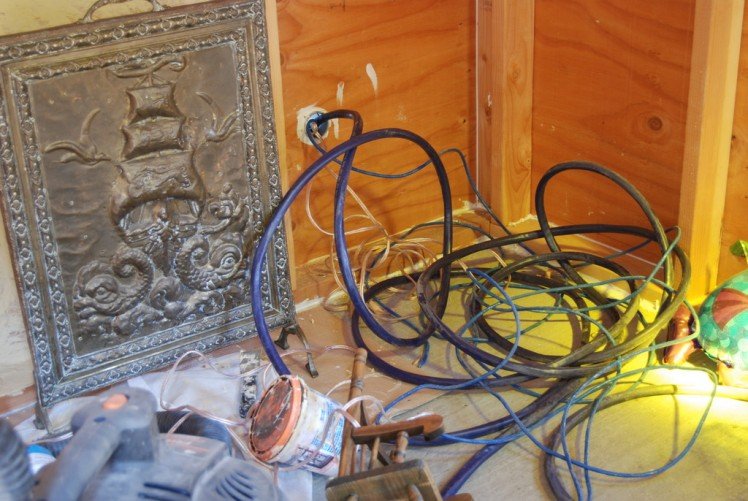
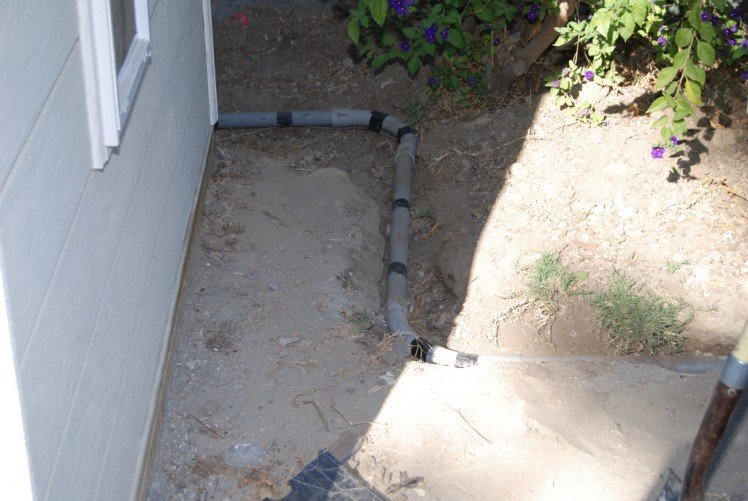
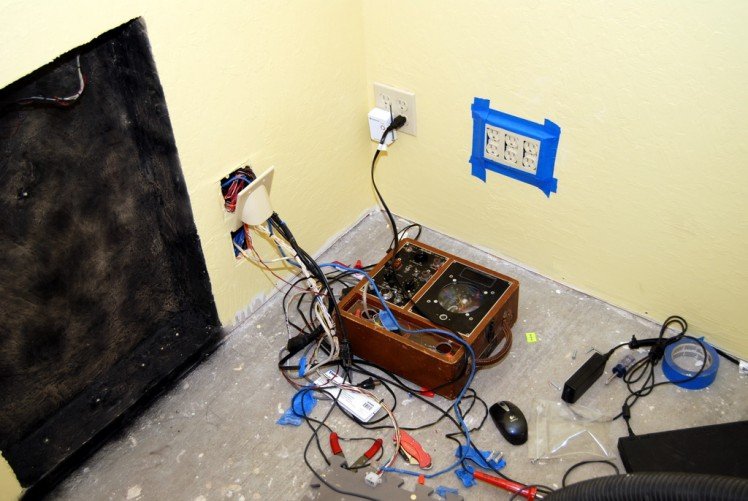
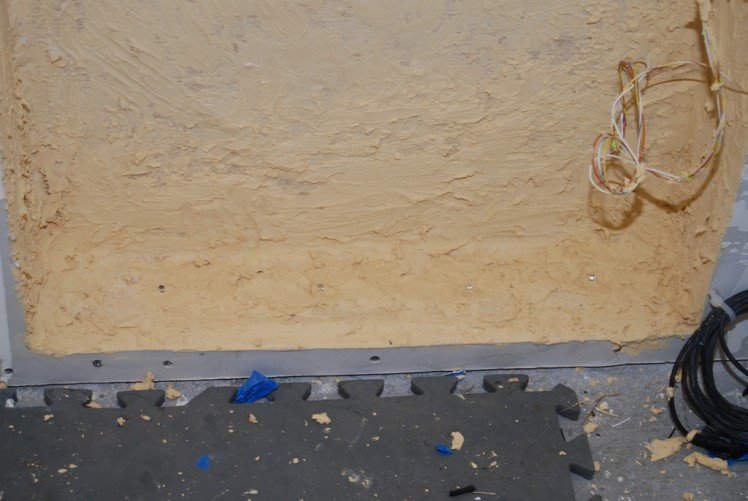
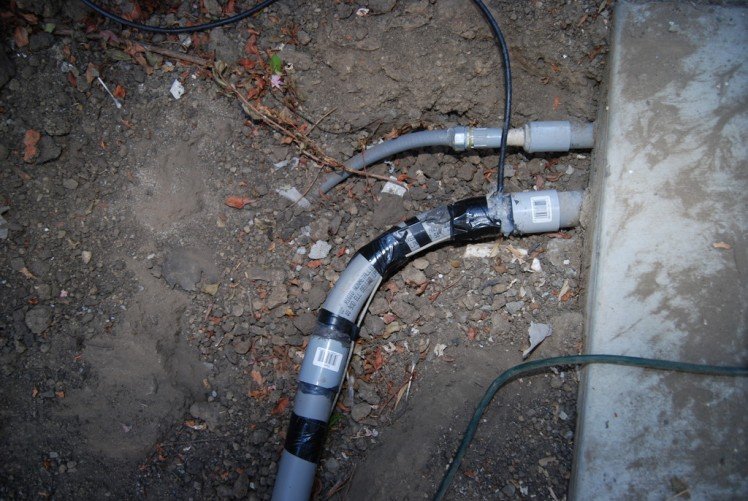 Your installation can be as simple as this plug and play installation where you can be up and running in 10 minutes or a full on installation with in-wall sensors. Of course, I had to do the full on installation which was a playhouse I built for my two girls. The playhouse is 8x8x8, I got the plans for the playhouse here http://woodmanor.net/Little-miss-playhouse-plans.html. My Dad built it in Oregon and then dis-assembled it and drove it down to California where we put it back together. We then poured a concrete slab for it and then roofed and painted it. Its basically a full blown mini-house with electrical, insulation, drywall, vent, TV, phone, pergo floor, etc. The playhouse in itself was quite a project. The nice thing about building it from scratch is I was able to run all the wiring for the sensors through the walls as well as the electrical, doorbell, speaker, network, coax, and phone. Here's a separate instructable on the playhouse https://www.instructables.com/id/The_Princess_Playhouse/
 Step 6: The Magic Mirror PC
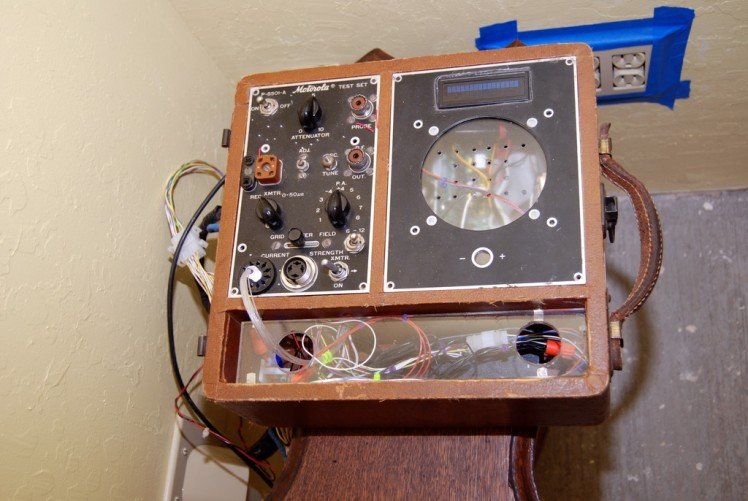

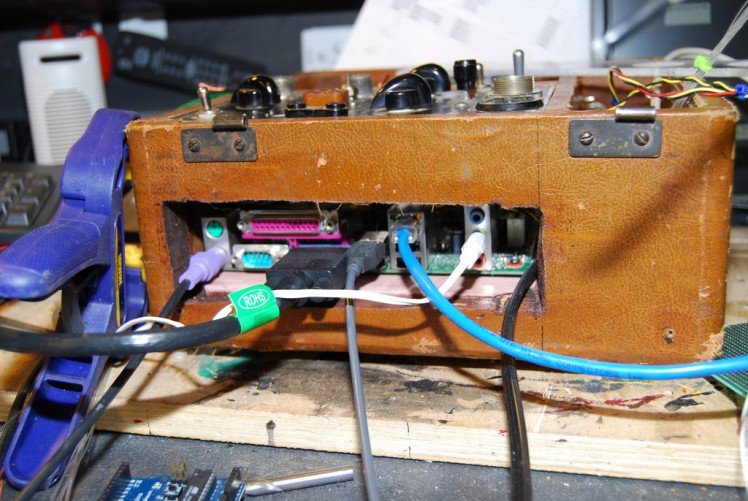
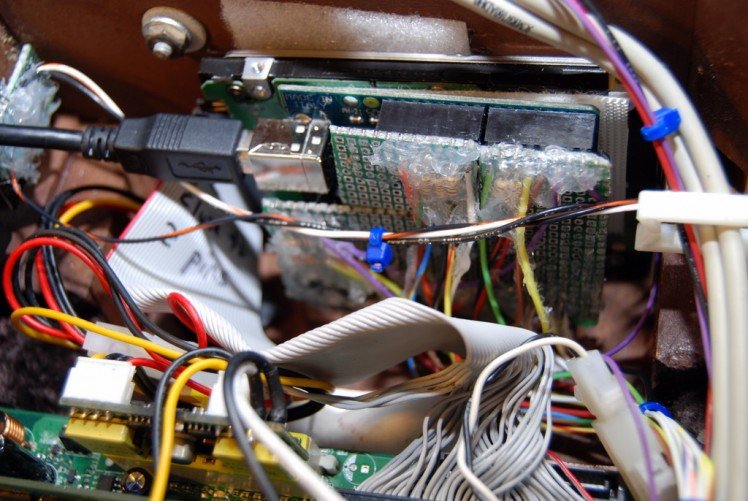

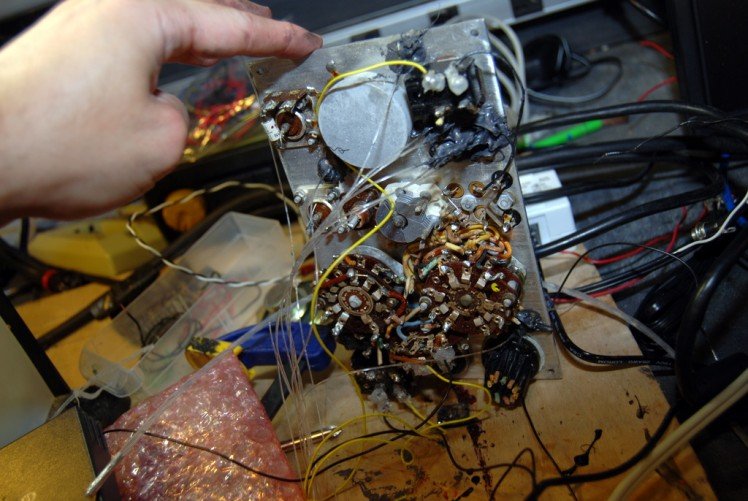
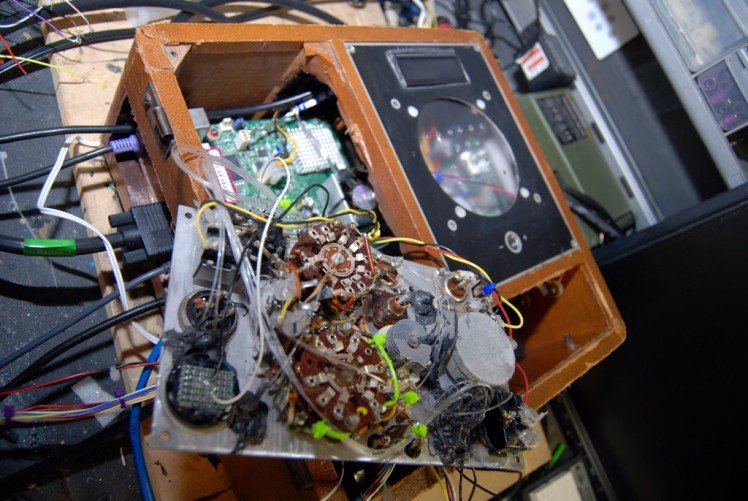
 For the PC, an el cheapo PC or laptop will do (a Netbook works great and is nice and compact). It can't be too old though as it does need to run the video smoothly. If your PC can play these videos files, then you'll be ok. These are the same video files that come with the software installation so are quite large and will be normally running from your local hard drive so expect some network delay when you click the link. I went the custom route and re-purposed an old vacuum tube tester case. I went with an Intel ATOM motherboard since its low power and very compact (mini-ITX form factor). One annoying thing on this model was the excessively loud fan which would ruin the effect. I found a silent fan at Fry's for $20, you can still hear it but barely. I re-purposed some of the controls, the on/off switch and a pot which is used to select the mirror mode on the fly (princess, halloween, or pirate). Also added some fiber optics for show. For the sound, I run the normal soundcard output into a whole house audio distribution system and play through the in-ceiling speakers which is nice so you don't see the PC speakers. Another nice feature and benefit of using Flash with an Internet connection is you can play different videos based on rel="nofollow">ultraVNC. VNC comes with UBUNTU so if you go the LINUX route, its already there. Its very easy to install though on Windows, although I don't know if VNC works with Windows Vista or Windows 7.
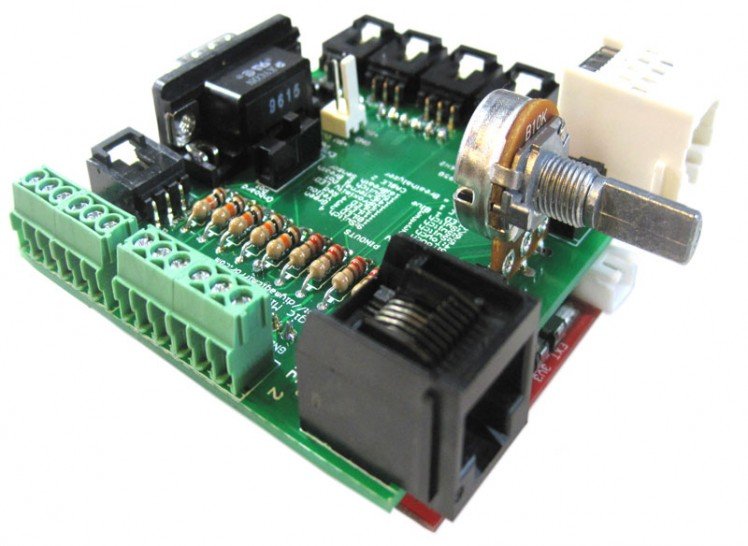
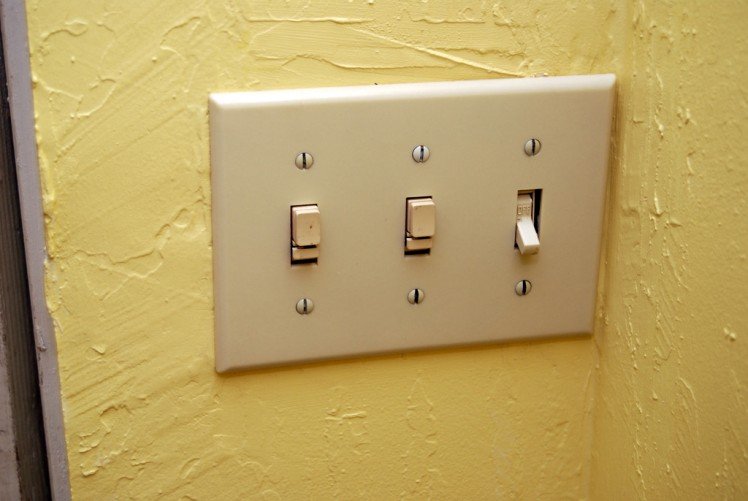
 Step 7: Fireplace and Fake Fire

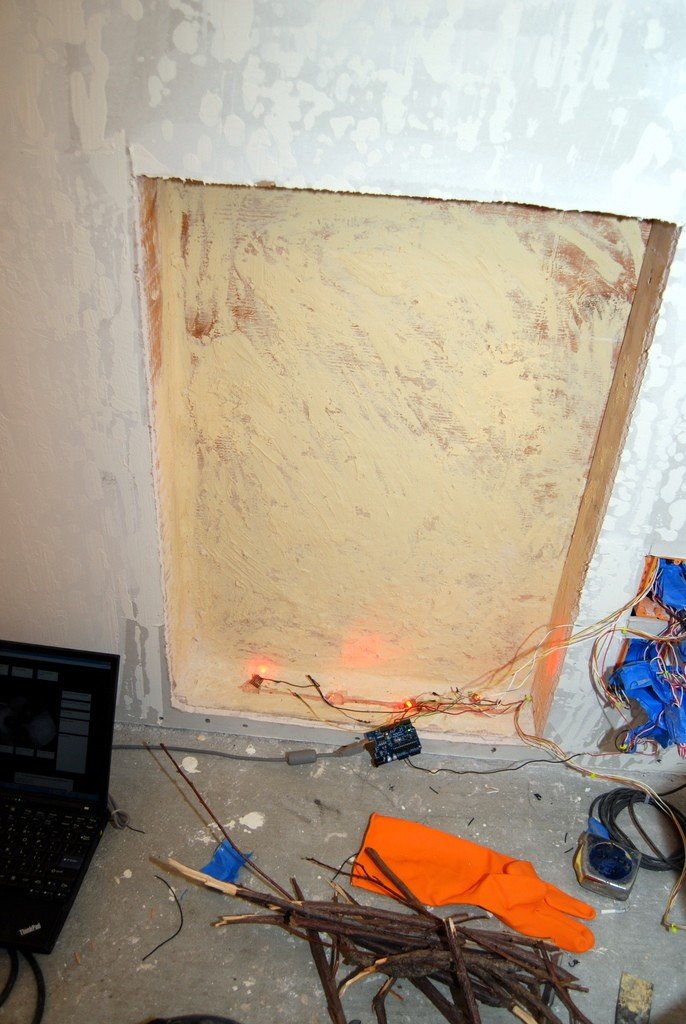
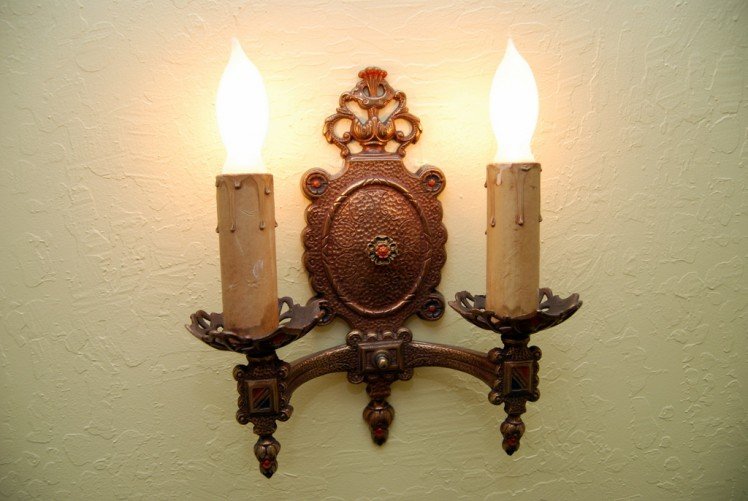
 My wife picked up this old fireplace mantle at an antique show. I used wood puddy with black spray paint to give it a weathered fireplace look. For the fake fire, this was easy as the Arduino and AS3Glue library have pulse-width modulation (PWM) built it was just a matter of tweaking the PWM parameters to simulate a flickering fire with Red LEDs. The Magic Mirror software has the option to use the LEDs like this as a flickering fire effect or instead you can also use them as indicator LEDs (telling you how drunk you are to compliment the videos tellying you how drunk you are) for the Breathalyzer.
 Step 8: Producing the Video
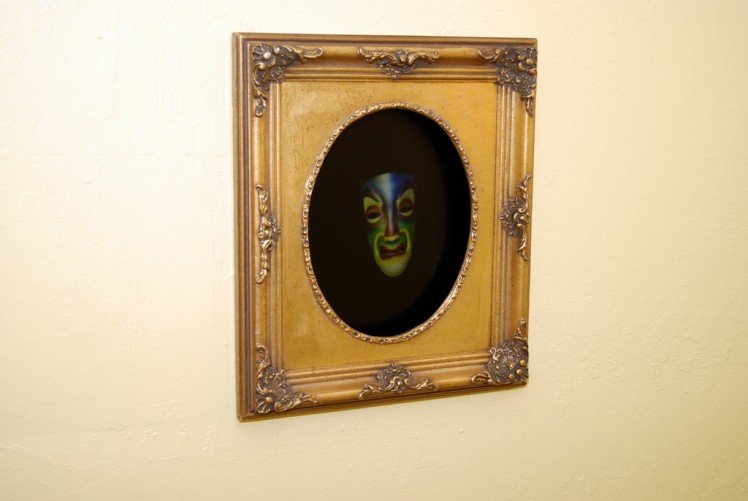 For the video, the folks over at www.imagineerieing.com make some great digital puppets which are low cost ($15) and fit the bill perfectly. The guy that runs the site is very nice and allows me to use them through a royalty agreement. After writing the scripts, I was lucky to find a very good voice over guy who was able to do all four characters and then I produced the videos in Adobe Premiere. Here are the videos.
Schematics, diagrams and documents
Code
Credits
Related products


Leave your feedback...