

Asmd Shock Rifle

Made by 314Reactor / Displays / Games & Gaming / Lights / Upcycling
About the project
Making the Shock Rifle from Unreal Tournament real!
Project info
Difficulty: Moderate
Platforms: Arduino, DFRobot, Pimoroni
Estimated time: 6 hours
License: GNU General Public License, version 3 or later (GPL3+)
Items used in this project
Hardware components


View all
Story
Liandri
First off thanks to DFRobot for the parts for this project!
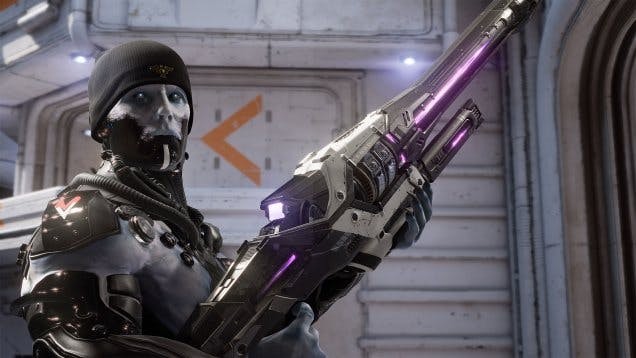
I love Unreal Tournament (UT) and I definitely love the ASMD Shock Rifle in the games weapon roster – so I thought why not make one?
Also because the new UT is now no longer in development (EPIC, please please please resume this), I needed something to sate my need for UT.
From the above link – it’s basically a plasma rifle that fires purple beams, with a secondary fire of a purple orb that can also be shot with a beam to make a tertiary attack.
After some experience with SimplePlastics in my Arduino Lightsaber project I was sold on the idea of them – although I realised that instead of a tube I should have used a solid rod for the project in order to propagate the light more – I realised this plastic would also be perfect for creating a real life Shock Rifle!
So I pitched the idea to DFRobot and they agreed and then I ordered the plastics from SimplyPlastics and got to work.
Key Goals:
- Make a real life ASMD Shock Rifle.
- Make sure it lights up and makes noise from the game (both firing modes) as well as a screen telling the user what mode is currently on.
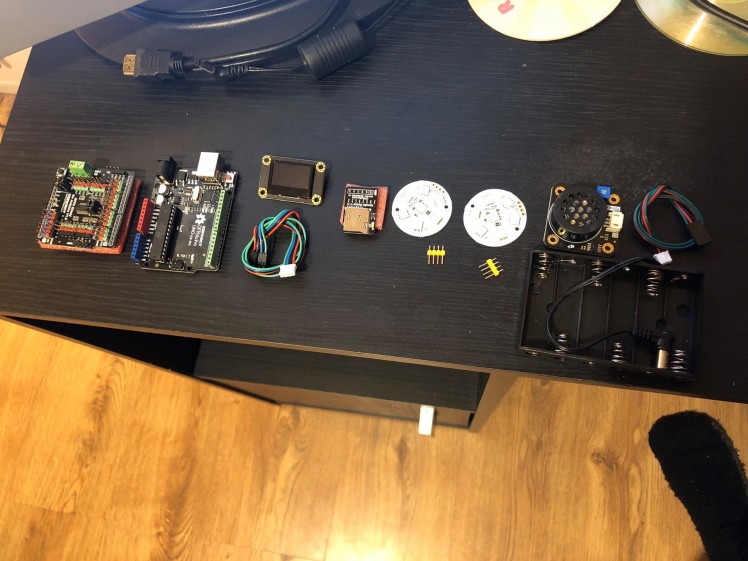
Parts
- Arduino Uno
- Gravity IO Shield
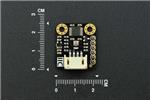
- OLED Screen
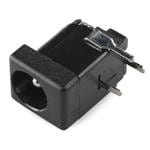
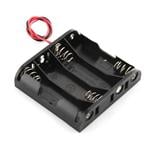
- Battery Holder
- DFPlayer
- Light Disc (x2)
- Resistor Kit
- Push Button (x2)
- Wire
- Speaker
- Veroboard
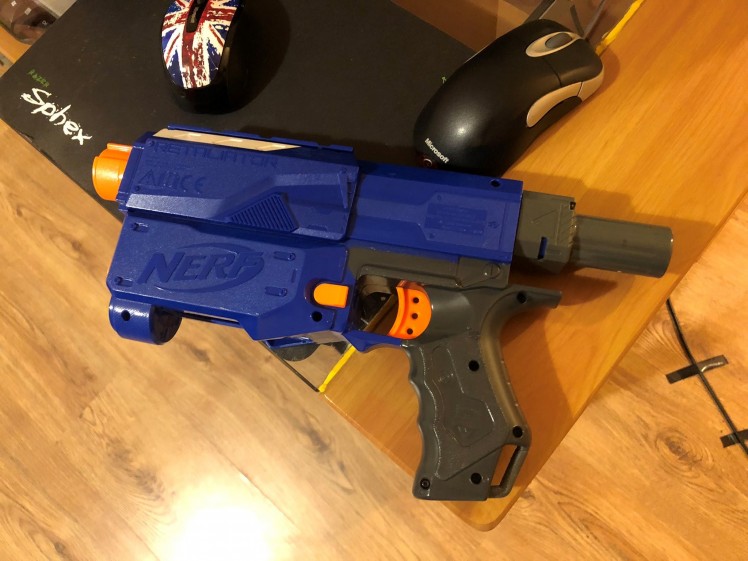
- Nerf Retaliator
- Nerf Barrel
- 4GB Micro SD
- Acrylic Rods
- AA Battery (x6)
Construction

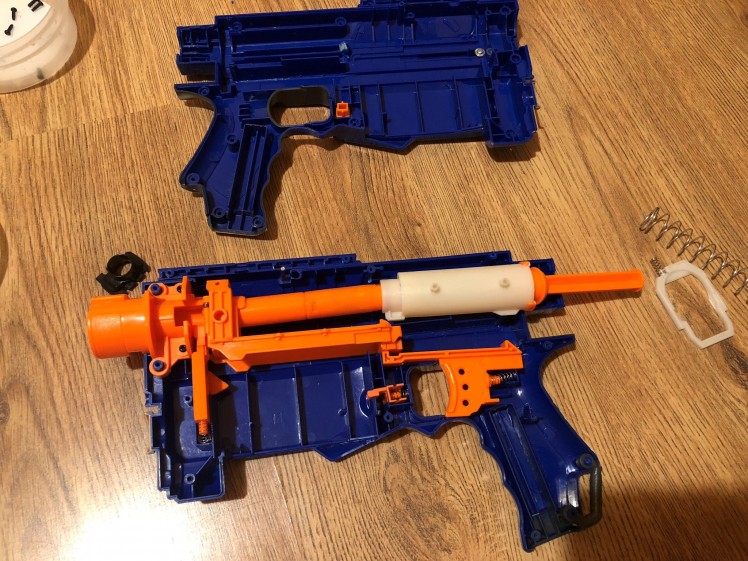
First up is taking apart an old broken Nerf Retaliator I have laying around:
And clearing out the inner workings to make room for the tech:
 1 / 3
1 / 3
As seen above I’ve also clipped some of the trimmings off to make extra room, as well as cut a hole in the lower barrel for the other rod. The 25mm rod fitted fine into the main barrel, I just had to bend some plastic back.
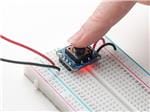
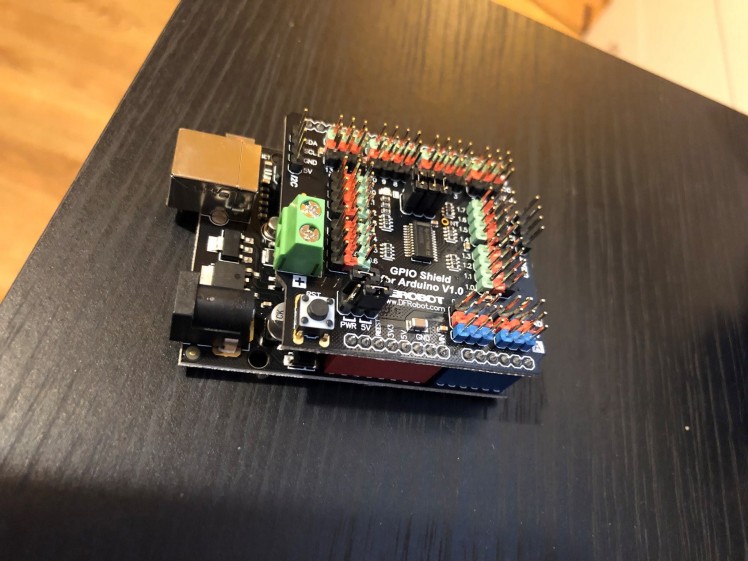
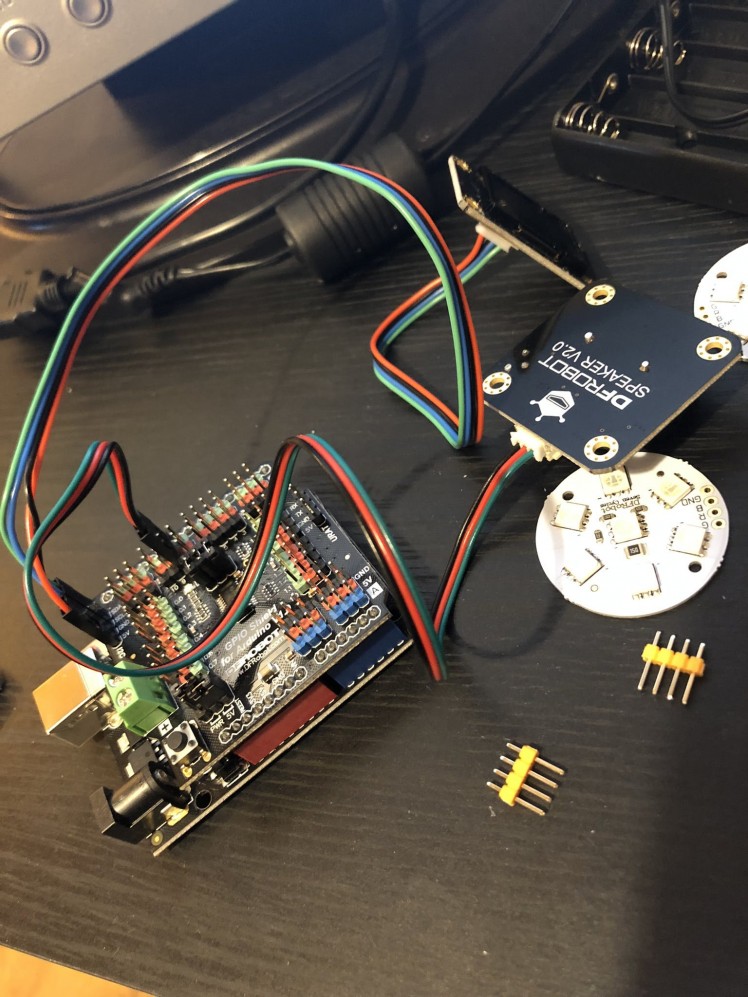
Then onto connecting up the IO Shield to the UNO:
And following the construction instructions from DFRobot for the Light Disc’s the OLED and the MP3 Module / Speaker:
 1 / 2
1 / 2
Things are made a lot easier with the IO Shield – especially of course the Gravity based products which are basically plug-n-play.
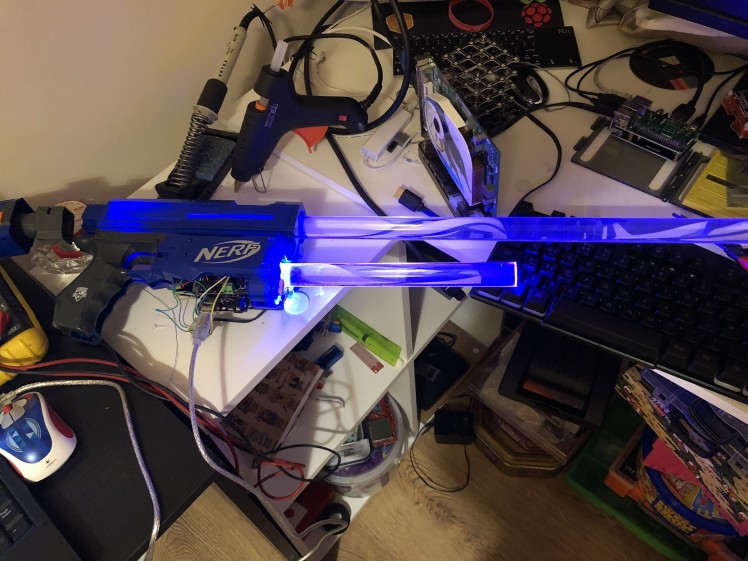
Time for a quick lighting test with the plastic rods:


Looking good.
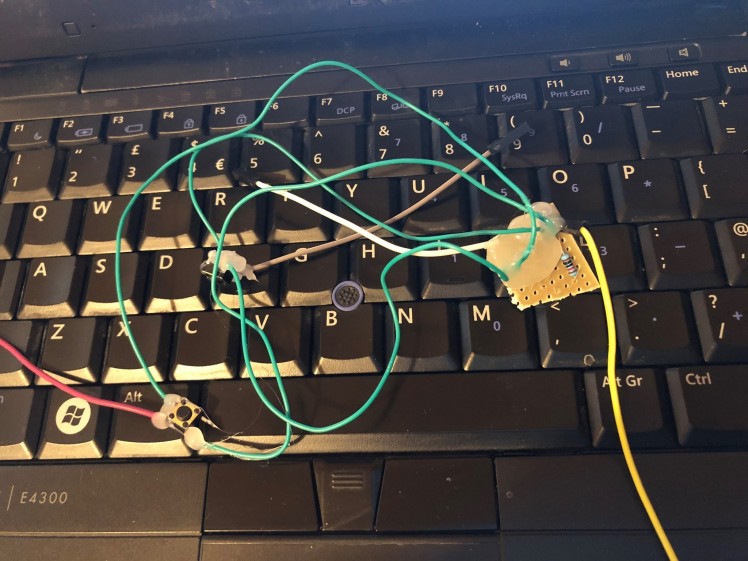
Next up was making 2 buttons to connect to the Arduino – one to control the firing and a second to change mode to ‘Instagib mode’ (in game this is where the rifle is red and deals instant kills).
The two buttons can be made using the methods from my Arduino Lightsaber project.
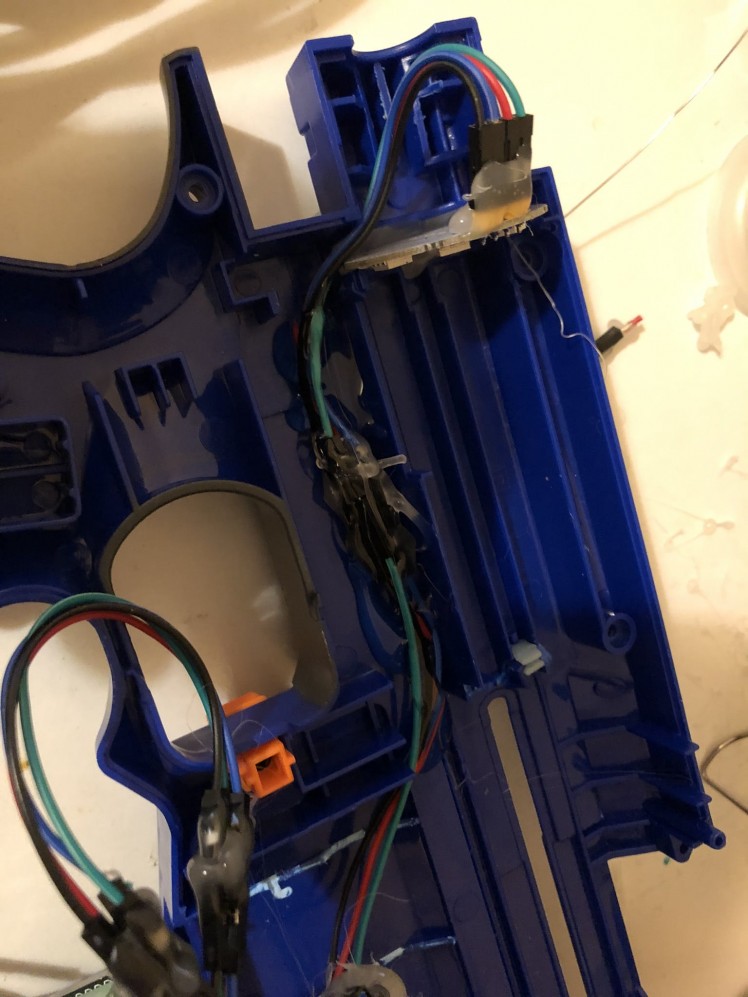
I then attached the OLED to the stock of the Nerf and put the wiring through the back bit that it clips onto, which itself is screwed onto the back of the Nerf:
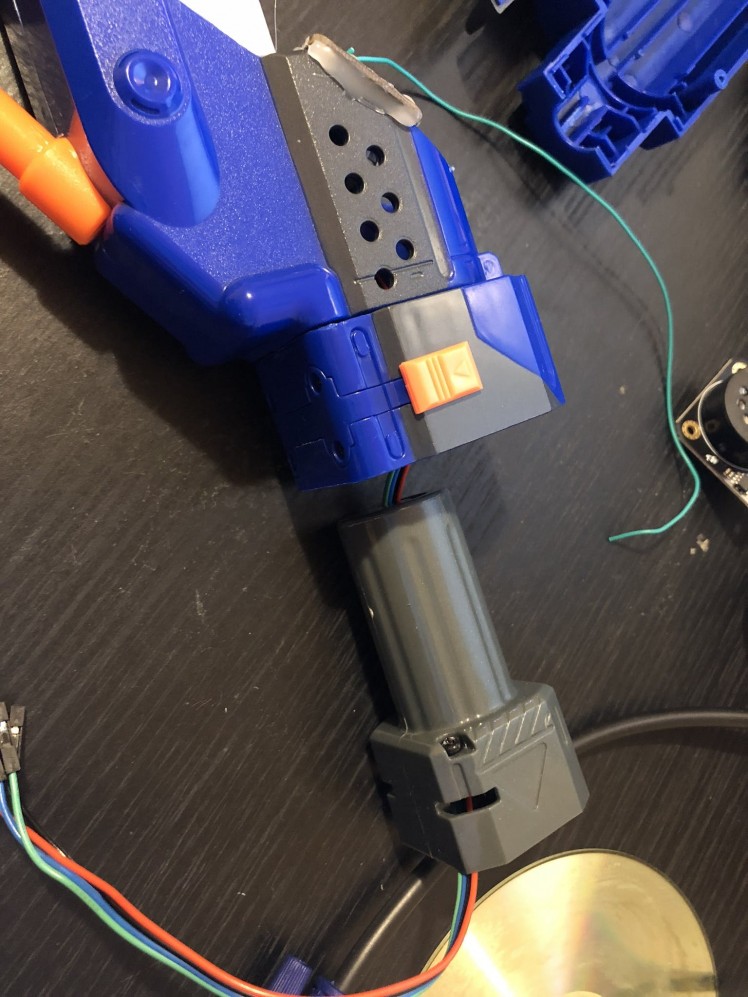
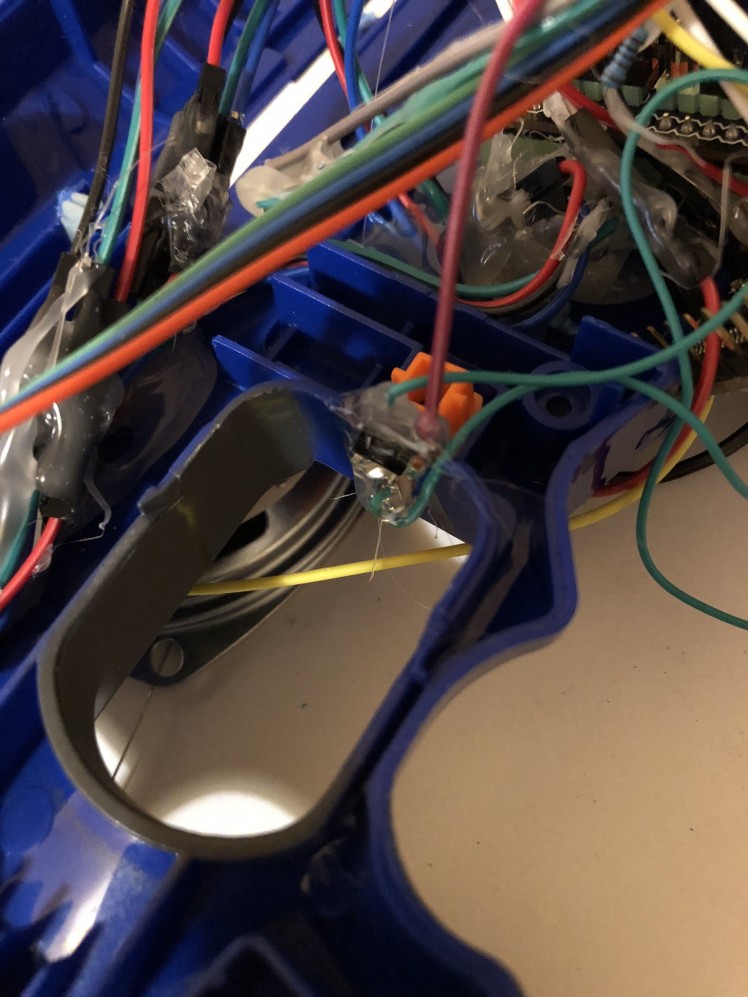
And then glued on the battery box – I also glued in the speaker onto the other side:

Then onto gluing the LED Discs in place where the rod will sit:
 1 / 4
1 / 4
After a test making sure the gun would still close up I glued in the UNO itself into the magwell and gave it a quick visual test:
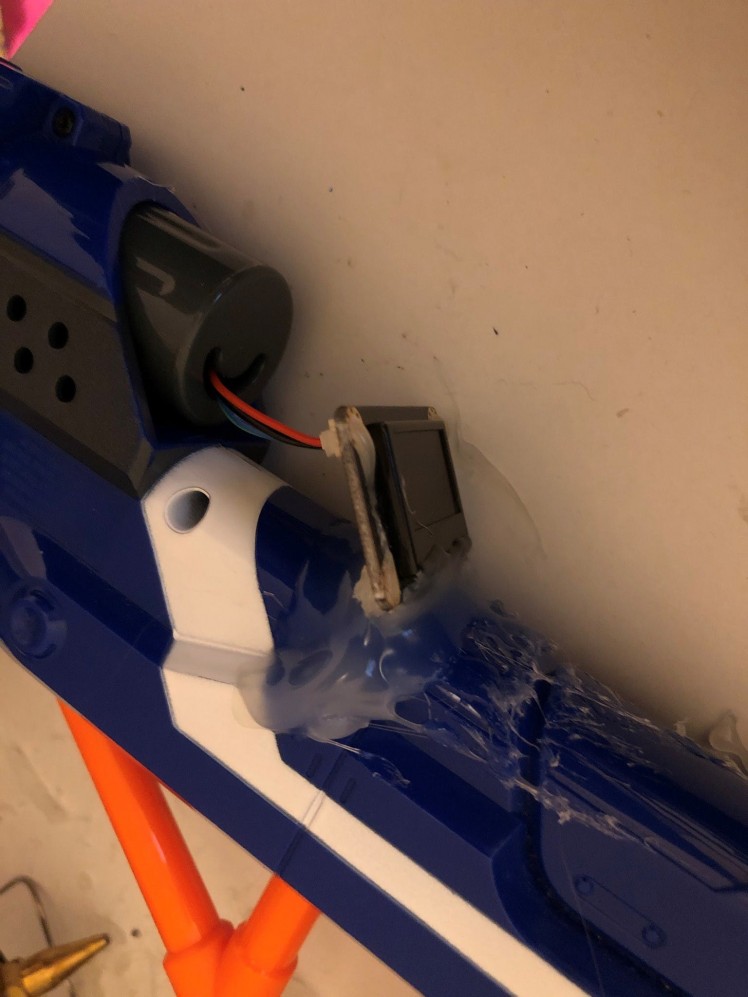
Then the ultra tricky part is gluing in the buttons for the Mode switch and Trigger – of which I will be using the mag-release and trigger for each respectively:
 1 / 2
1 / 2
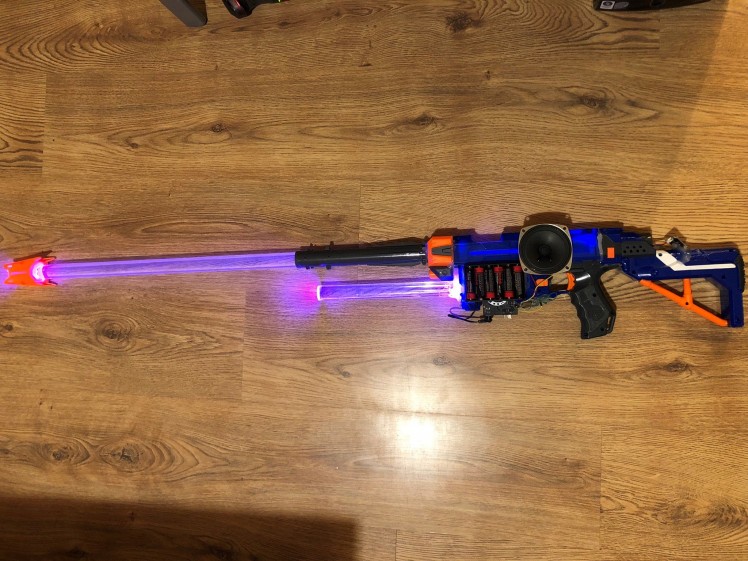
After pouring in about 467 sticks of hot glue to hold in the plastic rods and screwing both side of the Nerf together, another functionality and visual test:
 1 / 6
1 / 6
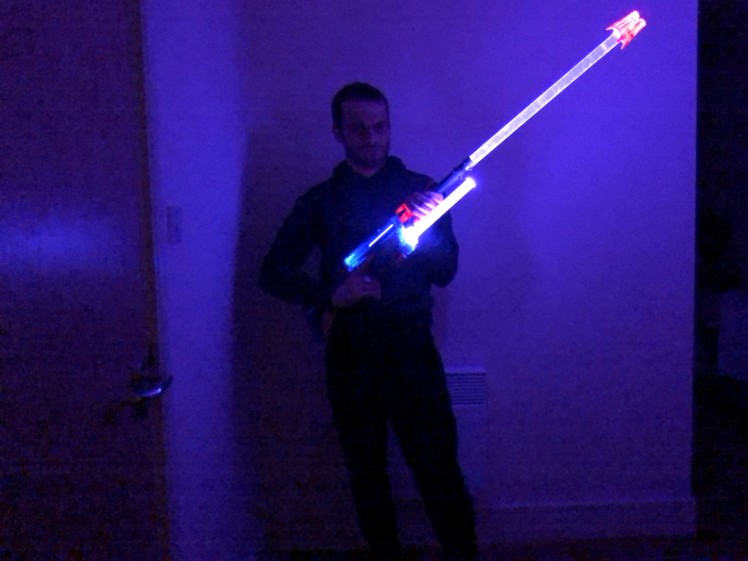
At this point I put on this and ran around my flat with it – it was awesome.
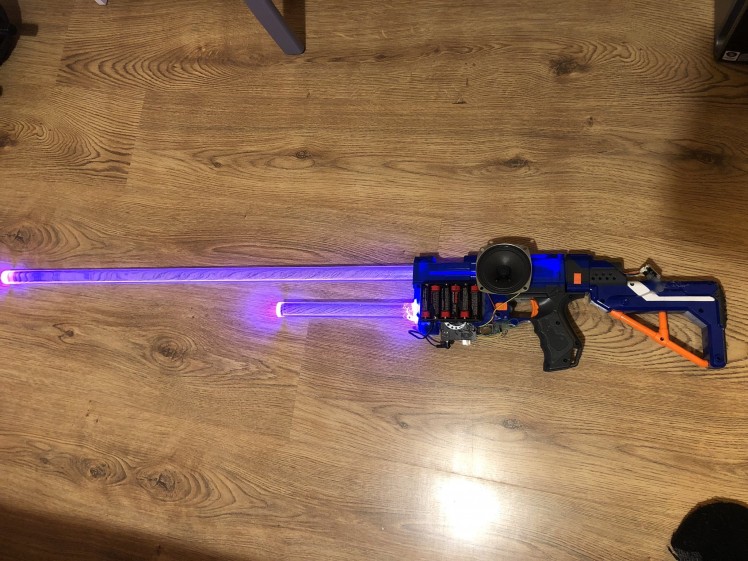
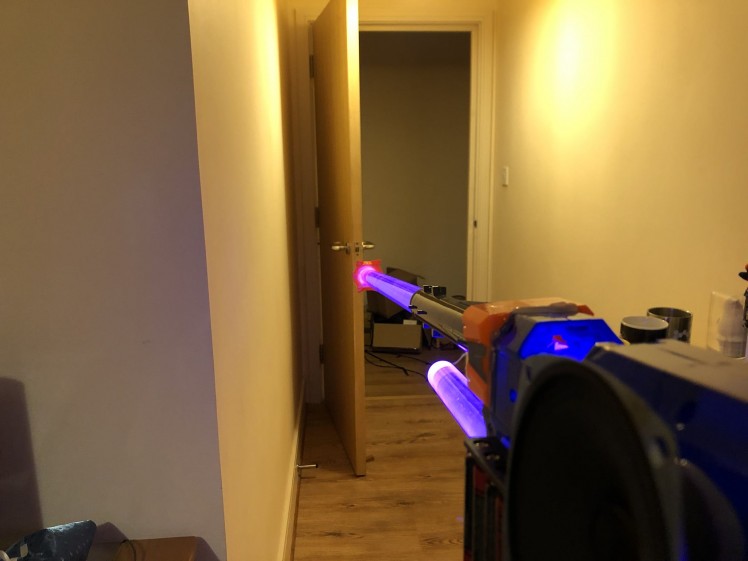
The final bit is putting the finishing barrel onto the prime rod:
 1 / 2
1 / 2
Oh boy.
Code
Here is the code nothing too much; mainly helped with examples from the above wiki links over at DFRobot.
I added in a hold button timer in order to get the two firing modes from the rifle, press to get the standard beam sound, hold for a couple of seconds to get the shock core sound – the sounds are also on my GitHub linked above.
With the code uploaded and working time to have some fun with it.
DM-Deck16
Running around my flat like a total nerd as usual, this project was a success for me.
As you can see the firing mechanism is a bit clunky – this is due to the sheer amount of stuff in the frame making the button tricky to press.
The mode switcher works perfectly – works simply by moving the mag-release button back a bit.
The OLED also works perfectly for showing the user what mode the rifle is in.
Conclusion
This project was insanely fun. I’m really happy with the aesthetic of it, it’s kind of an amalgamation of all the Rifles from all the games into one – you can see them all here.
It also sounds great.
Building it was tricky but most of the messy wiring and stuff was kept hidden inside so I’m happy – the only issue is I probably made the barrel a bit too long, but oh well it still looks awesome.
Are you a fan of Unreal Tournament? What did you think?
Feel free to let me know.
And see you next time.
Code
Credits
Related products


Leave your feedback...